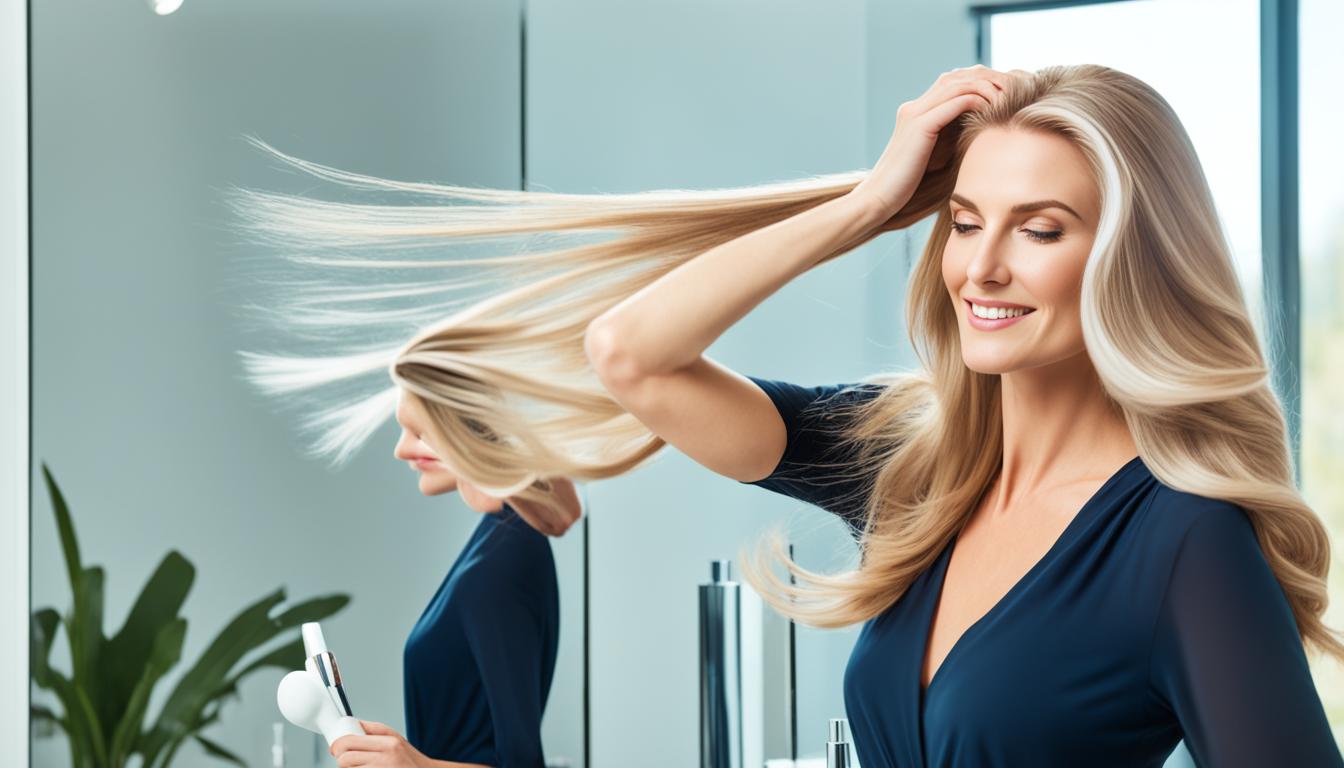
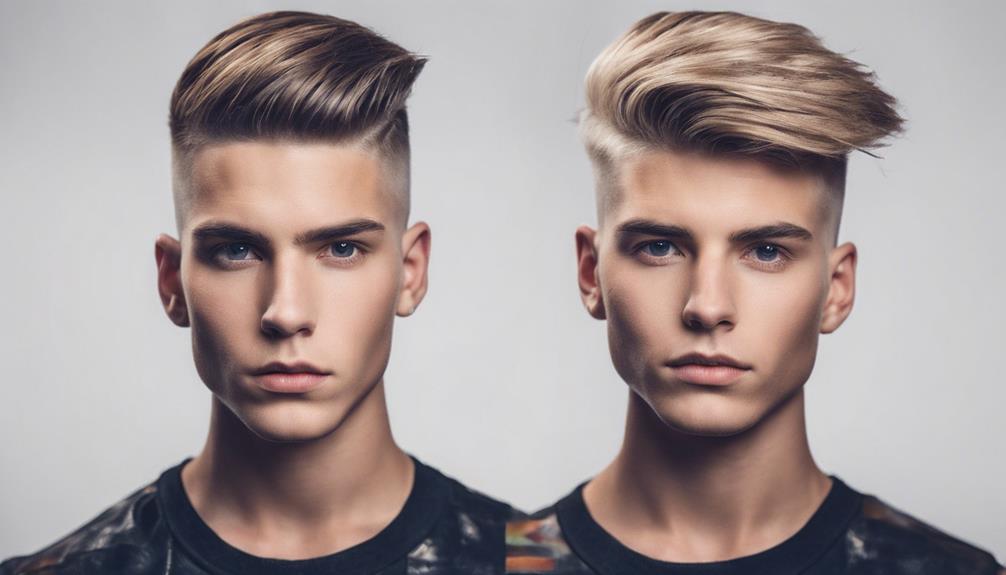
Did you know that 82% of females have attempted to blow-dry their hair on their own? Achieving that flawless hair blowout can really change your appearance, giving you professional-quality results without leaving your house. Whether you want sleek and smooth hair or voluminous curls, our expert tips and step-by-step instructions will help you achieve a perfect hair blowout at home.
Key Takeaways:
- 82% of women have tried blow-drying their hair at home
- Mastering the art of a perfect hair blow can give you salon-worthy results
- Our expert tips and step-by-step instructions will help you achieve a flawless blowout at home
- From detangling to choosing the right heat protectant and styling tools, we’ve got you covered
- Practice and patience are key to achieving the best results
Detangle Your Hair before Blow-drying
Before blow-drying your hair, it is important to detangle it to prevent breakage and ensure smooth styling. Use a wide-tooth comb or a detangling brush to gently work through knots, starting from the bottom of your hair. This will help minimize tugging and pulling, reducing damage during the blow-drying process. It is also crucial to apply a heat protectant to your damp and detangled hair to shield it from heat damage.
Why Detangle Your Hair?
Detangling your hair before blow-drying is essential to maintain its health and promote easier styling. When hair is tangled, the strands can become weak and prone to breakage. Detangling helps to minimize this risk and ensures a smoother blow-dry experience.
Using a wide-tooth comb or detangling brush is recommended as they allow for gentle and gradual removal of knots without causing additional damage. Start from the bottom of your hair and work your way up, section by section, to avoid pulling on knots and causing unnecessary stress to your hair.
Protect Your Hair from Heat Damage
Using a heat protectant is another vital step in preparing your hair for blow-drying. Heat protectants create a barrier between your hair and the heat of the blow dryer, preventing moisture loss and reducing the risk of damage.
Before applying the heat protectant, make sure your hair is damp and detangled. This will help the product distribute evenly throughout your hair, ensuring all strands are protected from heat.
Once your hair is detangled and protected with a heat protectant, you are ready to move on to the next steps in achieving a perfect blowout. By taking these simple precautions, you can reduce damage and achieve healthier, more manageable hair.
| Detangling Tools | Benefits |
|---|---|
| Wide-tooth comb | Gradually removes knots without causing damage |
| Detangling brush | Gentle on hair, reduces pulling and tugging |
Choose the Right Heat Protectant
When it comes to choosing a heat protectant for your hair, it’s important to consider your hair type and texture. Different hair types require different types of heat protectants to ensure maximum protection. It is highly recommended to consult with your stylist for personalized recommendations based on your specific hair needs.
For Fine to Medium-Textured Hair:
- Cream-based heat protectants are a great option for fine to medium-textured hair. These protectants provide a lightweight and nourishing barrier between your hair and styling tools, reducing the risk of heat damage. Look for heat protectant creams that offer a balance of moisture and heat protection.
For Thicker or Coarse Hair:
- Spray or oil-based heat protectants are ideal for thicker or coarse hair. These types of protectants offer a lightweight mist or oil that can effectively shield your hair from heat damage while providing added moisture and shine. Look for heat protectant sprays or oils that are specifically formulated for thick or coarse hair.
Here are some recommended heat protectants that cater to different hair types and textures:
| Brand | Product |
|---|---|
| Aveda | Brilliant Damage Control Spray |
| It’s A 10 | Miracle Leave-In |
| Virtue | Create 6-in-1 Styler |
| Tresemme | Thermal Creations Heat Tamer Spray |
| Oribe | Royal Blowout Heat Styling Spray |
These recommended heat protectants have been highly praised for their ability to safeguard your hair from heat damage while providing additional benefits such as hydration, shine, and improved manageability. Remember, choosing the right heat protectant is crucial in maintaining the health and integrity of your hair during heat styling.
Pre-blow-Dry Prep
Preparing your hair before blow-drying is essential for achieving a flawless finish. We recommend following these steps to ensure your hair is in prime condition for the blowout.
- Brushing: Start by brushing your hair for at least five minutes. This helps distribute natural oils and keeps your hair cleaner for longer.
- Warm water: Wet your hair thoroughly with warm water. This opens up the cuticles, allowing products to penetrate deeply and provide maximum benefits.
- Shampoo: Cleanse your scalp well by using a high-quality shampoo. This removes dirt and excess oil, leaving your hair refreshed and ready for styling.
- Conditioner: Condition your hair according to your hair type. Use a nourishing hair mask for deep hydration and restoration, or a lightweight conditioner for fine or greasy hair.
- Detangle: Detangle your hair in the shower while the conditioner or mask is still on. This helps prevent the product from touching your scalp and ensures even application.
- Towel-drying: Gently towel-dry your hair to remove excess moisture. Pat your hair instead of rubbing vigorously to avoid causing frizz.
- Heat protectant: Before blow-drying, apply a heat protectant to shield your hair from damage. This is especially important when using hot styling tools.
By following these pre-blow-dry preparations, you’ll create the ideal foundation for a successful hair blowout. Your hair will be cleansed, nourished, and protected, resulting in a beautiful and healthy finish.
Choose the Right Styling Tools
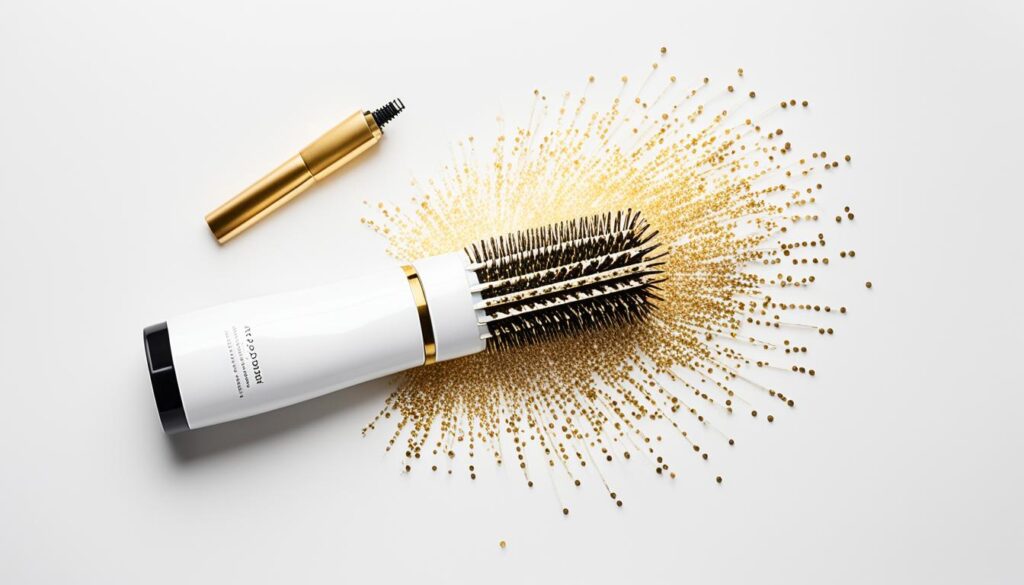
The right tools can make a significant difference in your hair blow-out. To achieve a flawless and professional-looking result, it’s essential to choose the right styling tools. Here are some key tools that can enhance your blow-dry:
Hairdryer with Multiple Heat Settings
Invest in a high-quality hairdryer with at least an 1800-watt motor and multiple heat settings. This will allow you to adjust the temperature based on your hair type and desired style. Higher wattage motors provide more power, resulting in faster drying times.
Nozzle Attachment for Directed Airflow
Use a nozzle attachment that comes with your hairdryer to direct the airflow. This helps in controlling the direction of the heat, reducing frizz, and achieving a smoother finish. The nozzle attachment concentrates the airflow, allowing you to work on specific sections of your hair more precisely.
Medium to Large Round Brush
A round brush is an essential tool for creating shape and adding volume to your blowout. Opt for a medium to large-sized round brush, depending on your hair length and desired result. The bristles on the brush help to grip and control the hair, allowing you to achieve a smooth and polished look. Use the brush to lift the roots and create movement while blow-drying.
Styling Products for Added Texture and Definition
Enhance your blow-dry with styling products that suit your desired look. Volumizing sprays or creams can add lift and body to fine hair, while texturizing sprays provide definition and hold for thicker hair. Smoothing sprays or creams can help reduce frizz and create a sleek finish. Apply these products sparingly to avoid weighing down your hair.
Finishing Product for Shine and Control
Complete your blowout with a finishing product that adds shine and control. Choose from options such as hair serums, oils, creams, or sprays, depending on your hair type and preference. These products help to smooth out any frizz or flyaways and provide a polished look. Apply a small amount through the lengths and ends of your hair for a glossy finish.
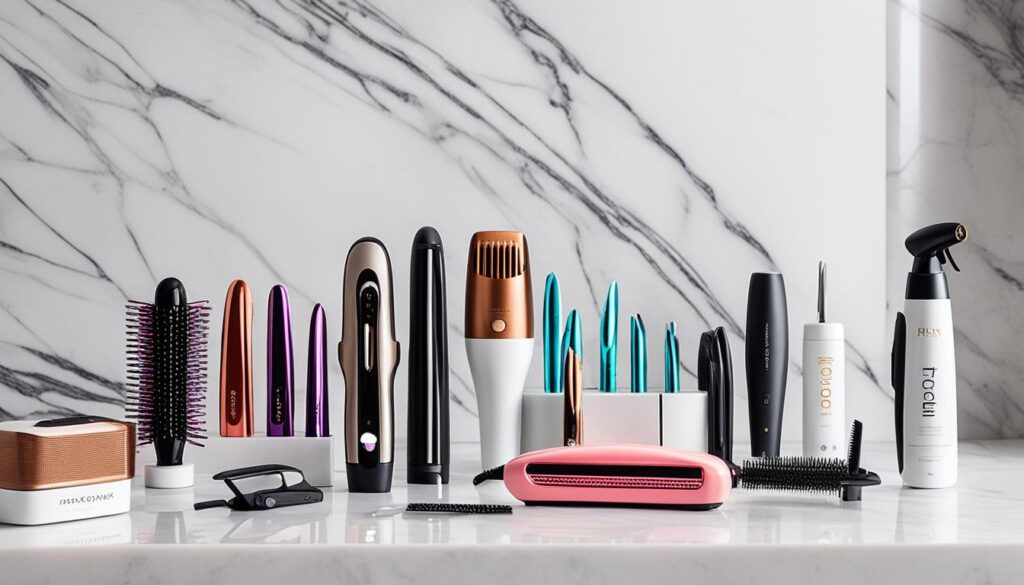
By using the right styling tools, you can elevate your at-home blow-drying experience and achieve salon-worthy results. Invest in high-quality tools and products that suit your hair type and desired style to enhance the overall outcome of your blowout.
Start with Clean Hair
Before you begin the blow-drying process, it’s important to start with clean hair. Washing your hair with a good shampoo and conditioner not only removes dirt and build-up but also provides a fresh canvas for styling.
Gently towel-dry your hair to remove excess moisture. This step is crucial as wet hair can take longer to dry and may result in a longer styling time. However, if you want to create extra volume, you can start blow-drying with damp hair.
For those with wavy hair, it’s recommended to dry your hair to around 50% to 80% before blow-drying. This helps maintain the natural texture while reducing frizz and speeding up the drying process.

Choose the Right Shampoo and Conditioner
When selecting a shampoo and conditioner, consider your hair type and specific needs. Whether you have dry, oily, or color-treated hair, there are options available to address your concerns and enhance the overall health and appearance of your locks.
| Shampoo | Conditioner |
|---|---|
| For dry hair: Hydrating Shampoo | For dry hair: Moisturizing Conditioner |
| For oily hair: Clarifying Shampoo | For oily hair: Lightweight Conditioner |
| For color-treated hair: Color-Protecting Shampoo | For color-treated hair: Color-Protecting Conditioner |
Remember to thoroughly rinse out the shampoo and conditioner to prevent residue and product build-up, which can weigh down your hair and make styling more challenging.
Section Your Hair for Easy Styling
To make the blow-drying process more manageable and efficient, it’s important to section your hair. By dividing your hair into sections, you can focus on one area at a time and ensure a more uniform blow-dry. Here’s how to do it:
Step 1: Gather Your Tools
Before you start sectioning your hair, make sure you have the necessary tools within reach. Grab some hair clips or ties to secure each section, ensuring they are out of the way as you work through your hair.
Step 2: Start with the Bottom Layers
Begin by separating the bottom layers of your hair. Use your fingers or a comb to create a horizontal parting, separating the bottom section from the rest of your hair. Clip or tie the remaining hair on top to keep it separate.
Step 3: Work Your Way Up
Once the bottom section is secured, release the next layer of hair, keeping it separate from the rest. Continue doing this until you have released all the sections and have reached the top layer of your hair.
Step 4: Adjust the Number of Sections
The number of sections you create will depend on the thickness of your hair. If you have thick hair, you may need to create more sections to ensure each strand gets evenly dried. For finer hair, fewer sections may be sufficient.
Remember, the goal is to make the blow-drying process more manageable and ensure that each section receives equal attention.
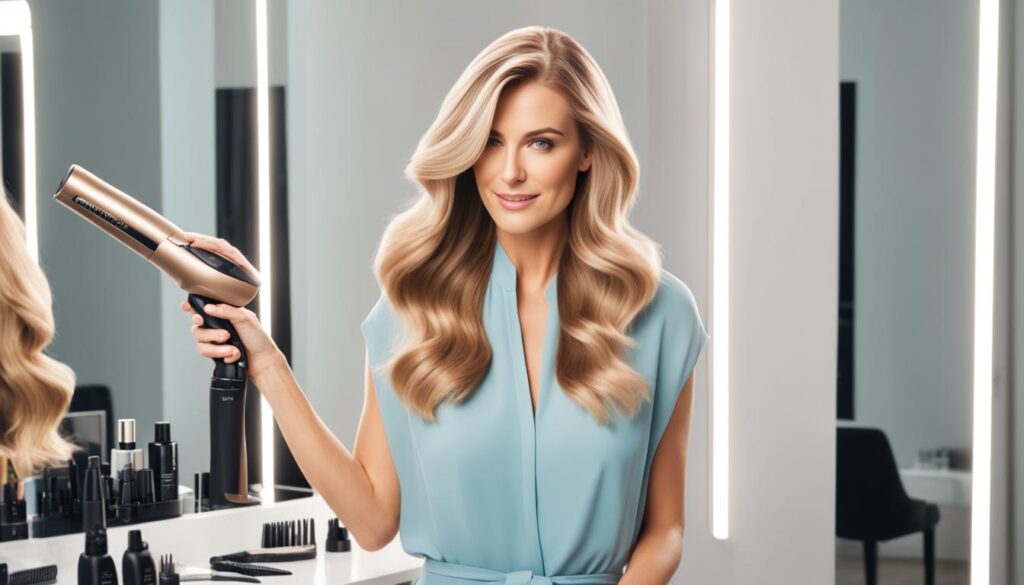
Step 5: Proceed with Blow-Drying
With your hair neatly sectioned, you can now begin blow-drying. Starting with the bottom section, unclip or untie it and focus your blow dryer and brush on that section. Move on to the next section once the bottom layer is thoroughly dried and styled.
Continue working through each section until your entire head of hair is dry and styled to perfection. The sectioning technique ensures that you give adequate attention to each part of your hair, resulting in a beautifully blow-dried finish.
Remember: Sectioning your hair is an essential step in achieving a salon-quality blowout at home. Take your time and enjoy the process.
Choose Your Direction for Styling
When it comes to blow-drying your hair, the direction you choose can have a significant impact on the end result. Whether you prefer a sleek look, a bouncy finish, or extra volume, selecting the right blow-dry technique is essential. Experimenting with different styles and techniques can help you achieve your desired look.
If you want a sleek and polished hairstyle, blow-dry your hair straight down. This technique creates a smooth and elegant appearance, perfect for a sophisticated look for any occasion.
On the other hand, if you desire a more playful and voluminous style, consider rolling your hair under during the blow-dry process. This technique adds bounce and movement to your hair, creating a lively and dynamic look.
For those seeking extra volume, blow-drying your hair in the opposite direction of its natural growth can work wonders. This technique lifts the roots and adds fullness, giving your hair a voluminous boost that lasts throughout the day.
Remember to consider your natural hair growth direction when choosing a blow-dry technique. Working with the natural flow of your hair can help achieve a more effortless and natural-looking style.
Don’t be afraid to try different techniques and find what works best for you. Each hair type and texture may require unique styling approaches, so feel free to experiment and adapt as needed. The goal is to find the direction and technique that enhances your hair’s natural beauty and reflects your personal style.
With the right blow-dry technique, you can achieve stunning results that complement your overall look, ensuring a hairstyle that turns heads and boosts your confidence.
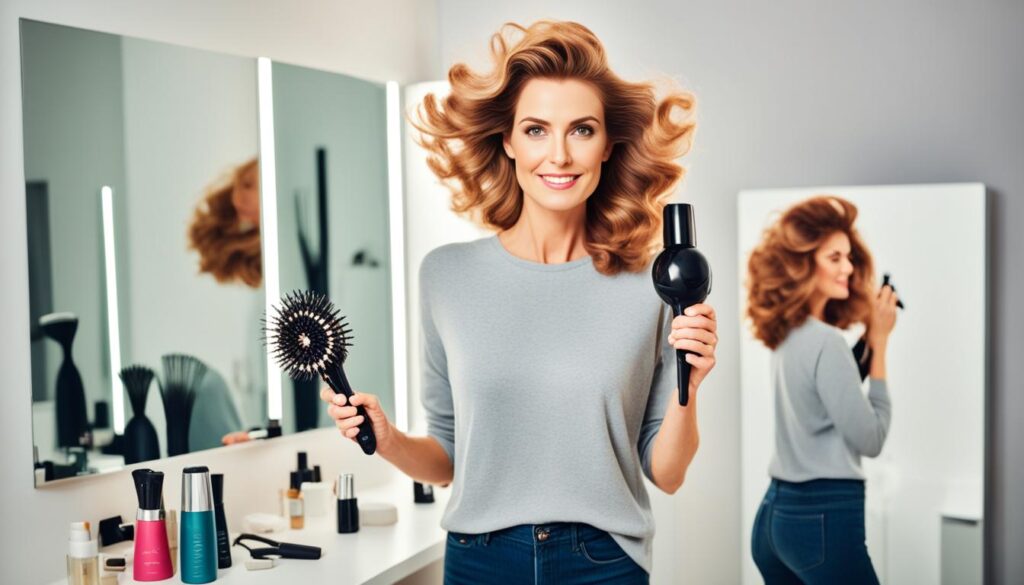
Key Takeaways:
- Blow-drying your hair in different directions can create various styles and effects.
- Straightening your hair by blow-drying it straight down creates a sleek and polished look.
- Rolling your hair under during blow-drying adds bounce and movement to your style.
- Blow-drying your hair in the opposite direction of its natural growth can result in extra volume.
- Consider your hair’s natural growth direction when selecting a blow-dry technique to achieve a more natural-looking style.
Begin Blow-Drying with Precision
When it comes to blow-drying your hair, starting off on the right foot is essential for achieving a flawless finish. By following these precise techniques, you can ensure optimal results and a professional-looking hairstyle right at home.
One of the key tools for precision blow-drying is the concentrator nozzle. Attach it to your hairdryer to control the airflow and direct it exactly where you want it. This nozzle provides more focused and targeted drying, allowing you to style your hair with precision.
Before you begin blow-drying, section your hair and start with the first section at the bottom. Hold the hairdryer a few inches away from your scalp, pointing it in the direction you want your hair to go. This will set the foundation for your desired style and ensure that your hair dries in the right direction.
As you blow-dry, use a round brush to guide your hair and apply tension. This technique helps create a smooth finish and ensures even heat distribution throughout your hair. For a curved and bouncy look, roll the brush inwards while blow-drying. If you prefer a sleek and straight style, guide the brush straight down.
During the blow-drying process, it’s important to smooth out any kinks or waves in your hair. The heat from the hairdryer will help straighten and refine your hair’s texture. Keep the hairdryer moving constantly to prevent overheating one area and causing damage.
By paying attention to your scalp, hair direction, round brush technique, tension, and heat distribution, you’ll be able to achieve a flawless blowout with ease. Practice these precise blow-drying techniques, and you’ll be amazed at the salon-worthy results you can achieve at home.

The Benefits of Precision Blow-Drying
- Creates a smooth and polished finish
- Ensures even heat distribution
- Straightens and refines hair texture
- Helps style hair in the desired direction
- Minimizes frizz and flyaways
- Provides salon-worthy results at home
| Tools | Techniques |
|---|---|
| Concentrator nozzle | Attach to hairdryer for precise airflow |
| Round brush | Guide hair and apply tension while blow-drying |
| Hairdryer | Hold a few inches away from the scalp and point in the desired direction |
Work in Sections for Thorough Drying
Once you have detangled and applied heat protectant to your hair, it’s time to start blow-drying. Working in sections allows for a more thorough and effective drying process. Make sure to dry each section completely before moving on to the next to ensure that every strand is dry and styled to perfection.
Patience is key when blow-drying your hair section-by-section. Take your time and pay attention to each area for the best results. Rushing through the process may lead to uneven drying and styling.
When blow-drying each section, use a round brush to smooth out any kinks or waves. The round brush helps create a polished and sleek look. Gently glide the brush through your hair while following the movement of the hairdryer. This helps distribute heat evenly and leaves you with a smooth finish.
Remember to keep the hairdryer moving to avoid overheating any one area. Overheating can cause damage and frizz. By moving the hairdryer continuously, you ensure that the heat is evenly distributed, reducing the risk of overheating and promoting healthier-looking hair.
If you’re looking to add volume to your hair, focus on lifting the hair at the roots with the round brush. Direct the airflow towards the roots to create lift and body. This technique, combined with the right styling products, can give your hair the perfect amount of volume and bounce.
Speaking of styling products, consider using mousse or volumizing spray to enhance hair volume and hold. These products add texture and fullness, making it easier to achieve the desired look during the blow-dry process. Apply the product to each section before blow-drying for maximum effect.
Working in sections, being patient, using a round brush, avoiding overheating, and incorporating styling products will help you achieve a professional-looking blowout at home. Embrace the process, experiment with different techniques, and enjoy the beautiful results!
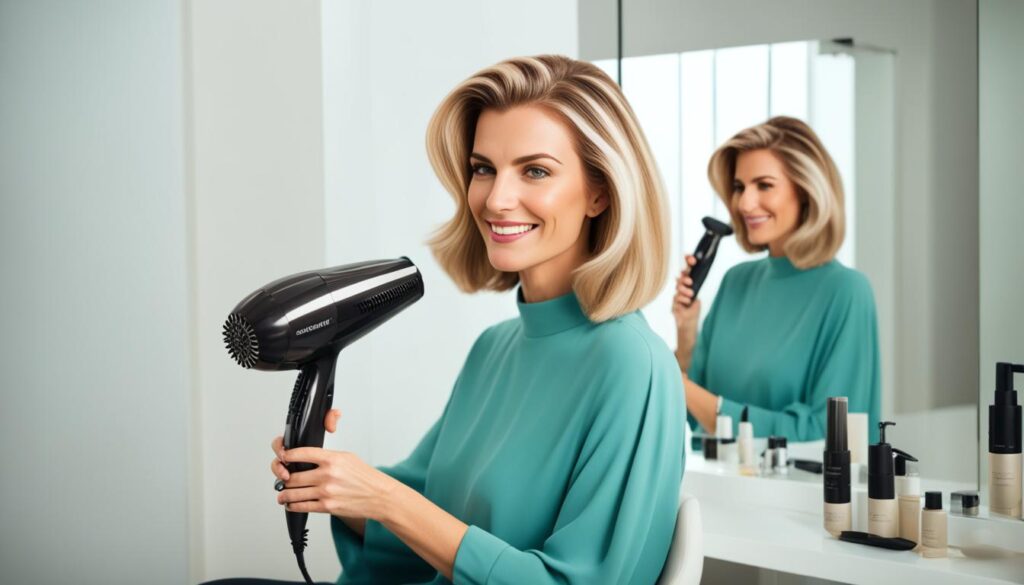
| Benefits of Working in Sections |
|---|
| Achieves more thorough drying |
| Prevents uneven drying and styling |
| Allows for better control and precision |
| Reduces the risk of overheating |
| Enhances volume and body |
Cool Down and Set the Style
Once you have finished blow-drying each section, switch your hairdryer to the cool setting and blast your hair with cool air for a few seconds. This will help set the style and add shine.
“Cool air is essential for locking in your desired look and ensuring it lasts throughout the day. It helps to seal the cuticles and keep your hair in place.”
If you want extra hold and shine, you can apply a light mist of hairspray. Choose a hairspray that offers the right level of hold for your hairstyle without weighing it down.
For a polished look, use a small amount of hair serum, oil, cream, or spray to smooth out any frizz and add shine. These styling products help tame flyaways and give your hair a healthy, radiant finish.
Recommended Products for Setting the Style:
| Product | Description |
|---|---|
| Hairspray | A lightweight hairspray that provides a strong hold without stiffness. Helps to keep your hairstyle in place even in humid conditions. |
| Hair Serum | A few drops of this serum will give your hair a glossy shine while taming frizz and flyaways. Suitable for all hair types. |
| Hair Oil | A nourishing oil that adds shine and controls frizz without weighing your hair down. Perfect for dry and damaged hair. |
| Hair Cream | A lightweight cream that adds moisture, controls frizz, and provides a natural finish. Ideal for medium to thick hair. |
Choose the product that best suits your hair type and desired finish. Apply it sparingly to avoid weighing down your hair or making it look greasy.
Set the Scene and Achieve Shine
Once you’ve set your style, take a step back and admire your beautifully blown-out hair. To enhance shine and keep your style intact for longer, remember to:
- Maintain a cool setting on your hairdryer while finishing your blowout
- Gently tousle your hair with your fingers to loosen the style and allow it to settle naturally
- Use a hairbrush to gently smooth the hair surface and add extra shine
By following these steps, you’ll achieve a salon-worthy blowout with a brilliant shine. Now you’re ready to rock your perfectly styled hair with confidence.
Finishing Touches for a Flawless Blowout
To complete your perfect hair blowout, we recommend adding some finishing touches for that extra hold, shine, and overall polished look.
| Product | Description |
|---|---|
| Hairspray | Apply a light mist of hairspray to enhance the hold of your blowout. Be sure to avoid overspraying to maintain a natural look. |
| Hair Serum, Oil, Cream, or Spray | For added shine and control, use a small amount of hair serum, oil, cream, or spray. This will help smooth out any frizz or flyaways and enhance the overall appearance of your blowout. |
Don’t forget to secure any loose sections of your hair with hairpins or bobby pins to maintain your desired style throughout the day or evening.
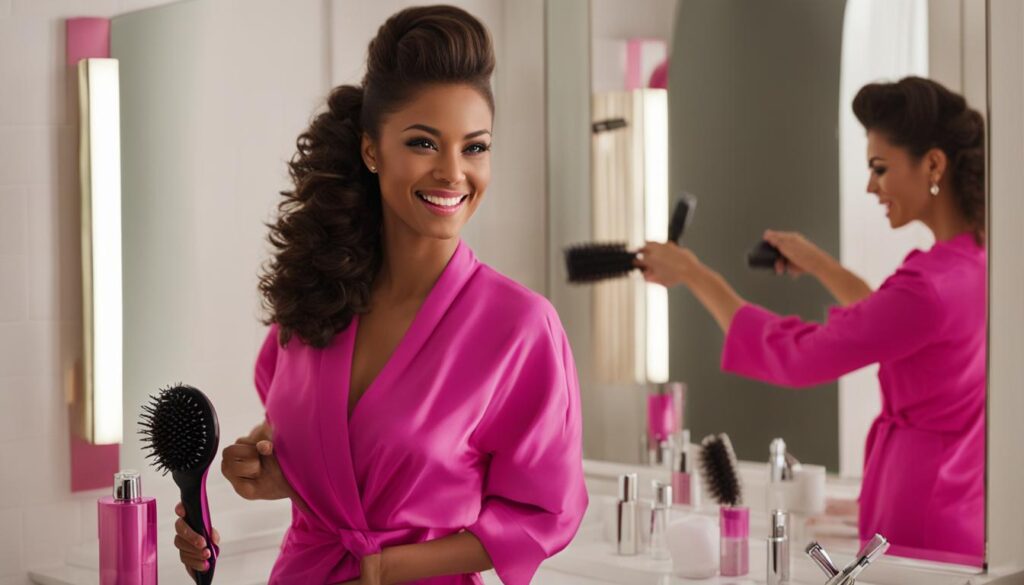
“A flawless blowout is all about the finishing touches. By using the right products and techniques, you can elevate your blowout from good to amazing.”
Remember, using a light touch with hairspray and other finishing products will ensure that your hair looks natural and not weighed down. Experiment with different amounts and techniques to find what works best for you.
With these finishing touches, your blowout will look salon-worthy and ready for any occasion.
Practice Makes Perfect
Achieving a salon-quality blowout at home takes practice. Don’t be discouraged if your first attempts don’t turn out exactly as you imagined. Experimentation is key when it comes to finding the right techniques, tools, and products that work best for your hair type and desired style. With dedication, time, and the right approach, you can master the art of a beautiful blowout and enjoy the benefits of flawless hair whenever you want.
When it comes to perfecting your blowout technique, there are a few key areas to focus on:
- Detangle: Before you even start blow-drying, make sure your hair is thoroughly detangled to prevent breakage and ensure a smooth styling process. Use a wide-tooth comb or a detangling brush to gently work through knots, starting from the bottom of your hair.
- Heat protectant: Applying a heat protectant to damp, detangled hair is crucial to shield it from heat damage. Look for a product that suits your hair type and offers the right level of protection.
- Sectioning: Dividing your hair into sections makes the blow-drying process more manageable. Use hair clips or ties to secure each section out of the way, starting with the bottom layers and working your way up.
- Styling tools: Choosing the right hairdryer, nozzle, and round brush can make a significant difference in your blowout results. Opt for a high-quality hairdryer with multiple heat settings, a concentrator nozzle for precise airflow, and a round brush that suits your hair length and desired style.
- Technique: Experiment with different blow-drying techniques to achieve your desired look. Whether you want a sleek and straight blowout or a voluminous and bouncy style, find a technique that works best for you.
Remember, practice is key, so don’t give up if your initial attempts don’t yield the results you want. Keep refining your technique, try new products and tools, and embrace the learning process. With time and persistence, you’ll be able to create salon-worthy blowouts that leave you feeling confident and beautiful.
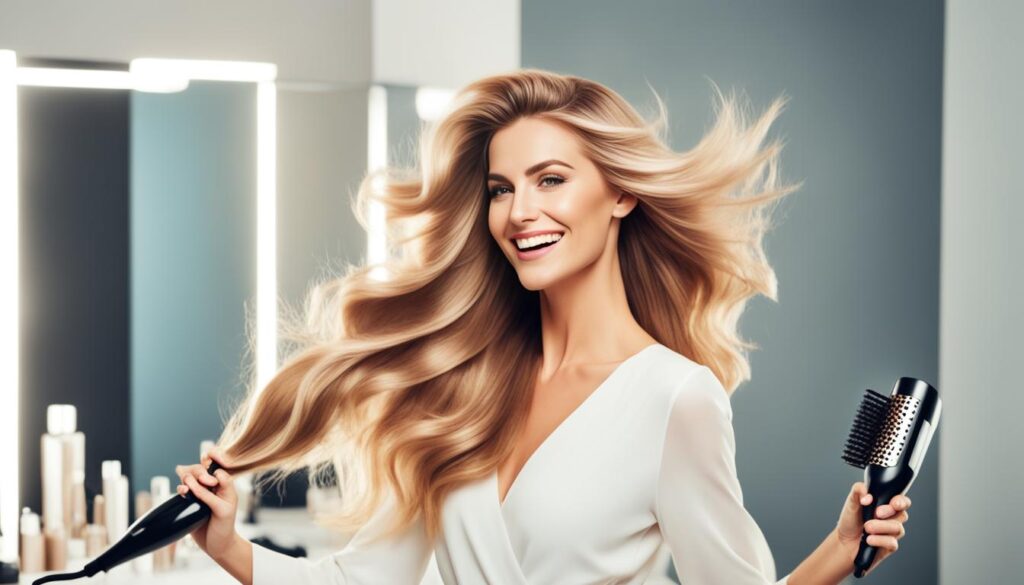
Keep practicing, and soon you’ll be able to achieve a salon-quality blowout from the comfort of your own home, saving time and money while still looking fabulous.
Love Great Hair? Stay Informed!
Stay connected with us to discover the latest trends, tips, and tutorials for achieving beautiful and healthy hair. By signing up for our exclusive updates, you’ll also get early access to sales and discounts on your favorite hair products. Don’t miss out on the opportunity to stay informed and inspired.
Join our community today and explore the endless possibilities of great hair!
Why Join Our Community?
- Get access to hair tutorials that will help you master new hairstyles and techniques.
- Stay up-to-date with the latest hair trends.
- Receive expert tips and advice for maintaining healthy hair.
- Be the first to know about early sales and discounts on hair products.
“Don’t miss out on the opportunity to have beautiful hair every day. Join our community and stay informed!”
Sign Up Today!
- Visit our website and click on the “Sign Up” button.
- Fill out the form with your name and email address.
- Check your inbox for a confirmation email.
- Click on the link in the email to confirm your subscription.
By joining our community, you’ll gain access to a wealth of knowledge and resources that will help you achieve the hair of your dreams. Sign up today and take the first step towards a lifetime of beautiful, healthy hair.
Explore the Possibilities
With our hair tutorials, trend updates, and expert tips, you’ll be able to experiment with different styles, techniques, and products to discover what works best for you. Whether you’re looking to try a new hairstyle or want to improve your hair care routine, our community is here to support and inspire you.
Stay Connected, Stay Inspired
Don’t miss out on the latest hair trends and insider tips. Join our community today and gain early access to sales on your favorite hair products. We are dedicated to providing you with the information and inspiration you need to achieve your best hair ever. Sign up now and embark on your journey to beautiful hair!
Conclusion
Achieving the perfect hair blow at home is within your reach. By following the simple steps and expert tips provided in this article, you can achieve salon-worthy results from the comfort of your own home. Detangling your hair before blow-drying, choosing the right heat protectant and styling tools, and working in sections for thorough drying are key factors in achieving a flawless blowout. Remember, practice and patience are essential in mastering the art of the perfect hair blow. With time and dedication, you can enjoy the confidence and beauty of salon-quality results right at home.
So go ahead and give it a try! With these simple steps and a little practice, you’ll be able to create the perfect hair blow that turns heads and boosts your confidence. Get ready to achieve salon-worthy results without the hassle and expense of going to a salon. You have the power to create a beautiful blowout that enhances your natural beauty and leaves you feeling fabulous.
Now that you have learned the techniques and steps, all that’s left is to put them into action. So dust off your blow-dryer, gather your tools, and get started on your journey to the perfect hair blow. With a little practice, you’ll soon be able to create stunning and polished looks from the comfort of your own home. Say goodbye to bad hair days and hello to gorgeous, salon-worthy locks!
