Ready to spruce up your nails at home? Try these 10 easy DIY designs to level up your nail game: Daisy designs using bobby pins for a cute touch, color-block French tips for a chic look, negative space with glitter for some sparkle, and clear tape techniques for sharp lines. Don't forget classic color-block nails, geometric patterns for a modern twist, marble effect nails for elegance, and ombre gradient designs for a seamless blend. Lastly, embrace abstract nail art for a unique flair. Your nails will thank you for the fabulous makeover these designs bring.
Key Takeaways
- Utilize clear tape techniques for geometric patterns.
- Experiment with color-block French tips for chic nails.
- Try daisy designs using bobby pins for a floral touch.
- Create ombre gradient designs with ease at home.
- Express personality through personalized DIY nail art.
Daisy Designs With Bobby Pins
For an easy and creative nail art idea at home, try making daisy designs using bobby pins. It's a simple yet effective technique that can elevate your nail game in no time. Begin by dipping the rounded end of a bobby pin into your favorite nail polish color. With a steady hand, gently dot the bobby pin onto your nails to create the petals of the daisy. Repeat this step to form multiple petals, ensuring they're evenly spaced for a symmetrical look.
Once the petals are complete, use the same bobby pin to add a contrasting color dot in the center of each daisy. This little detail will make your nail art pop and give it a professional finish.
Feel free to experiment with different color combinations to suit your style or match your outfit. Whether you're a nail art novice or a seasoned pro, daisy designs with bobby pins are a fun and charming way to express your creativity at home.
Color-Block French Tips
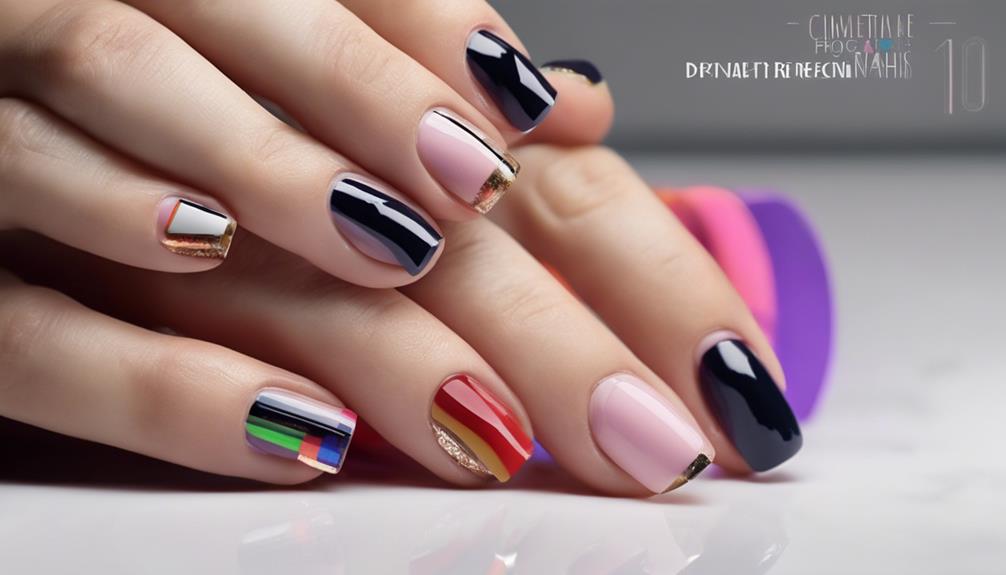
To create a modern and chic nail art look at home, consider trying out color-block French tips using two different nail polish colors on each nail. This trendy design adds a fun twist to the classic French tip style, allowing you to express your creativity with various color combinations.
Here are some tips to nail your color-block French tips:
- Mix pastel and metallic polishes for a playful yet sophisticated vibe.
- Customize your look by choosing colors that match your outfit or mood.
- Use tape as a guide for crisp and clean lines when creating the color-block effect.
- Perfect for beginners and seasoned nail artists alike, this design offers a stylish option for any skill level.
- Experiment with different color pairings to find your perfect match and show off your personal style with confidence.
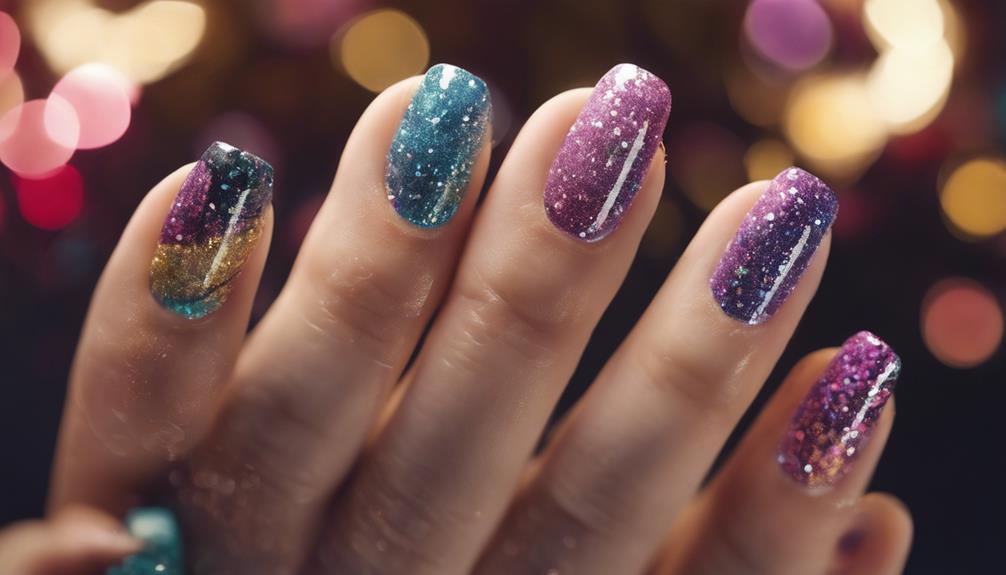
Negative Space With Glitter
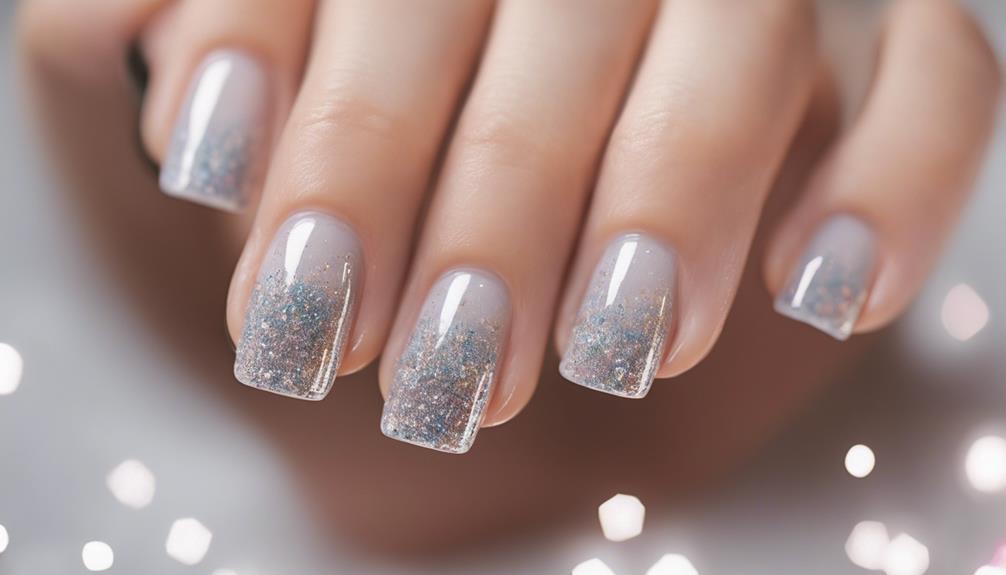
Are you ready to take your nail art game up a notch? Let's talk about negative space with glitter – a super chic style that's all the rage right now.
We'll cover glitter placement techniques, tips for nailing that negative space design, and some awesome DIY nail art combos.
Glitter Placement Techniques
Exploring glitter placement techniques, particularly the method of incorporating negative space with glitter, can elevate your nail art game to a whole new level. By combining the shimmer of glitter with the sophistication of negative space, you create a chic and eye-catching design that's sure to impress.
Here are some tips to master this technique:
- Use clear tape or nail vinyls: These tools help you create clean and precise negative space designs on your nails before applying the glitter.
- Experiment with shapes and patterns: Get creative with how you place the glitter within the negative space to achieve a one-of-a-kind look.
- Try different glitter sizes and colors: Play around with various glitter options to customize your design and make it truly unique.
- Secure your design with a top coat: Sealing the glitter with a top coat not only helps keep it in place but also adds a glossy finish to your nails for a polished look.
- Have fun with it: Don't be afraid to experiment and let your creativity shine through your glitter placement designs!
Negative Space Design Tips
Utilizing glitter in negative space nail art designs can add a touch of sparkle and dimension to your manicure. To achieve a stunning look, consider using glitter polish strategically in combination with clear tape to create clean lines and shapes. The mix of negative space with glitter can result in a trendy and eye-catching manicure that is sure to turn heads.
Here's a simple guide to help you master negative space designs with glitter:
| Step | Instructions |
|---|---|
| 1. Prep | Start with clean, dry nails. Cut small strips of clear tape to use as guides for your negative space design. |
| 2. Apply tape | Place the clear tape on your nails to create the desired negative space pattern. Make sure the tape is firmly pressed down to prevent any polish from bleeding. |
| 3. Add glitter | Apply glitter polish over the exposed areas of your nail. You can use a brush or a makeup sponge for a more concentrated glitter effect. |
| 4. Finish | Once the polish is dry, carefully remove the tape to reveal your sophisticated negative space design with a touch of sparkle. Seal the design with a top coat for lasting wear. |
DIY Nail Art Combos
To create stunning DIY nail art combos, consider incorporating negative space designs with glitter for a modern and eye-catching manicure. Negative space nail art involves leaving areas of your natural nail exposed strategically, allowing for a chic and minimalist look.
Adding glitter to these designs can elevate your nails with sparkle and dimension, making them stand out even more. Clear tape is a handy tool to create clean lines and shapes in negative space nail art, ensuring your design looks professional and precise.
Here are some tips for mastering this DIY nail art combo:
- Start by applying a base coat and letting it dry completely.
- Use clear tape to create geometric shapes or intricate patterns on your nails.
- Apply glitter to the negative space areas for a dazzling effect.
- Experiment with different color combinations to find what suits your style best.
- Finish with a top coat to seal in your design and add shine to your nails.
Clear Tape Techniques
Clear tape is a versatile tool that can elevate your nail art designs by creating clean lines and geometric shapes. By using clear tape in your nail art, you can achieve precise lines and intricate patterns with ease. Check out the table below for some creative ways to incorporate clear tape techniques into your DIY nail designs:
| Clear Tape Technique | Description |
|---|---|
| Geometric Shapes | Create triangles, squares, and other shapes with ease |
| Negative Space Effects | Achieve modern and minimalistic nail designs |
| Color Placement Control | Make sure your colors stay exactly where you want them |
| Line Variation | Experiment with different tape widths for unique designs |
Clear tape not only helps in creating professional-looking designs but also prevents smudging and allows for a clean finish. Whether you're a beginner or a seasoned nail artist, clear tape techniques are a great addition to your nail art repertoire. Give it a try and see the difference it makes!
Classic Color-Block Nails

Elevate your DIY nail designs with classic color-block nails, a versatile and stylish nail art technique that allows for clean and distinct color sections using clear tape and multiple shades of polish.
To create a gradient effect on your nails, follow these simple steps:
- Start by applying a base coat to protect your nails and help the polish last longer.
- Choose three shades of nail polish in the same color family for a cohesive look.
- Apply the lightest shade as the base color and let it dry completely.
- Cut small strips of clear tape and place them on your nails to section off where each color will go.
- Paint each color block, starting with the darkest shade at the tip of your nail for a trendy ombre effect.
With this technique, you can achieve a professional finish at home while having fun experimenting with different color combinations and designs.
Classic color-block nails are a go-to choice for a modern and chic nail art look that you can easily customize to match your style.
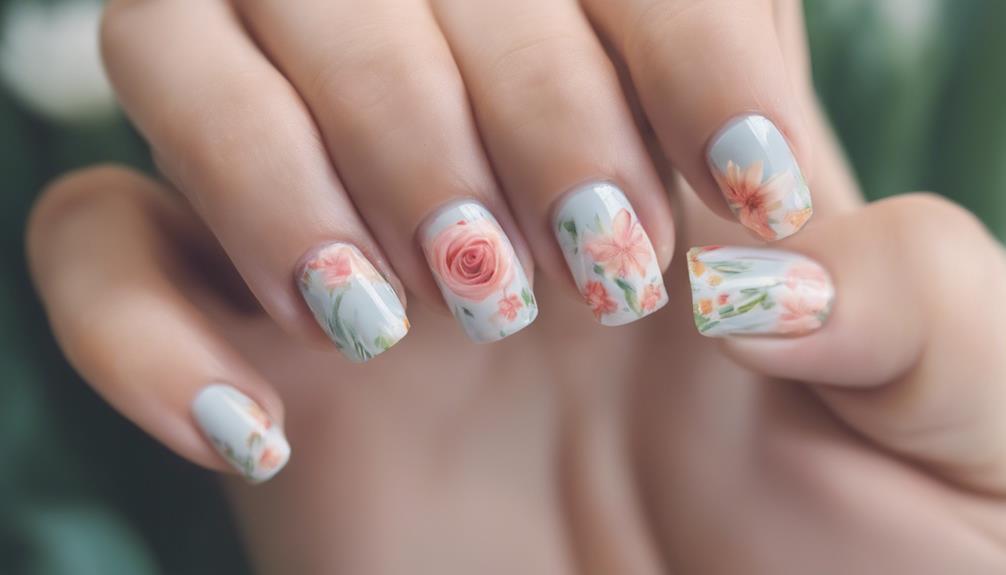
Floral Nail Art
Ready to elevate your nail game with some blooming beauty?
Let's start with a Petal Patterns Tutorial that will have your nails looking fresh and fabulous.
Get ready to rock a Garden-Inspired Nail Art look that will make your fingertips burst with floral charm!
Petal Patterns Tutorial
To achieve a beautiful floral nail art design with petal patterns, start by applying a light pink base coat and using a thin nail art brush to create intricate petal shapes in a darker shade. Creating this lovely design is easier than you might think!
Here are some simple steps to guide you through the process:
- Start with a light pink base coat to provide a soft background for your floral design.
- Use a thin nail art brush to carefully paint petal shapes in a darker pink or red nail polish around five dots arranged in a circular pattern.
- Add smaller dots in a contrasting color at the center of each flower to bring depth and detail to your design.
- Finish off your floral nail art by incorporating green polish or a nail art pen to draw delicate leaves and stems.
- Don't be afraid to get creative! Experiment with various color combinations and petal shapes to personalize your floral nail art and make it truly unique.
Blooming Nail Design
For a stunning floral nail art look, consider trying out a blooming nail design featuring intricate floral patterns reminiscent of blooming flowers.
Blooming nail designs allow you to get creative with abstract designs using tools like dotting tools, brushes, and even toothpicks. These tools help you achieve the delicate details needed to make your nails bloom with beauty.
You can play around with different colors and techniques to create a realistic or abstract floral look that suits your style. Don't forget to seal in your masterpiece with a top coat to enhance the design and give it a glossy finish that will make your nails pop.
The versatility of blooming nail designs means you can customize them to match any outfit or occasion, adding a touch of floral elegance to your overall look. So, grab your dotting tool and let your nails blossom with a blooming nail design that's sure to turn heads!
Garden-Inspired Nail Art
With a garden-inspired nail art design, you can bring the beauty of nature right to your fingertips. Imagine delicate flowers blooming on your nails, showcasing the vibrant colors and intricate details found in a lush garden. Here are some tips to help you create stunning floral nail art:
- Choose Pastel Colors: Opt for soft shades like pink, lavender, and mint green to capture the gentle essence of flowers.
- Incorporate Botanical Elements: Add leaves, stems, and other greenery to complement your floral designs.
- Sparkle with Glamour: Enhance your manicure with a touch of glitter or rhinestones for a glamorous finish.
- Experiment with Shapes and Sizes: Play around with different flower shapes and sizes to create a unique and personalized garden-inspired look.
- Don't Forget the Purple and Green Polish: Use purple polish for a regal touch and green polish for a fresh, natural vibe in your floral nail art.
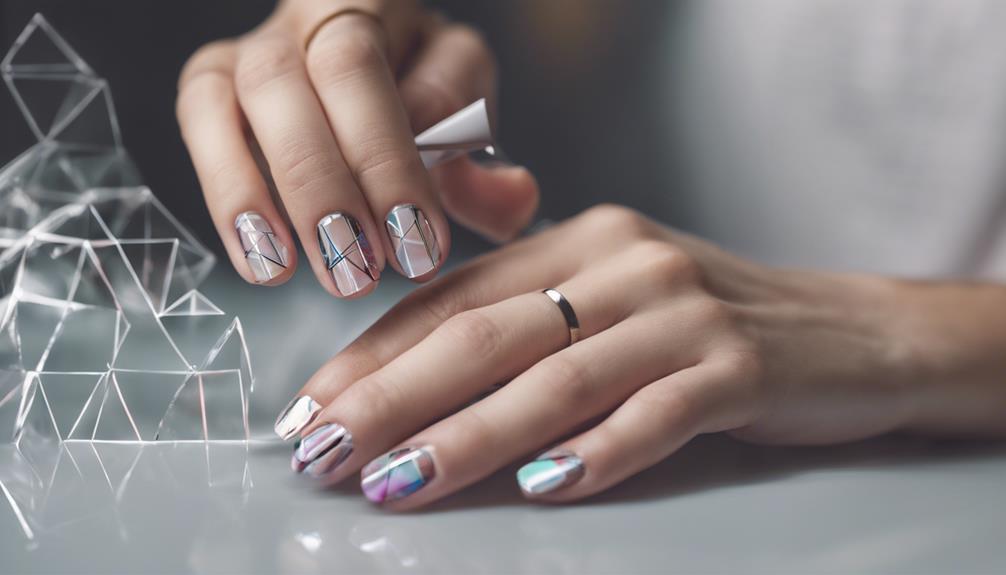
Geometric Patterns
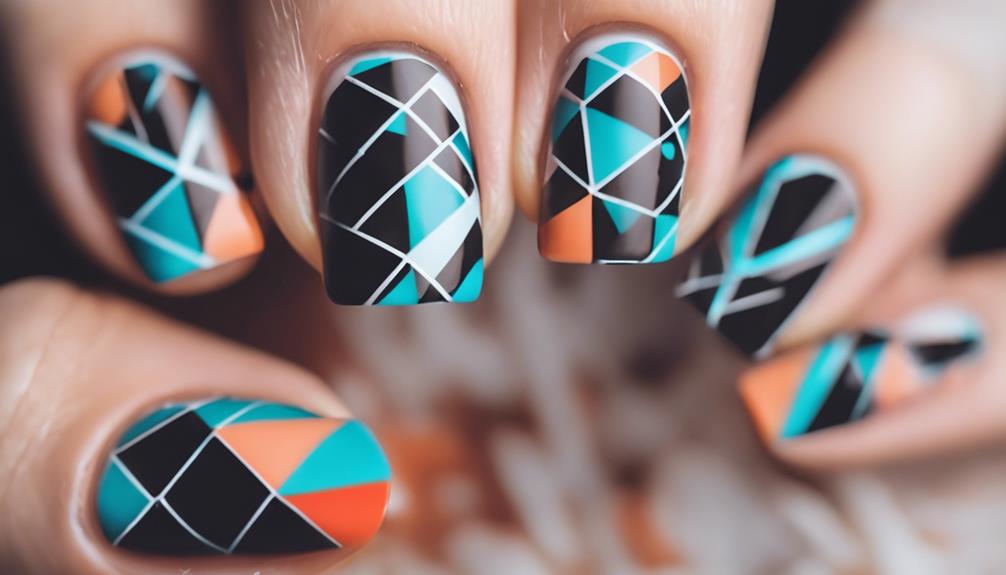
Try incorporating geometric patterns into your nail art for a modern and sleek design aesthetic. You can achieve these trendy designs using tape for precise lines or go freehand for a more artistic flair. Geometric patterns, such as triangles, squares, and lines, offer a versatile canvas for your creativity. Customize your nails with different colors and patterns to match your style preferences. Popular choices like chevron, houndstooth, and geometric grids can give your nails a fashionable edge.
Geometric nail art isn't only stylish but also beginner-friendly, allowing you to experiment while maintaining a polished look. Whether you opt for a structured design or a more abstract approach, geometric patterns offer a great balance between creativity and sophistication.
Marble Effect Nails
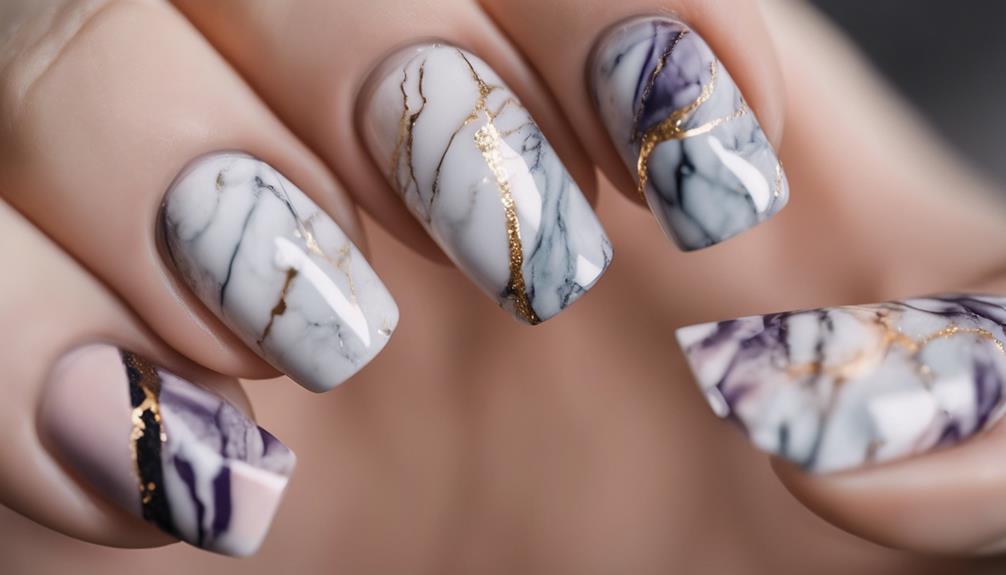
Achieve a stunning marble effect on your nails by swirling multiple nail polish colors together on a plastic sheet. To create this mesmerizing design, follow these simple steps:
- Mix Colors: Combine two or more nail polish shades on a plastic sheet.
- Swirl Patterns: Use a toothpick or needle to create elegant swirling patterns in the mixed nail polish.
- Transfer Design: Gently press your nails onto the swirled polish to transfer the marble effect.
- Color Combinations: Get creative with different color combinations to craft unique and eye-catching marble nail art.
- Seal and Shine: Finish off your masterpiece by sealing the design with a top coat for a glossy finish and long-lasting wear.
Experiment with swirling techniques and color choices to achieve the perfect marble effect.
For a pop of brightness, try incorporating a touch of yellow polish into your marble design.
Let your nails be the canvas for your artistic expression with this chic and sophisticated nail art technique.
Ombre Gradient Designs
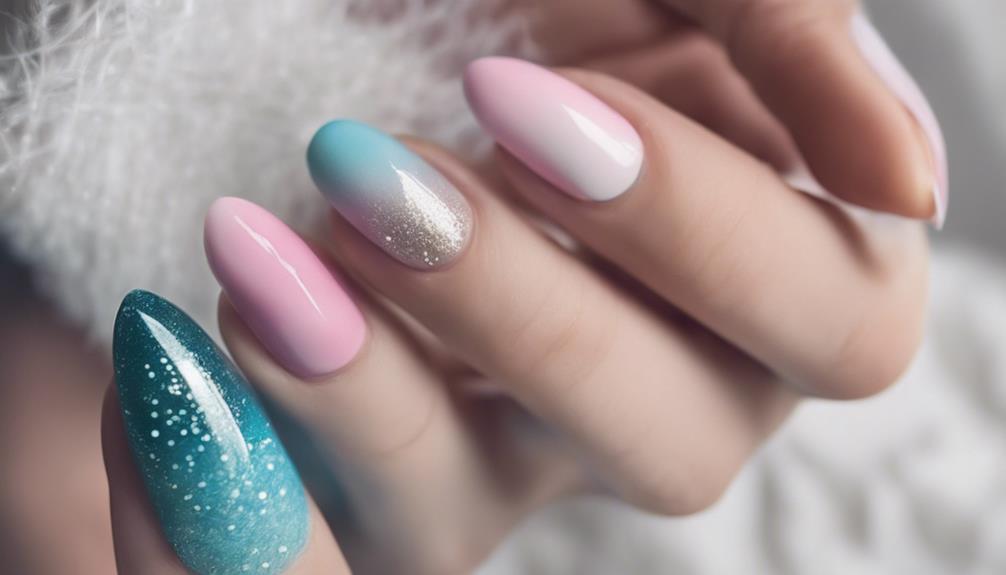
Want to rock a trendy ombre gradient design on your nails? Blend your favorite nail polish colors together for a smooth shift that's sure to impress.
Grab a makeup sponge, layer on the shades, and seal the look with a glossy top coat for a stunning finish!
Color Blending Techniques
To create stunning nail art at home, master the art of blending colors seamlessly with ombre gradient designs. Using a makeup sponge for gradient blending is a game-changer!
Here are some tips to nail those mesmerizing ombre gradient nails:
- Dab, Dab, Dab: Gently dab the makeup sponge with your chosen colors onto the nail to create a beautiful gradient effect.
- Start Light: Begin with a light base color and work your way up to darker shades for a smooth shift.
- Color Combos: Get creative with your color choices! Try pastels, neons, or even stick to monochromatic tones for different ombre looks.
- Extra Flair: Elevate your ombre design with glitter, metallic accents, or fun nail art stickers for that extra pop.
- Practice Makes Perfect: Don't worry if it doesn't turn out perfect the first time. Practice makes progress, and soon you'll be a pro at ombre gradient nails!
Tools for Gradient Nails
Consider using a makeup sponge as your go-to tool for achieving flawless ombre gradient nails at home. When it comes to creating stunning gradient nails, this humble sponge can work wonders.
Start by applying a base color to your nails and letting it dry completely. Then, dip the edge of the makeup sponge into your chosen second color and gently dab it onto the tips of your nails. Slowly work your way towards the base of the nail, blending the colors seamlessly.
To guarantee a smooth shift between shades, lightly pat the sponge on your nails to merge the colors beautifully. This technique helps avoid any harsh lines, resulting in a professional-looking ombre effect.
Finish off your gradient nail design with a top coat to seal in the colors and add a glossy finish. With a simple makeup sponge in hand, you can effortlessly achieve salon-worthy gradient nails right in the comfort of your own home.
Abstract Nail Art

When exploring abstract nail art, you immerse yourself in the world of unconventional shapes, lines, and patterns that offer a modern and artistic twist to your nail designs.
Abstract nail art is all about breaking the traditional norms and letting your creativity run wild. Here are some fun ideas to get you started:
- Try Dots Around: Create a funky design by placing dots in a circular pattern around your nails for a playful look.
- Experiment with Bright Green: Incorporate a pop of bright green into your abstract nail art to add an eye-catching element to your manicure.
- Embrace Geometric Shapes: Play with triangles, squares, and other geometric shapes to achieve a modern and edgy abstract design.
- Utilize Negative Space: Leave parts of your nails unpainted to make use of negative space, adding depth and intrigue to your nail art.
- Mix and Match Colors: Blend different colors together to create a unique and vibrant abstract nail art masterpiece that reflects your personality.
Abstract nail art is a fantastic way to express yourself and show off your artistic side with every hand gesture you make.
Frequently Asked Questions
How to Make Simple Nail Art at Home?
Creating simple nail art at home is easier than you think! With just everyday items like bobby pins, toothpicks, and clear tape, you can get started.
Try beginner-friendly techniques like dotting or negative space designs for a polished look. Seal your masterpiece with a quick-drying top coat for longevity and a glossy finish.
Experiment with different colors and patterns to let loose your creativity. Follow step-by-step tutorials and nail care tips for professional-looking results at home.
What Is 5 Basic Nail Art Design?
Want to jazz up your nails? Start with 5 basic nail art designs!
Simple stripes, chic chevron lines, and delightful dots are fantastic for beginners.
Classic French tips add elegance, while ombre gradients bring a trendy twist.
Geometric shapes like triangles and squares are stylish and easy to create.
Play with contrasting colors or sprinkle some glitter for extra flair.
These basics will have your nails looking fabulous in no time!
What Can I Use at Home to Do Nail Art?
You can easily create stunning nail art designs at home with everyday items like bobby pins, toothpicks, and clear tape.
Dotting tools are essential for precise details, while a fast-drying top coat seals and protects your masterpiece.
Need to fix a mistake? Use acetone and a small paintbrush for a pro finish.
Mix up colors and techniques to elevate your nail art game, achieving salon-quality results from the comfort of your own home!
How to Decorate Your Nails for Beginners?
To decorate your nails for beginners, start with simple designs like daisies using a bobby pin for dotting. Use household items like circle bandaids for an easy upside-down French tip.
Experiment with color block French tips using pastel and metallic polishes. Try a cute strawberry design with toothpick details or a glitter gradient for a party-ready manicure.
Explore various beginner-friendly nail art designs that are fun and easy to create at home.
Conclusion
So there you have it, 10 easy nail art ideas that you can try at home with just a few simple tools and some creativity. Next time you’re looking to add a pop of fun to your nails, consider trying out some of these colorful nail art ideas. With a variety of bright and bold colors, intricate designs, and playful patterns, there’s something for everyone to enjoy. Don’t be afraid to let your creativity shine through and experiment with different color combinations to create your own unique nail art looks.
Whether you're a beginner or a seasoned pro, these DIY designs are sure to impress.
So grab your favorite nail polishes and get ready to awaken your inner artist.
Remember, your nails are your canvas, so don't be afraid to experiment and have fun with these fun and fabulous designs.
Happy painting!