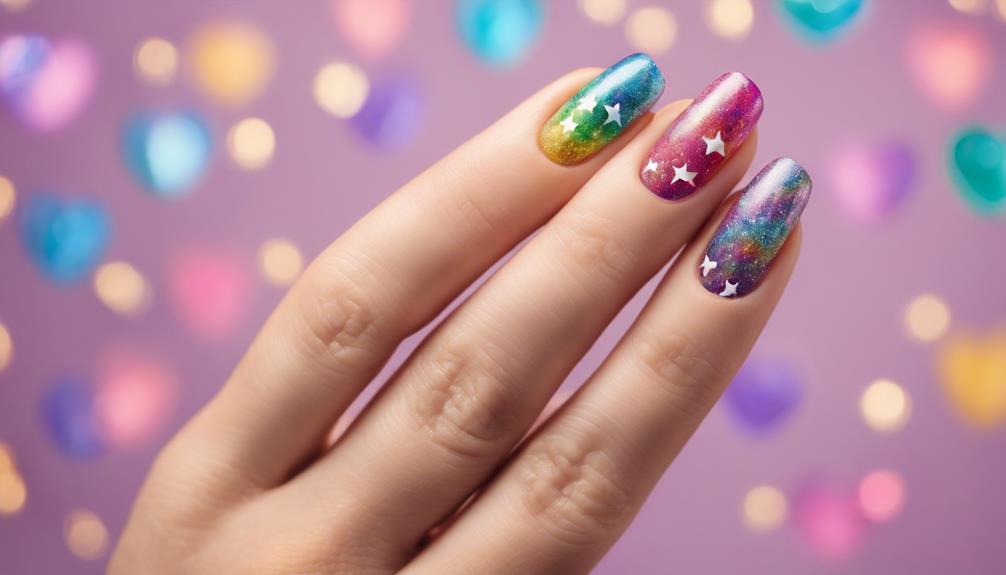
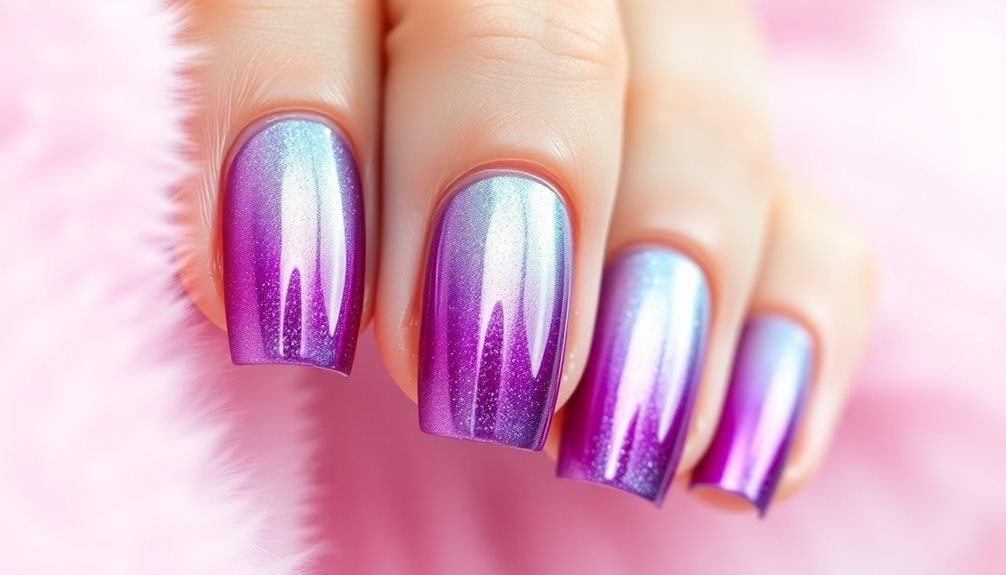
To make your gel manicure last over three weeks, start with clean, dry nails and push back your cuticles. Use high-quality gel products and apply thin layers of polish for best adhesion. Don't forget to cap the tips of your nails with each layer. Cure your gel polish properly—30 seconds for LED and 130 seconds for UV—and consider using a no-wipe top coat for extra protection. After your manicure, keep your nails hydrated with cuticle oil and avoid harsh chemicals. By following these tips, you'll keep your manicure looking fresh, and there's more to discover to enhance your routine!
Key Takeaways
- Prepare nails by cleaning and buffing for better gel adhesion and a smooth surface.
- Apply thin layers of gel polish and cap the tips to prevent lifting.
- Cure gel polish according to recommended times for optimal durability and longevity.
- Maintain nail health with daily cuticle oil and regular touch-ups every 2-3 weeks.
- Avoid harsh chemicals and use gloves during cleaning tasks to protect your manicure.
Nail Preparation Techniques

To make your gel manicure last, start with thorough nail preparation. First, clean your nails to remove any oils and residue, which helps the gel adhere better and prevents lifting. Use a gentle 180g sponge buffer to create a smooth nail surface, eliminating dust, hangnails, and impurities before you apply anything.
Additionally, consider using a nail primer enriched with nourishing ingredients for enhanced adhesion and long-lasting results, similar to how best natural hair styling products focus on healthy ingredients to improve overall performance.
Next, perform a dry manicure technique by pushing back your cuticles. Avoid using water, as moisture retention can lead to lifting post-application. Once your nails are prepped, apply a nail primer to enhance adhesion before the base coat. This step is especially important for natural nails, as it reduces the risk of lifting.
Ensure your nails are completely dry and free from any moisture. This creates the ideal canvas for your gel polish application. When you apply the gel polish, use thin layers for better curing and longevity.
Following these nail preparation techniques will set you up for success, making your gel manicure last much longer. Remember, the foundation of a great gel manicure begins with how well you prep your nails!
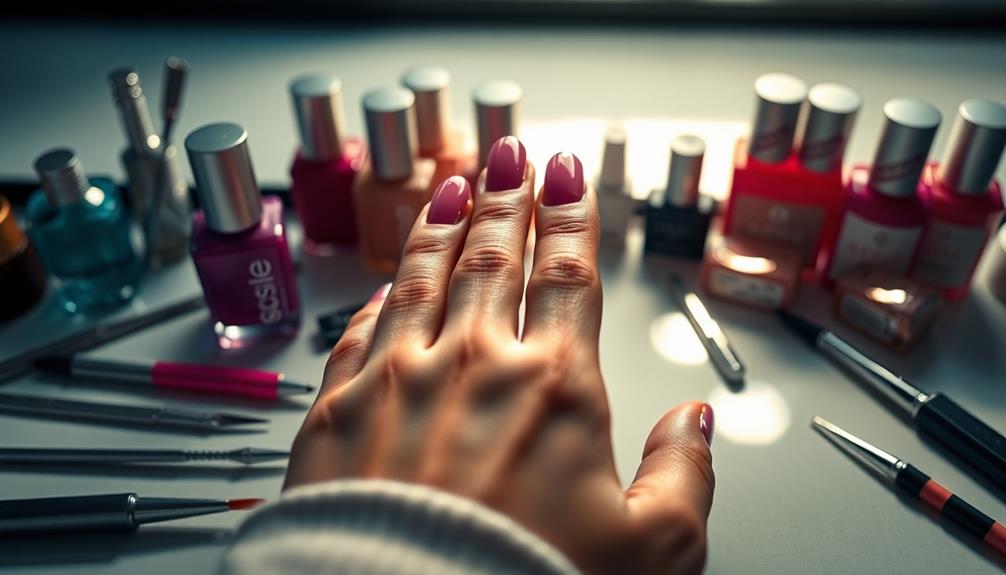
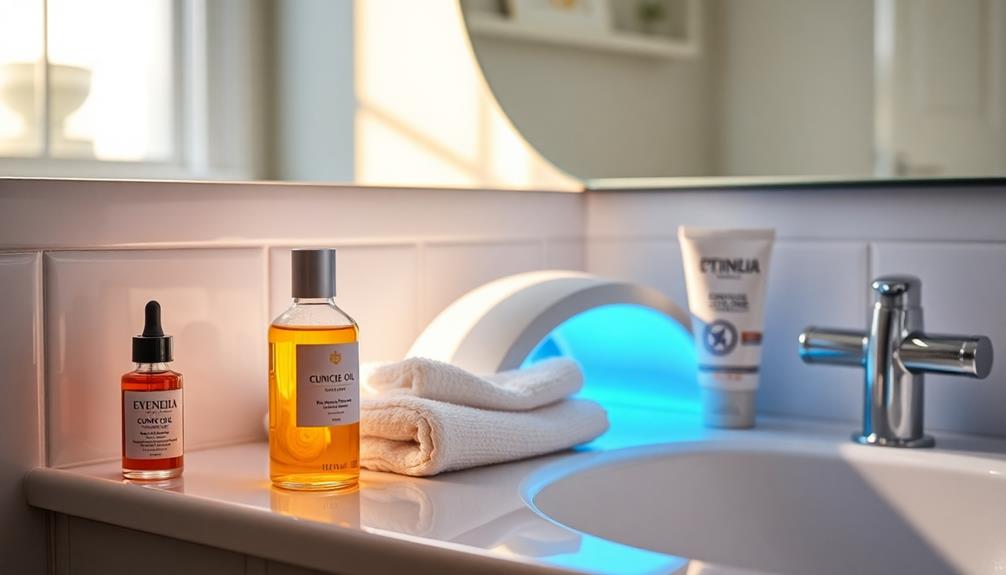
Choosing the Right Products
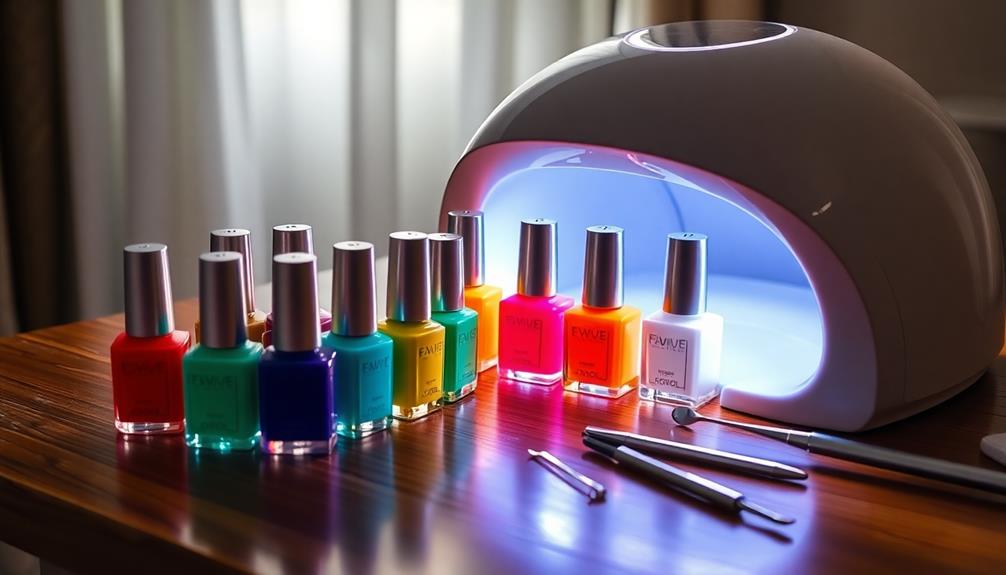
When it comes to choosing the right products for your gel manicure, selecting high-quality options can make all the difference in durability and overall results. Look for high-quality gel products like Kokoist's Megastick Base Coat and Ultra Glossy Non-Wipe Top Coat. These products are known for their long-lasting performance and 5-free ingredients, which promote healthier nails.
Additionally, keeping your nails well-hydrated is essential for maintaining their strength and preventing breakage, as effective hydration techniques can enhance the overall health of your nails.
Be cautious when purchasing gel products; avoid unreliable sources like Amazon, as they may not guarantee the quality and effectiveness you need. Consider your natural nail type when selecting products, since not all gels or acrylics suit everyone. Tailoring your choice can lead to better results.
Incorporating builder gels, such as NTxKokoist Builder Base Gels, can create a strong structure and apex for your gel nails, enhancing both longevity and strength.
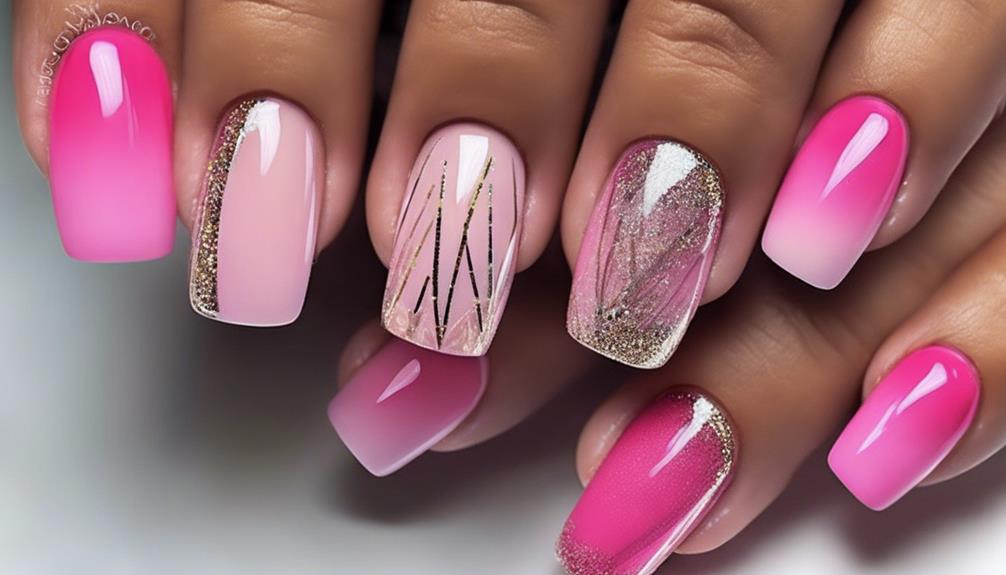
Always remember that proper product application is key; capping the edges with each layer prevents lifting and guarantees your manicure lasts for three or more weeks. By choosing the right nail products and applying them correctly, you can achieve a stunning gel manicure that stands the test of time.
Application Methods for Gel Polish
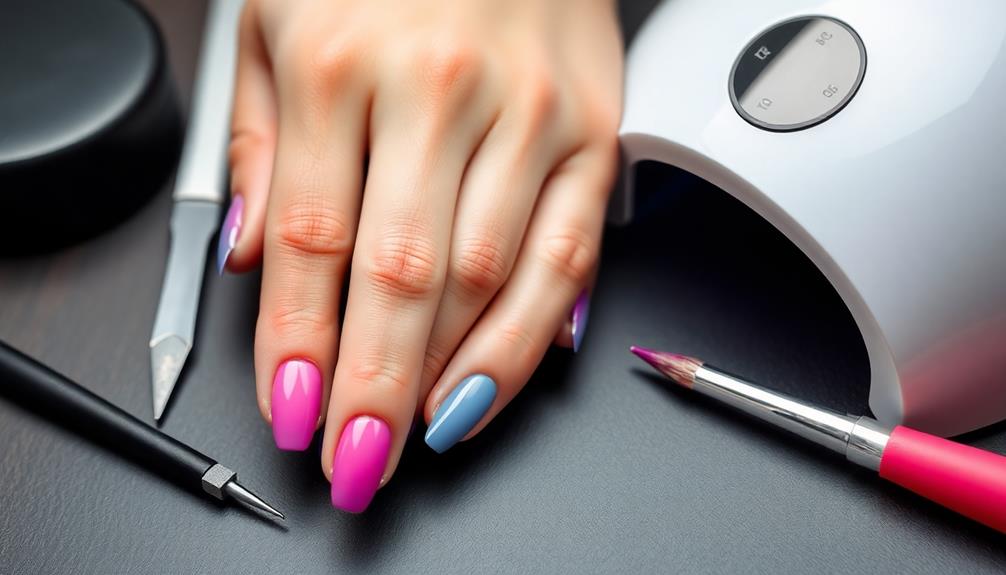
To achieve a long-lasting gel manicure, start with proper nail preparation techniques.
Make sure your nails are smooth and free of dust or oils before applying the polish. Exfoliating the nail surface can also be beneficial, as it helps in creating a better bond for the gel polish and enhances durability, similar to how glycolic acid can improve skin texture.
Then, apply thin layers of gel for ideal curing and durability.
Proper Nail Preparation Techniques
A thorough nail preparation is vital for achieving a long-lasting gel manicure. Start by pushing back cuticles gently to expose more of the nail surface.
Next, buffing the nail surface creates a rough texture that enhances gel adhesion, reducing the risk of lifting. Make certain to cleanse and dehydrate your nails thoroughly with alcohol; this guarantees you have a clean canvas for gel application, removing any oils and debris.
For added benefits, consider incorporating essential oils like clove oil for their analgesic properties, which can help soothe any discomfort during the preparation process.
Before applying your base coat, use a nail primer, especially if you have oily nail beds. This step improves adhesion and further minimizes the chance of lifting.
When you begin applying the gel polish, remember to use thin layers. Curing each layer completely before applying the next is fundamental; thick applications can lead to chipping and lifting.
Don't forget to cap the tips of your nails with each polish layer. This technique protects the edges and helps maintain the integrity of your manicure.
Thin Layer Application
Applying gel polish in thin layers is essential for achieving a durable manicure. When you apply gel, make sure each layer is thin and even to promote proper curing and minimize the risk of lifting, chipping, and peeling. Thicker layers can lead to brittleness, so avoid over-bulking.
Each layer should be cured completely under the recommended light—typically 30 seconds for LED lamps and 130 seconds for UV lamps. For an extra boost, consider enjoying a cup of espresso while you work on your nails to keep your energy up and focused, as caffeine content in espresso can help enhance your concentration.
As you apply gel, remember to seal the free edge of your nails with each layer. This capping technique creates a protective barrier that helps prevent chips and wear, guaranteeing your gel manicure lasts longer.
Aim for uniform coverage across the nail surface to enhance the overall appearance and achieve a natural look. This can be achieved by using thin coats of nail polish and applying it in smooth, even strokes. Avoiding thick layers and uneven application will result in a more polished and professional finish. For a trendy twist, you can experiment with cool winter nail designs, such as snowflakes or icy blue hues, to add a festive touch to your look.
Essential Curing Practices
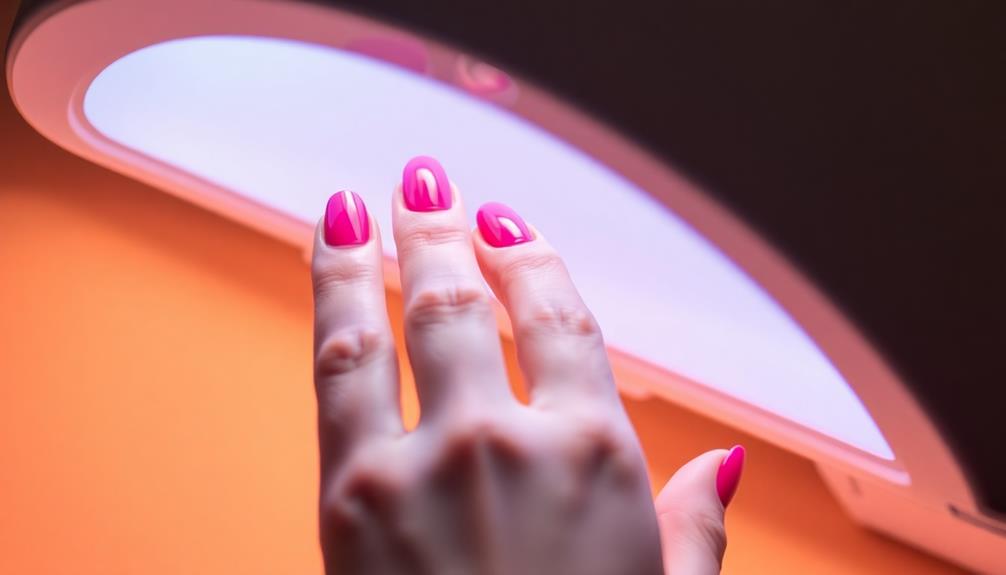
Guaranteeing your gel manicure lasts requires strict adherence to vital curing practices. Always follow the specific curing times for your gel products: typically, that's 30 seconds under LED lamps and 130 seconds under UV lamps. This guarantees proper hardening and helps prevent premature chipping.
Regularly check the wattage of your UV lamp; it should be at least 36 watts, while LED lamps need a minimum of 18 watts for ideal curing results. Additionally, maintaining a clean workspace and guaranteeing your gel tools are sanitized can further enhance the quality of your manicure and prevent any contamination during the application process, which is essential for a flawless finish.
Regular cleaning is fundamental for ideal performance of air purifiers, just as it's for your manicure tools.
Avoid curing your gel polish in direct sunlight, as this can interfere with the curing process and reduce your manicure's longevity. It's also essential to cure each layer completely before applying the next; insufficient curing can lead to cracking and lifting of the polish.
After applying your color, using a no-wipe top coat is vital. This seals in the gel, protecting against chipping and giving you a glossy, durable finish.
Post-Application Care Tips
After you've perfected your gel manicure with proper curing, taking care of your nails post-application is essential to making it last. Start by applying cuticle oil daily to keep your nails and cuticles hydrated. This helps prevent chipping and maintains the integrity of your gel manicure.
To enhance shine and provide extra protection, reapply a thin layer of clear top coat every few days. Additionally, using best oils for hair growth can promote overall nail health and strength, contributing to a longer-lasting manicure.
Make certain to avoid using your nails as tools. Instead, opt for the right tools to prevent unnecessary stress that can lead to chipping. It's also vital to limit exposure to harsh chemicals; wearing gloves during cleaning tasks will help protect your manicure from weakening and premature lifting.
Consider scheduling regular touch-ups every 2-3 weeks to maintain the appearance of your manicure. This way, you can address any signs of wear before they turn into more significant issues.
Troubleshooting Common Issues
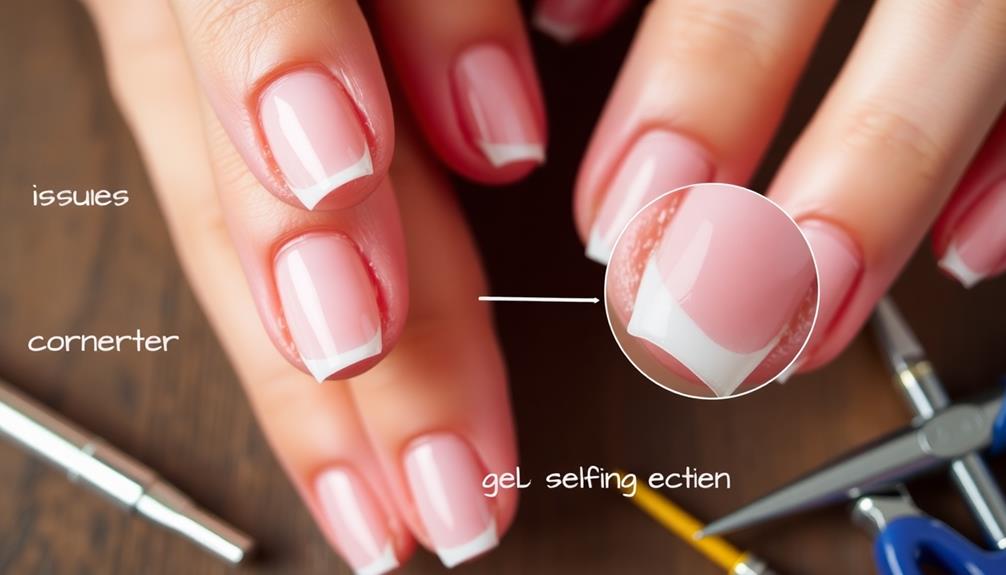
Even the best gel manicures can face some common issues, but addressing them quickly can keep your nails looking pristine. One major problem to watch for is lifting, which often occurs due to neglecting proper cuticle care during preparation.
Make sure to push back and tidy up your cuticles before your gel application. This simple step can help your manicure last longer. Additionally, maintaining the health of your nails is essential, as weakened nails may lead to premature chipping or lifting.
Regularly checking for signs of damage and ensuring your nails are properly cared for can enhance longevity, similar to how routine health checks for signs of illness are recommended for pet care.
Chipping is another concern. To prevent this, always apply thin layers of gel polish; thicker layers can lead to breakage.
After your manicure, monitor your nails closely for any signs of lifting or chipping. If you notice these issues, don't hesitate to reapply gel polish right away, as waiting can result in further damage to your nail plate.
Safe Removal Techniques
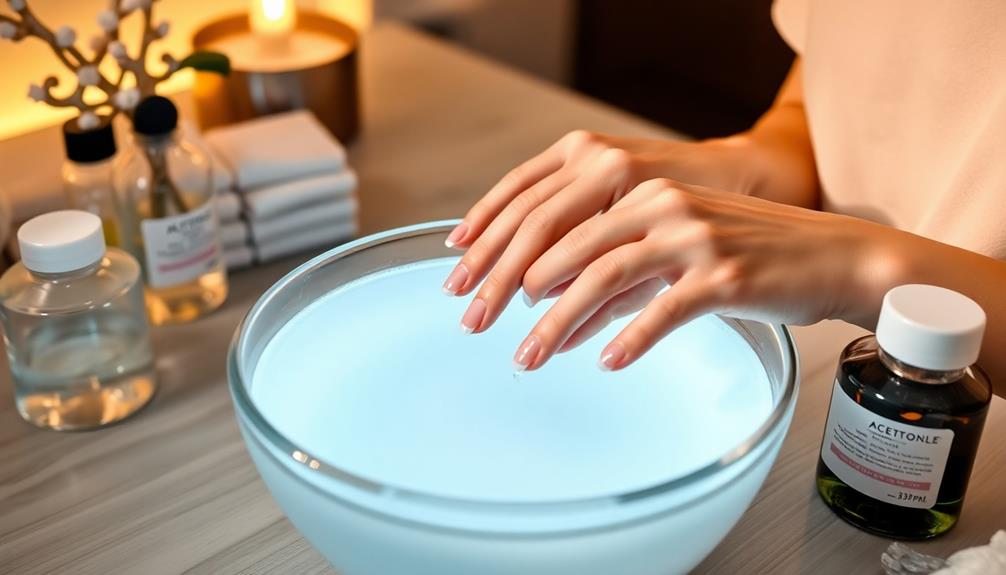
The key to a successful gel manicure experience lies not just in application but also in safe removal techniques. Start by gently buffing the nail surface to remove the top layer of the gel, which helps the acetone penetrate more effectively.
Additionally, consider using an air purifier with HEPA filtration to reduce airborne allergens and maintain a clean environment, especially if you have sensitivities during your manicure process. Soak a cotton ball in acetone, place it on your nail, and wrap each finger with foil. This creates a warm environment that enhances acetone's effectiveness.
Allow your wrapped fingers to sit for 10 to 15 minutes. During this time, the gel will loosen, making it easier to remove. Use a cuticle pusher or orangewood stick to gently push the gel off your nail. Remember, avoid using excessive force to prevent damage to your natural nail. If the gel doesn't slide off easily, re-wrap and soak for a few more minutes.
After removal, cleanse your nails with alcohol to eliminate any residue. Finally, don't forget to apply cuticle oil to nourish and hydrate your nails and the surrounding skin.
Following these safe removal techniques guarantees your nails stay healthy and ready for your next gel manicure.
Maintaining Nail Health
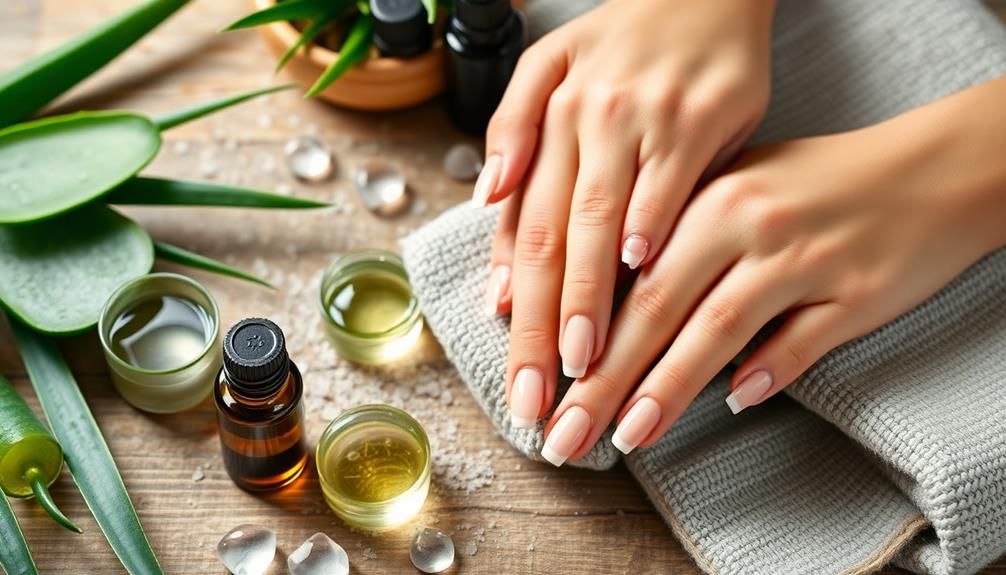
Once you've safely removed your gel polish, maintaining nail health becomes a priority to secure your next manicure lasts longer.
Daily application of cuticle oil is essential for keeping your nails nourished and hydrated, similar to how vital oils like lavender can enhance relaxation and well-being vital oils benefits. This simple step helps prevent chipping and improves gel polish longevity.
Remember, properly hydrated nails and cuticles greatly reduce brittleness, allowing your manicure to last longer.
Regularly scheduling professional maintenance at your salon is also important. This can help prevent issues like lifting and peeling, safeguarding the integrity of your gel polish.
Don't underestimate the power of professional care in your nail routine.
Additionally, be mindful of what you expose your nails to. Avoiding harsh chemicals and using rubber gloves during cleaning tasks can protect your gel from weakening, ultimately prolonging its lifespan.
Keeping your nails moisturized not only contributes to better gel adhesion but also guarantees your manicure can last 3+ weeks without damage.
Incorporate these nail care tips into your routine to maintain ideal nail health and enjoy longer-lasting gel manicures!
Frequently Asked Questions
How Do You Make Gel Nails Last 3 Weeks?
To make your gel nails last three weeks, prep your nails properly, apply thin layers of polish, cure each layer thoroughly, and use quality products. Daily cuticle oil keeps them nourished and helps prevent chipping.
What Is the Best Manicure to Last 3 Weeks?
Imagine vibrant nails that shine like glass. For a manicure lasting three weeks, gel polish is your best bet. It's durable and chip-resistant when applied right, keeping your hands looking fabulous and fresh longer.
Why Won't My Gel Tips Stay On?
If your gel tips aren't staying on, check your cuticle care, use a nail primer for better adhesion, apply thin layers of polish, guarantee your UV lamp's working, and avoid prolonged water exposure right after application.
What Happens to Gel Nails After 3 Weeks?
Imagine a garden blooming beautifully, yet after three weeks, your gel nails might reveal signs of growth, chipping, or lifting. They can lose their luster, reminding you to nurture them for lasting beauty.
Conclusion
By following these expert tips, you can easily make your gel manicure last over three weeks! Did you know that a well-applied gel manicure can resist chips and wear for up to 21 days? With the right preparation, products, and care, you'll enjoy beautiful nails for longer. Remember, it's all about technique and maintenance. So, get ready to flaunt those fabulous nails and impress everyone around you with your long-lasting manicure!