You're enthusiastic to explore the world of acrylic nail art, and we're thrilled to get you started! Begin with simple stamping nail art designs or classic French tip acrylics, which are perfect for beginners. Try a yellow ombre nail design tutorial or easy floral nail art designs to add some flair. Remember, practice makes perfect, so don't be afraid to experiment and learn from your mistakes. With patience and persistence, you'll be creating stunning acrylic nail art in no time. Now, let's take your skills to the next level – you won't believe the amazing designs waiting for you ahead!
Key Takeaways
• Start with simple designs like classic French tips or ombre nail art to build confidence and skills.
• Practice shaping and refining designs to achieve professional-looking results.
• Experiment with colors, shapes, and decorations to create unique and personalized designs.
• Invest in high-quality materials and learn proper techniques for acrylic nail art success.
• Begin with basic designs and gradually challenge yourself with more complex designs to improve skills.

HBlife Makeup Organizer with Brush Holder for Vanity, Large Plastic Bathroom Countertop Organizer Skin Care Storage, Easy to Store Lipsticks, Nail Polishes, Perfumes, Eyeshadow Palettes, All White
- Large Capacity: 13.58x6.89x9.76 inches with multiple compartments
- Organized Storage: Dedicated slots for brushes, pens, and tubes
- Versatile Use: Ideal for vanity, bathroom, and office
As an affiliate, we earn on qualifying purchases.
Simple Stamping Nail Art Designs
With a stamping kit in hand, you can easily create intricate, salon-quality designs on your nails at home. Beginner-friendly stamping kits usually come with plates featuring various designs like flowers, geometric patterns, and animals, making it easy to get started.
The process is surprisingly simple: apply nail polish to a design on the plate, scrape off the excess, and then transfer the design to your nail. This technique allows you to achieve quick and easy nail art without needing advanced painting skills.
The best part? You can experiment with different colors and designs to create unique and personalized nail art using stamping techniques. Try pairing bold colors with delicate patterns or mixing and matching different designs to create a look that's all your own.
With stamping, the possibilities are endless, and you'll be amazed at how easily you can create salon-quality nail art in the comfort of your own home. So go ahead, get creative, and show off your new nail art skills!
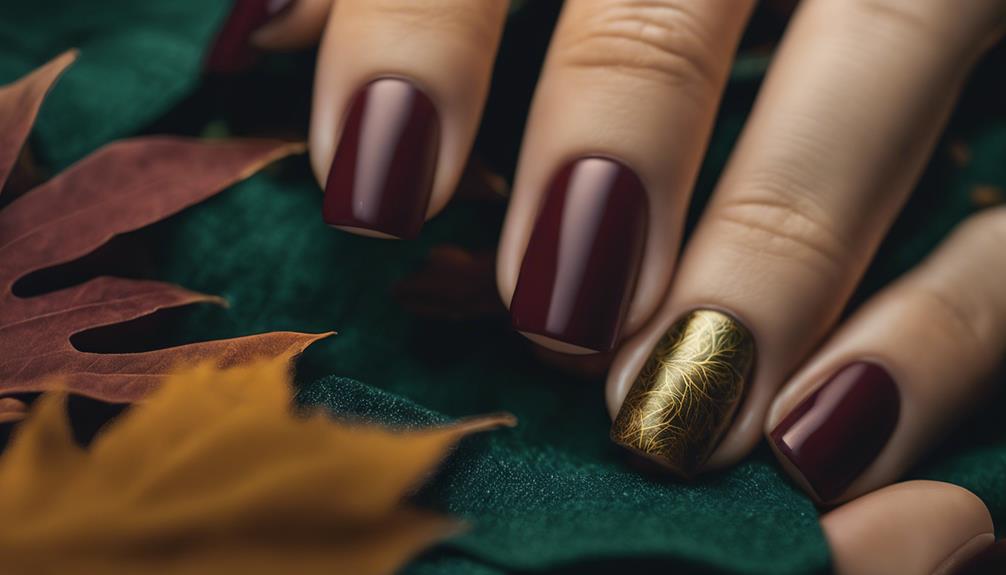
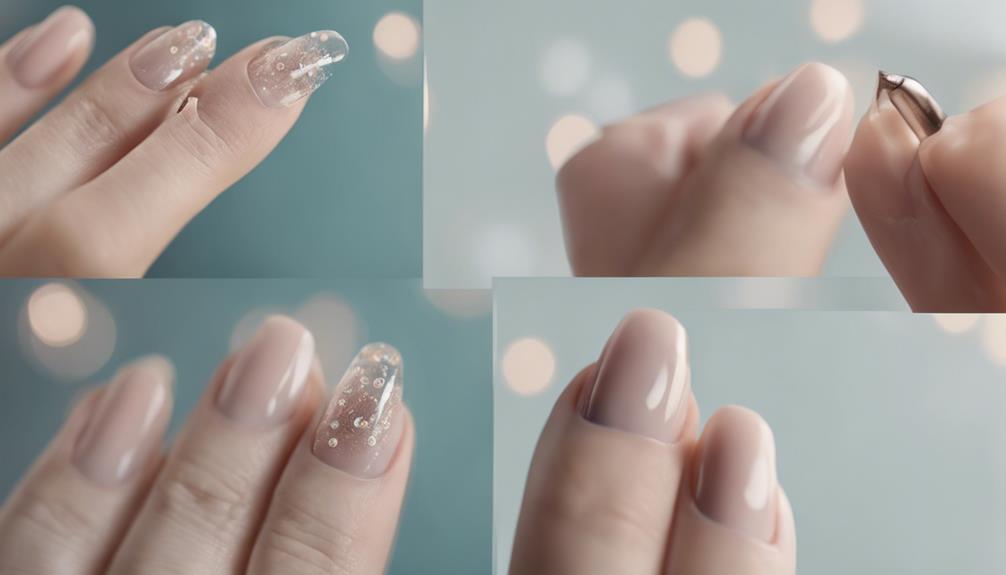
Classic French Tip Acrylics
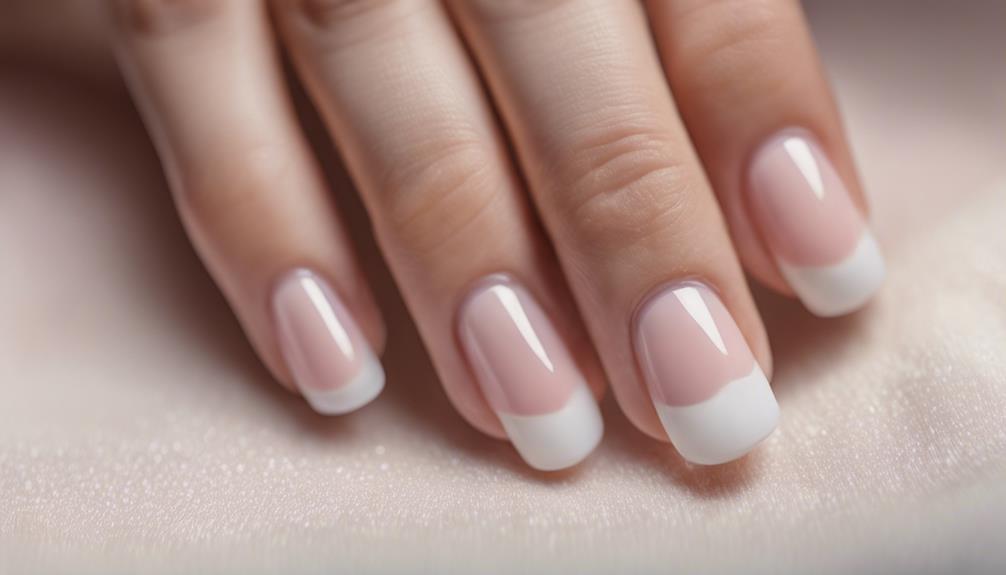
As you delve into the realm of Classic French Tip Acrylics, you'll soon realize that mastering the perfect tip application technique is crucial for achieving a flawless look.
You'll need to ponder the shape of the nail, as it greatly impacts the overall aesthetic of the design.
Let's explore these essential points together, and you'll be well on your way to creating stunning French tip acrylics that turn heads!
Tip Application Techniques
You'll typically start by applying a thin layer of white acrylic to the free edge of the nail, creating a crisp, smooth curve that defines the classic French tip look. To achieve a polished finish, use a thin brush to create a crisp smile line when applying the white acrylic. Make sure to apply the white acrylic evenly and smoothly, as this will make all the difference in achieving a professional French tip look.
Feel free to customize the French tip design by adjusting the width and shape of the white acrylic on the nail. You can make it bold and dramatic or soft and subtle, depending on your personal style.
Once you've achieved the desired look, seal it with a clear acrylic overlay for added strength and durability. This will help your French tip design last longer and stay looking fabulous.
With these simple steps, you'll be on your way to creating stunning French tip acrylics that will turn heads!
Nail Shape Considerations
When creating a classic French tip acrylic design, choose a nail shape that complements the straight-edge tip, such as a square or squoval shape, to achieve a balanced and elegant look. A square or squoval shape will create a harmonious contrast with the crisp, straight edge of the French tip, resulting in a sophisticated appearance.
Avoid round or oval shapes, as they may clash with the sharp lines of the tip. By selecting the right nail shape, you'll set the stage for a timeless and elegant look that exudes sophistication.
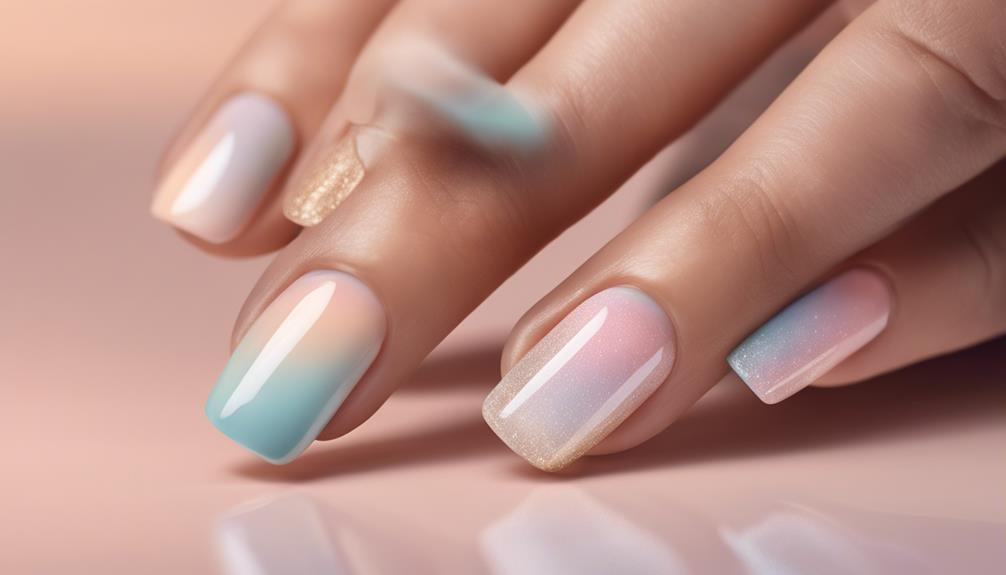
Yellow Ombre Nail Design Tutorial
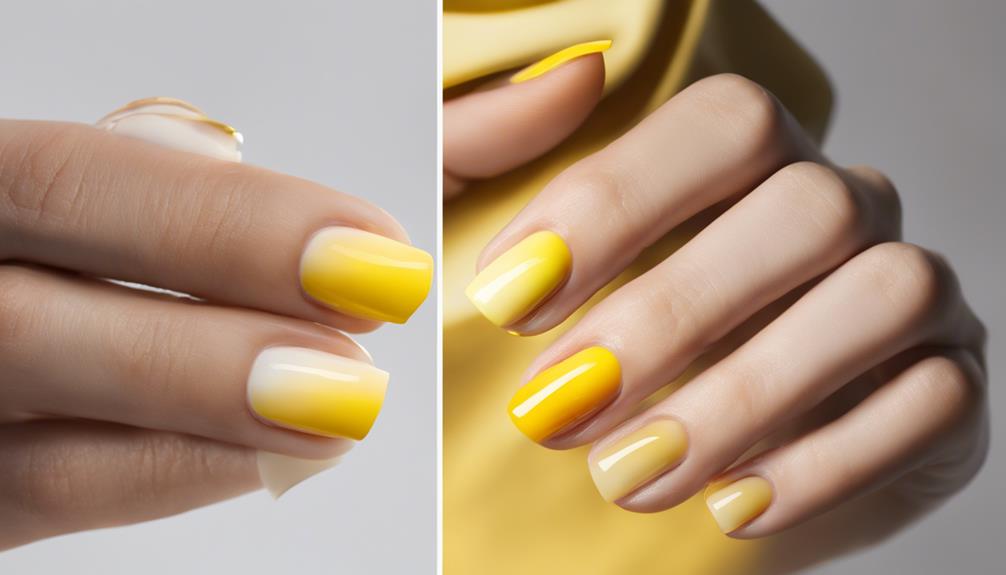
Frequently, beginners find it challenging to achieve a seamless ombre effect, but with the right tools and techniques, you can master this stunning yellow ombre nail design.
To get started, protect your natural nails with a clear acrylic base coat. This will provide a smooth canvas for your design.
Next, use a Kalinsky brush to blend yellow nail polish, creating a smooth and marbled ombre effect. Don't be afraid to experiment with different shades of yellow to achieve the desired gradient.
Once you're happy with the design, encapsulate it with clear acrylic for added strength and durability. To shape your nails, use an 80 grit file and an e-file at a speed of 10-11,000 RPM for precision.
Finally, consider adding some extra flair with floral decorations using rhinestone glue for a unique and statement look.
With these steps, you'll be on your way to creating a show-stopping yellow ombre nail design that's sure to turn heads.
Easy Floral Nail Art Designs
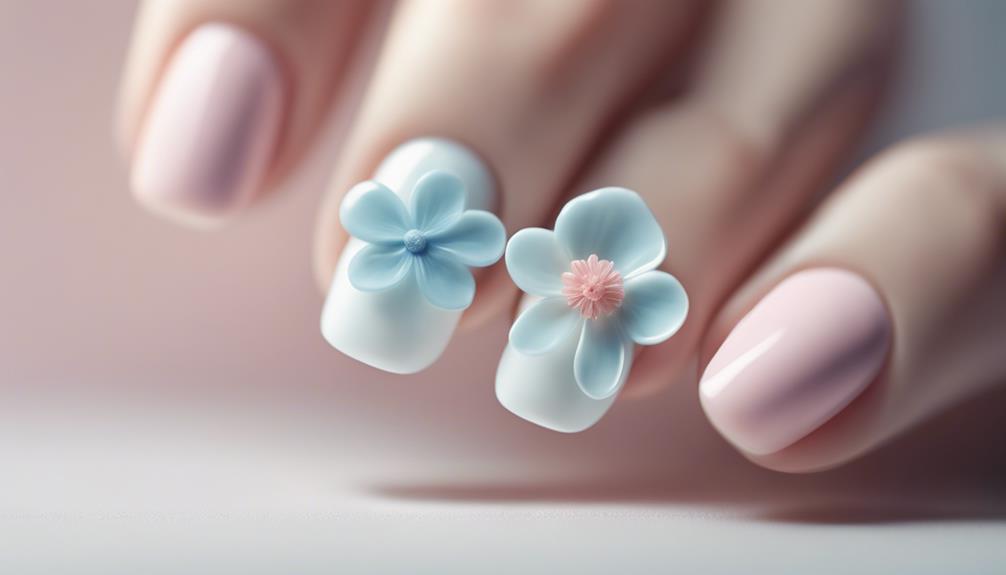
As you explore the world of easy floral nail art designs, you'll soon discover that it's all about adding those subtle yet stunning touches to your nails.
You can start by creating simple flower accents or delicate petal designs that will instantly elevate your nail game. Once you’ve mastered the basics, you can then move on to more intricate nail art designs such as 3D floral embellishments or abstract watercolor designs. With a bit of practice and creativity, you can transform your nails into a beautiful canvas for all kinds of stunning nail art designs.
With a few easy techniques and tools, you'll be on your way to creating beautiful, blooming masterpieces on your nails!
Simple Flower Accents
Get creative with simple flower accents, a great way to add a touch of elegance to your acrylic nails without needing to be a nail art expert.
You can achieve beautiful floral nail art designs using simple techniques like dotting tools or nail art brushes. Start by painting a base color on your nails, and then add flower accents using different colors of nail polish. Use a small brush to create delicate flower petals and a dotting tool to make the center of the flowers.
Don't be afraid to experiment with different flower sizes and placements to create a unique and eye-catching design. You can add a few small flowers scattered across your nail or create a bold statement with larger blooms.
Once you're happy with your design, finish it off with a top coat to seal in the design and add shine to your floral nail art. With these simple steps, you'll be rocking elegant flower accents in no time!
Delicate Petal Designs
You can take your flower accents to the next level by exploring delicate petal designs, which involve creating intricate floral patterns using acrylic nail art techniques. By layering different shades of acrylic powders, you can achieve a realistic petal effect that's simply stunning. As a beginner, you can start with simple flower designs and gradually progress to more complex patterns. The key to creating precise petal designs is to use fine detail brushes and tools, which will help you achieve the delicate, intricate look you're going for.
Delicate petal designs add a touch of elegance and femininity to your nails, making them perfect for various occasions. Whether you're heading to a wedding, a dinner party, or just want to elevate your everyday look, these designs are sure to impress.
With a little practice and patience, you can master the art of delicate petal designs and take your nail game to the next level. So, get creative, experiment with different colors and patterns, and watch your nails come alive with beauty and sophistication!
Beginner-Friendly Nail Art Techniques
By mastering basic acrylic application techniques, you'll set the stage for more intricate nail art designs and create a flawless canvas for your beginner-friendly nail art techniques. Now, it's time to take your skills to the next level with some easy and impressive techniques.
Here are some essential techniques to get you started:
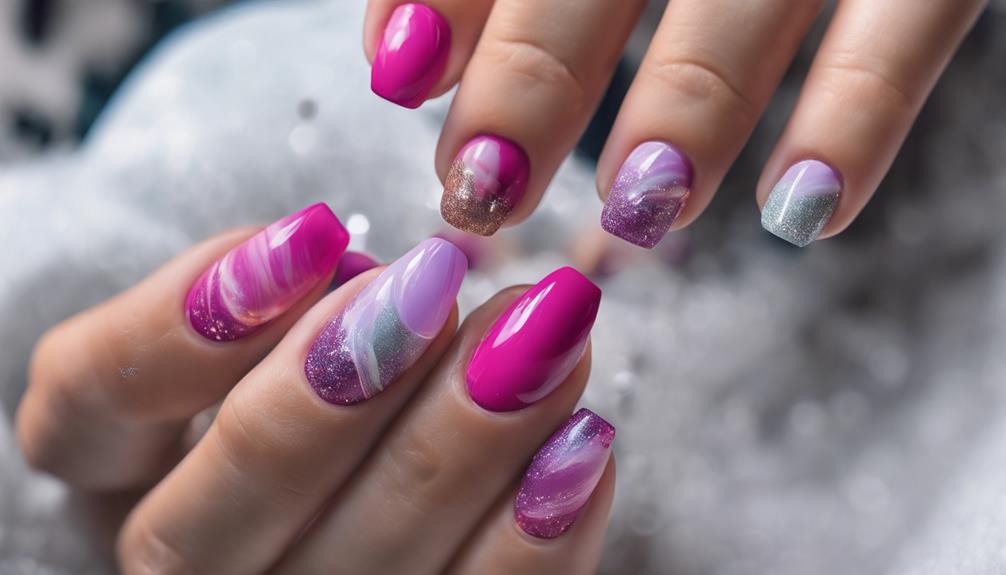
- Experiment with ombre and marbling: These simple yet stunning designs will add a touch of elegance to your acrylic nails.
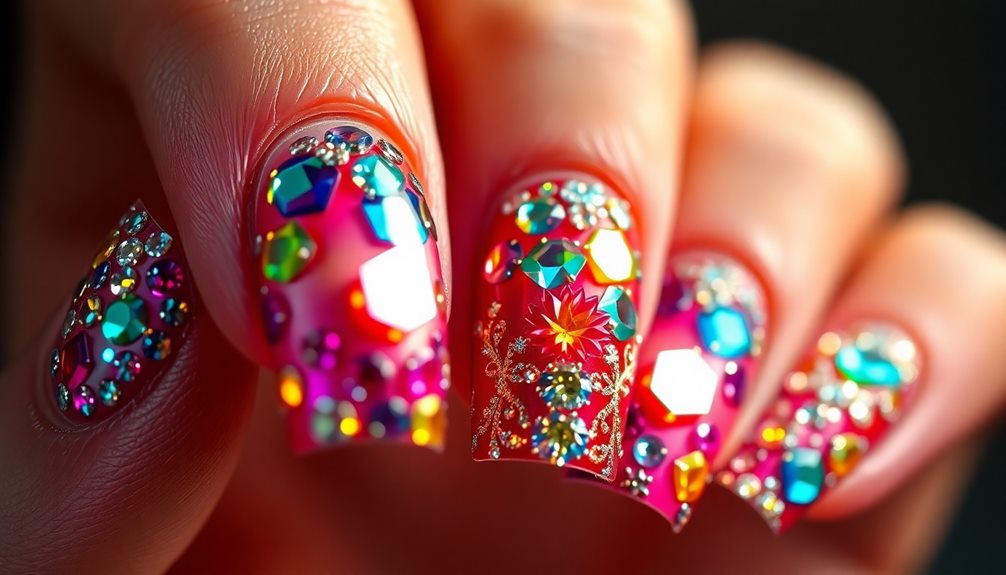
- Incorporate embellishments: Add some sparkle with rhinestones or glitter to give your nail art a pop of personality.
- Master the art of blending: Seamless blending is key to a flawless finish. Practice makes perfect, so don't be afraid to experiment!
- Follow tutorials and find inspiration: Seek out step-by-step guides and nail artists for inspiration to help you improve your skills and stay motivated.
Quick and Easy Acrylic Designs
To create stunning yet effortless acrylic nail designs, start with a clear acrylic base to safeguard and strengthen your natural nails before adding a pop of color or design. This will guarantee a long-lasting and durable finish.
Next, use simple yet effective techniques like ombre or marbling with acrylic paints to add some visual interest to your nails. You can experiment with different colors, shapes, and decorations to create unique designs that reflect your personality. Remember to encapsulate your designs with clear acrylic to seal and protect them.
As you get more comfortable with acrylic nail art, practice shaping and refining your designs with a high-quality file and e-file for professional results. Don't be afraid to try new things and make mistakes – they're an essential part of the learning process!
The key to mastering quick and easy acrylic designs is to keep it simple, have fun, and be patient with yourself. With a little practice, you'll be creating stunning acrylic nail art in no time!
Frequently Asked Questions
What Are the 5 Basic Nail Designs?
When it comes to nailing the perfect look, you've got options!
You're probably wondering what the 5 basic nail designs are, right? Well, let's explore!
You can't go wrong with classic French tips, adding some sparkle with simple glitter accents, or blending hues with ombre nails.
Geometric nail art and floral designs are also great options.
These styles are timeless, trendy, and easy to achieve, giving you a solid foundation to experiment and find your signature look!
What Is the Best Shape for Acrylic Nails for Beginners?
When it comes to acrylic nails, you're probably wondering what shape is best for you as a beginner.
You'll want to opt for a classic square or rounded shape, as they're easier to maintain and less prone to breakage.
These shapes are forgiving and will help you get accustomed to having acrylics without feeling overwhelmed.
Plus, they're perfect for daily tasks and won't cause discomfort.
How to Design Nails for Beginners?
Did you know that 75% of women consider their nails a reflection of their personality?
Now, let's get creative! When designing nails for beginners, start with a clear acrylic base coat to protect your natural nails.
Use a Kalinsky brush to create simple, yet stunning designs like a marbled ombre effect.
Don't forget to add a clear acrylic topcoat for durability.
Finally, refine your nail shape with an 80 grit file and e-file for a flawless finish.
You're just a few steps away from nail art mastery!
What Are the Easiest Acrylic Nails to Type With?
You're wondering what the easiest acrylic nails to type with are? Well, you're in luck! As you'll soon discover, shorter, rounded nails are your best bet.
Opt for a length of around 0.5-1 inch to minimize interference with keys and reduce typing errors. A square or squoval shape provides a wider surface area, making typing a breeze.
Say goodbye to discomfort and difficulty with these easy-to-type-with acrylic nails!
Conclusion
You've made it to the finish line! Mastering easy acrylic nail designs is like riding a bike – once you get the hang of it, you'll be gliding through nail art like a pro!
With these beginner-friendly designs and techniques, you'll be creating stunning looks in no time. Remember, practice makes perfect, so don't be afraid to experiment and try new things.
Happy nail-ing, and get ready to show off your amazing creations!