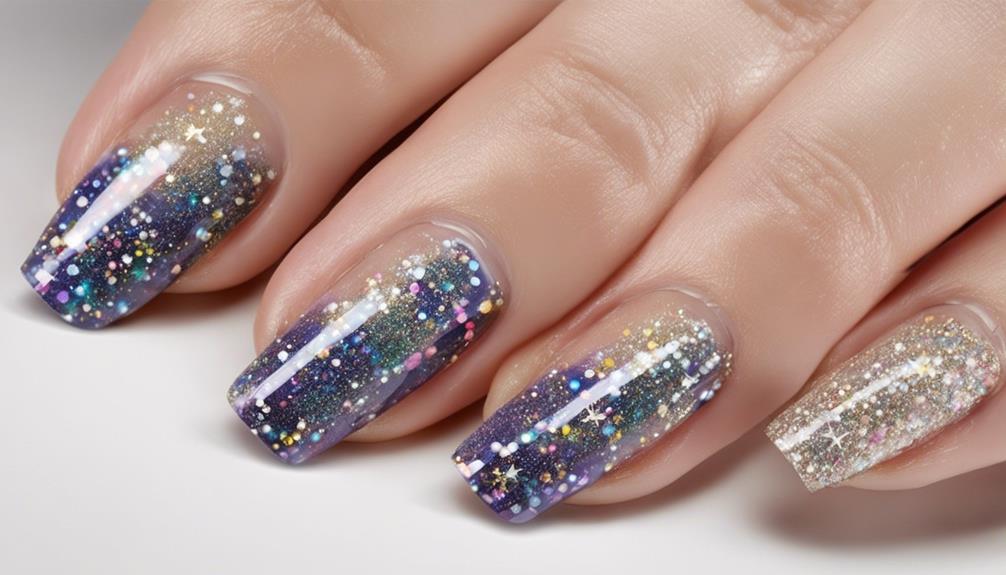
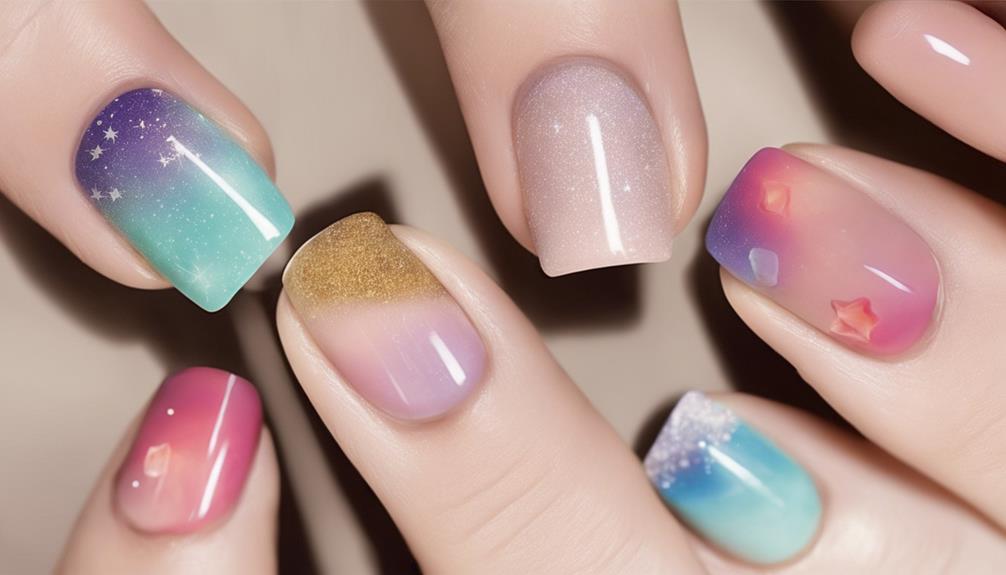
Embark on an amazing journey with our detailed guide to perfecting eye-catching Sparkling Star Nail Designs that will enhance your nail art skills. Collect your I to My Sole polish, Matte FX topcoat, Lovey Dovey polish, medium striping brush, and precision brush to get started. Begin by prepping your nails – ensuring they are clean, shaped, and have a base coat applied. Paint two coats of I to My Sole polish and finish with a matte FX topcoat to set the stage for your celestial-inspired creativity.
Incorporate shimmering star designs with Lovey dovey polish using a medium striping brush, and finish it off with Stardust topcoat for some sparkle. Conclude with a final topcoat for extra sparkle and depth, and secure your nail art for a dazzling finish.
Key Takeaways
- Prepare nails with base coat and matte polish for star designs.
- Craft shimmering stars using Lovey dovey polish and striping brush.
- Add dimension with Stardust topcoat for a sparkling finish.
- Seal and protect nail art with final layer of topcoat.
- Enhance overall look with shimmering effect and engagement tips.
Tools and Materials Needed
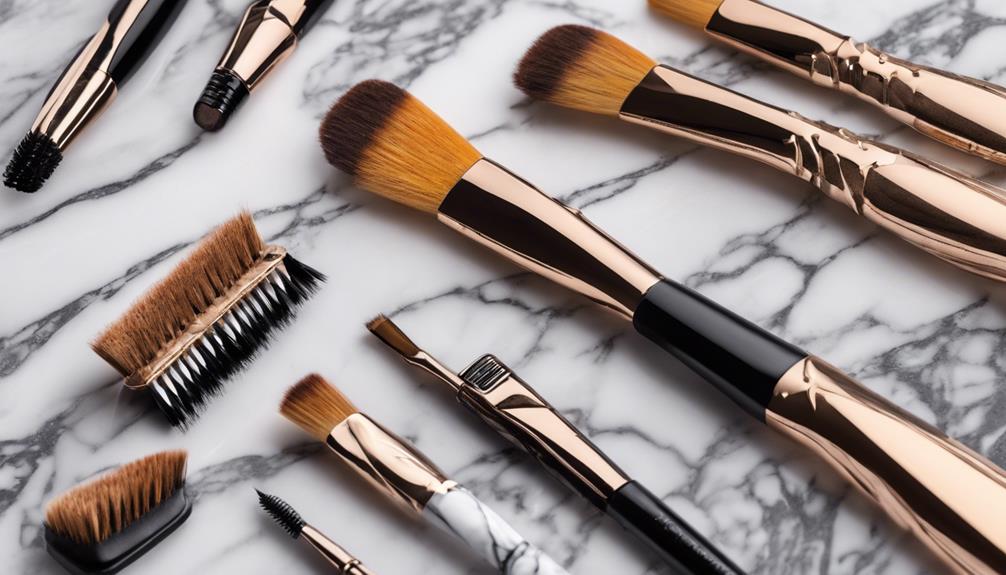
Gathering our essential tools and materials is the first step towards creating dazzling Sparkling Star nail designs that will surely make a statement. For this intricate nail art, we'll need I to my sole polish, matte FX topcoat, Lovey dovey polish, a medium striping brush, and a precision brush. These tools are vital in achieving the precision required for the perfect star design. The precision brush will be our magic wand, allowing us to create fine lines and intricate details that give our nails a hand-painted look.
In addition to the tools, we'll also require specific materials for the star nail art design. A nail stick will come in handy for drawing the precise lines of the star, while the Stardust topcoat will add a touch of sparkle and shine. To confirm our design lasts, a curing lamp will be essential for setting the nail art in place. By having these tools and materials at our disposal, we're ready to set out on our journey to create stunning Sparkling Star nail designs that exude elegance and charm.
Prepping Your Nails
After confirming our nails are clean and free of any oils or residue, the next step in our journey to stunning Sparkling Star nail designs is prepping them meticulously. Taking just a little bit of extra time to make sure our nails are in prime condition will truly make a difference in the final look.
First, gently push back the cuticles using a cuticle pusher or a wooden stick. This step not only helps in creating a neat appearance but also ensures that the nail polish adheres smoothly to the nail bed. Trim or file the nails to the desired shape and length, making sure they're all even. This step sets the foundation for a polished and professional finish.
Next, apply a base coat to protect and strengthen the nails. This step may seem small, but it makes a world of difference in the longevity of your manicure. Using a nail buffer, gently smooth the surface of the nails to create a perfect canvas for your nail art. Remember to wait until the nails are completely dry before moving on to the next step to prevent any smudging or chipping.
Painting the Base Coat
Shimmering like the night sky, our journey to creating mesmerizing Sparkling Star nail designs begins with applying two coats of I to My Sole polish as the base color. This stunning shade sets the stage for the celestial artistry that will adorn our nails. The smooth application of the base color is essential for achieving a flawless canvas that will make the star designs pop.
Once the base color is dry, we apply a matte FX topcoat to add a subtle shine that mimics the twinkling of stars in the night sky. This topcoat not only enhances the beauty of the base color but also provides a smooth surface for the star designs to come.
With our nails prepped and the base coat beautifully applied, we're now ready to move on to the next step of adding the dazzling Sparkling Star designs that will truly make our nails shine like the brightest stars in the sky.
Adding Sparkling Star Designs
Let's awaken our creativity by carefully crafting shimmering star designs on our nails using a medium striping brush and Lovey dovey polish. To start, dip the brush into the Lovey dovey polish and draw a five-pointed star on the nail. Consider adding multiple stars or extending the design off the edge for a hand-painted look that pops. Apply multiple coats of polish to achieve the desired opacity, then top it off with a Stardust topcoat for added sparkle and dimension.
If mistakes happen along the way, don't fret. Simply touch them up with a precision brush, ensuring straight lines from one point to another for a polished finish. Remember to cure each layer of polish for the specified time to lock in the design. By following these steps, you'll have nails that shine like the night sky.
Let your inner artist shine through as you create these sparkling star designs. It's all about having fun and expressing yourself through your nail art.
Final Top Coat and Finish
To accomplish a flawless and dazzling finish, the Stardust topcoat is the essential final touch for your sparkling star nail design.
- Administer Stardust topcoat for added sparkle and dimension to the star nail design.
- Confirm each layer of topcoat is cured for the specified time for a long-lasting finish.
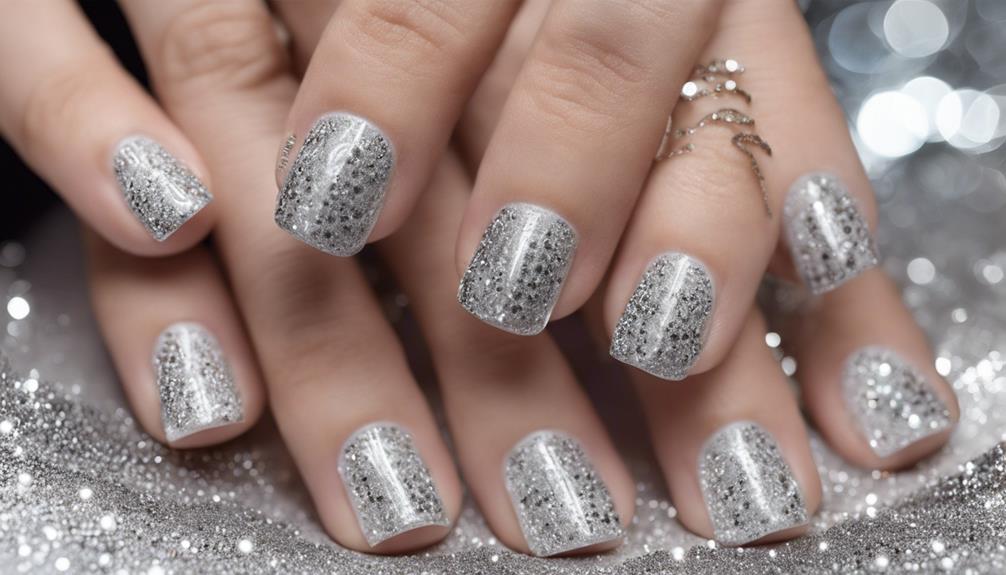
- Stardust topcoat enhances the overall look of the design, creating a shimmering effect.
- The final topcoat seals and safeguards the nail art, keeping it looking fresh and vibrant.
- Encourage viewers to engage with the content by liking and subscribing for more nail art tutorials.
With the Stardust topcoat, your sparkling star nail design will truly shine. Each layer adds depth and brilliance, ensuring your stars twinkle with every movement. By following the proper curing times, your manicure will last longer, maintaining its beauty for days. The shimmering effect created by the topcoat will captivate onlookers and draw attention to your exquisite nail art. Protect your masterpiece with the final topcoat, sealing in the magic and vibrancy of your design. Don't forget to show your support by liking and subscribing for more dazzling nail art inspiration!
Frequently Asked Questions
How to Make a Star Nail Design?
We love creating star nail designs!
To make a star nail design, start by drawing two lines down, an upside-down V, and horizontal lines to form the star shape. Fill in the star with your chosen nail polish, redefine the outline for sharp points, and touch up any mistakes with a precision brush.
Consider adding extra stars or extending the design for a unique touch.
Top it off with a Stardust topcoat for that extra sparkle!
How Do You Design Nails Step by Step?
When we design nails step by step, we start with prepping the nail, applying base color, and adding a topcoat for shine.
Using a striping brush, we carefully craft intricate designs like stars. Filling in the design with polish and perfecting its shape is essential.
Adding extra details and sparkle enhances the overall look. Don't forget to cure each layer for lasting beauty.
Let's create stunning nail art together!
How to Do Starburst Nails?
We love crafting starburst nails!
It's all about beginning with a striking star shape and then expanding it outwards with bold lines and vibrant colors.
Accuracy is crucial to guarantee each burst radiates energy.
Don't forget to incorporate layers for depth and shimmer for that additional flair.
With practice and patience, you'll perfect this dynamic nail design that's bound to grab attention!
How Do You Draw Sparkles on Your Nails?
When adding sparkles to our nails, we infuse magic into our look.
With a delicate touch, we use a fine glitter polish or a glitter pen to create tiny shimmering dots.
These sparkles dance and catch the light, enhancing our nails with a touch of glamour.
The process is enchanting, transforming our nails into dazzling works of art that captivate the eye and elevate our style effortlessly.
Can the Step-by-Step Guide for Sparkling Star Nail Designs Be Applied to Medium Nail Designs as Well?
Yes, the step-by-step guide for sparkling star nail designs can absolutely be applied to stunning medium nail designs as well. With a few minor adjustments for size and proportions, the same techniques and principles can be used to create beautiful and eye-catching medium nail designs.
Conclusion
And there you have it, sparkling star nail designs that will surely make your nails shine bright like a star!
Did you ever imagine creating such a dazzling look on your nails? Now with these simple steps, you can achieve the perfect sparkling star design at home.
So why wait? Grab your tools and materials, follow our guide, and let your nails sparkle and shine!