Let’s begin creating beautiful clear coffin nail designs from the beginning. Begin by prepping your nails: gently push back the cuticles, shape your nails into a coffin shape, apply a clear base coat, unleash your creative design ideas, and finish off the look with a sealant top coat. Mastering each step is essential for achieving flawless clear coffin nail art.
There's so much more to uncover in this comprehensive tutorial.
Key Takeaways
- Push back cuticles and sanitize nails for clean canvas.
- Shape nails to coffin style with precise filing angles.
- Apply clear base coat for acrylic adhesion and protection.
- Utilize various nail art techniques for clear design base.
- Seal with top coat for durability and shine, preventing chipping.

HBlife Makeup Organizer with Brush Holder for Vanity, Large Plastic Bathroom Countertop Organizer Skin Care Storage, Easy to Store Lipsticks, Nail Polishes, Perfumes, Eyeshadow Palettes, All White
- Large Capacity: 13.58x6.89x9.76 inches with multiple compartments
- Organized Storage: Dedicated slots for brushes, pens, and tubes
- Versatile Use: Ideal for vanity, bathroom, and office
As an affiliate, we earn on qualifying purchases.
Nail Prep
To start prepping our nails for the Coffin Clear Nail Designs, we begin by pushing back the cuticles and making sure the nail beds are free of any debris. This step is essential in creating a clean canvas for our nail art. After this, we gently use a buffer to eliminate any shine from the natural nails. By doing so, we help the tips adhere better and guarantee a longer-lasting manicure.
Once the nails are prepped, sanitizing both the nails and hands is vital to maintain a hygienic working environment.
When it comes to the nail tips, we carefully trim and shape the natural nails to the desired length and shape before applying the tips. This ensures a perfect foundation for our Coffin Clear Nail Designs. Before attaching the tips, applying a dehydrator or primer to the natural nails is a crucial step. This helps the tips adhere securely and prevents lifting or peeling. Proper nail prep sets the stage for stunning Coffin Clear Nail Designs that will surely grab attention.
Shape and File Nails
After prepping our nails to create a clean canvas for our Coffin Clear Nail Designs, the next step is shaping and filing the nails to achieve the desired coffin shape.
Using a 100/180 grit hand file, gently shape the nails by filing the sides at a 90-degree angle to create a straight edge. It's important to round off the corners of the nail tips to complete the coffin shape. Make sure that the free edge of each nail is filed evenly to maintain symmetry.
Take the time to check the nail shape from various angles to guarantee uniformity and precision. By paying attention to these details during the shaping and filing process, we can lay the foundation for flawless Coffin Clear Nail Designs that will stand out beautifully.
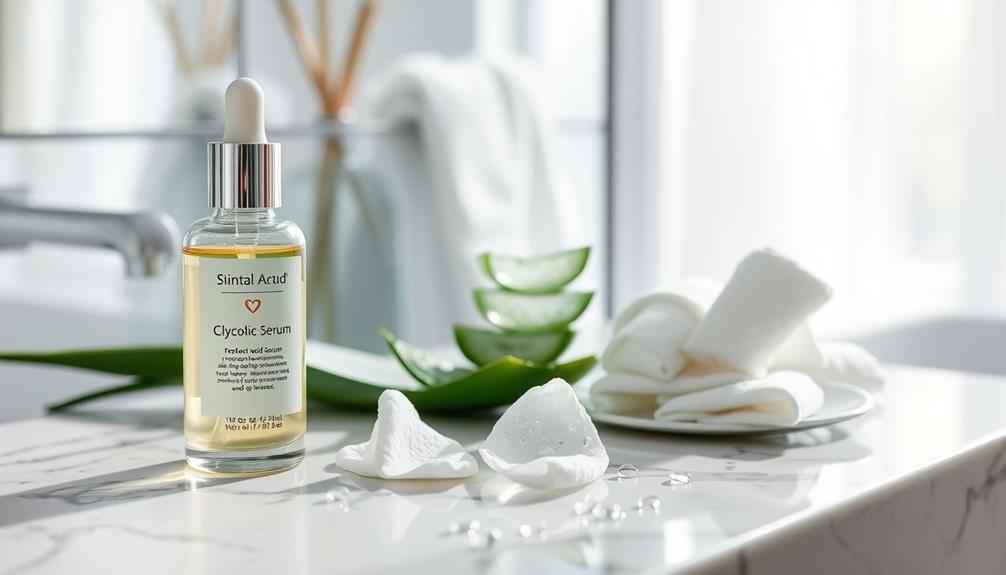
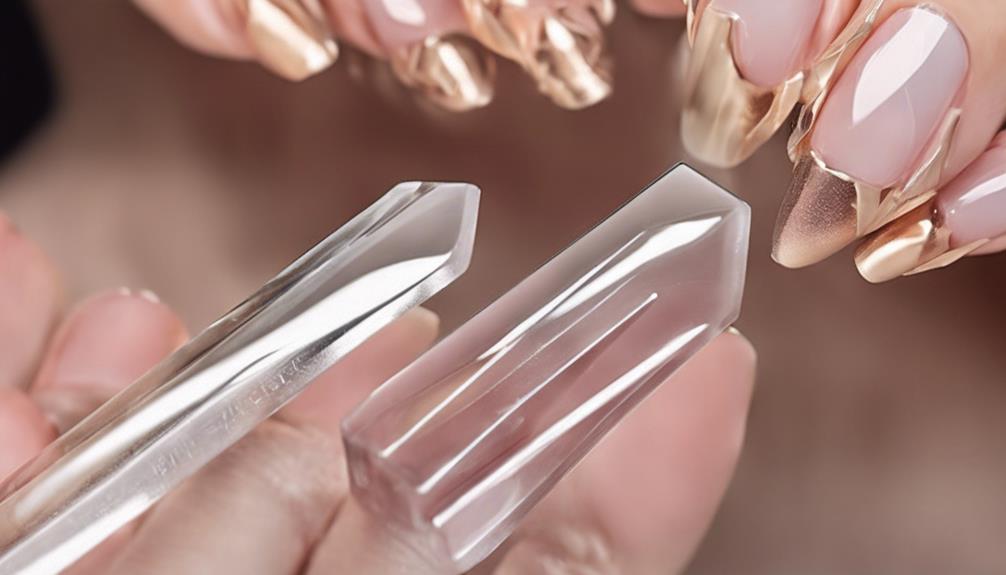
Apply Clear Base Coat
For best results in creating beautiful Coffin Clear Nail Designs, the first step is applying a clear base coat to the prepped nails.
- Enhance Adhesion: The clear base coat improves the adhesion of the acrylic to the nail surface, ensuring a long-lasting manicure.
- Smooth Surface: It creates a smooth canvas for the acrylic application, leading to a flawless finish.
- Drying Time: Allow the clear base coat to dry completely before moving on to the acrylic application to avoid bubbling or smudging.
- Protection: The clear base coat acts as a protective layer for your natural nails, providing a transparent base for the clear acrylic design.
Design With Nail Art
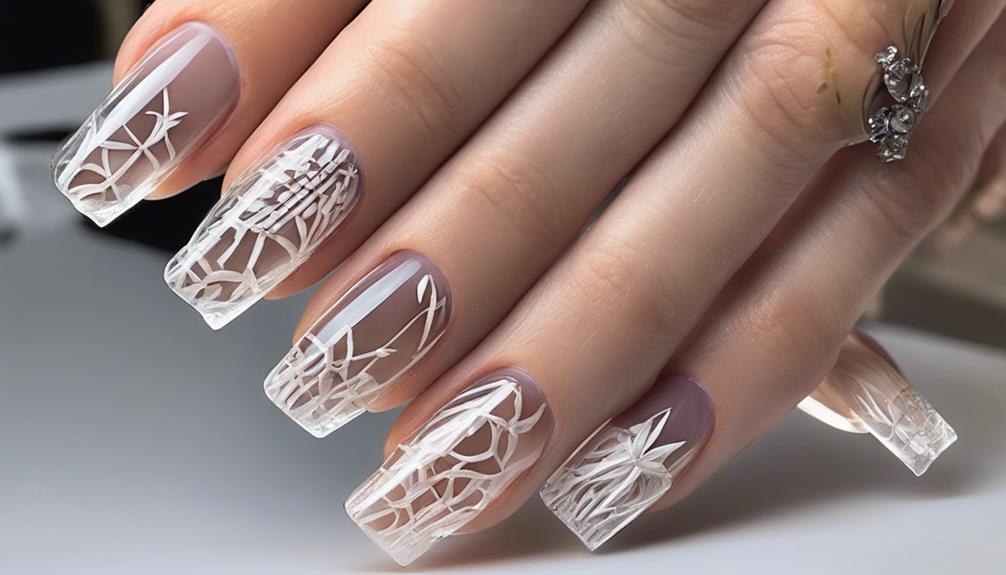
With the clear base coat providing a perfect foundation, let's now explore the endless possibilities of creating stunning designs on clear coffin nails using various nail art techniques. Nail art offers a world of creativity, from hand-painted designs to decals and embellishments. Geometric patterns, floral motifs, ombre effects, and glitter accents can all elevate the look of clear coffin nails. To achieve intricate designs, utilize fine detail brushes, dotting tools, or nail art pens for precision.
Unleash your creativity by experimenting with negative space, French tips, or unique designs that play with the clear base. Layering different elements like foil, studs, or charms can add depth and intrigue to your clear coffin nail art. Whether you prefer a minimalist aesthetic or bold statements, nail art allows for personal expression and customization. Embrace the versatility of clear coffin nails by exploring different techniques and designs to create a truly one-of-a-kind look.
Finish With Top Coat
To enhance the durability and shine of your nail design, a top coat application is essential for sealing and protecting the intricate artwork on your clear coffin nails.
As you reach this final step in your nail design process, consider the following key points:
- Applying a top coat seals and protects the nail design, ensuring it lasts longer.
- The top coat adds a brilliant shine, enhancing the overall look of your manicure.
- Opt for a high-quality top coat to prevent chipping and peeling, maintaining the beauty of your nails.
- Choosing a fast-drying top coat will help you finish your nail design efficiently, saving you time and ensuring a smooth finish.
Frequently Asked Questions
How to Do Coffin Shape Nails Step by Step?
Sure, let's get those coffin shape nails on point!
Start by shaping the nail tip into a tapered square for that sleek coffin look. Use a hand file to refine the edges and ensure straight sides. Focus on symmetry and balance to enhance the overall design.
Double-check the length and shape before applying acrylic for a flawless finish. Perfecting your coffin nails has never been easier!
How Can I Make My Clear Nails Look Good?
To make our clear nails look good, we must focus on the basics: proper prep, smooth acrylic application, and quality products. Attention to cuticle care and ensuring each polish layer dries fully are key steps.
How to Do Glass Nails?
We apply clear acrylic in thin layers to achieve the glass nail effect. Enhancing with glitter or rhinestones adds flair to the translucent look. Glass nails offer versatility in art designs and color choices. They give a sophisticated and modern appearance suitable for any occasion.
With the transparent nature of glass nails, the options for creativity are endless, allowing for stunning and unique nail designs to be showcased.
Is There a Difference Between Coffin and Ballerina Nails?
Absolutely, there's no difference between coffin and ballerina nails! These names are used interchangeably to describe the same nail shape: a tapered square with a flat top reminiscent of a coffin or a ballerina's pointe shoe.
This shape elongates the fingers, offering a chic and edgy look that's loved by many fashion-forward individuals. Whether you say coffin or ballerina nails, you're talking about the same stylish nail design!
Can I Use the Same Technique for Coffin Clear Nail Designs to Create Sparkling Star Nail Designs?
Yes, you can use the same technique for coffin clear nail designs to create sparkling star nail designs by following a stepbystep nail designs tutorial. Simply adapt the technique to incorporate star-shaped nail decals or use a fine nail brush to create the sparkly star designs.
Conclusion
And there you have it, a coffin clear nail design that's sure to turn heads and make a statement.
With a little bit of patience and creativity, you can achieve a look that's both elegant and trendy.
Remember to have fun with your nail art and experiment with different designs to find what works best for you.
Keep practicing and perfecting your technique, and soon you'll be a nail art pro!