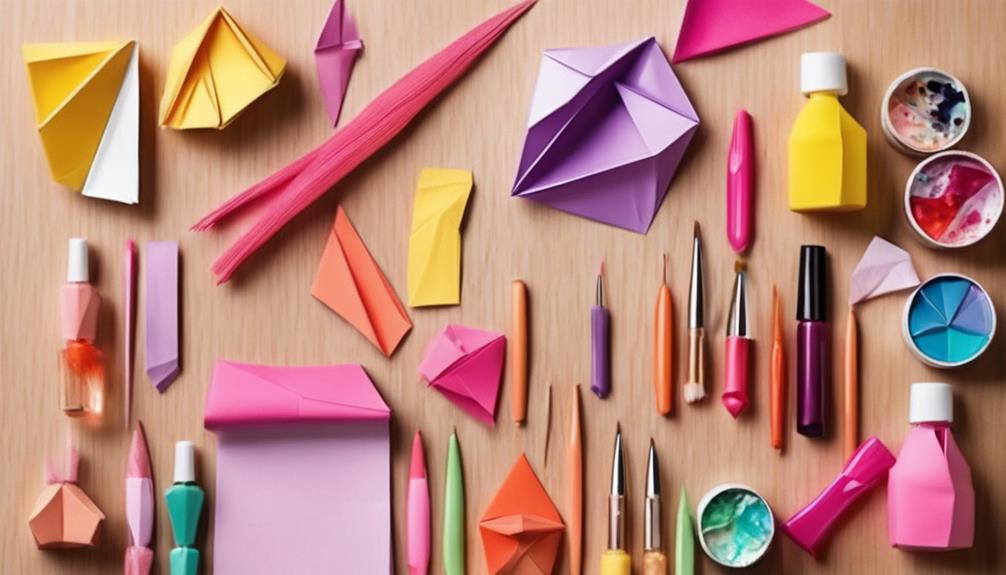
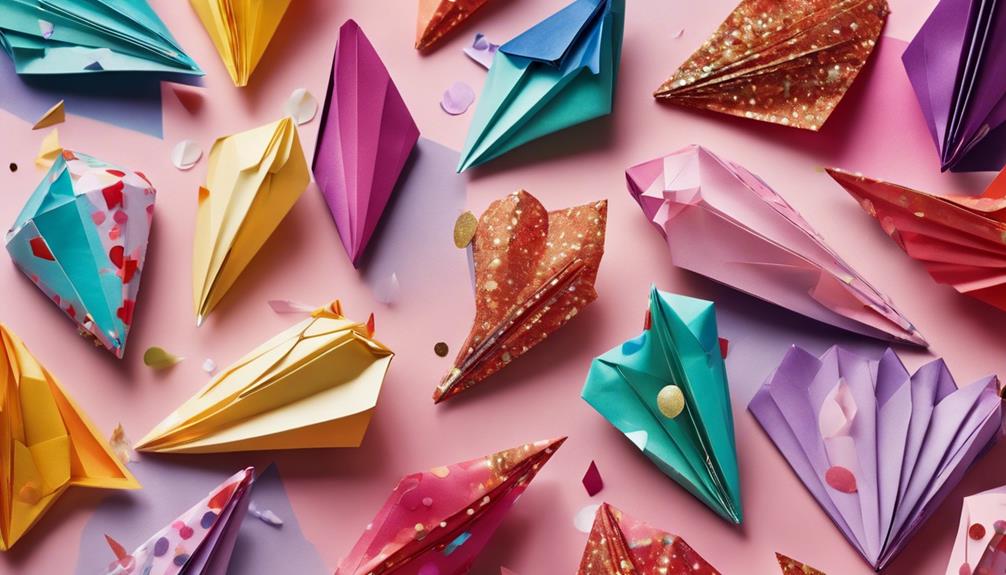
With a few simple tools and some creativity, you can transform your nails into stunning works of art from the comfort of your own home. Start by gathering nail art essentials like polish, brushes, and remover. Then, experiment with simple tools like toothpicks, bobby pins, and Scotch tape to create unique designs. Try color blocking, gradient techniques, or get intricate with Sharpies and bold designs. The possibilities are endless, and with practice, you'll be a pro in no time. As you explore these DIY guides, you'll discover even more inspiration and ideas to take your nail art to the next level.
Key Takeaways
• Invest in basic tools like nail polish, brushes, and remover for creating stunning designs at home.
• Use versatile tools like toothpicks, bobby pins, and Scotch tape to add fine details and create unique patterns.
• Experiment with color blocking techniques using tape for clean lines and sections on nails for a customized look.
• Try out gradient nail art techniques using a light base color, makeup sponge, and different shades for a seamless blend.
• Get creative with Sharpies and everyday tools to add precise details and playful elements to your nail art designs. Take a black Sharpie and use it to draw intricate patterns or designs on your nails for a bold and modern look. You can also use toothpicks or cotton swabs to create tiny dots or lines for a more delicate touch. By combining these everyday tools with your favorite nail polish colors, you can unleash your creativity and come up with unique nail art ideas that are all your own.

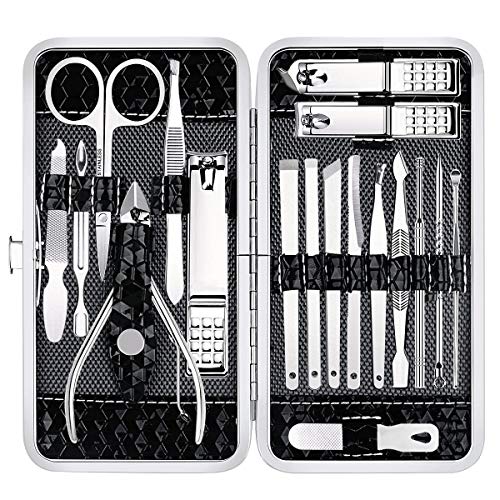
MR.GREEN Manicure Kit 10 in 1, German Stainless Nail Clippers Set, Professional Personal Nail Care Kit Manicure Pedicure Set, Portable Travel Nail Kit with Exquisite Leather Case for Men & Women
【10 PCS Manicure Set】Professional manicure set includes nail clipper/ beveled nail clipper/ thick nail clipper/ nose hair clipper/...
As an affiliate, we earn on qualifying purchases.
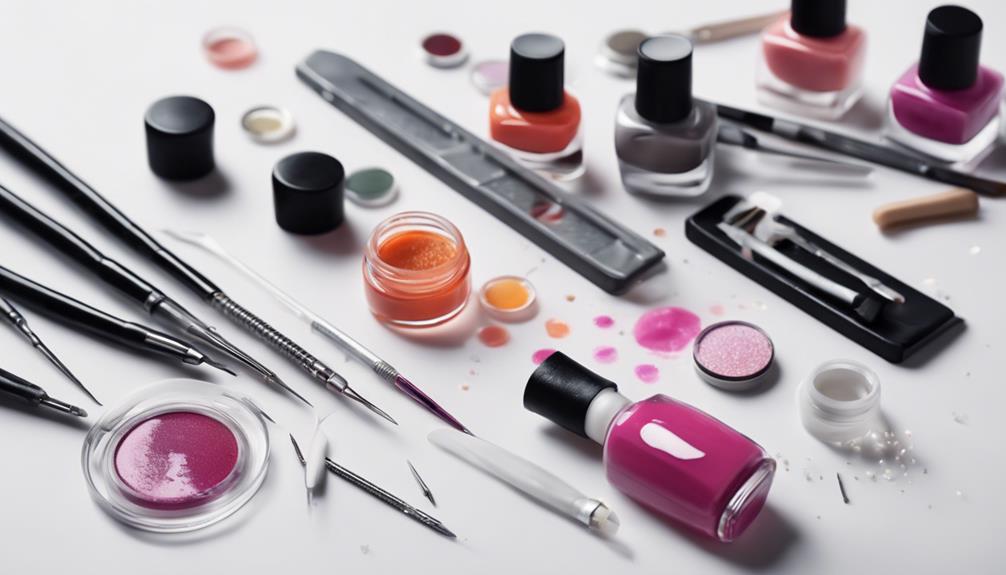
Nail Art Essentials at Home
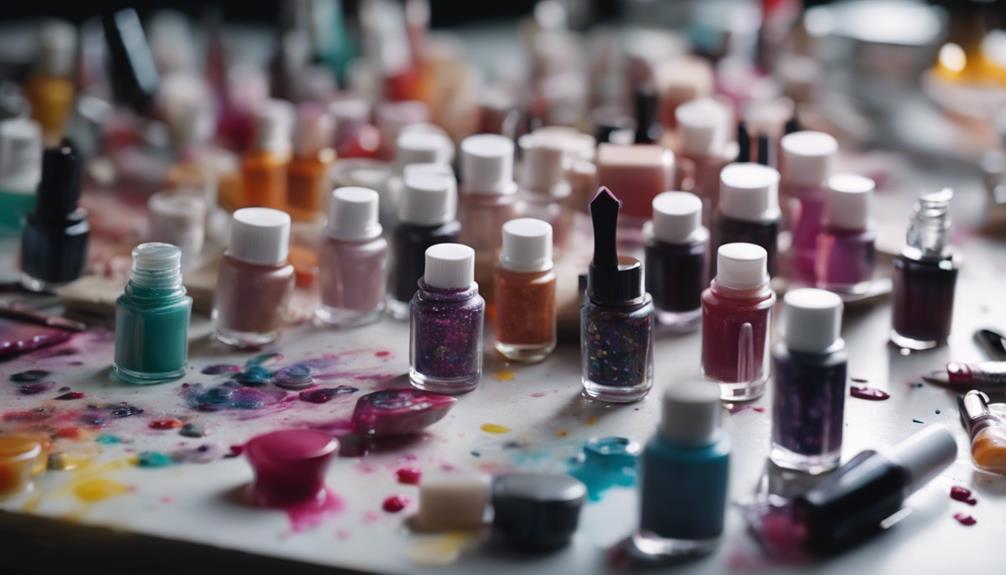
You'll need a few basic tools and supplies to get started with nail art at home, including a good quality nail polish, nail art brushes, and a nail polish remover. These essentials will help you create stunning nail art designs that'll make your friends green with envy!
When it comes to nail polish, choose a brand that's known for its vibrant colors and long-lasting finish. You'll want a variety of shades to experiment with different nail art designs.
Nail art brushes, on the other hand, are essential for creating intricate designs and patterns. Look for brushes with synthetic bristles, as they're easier to clean and maintain.
A nail polish remover is also a must-have, especially when you're working with nail art. It'll help you correct any mistakes and start fresh. Don't forget to invest in a nail art cleaning brush to remove any excess polish from your brushes.
With these basics covered, you're all set to tap into your creativity and create stunning nail art designs from the comfort of your own home!
Yougai Manicure Set 18 Pieces Professional Nail Clippers Pedicure Kit Men Women, Stainless Steel Fingernail Toenail Cutters, Nail Care Grooming Tools with Leather Travel Case
Complete 18-Piece Professional Manicure Set - Includes nail clippers, toenail clippers, cuticle scissors, nail files, eyebrow tweezers, and...
As an affiliate, we earn on qualifying purchases.
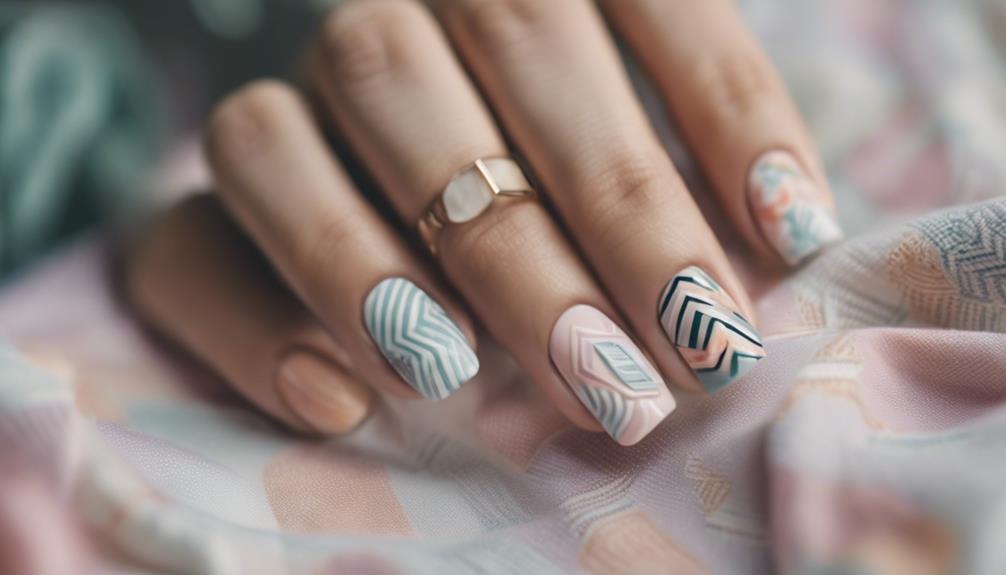
Simple Tools for Nail Design
With a few everyday items, you can create intricate nail art designs at home, transforming your nails into mini masterpieces. You don't need to break the bank or invest in fancy tools to get started.
Simple tools like toothpicks, bobby pins, Scotch tape, and mechanical pencils can help you achieve salon-quality designs. Toothpicks are perfect for adding fine details to your design, while Scotch tape helps you create clean lines and geometric shapes.
Bobby pins can be used to create dots of varying sizes, ideal for gradient effects and intricate patterns. Mechanical pencils are great for drawing precise designs, like leopard prints, cherries, or even cactus motifs.
Once you've created your design, seal it with a top coat to protect your masterpiece and add shine. With these simple tools, you can experiment with different patterns, shapes, and textures on your nails.
Don't be afraid to get creative and try new things – after all, practice makes perfect! With a little patience and practice, you'll be creating stunning nail art designs that will make you the envy of your friends.

MR.GREEN 12-in-1 Manicure Set – Professional Nail Clipper Set, German Stainless Steel Manicure Tools for Fingernails & Toenails, Travel Nail Care Kit for Men & Women with Leather Case (Caramel Brown)
12-in-1 Professional Nail Care Kit Includes 12 essential nail care tools: Nail Clippers, Slant Edge Nail Clipper, Nail...
As an affiliate, we earn on qualifying purchases.
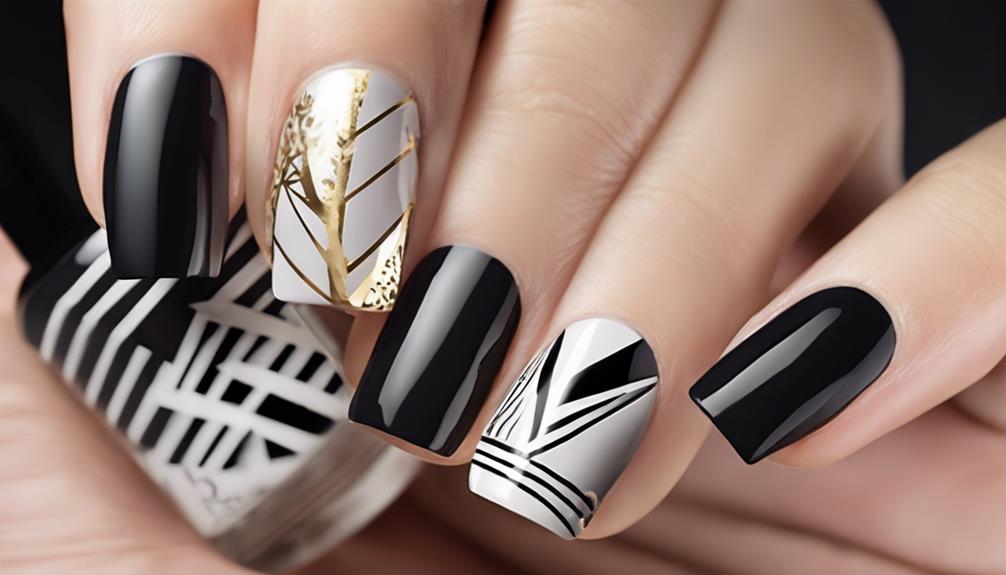
Color Blocking Nail Art Ideas
Get ready to tap into your creativity with color blocking nail art, a technique that lets you play with contrasting colors to create bold, geometric shapes and designs on your nails. This versatile nail design technique is all about experimenting with different color combinations and shapes to create unique and eye-catching designs.
Here are some tips to get you started:
- Use tape to create clean lines and sections on your nails, making it easy to achieve crisp, geometric shapes.
- Experiment with different color combinations to find the perfect mix that suits your style.
- Don't be afraid to try out unusual shapes and designs to add some personality to your nail art.
- Finish off your design with a top coat to seal in your color blocking masterpiece and make it last longer.
With color blocking, the possibilities are endless, and the best part is that you can customize it to suit any style or occasion.

Manicure Set, Stainless Steel Nail Clipper Set with Luxurious Travel Case
12PCS MANICURE KIT: Includes toenail clipper, nail clipper, diagonal nail clipper, multi-purpose scissor, cuticle trimmer, ear pick, single-edged...
As an affiliate, we earn on qualifying purchases.
Gradient Nail Art Techniques

Take your nail art game to the next level by mastering gradient nail art techniques, which allow you to create stunning, ombre-inspired designs that flow smoothly from one shade to another.
With gradient techniques, you can add depth and dimension to your nail art without needing to be a pro. To get started, apply a light base color using your favorite nail polish and let it dry completely. This will provide a smooth canvas for your gradient design.
Next, grab a makeup sponge and different shades of the same color. Dab the sponge onto your nails in a gentle patting motion, blending the colors seamlessly. Repeat the process until you achieve the desired gradient intensity. Don't be afraid to experiment with different shades and combinations to create unique looks.
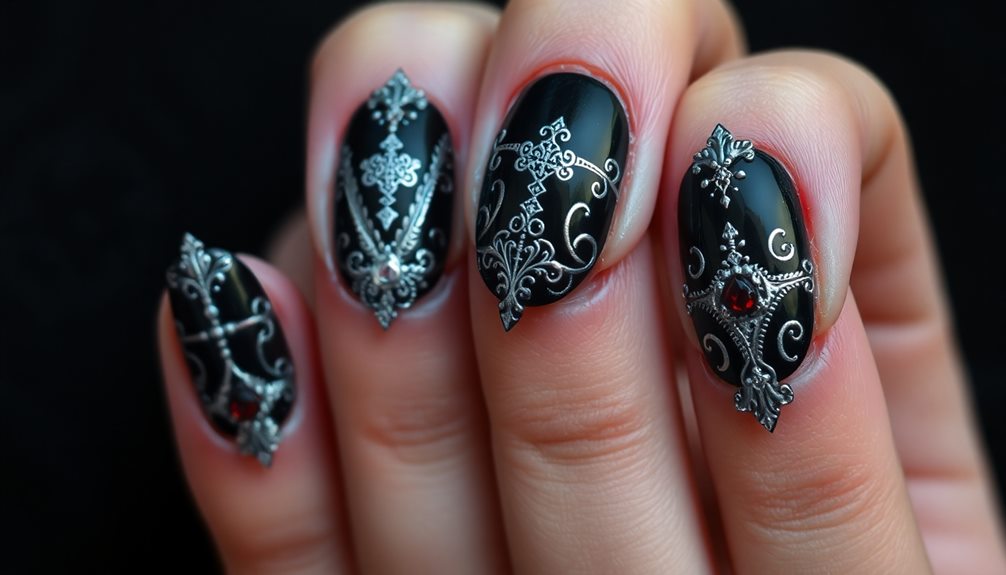
Intricate Nail Art Designs
Using everyday objects like toothpicks, bobby pins, and Scotch tape, you can create intricate nail art designs that showcase your creativity and attention to detail. With these tools, you can add precise details to your nail art, making it truly unique.
To take your nail art to the next level, try these techniques:
- Experiment with gradient effects: Use different colors like white, light blue, and purple to achieve a beautiful ombre look.
- Get creative with Sharpies: Draw intricate designs like ladybugs, flowers, or geometric patterns on your nails for a unique touch.
- Master color blocking: Use tape to achieve clean and crisp lines in your nail art designs.
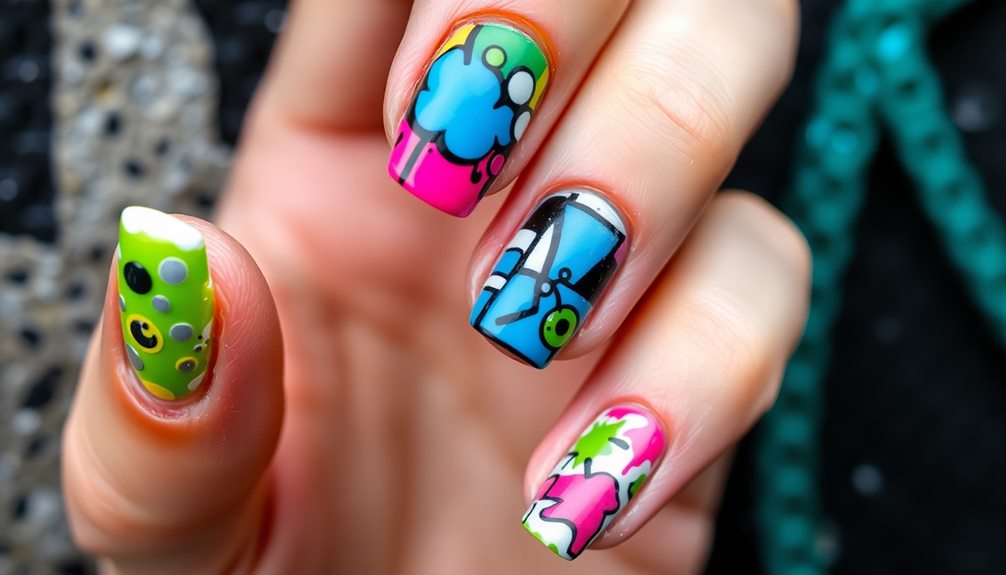
- Add fun elements: Incorporate leopard prints, cherry designs, cactus motifs, or ice cream sundaes to create playful and creative nail art at home.
Nail Art Inspiration and Ideas
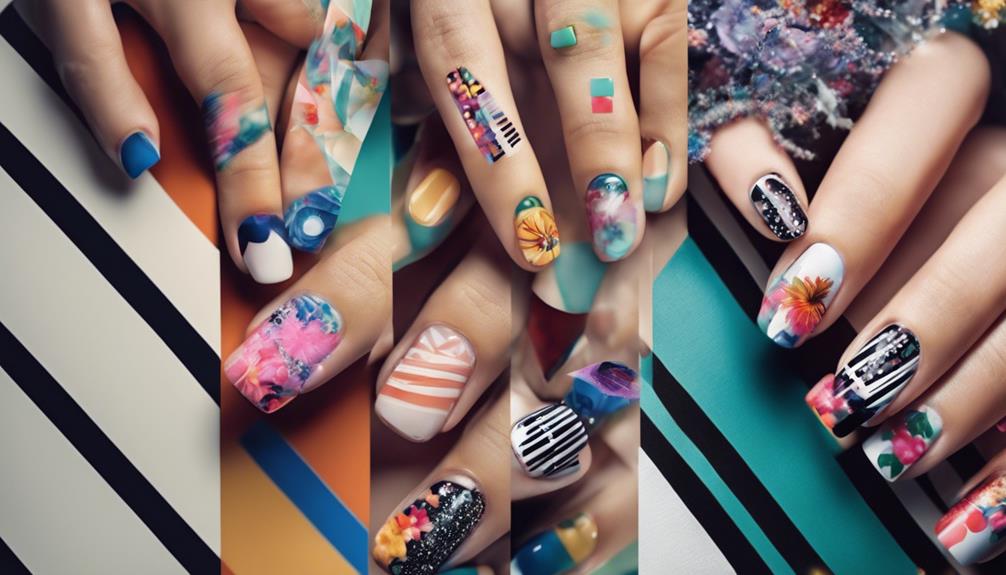
You'll find endless possibilities for nail art inspiration and ideas by exploring different color combinations, techniques, and designs that reflect your personality and style.
Experiment with unique pairings of colors, like bold brights or soft pastels, to create a look that's all you. Make sure to try out various techniques, such as dotted gradients or color blocking, to add visual interest to your nails.
And don't be afraid to get creative with designs – leopard prints, cherry designs, cacti, and even ice cream sundaes can make for fun and playful nail art inspiration.
When it comes to bringing your design to life, don't be shy to get creative with tools like bobby pins, Scotch tape, and toothpicks. You can also use nail polish, Sharpies, and other tools to add intricate details to your design.
And remember to seal your masterpiece with a top coat to guarantee a long-lasting, glossy finish. With a little practice and patience, you'll be a nail art pro in no time!
Common Mistakes to Avoid
To guarantee that your nail art turns out flawless, it's crucial to avoid some common pitfalls.
Here are some common mistakes to avoid:
- Applying thick layers of nail polish: This can lead to longer drying times and smudging. Opt for thin, even coats instead.
- Not cleaning your nails properly: Failing to clean your nails before starting your nail art can affect the longevity of your design. Make sure to wipe your nails with nail polish remover and dry them thoroughly.
- Using old or clumpy nail polish: This can result in a streaky and uneven application. Try to use fresh, high-quality polish for the best results.
- Rushing the process: Allow each layer of nail polish to dry completely before moving on to the next step. This will prevent smudging and ensure a professional finish.
Frequently Asked Questions
How to Do Nail Art at Home for Beginners?
You're excited to try nail art at home, but don't know where to start? Begin by prepping your nails with a base coat to protect them and create a smooth canvas.
Then, get creative with simple techniques like dotting tools or scotch tape to create cool designs.
Practice makes perfect, so start with easy designs like stripes or dots before moving on to more complex art.
Finish with a top coat to seal your masterpiece!
What Are the 5 Basic Nail Designs?
You're wondering what the 5 basic nail designs are? Well, let me tell you!
You can create stunning looks with color blocking, which involves using Scotch tape and multiple polish colors for a bold effect.
Then there's the dotted gradient, achieved by blending colors with bobby pins for a soft, gradient look.
You can also get creative with toothpicks and Scotch tape, or try leopard prints with a mechanical pencil.
And lastly, there's the cactus design with textured details – so many options to get you started!
How to Do Patterns on Nails?
You're ready to take your nail game to the next level with patterns! To create precise designs, use tools like toothpicks, bobby pins, or tape to achieve the look you want.
Experiment with different colors and shapes to make your nail art truly unique. Remember to let each layer of polish dry completely to prevent smudging.
With a little patience and practice, you'll be a pro at creating stunning patterns on your nails!
How to Alternate Three Colors on Nails?
Did you know that 85% of women consider nail art a form of self-expression?
Now, let's get creative!
To alternate three colors on your nails, start by applying a base coat and letting it dry.
Then, use striping tape to section off areas for each color.
Paint the first color, let it dry, and repeat with the second and third colors.
Finish with a top coat to seal the design.
With these simple steps, you'll be rocking a trendy, tri-colored mani in no time!
Conclusion
As you close this DIY guide, you might coincidentally glance at your nails, envisioning the vibrant colors and intricate designs you'll soon create. And that's exactly what's supposed to happen – the spark of inspiration has been kindled!
Now, go ahead and express your creativity, experimenting with colors, tools, and techniques. Remember, practice makes perfect, so don't be too hard on yourself if it doesn't turn out as expected at first.
Happy nail art-ing, and who knows, you might just stumble upon your new favorite hobby!