To prevent peeling during gel removal, follow a step-by-step process that includes lightly filing the gel surface to help acetone penetrate, then soaking your nails in pure acetone wrapped with cotton and foil or clips. Be patient and avoid forcing or scraping off the gel, as this can cause damage. Gently lift the softened gel with a cuticle stick. Proper techniques protect your nails and keep them strong—continue to discover the safest methods for healthy nails.
Key Takeaways
- Properly file the gel surface to create tiny scratches for better acetone penetration.
- Wrap nails securely with cotton and aluminum foil or nail clips to maintain consistent contact.
- Wait 10-15 minutes for the gel to soften fully before gently lifting it.
- Use a cuticle pusher to carefully lift softened gel without forcing or scraping.
- Avoid rushing the process; patience ensures nails remain healthy and peeling is prevented.

Removing gel nails properly is vital to protect your natural nails and prevent damage. When you rush or use improper techniques, you risk peeling, splitting, or weakening your nails. Learning the right soak off techniques can make all the difference in maintaining nail health and guaranteeing your nails stay strong and beautiful. The goal is to gently break down the gel coating without harming the underlying nail bed. Soaking off is one of the safest and most effective methods when done correctly, but it requires patience and proper tools.
Start by filing the surface of your gel nails lightly. This creates tiny scratches that help the acetone penetrate more effectively. Be careful not to file too aggressively, as that can weaken your natural nails. Next, wrap small pieces of cotton soaked in 100% pure acetone around each nail, then secure them with aluminum foil or nail clips. This method ensures the acetone stays in contact with the gel and speeds up the removal process. As you wait for about 10-15 minutes, the gel will soften and lift from the nail bed. During this time, avoid forcing or prying the gel off, as this can cause serious damage to your nails.
Once the gel appears to be lifting, gently check your nails. If the gel isn’t coming off easily, rewrap with fresh cotton and acetone and wait a few more minutes. When the gel is soft enough, use a cuticle pusher or orangewood stick to gently lift and slide the gel away from your natural nails. Never scrape aggressively, because that can create micro-tears in your nail plate, compromising nail health and increasing the risk of infection. If there are stubborn bits remaining, repeat the soaking process rather than trying to peel or yank them off.
After all gel is removed, it’s vital to nourish your nails. Use cuticle oil and a moisturizing hand cream to restore hydration. Avoid harsh scrubbing or buffing, as it can thin your natural nails over time. Maintaining nail health is about gentle care and patience. Proper soak off techniques not only preserve your nails’ strength but also keep them looking healthy and vibrant. Additionally, adhesive products like wraps and foils help ensure the gel stays in place and is removed evenly, reducing potential damage. Never forget that rushing the process or using unsafe removal methods can lead to peeling, splitting, and long-term damage. Taking your time with the right tools and techniques guarantees that your nails stay strong and beautiful, ready for your next manicure or just a natural, healthy look.
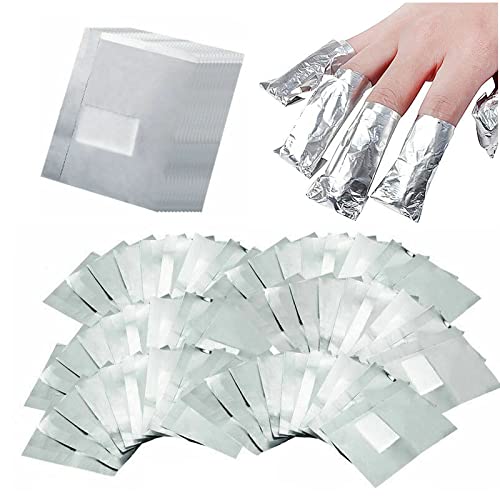
400Pcs Nail Polish Remover Gel Nail Foil Wraps Aluminium Soak Off Foils Cotton Pads Gel Nail Polish Wraps Removal Tool Finger Nail Polish Remover with Lint-Free Lager Cotton Pad
400 Pieces Set — The package includes 400 pcs foil nail wraps, enough for your daily nail polish…
As an affiliate, we earn on qualifying purchases.
As an affiliate, we earn on qualifying purchases.
Frequently Asked Questions
How Often Should Gel Nails Be Removed and Replaced?
You should remove and replace gel nails every two to three weeks to maintain nail health and prevent damage. Frequent removal helps avoid weakening your nails and reduces the risk of peeling or infection. Make sure to follow proper removal frequency, and consider giving your nails a break between gel applications. This way, you keep your nails strong and healthy while enjoying beautiful, long-lasting gel manicures.
Can I Remove Gel Nails at Home Safely?
Can you safely remove gel nails at home? Absolutely, but it’s essential to follow DIY tips that protect your nail health. Think of it like peeling off a sticker gently—rushing can cause damage. Use acetone, foil wraps, and patience to soften the gel, avoiding scraping or peeling. This way, you prevent nail damage and maintain healthy nails while doing the removal yourself.
What Are the Signs of Damaged or Weakened Nails?
You’ll notice nail health issues when your nails become brittle, easily break, or develop ridges. Damage indicators include discoloration, peeling, or splitting nails, which signal weakened nail structure. If your nails hurt or feel tender, it’s a sign they’re damaged or compromised. Regularly check for these signs to prevent further damage, and give your nails proper care to maintain their strength and health.
Is It Necessary to Use Specific Products for Gel Removal?
Think of gel removal like pruning a delicate tree—you need the right tools to avoid damage. Yes, using specific products for gel removal is essential; they make certain the product compatibility and make the process smoother. Proper removal techniques, including gentle filing and soaking, help protect your nails from peeling or weakening. Skipping specialized products or rushing can harm your nails, so always choose the right removal kit and follow expert methods for healthy, strong nails.
How Long Does a Proper Gel Removal Procedure Typically Take?
A proper gel removal typically takes about 15 to 20 minutes, depending on your nail condition. The removal duration involves gently soaking and lifting the gel, which guarantees minimal damage. After removal, a curing time of a few minutes might be needed if you’re reapplying polish or treatments. Rushing this process can cause peeling or damage, so take your time for a safe, effective removal.
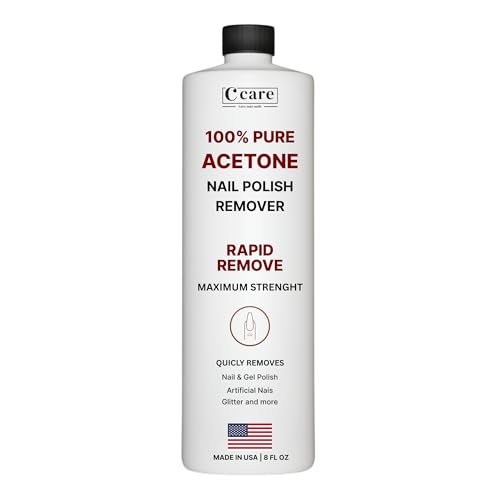
100% Pure Acetone Nail Polish Remover | Professional Quality | Easy To Use | Rapidly Removes Natural, Gel, Acrylic, shellac, and Glitter Nails | 8 Fl oz
100% Pure Acetone: Exceptionally efficient and powerful for swiftly removing all varieties of nail polish, such as gel,…
As an affiliate, we earn on qualifying purchases.
As an affiliate, we earn on qualifying purchases.
Conclusion
Now that you know the right way to remove gel polish, you can avoid damaging your nails and prevent peeling. Remember, about 60% of people report nail damage from improper removal, so taking the proper steps makes all the difference. By gently filing and using acetone correctly, you ensure healthier nails and a smoother finish. Next time, follow these tips to keep your nails strong and beautiful—because proper removal really does make all the difference.
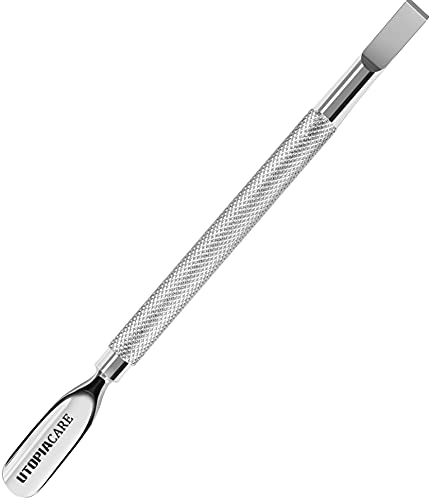
Utopia Care Cuticle Pusher Tool & Spoon Nail Cleaner, Professional Stainless Steel Cuticle Remover & Cutter, Durable Manicure & Pedicure Tool for Finger & Toenails, Silver
Nail Care Tool: The professional cuticle pusher measures 5½ inches with curved ends at one side while the…
As an affiliate, we earn on qualifying purchases.
As an affiliate, we earn on qualifying purchases.
400Pcs Nail Polish Remover Gel Nail Foil Wraps Aluminium Soak Off Foils Cotton Pads Gel Nail Polish Wraps Removal Tool Finger Nail Polish Remover with Lint-Free Lager Cotton Pad
400 Pieces Set — The package includes 400 pcs foil nail wraps, enough for your daily nail polish…
As an affiliate, we earn on qualifying purchases.
As an affiliate, we earn on qualifying purchases.