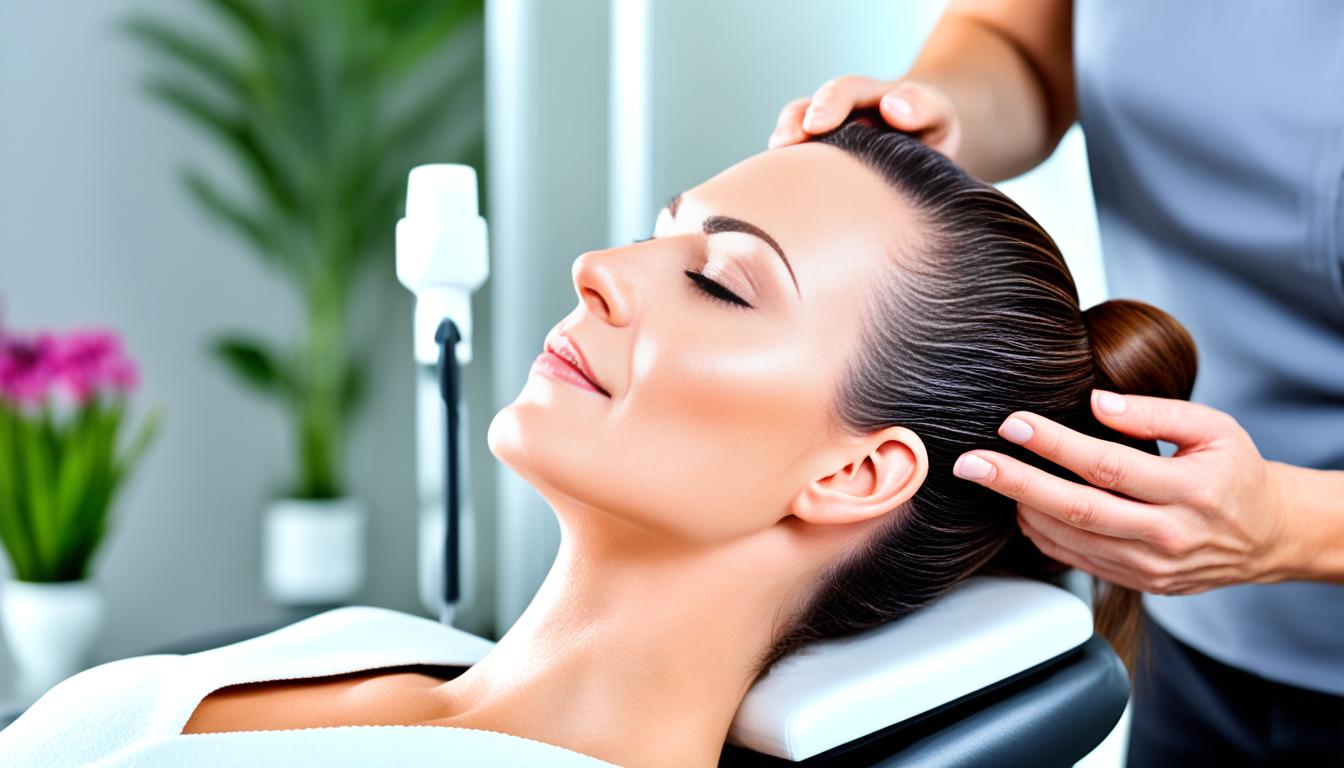
Use a luxury hair dryer, hot brush, curling iron, or flat iron to create a smooth, shaped style at home while limiting avoidable heat damage. This guide is for beginners who can use basic hair care products and want a practical routine for selecting a tool, setting it up, styling cleanly, and checking the result. Allow 30-60 minutes, depending on hair length, thickness, and the style.

Get beauty and skincare favorites delivered free with Prime
- Fast, free delivery on millions of items
- Prime Video, Amazon Music and more included
- Member-only deals all year

Shark FlexStyle Next-Gen IonCurl 5-in-1 Hair Styler, Curler & Dryer
- ✔ Motor power: 1,700 watts
- ✔ Weight: 1.5 pounds
- ✔ Cord: 8 feet

Shark FlexStyle Glam Ceramic + Powerful Air Styling & Drying System (HD6051S)
- ✔ Model: HD6051S
- ✔ Technology: Heat-controlled ceramic plates and high-speed airflow
- ✔ Hair types supported: 1A to 4C

Dyson Airwrap i.d. Multi-Styler
- ✔ Attachments: 6: two curling barrels, large round brush, anti-snag loop brush, smoothing dryer, fast dryer
- ✔ Maximum temperature: Below 302°F
- ✔ Barrel sizes: 0.9-inch conical barrel and 1.6-inch barrel
Difficulty: Beginner | Time: 30-60 minutes
What You’ll Need
Tools & Materials:
- Luxury hair styling tool suitable for your intended style
- Heat-protectant product labeled for your hair type
- Comb or brush for detangling and sectioning
- Heat-resistant mat or stable heat-safe surface
- Clips or ties for holding sections
- Dry towel and access to a mirror
Knowledge:
- Basic ability to use a comb or brush
- Ability to read the tool’s operating instructions and temperature settings
Check that your tool’s voltage matches the outlet, especially if you are traveling. Do not use a heated iron on wet hair unless its manufacturer explicitly permits that use. If your scalp or hair is irritated or unusually fragile, choose a low-heat, no-heat style or ask a qualified stylist for advice.
Shark FlexStyle Next-Gen IonCurl 5-in-1 Hair Styler, Curler & Dryer
The IonCurl earns our Best Overall spot by balancing several jobs in one manageable system. Its five included functions cover drying, curling, polishing, and brushing, while Coanda auto-wrap curlers give curl-focused styling a lower-effort starting point than manually wrapping hair around a conventional iron. At 1.5 pounds, it is also the lightest option in this comparison by listed weight, and its eight-foot cord gives us room to move around a dressing area.Compared with the Airwrap i.d., IonCurl has fewer listed attachments and no app-linked customization, but its role is simpler and its weight is specified. Compared with Glam, it puts more emphasis on curls and varied attachment-based styling than ceramic plate smoothing. The 203°F maximum is a real limitation for thick or resistant hair that may need more heat, and learning to wrap curls consistently takes practice. Its cord also rules out cordless use. Choose it for a flexible, airflow-led routine; skip it if high heat or instant, repeatable styling matters most.
Pros:
- Five-in-one setup covers drying, curling, polishing, and brushing.
- Coanda auto-wrap curlers reduce the effort of shaping curls.
- Listed weight is 1.5 pounds, with an eight-foot cord for maneuverability.
- Four heat levels let us adjust the setting to the routine.
Cons:
- The 203°F maximum may not be enough for very thick or resistant hair.
- Getting consistent curls requires learning the wrap direction.
- The cord limits portability compared with cordless tools.
Best for: Shoppers who want one relatively lightweight system for drying, auto-wrap curls, brushing, and polishing.
Not ideal for: People with very thick or resistant hair who need a higher temperature, or anyone who wants cordless styling.
Bottom line: For the broadest everyday mix of curling and drying in this group, we would start with the lightweight IonCurl and accept its modest heat ceiling.
“For the broadest everyday mix of curling and drying in this group, we would start with the lightweight IonCurl and accept its modest heat ceiling.”
Shark FlexStyle Glam Ceramic + Powerful Air Styling & Drying System (HD6051S)
Where IonCurl spreads its attention across curls, brushes, and polishing, Glam is the focused smoothing choice. Its heat-controlled ceramic plates work with high-speed airflow for styling on both wet and dry hair. The listed support for hair types 1A to 4C makes its intended audience broad, while the Scalp Shield adds a protection feature and Gloss Lock is designed to maintain a shiny finish for up to 24 hours. That combination makes Glam a compelling option when polished, smooth results are the main event.Compared with the IonCurl, Glam has a clearer wet-to-dry and plate-styling emphasis, but the supplied details do not specify a weight, cord length, or attachment set to match IonCurl’s practical versatility. Compared with the Airwrap i.d., it foregrounds ceramic plates and a stated gloss finish rather than app-personalized airflow and a six-attachment toolkit. Its main drawback is the learning curve around switching between wet and dry modes. Buyers seeking auto-wrap curls or a broad brush-and-curl package should look to IonCurl or Dyson instead.
Pros:
- Combines heat-controlled ceramic plates with high-speed airflow.
- Designed for styling on wet and dry hair.
- Includes a Scalp Shield and Gloss Lock shine feature.
- Listed as suitable for hair types 1A through 4C.
Cons:
- The two wet-to-dry styling modes may take practice to master.
- The supplied specifications do not state its weight or cord length.
- Its listed features emphasize smoothing more than the IonCurl’s range of curl-focused attachments.
Best for: People who regularly style for a sleek finish and want a system designed for both wet and dry hair.
Not ideal for: Buyers who prioritize auto-wrap curls, a detailed attachment bundle, or simple controls without a mode learning curve.
Bottom line: Glam is our most targeted pick for shoppers who value sleek wet-to-dry styling and ceramic plate control over a curl-first tool kit.
“Glam is our most targeted pick for shoppers who value sleek wet-to-dry styling and ceramic plate control over a curl-first tool kit.”
Dyson Airwrap i.d. Multi-Styler
Airwrap i.d. is the most configurable system here, pairing Coanda airflow with six attachments and Bluetooth connectivity to the MyDyson app. The app connection is intended to personalize heat, airflow, and timing settings, while the supplied barrels span a 0.9-inch conical option for tighter curls and a 1.6-inch option for looser waves. That range gives us a more specific way to shape a routine than the IonCurl’s two listed 1.25-inch curlers.This is the premium technology choice rather than our easiest recommendation. Compared with Glam, Dyson offers a broader set of styling attachments and app-linked settings, but Glam has the more direct ceramic wet-to-dry pitch. Compared with IonCurl, Airwrap i.d. offers more attachment variety and barrel sizes, yet IonCurl’s listed 1.5-pound weight and eight-foot cord make its handling details easier to assess. Airwrap i.d. still requires learning the Coanda technique, and Bluetooth setup can complicate the start of a styling session. Its temperature is capped below 302°F, so buyers should weigh heat control against their own styling needs rather than assume the lower ceiling suits every hair type.
Pros:
- Six attachments support curls, brushing, smoothing, and drying.
- Two barrel sizes offer different curl and wave shapes.
- App connectivity enables personalized heat, airflow, and timing settings.
- Intelligent heat control keeps temperatures below 302°F.
Cons:
- Bluetooth and app setup can add friction before styling.
- Coanda airflow takes practice to use consistently.
- The supplied specifications do not list weight or cord length.
Best for: Shoppers who want multiple styling attachments, distinct barrel sizes, and app-guided personalization in a premium system.
Not ideal for: People who prefer a straightforward setup, do not want app connectivity, or need a specified weight and cord length before choosing.
Bottom line: Airwrap i.d. suits buyers who will use its attachment range and app personalization, while the IonCurl is the more straightforward all-round choice in this lineup.
“Airwrap i.d. suits buyers who will use its attachment range and app personalization, while the IonCurl is the more straightforward all-round choice in this lineup.”
As an Amazon Associate we earn from qualifying purchases.
Before You Start
Read the tool manual before plugging it in. Look for the manufacturer’s instructions on heat settings, attachments, cleaning, and automatic shutoff. Inspect the cord, plug, plates, barrel, and attachments for visible damage; do not use a damaged tool. Set up away from water, keep the cord clear of the hot surfaces, and place the tool on a heat-resistant mat. Start with a lower heat setting because higher heat is not automatically better.
Step-by-Step Instructions
Step 1: Choose the tool for your style
Match the tool to the result you want. Use a dryer for drying and shaping, a hot brush for smoothing with volume, a curling iron or wand for curls, or a flat iron for straightening and bends. Check that the barrel or plate size fits the curl or section size you want, and confirm the tool is intended for your hair type and styling method.
Tip: If you are unsure which setting or attachment to use, follow the maker’s guide for your specific model instead of relying on a generic heat chart.
Check: You have selected a tool and attachment that support the style you plan to create.
Step 2: Prepare your hair
Wash or refresh your hair as needed, then towel-blot without rubbing hard. Detangle from the ends upward. If using a dryer, remove excess moisture first and follow the tool’s instructions. Before using a hot brush, iron, or wand, dry your hair fully unless the manufacturer specifically approves damp-hair use. Apply heat protectant evenly according to its label, using enough to cover the sections without leaving hair wet or sticky.
Tip: Heat protectant helps reduce heat exposure, but it does not make hair immune to damage. Avoid repeated passes and excessive temperatures.
Check: Your hair is detangled, appropriately dry for the tool, and has an even, light application of heat protectant.
Step 3: Set up and select a low starting heat
Place the tool on its heat-resistant surface, plug it directly into a suitable outlet, and switch it on. Choose a low or moderate temperature recommended for your hair and the tool. Let the tool reach its ready signal before styling. Keep fingers, face, ears, and scalp away from heated plates and barrels.
Tip: Do not leave a powered tool unattended. If it has an automatic shutoff, treat that as a backup rather than a reason to leave it on.
Check: The tool displays its ready state, sits securely, and is set to a conservative temperature.
Step 4: Divide your hair into manageable sections
Use clips to separate the hair into upper and lower layers, then divide each layer into sections narrow enough for the tool to heat evenly. Keep unused hair clipped away from the hot area. Work where you can see the section clearly in a mirror, and leave enough room to move the tool without pulling the cord across your body.
Tip: Very thick sections often need repeat passes, which increases heat exposure. Smaller, even sections usually give more consistent results.
Check: Each working section is easy to control and no loose hair is near the heated tool.
Step 5: Style one section at a time
Follow the tool’s manual for the movement and distance from the scalp. For a dryer, direct airflow along the hair shaft and keep the nozzle moving. For a hot brush or iron, place the tool near the roots only if its design permits it, then glide or rotate smoothly toward the ends. Use one controlled pass when possible. Release the section gently and let it cool before brushing or reshaping.
Tip: Stop if you hear sizzling, smell burning, or feel sharp heat on your scalp. Those are signs to switch off, check that the hair is dry, reduce the temperature, and review the instructions.
Check: The section looks smooth or shaped without snagging, visible scorching, or discomfort.
Step 6: Finish the remaining sections and check the style
Repeat the same technique across the remaining sections, keeping your pace steady and the tool moving. Once the hair has cooled, use your fingers or a suitable brush to blend the sections. Add a small amount of finishing product only if needed, following its label. Check the back and sides in a mirror and correct isolated areas with a gentle, brief pass rather than restyling the whole head.
Tip: If the style is not holding, product choice, section size, or cooling time may matter more than increasing the heat.
Check: The style looks even from multiple angles, and you have not needed repeated high-heat passes.
Step 7: Switch off, cool, and store the tool
Turn the tool off and unplug it by holding the plug, not pulling the cord. Place it on the heat-resistant surface until fully cool. Remove any hair or product buildup only as directed by the manufacturer, and store the tool and cord without tight bends. Keep it dry and out of reach of children and pets.
Tip: Do not wrap a hot tool’s cord around its body; heat and tight bending can damage the cord.
Check: The tool is unplugged, cool before storage, and free of visible hair buildup.
Common Mistakes to Avoid
- Using an iron on damp hair when the tool is designed for dry hair. — Dry hair fully before styling and check the manual for any approved damp-hair mode.
- Starting at the highest temperature or repeating passes over the same section. — Begin with a lower recommended setting, use even sections, and raise heat only if the tool’s guidance allows it and one controlled pass is insufficient.
- Taking sections that are too large to style evenly. — Clip hair into smaller sections that fit comfortably within the tool’s plates, brush, or barrel.
- Leaving the tool switched on or setting it on a vulnerable surface. — Keep it on a heat-resistant mat, switch it off when finished, unplug it, and let it cool before storage.
Troubleshooting
Problem: Hair looks frizzy or uneven after styling.
Solution: Check that hair was fully dry before using a heated iron, detangle again, and work with smaller sections. Use the tool’s recommended airflow or direction and avoid brushing curls before they cool.
Problem: The style drops soon after you finish.
Solution: Let each section cool in its shape before releasing or brushing it. Review whether the section size and finishing product suit your hair, and avoid adding more heat without checking the manual’s guidance.
Problem: The tool pulls, snags, or catches hair.
Solution: Stop and switch it off. Detangle the section, remove loose hair from the tool once cool, and check the attachment or plates for buildup or damage. Do not continue if the tool still catches.
Problem: The tool smells unusual, sparks, or becomes excessively hot.
Solution: Turn it off and unplug it if you can do so safely. Do not use it again until the maker or a qualified repair service has checked it; replace it if the cord or housing is damaged.
What Success Looks Like
Your finished style looks even and intentional from the front, sides, and back. Hair feels comfortable, with no scalp pain, sizzling, or signs of scorching. The tool is switched off, unplugged, and cool before you put it away. A successful result comes from controlled sections and suitable settings, not from using maximum heat.
Next Steps
Note the tool, attachment, temperature, and technique that worked so you can repeat the routine. Clean the tool on the schedule and by the method in its manual, and check the cord and surfaces before each use. If you style with heat often, build in lower-heat or no-heat days and ask a stylist for product or technique advice if your hair becomes dry or brittle.
Frequently Asked Questions
Do luxury styling tools cause less damage than standard tools?
Price alone does not determine how much damage a tool causes. Design features may improve control or ease of use, but safe results still depend on appropriate heat, dry hair when required, limited passes, and following the manufacturer’s instructions.
What temperature should I use?
Use the lowest setting that works for your hair and is allowed by the tool’s manual. Settings and temperature displays differ between models, so use the manufacturer’s directions rather than assuming the same number behaves identically across tools.
Can I use a hot brush every day?
Frequent heat styling can dry or weaken hair. Follow your tool’s guidance, use heat protectant as directed, keep the temperature modest, and reduce styling frequency if you notice breakage, roughness, or persistent dryness.
Why does my hair need to cool before I brush curls?
Cooling helps curls set in shape. Brushing while they are still warm can loosen them quickly; let each section cool, then separate curls gently with fingers or a suitable brush.