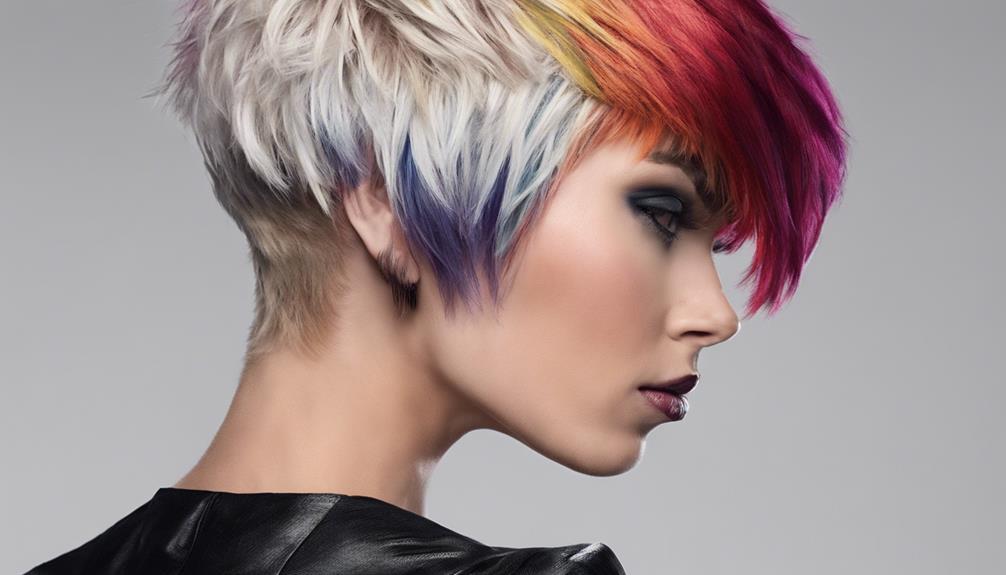
Have you ever browsed through social media and envied those flawless anime-inspired hairstyles? The ones that appear smooth, full, and exude shine effortlessly? You may have thought, “I wish I could rock hair like that!” Well, guess what? You totally can!
Transforming your look with a DIY blowout at home is not only achievable but also a fun and stylish way to express yourself. With the right techniques and products, you can bring that anime-inspired hairstyle to life and rock it with confidence. So, get ready to say goodbye to bad hair days and hello to fabulous blowouts.
Are you ready to learn how to achieve the perfect blowout and unleash your inner stylist? Let’s dive into the step-by-step process and unlock the secrets to a jaw-dropping hair transformation.
Key Takeaways:
- Transform your look with a DIY blowout and achieve a sleek and voluminous anime-inspired hairstyle.
- Discover the step-by-step process of creating a salon-worthy blowout at home.
- Explore the essential tools, techniques, and products that will help you achieve stunning results.
- Embrace your natural texture and create a trendy ’90s blowout with a smooth and frizz-free finish.
- Learn pro tips and recommended products to enhance your blowout experience and achieve the perfect look.
Detangling and Prepping Your Hair
Before starting the blowout process, it’s important to detangle your hair to prevent breakage. You can choose between a wide-tooth comb or a detangling brush to gently work through knots, starting from the bottom of your hair.
Once your hair is detangled, it’s crucial to apply a heat protectant. Heat protectants help seal the hair’s cuticle and protect it from breakage caused by heat styling. There are various options available, such as sprays, creams, or oils, that cater to different hair types and textures.
| Detangling Tools | Heat Protectant Options |
|---|---|
|
|

Using a wide-tooth comb or detangling brush helps minimize breakage while gently working through knots. When selecting a heat protectant, consider your hair type and texture to choose the most suitable option for your needs.
The Technique: Blow Drying for a Smooth Base
To achieve a bouncy blowout, mastering the technique of blow-drying is crucial. Start by rough-drying your hair with your fingers until it’s about 80% dry. This step helps remove excess moisture and prepares your hair for the next phase. Once you’ve rough-dried your hair, it’s time to bring out the blow dryer and hair brush.
Choose a high-quality blow dryer that offers various heat and speed settings to cater to your hair type. A blow dryer with a concentrator nozzle can help direct the airflow and create a smoother effect. Additionally, using a brush that suits your desired look is essential. A larger brush can provide a sleeker finish, while a smaller brush can add more volume or create tighter curls.
Follow these steps to blow-dry your hair for a smooth base:
- Divide your hair into manageable sections. This allows for better control and ensures that each section is evenly dried and styled.
- Using your brush and blow dryer, start at the roots and gently pull the brush through your hair, following the brush with the blow dryer.
- Continue this technique, working your way from the roots to the ends of your hair. The heat from the blow dryer helps to shape and smooth your hair, while the brush aids in creating tension and directing the airflow.
- Focus on different sections of your hair, ensuring that each section is thoroughly dried and styled. Taking your time with each section will result in a more polished and professional-looking blowout.
Remember to maintain a controlled technique throughout the blow-drying process. Applying tension with the brush and directing the airflow in the desired direction will help achieve the desired outcome. Take breaks if needed, and be patient with the process.

Creating a smooth base through blow drying sets the foundation for a bouncy blowout. This technique helps to achieve a sleek and voluminous look, ready for further styling. In the next section, we will delve into choosing the right tools to enhance your blow drying process, ensuring a salon-worthy result.
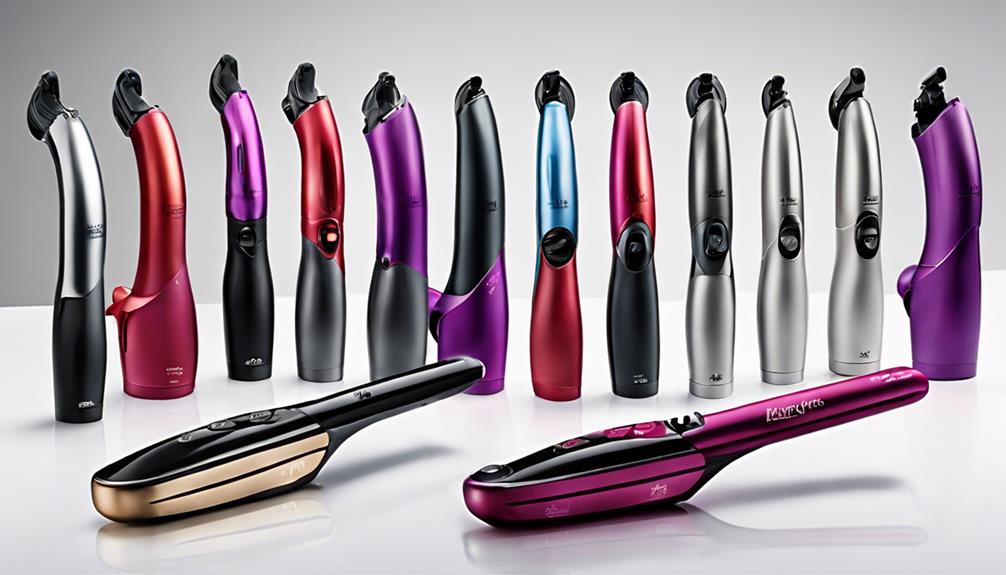
Choosing the Right Tools
The right tools are essential for achieving the perfect blowout. Investing in high-quality tools can make a significant difference in the results you achieve. Let’s take a look at some of the best tools to consider:
Dyson Airwrap

The Dyson Airwrap is a popular option for achieving salon-worthy blowouts at home. It combines a blow dryer and brush in one, allowing for ease of use and versatility. The Airwrap utilizes innovative technology to attract and wrap hair around the barrel, creating a bouncy and voluminous style. With different attachments available, you can customize your blowout to suit your desired look.
REVLON One-Step Volumizer Hair Dryer and Hot Air Brush
If the Dyson Airwrap is out of your budget, the REVLON One-Step Volumizer Hair Dryer and Hot Air Brush is another excellent option. This tool combines the power of a blow dryer and the functionality of a round brush, making it easy to achieve a smooth and voluminous blowout. The unique oval shape helps to create lift and enhance shine, while the bristles detangle and smoothen the hair.
Boar-Bristle Round Brush
In addition to using a blow dryer, incorporating a boar-bristle round brush into your styling routine can make a significant difference. A medium-size boar-bristle round brush helps to straighten and smooth the hair effectively, while also adding volume and shine. The natural bristles distribute the scalp’s natural oils, resulting in healthier-looking hair.
Choosing the right tools is an essential step in achieving a salon-quality blowout at home. Whether you opt for the Dyson Airwrap, the REVLON One-Step Volumizer Hair Dryer and Hot Air Brush, or a boar-bristle round brush, these tools will help you achieve the smooth, voluminous, and shiny blowout you desire.
Sectioning and Drying Technique
To achieve a well-rounded blowout, it’s essential to section your hair into smaller sections. By parting your hair into three sections (bottom, middle, and top) and dividing each section into halves, you’ll be able to work on one side at a time. This technique allows for more thorough drying, ensuring that all areas of your hair are dry and styled evenly.
It’s important to avoid overdrying your hair, as excessive heat can lead to damage. Start by roughly drying your hair to remove excess moisture before using a brush to achieve smoothness and shine. By following these steps, you’ll create a base that sets the stage for a flawless blowout.

Sectioning Technique
Proper sectioning is key to achieving a professional blowout look. It allows you to focus on each area of your hair and ensures that you’re not missing any spots. Follow these steps to section your hair:
- Start by parting your hair into three sections: bottom, middle, and top.
- Divide each section into halves, creating six smaller sections in total.
- Secure each section with hair clips or elastics, keeping them separate and organized.
With your hair properly sectioned, you’ll have better control over the blow-drying process and achieve a more polished finish.
Proper Drying Technique
Rough drying your hair before using a brush is an essential step to achieve a smooth and shiny blowout. Here’s how to do it:
- Using a blow dryer on a low heat setting, gently move it around your hair to remove excess moisture.
- Use your fingers to separate and lift your hair, directing the airflow at the roots for added volume.
- Continue rough drying until your hair is about 80% dry.
Once your hair is rough-dried, it’s time to bring out the brush to create a sleek and polished look. Using a brush, work through each section from the roots to the ends, smoothing and styling as you go. The combination of rough drying and using a brush will help you achieve a flawless blowout with smooth and shiny hair.
Finishing Touches
Adding the final touches is essential to achieve a salon-worthy blowout. After styling your hair, consider using a light oil to add shine and smoothness. One highly recommended option is the Arkive Headcare Good Habit Hybrid Oil. This lightweight oil doesn’t weigh down the hair and helps create a polished, shiny finish.
Apply a small amount of the Arkive Headcare Good Habit Hybrid Oil to your ends, working your way up to avoid a greasy look. The oil’s nourishing properties will add shine and enhance the overall appearance of your blowout. Its lightweight formula ensures that your hair remains weightless and free-flowing, with a beautiful, shiny finish.
Why Choose the Arkive Headcare Good Habit Hybrid Oil?
A well-formulated, high-quality hair oil like the Arkive Headcare Good Habit Hybrid Oil can be the perfect finishing touch for your blowout. Its blend of nourishing ingredients helps to moisturize, protect, and add shine to your hair, giving you that salon-worthy finish every time.
The Arkive Headcare Good Habit Hybrid Oil is designed to provide lightweight nourishment without weighing down your hair. Its unique formula is enriched with essential oils that help smooth frizz, add shine, and promote overall hair health. By incorporating this light oil into your blowout routine, you can achieve a professional look with a gorgeous, shiny finish.

Tips for Using Hair Oil
- Start with a small amount of oil, about a pea-sized drop, and apply it to the ends of your hair.
- Work the oil through your hair with your fingers or a wide-tooth comb to distribute it evenly.
- Avoid applying oil directly to the roots to prevent a greasy appearance.
- Use hair oil sparingly, as a little goes a long way.
By following these tips and incorporating the Arkive Headcare Good Habit Hybrid Oil into your blowout routine, you can achieve a shiny, polished finish that lasts all day. Say goodbye to dull, lifeless hair and hello to gorgeous, salon-worthy results.
The ’90s Blowout Trend
The ’90s blowout is a trendy hairstyle that embraces natural texture with a smooth and frizz-free finish. It’s a low-maintenance style that doesn’t require perfect curls or pin-straight hair. This hairstyle allows for some versatility and can be achieved at home with the right techniques and products. Embracing your natural texture and opting for a bouncy, shiny blowout can give you a stylish and effortless look.
Pro Tips and Recommended Products
To achieve the best results with your blowout, here are some pro tips and recommended products:
Moisturizing Mask for Extra Hydration
Prepping your hair with a moisturizing mask like TO112 Mega Moisture Mask can provide extra hydration for frizzy hair. This deep conditioning treatment penetrates the hair shaft, nourishing and hydrating each strand for a smoother and healthier blowout result.
Smoothing Serum for Frizz Control
Using a smoothing serum like Luseta Argan Oil Hair Serum can help moisturize and eliminate frizz. The lightweight formula of this serum adds shine and smoothness to your hair, making it easier to achieve a sleek, frizz-free blowout.
Mastering the Round Brush Technique
The round brush technique is crucial for achieving a smooth and shiny blowout. Choose a medium-size, boar-bristle brush to effectively straighten and add volume to your hair. Begin by gently wrapping small sections of hair around the brush and using a blow dryer to apply heat. Slowly glide the brush through the hair, rolling it down towards the ends to create a smooth and polished finish.
An important reminder: always start with dry or towel-dried hair when using the round brush technique, as wet hair can lead to breakage and damage.
By following these pro tips and incorporating the recommended products, you can enhance your overall blowout experience and achieve salon-worthy results in the comfort of your own home.

| Product | Description |
|---|---|
| TO112 Mega Moisture Mask | A deeply hydrating mask that nourishes and moisturizes the hair, providing extra hydration for frizzy hair. |
| Luseta Argan Oil Hair Serum | A lightweight serum infused with argan oil that adds shine and smoothness to the hair, while eliminating frizz. |
| Medium-Size Boar-Bristle Round Brush | An essential tool for the round brush technique, allowing for effective straightening and smooth styling. |
Conclusion
Achieving a blowout hairstyle at home can be a fun and rewarding experience. With the right techniques, tools, and products, anyone can create a salon-worthy blowout without leaving the comfort of their home. Whether you’re looking to achieve a sleek and voluminous anime-inspired hairstyle or a bouncy ’90s blowout, following the step-by-step process and incorporating the recommended tips can help you achieve the perfect look.
By detangling and prepping your hair, choosing the right tools, and mastering the blow-drying technique, you can create a smooth base for your blowout. Sectioning your hair and using the correct drying technique ensures that every area of your hair is dry and styled. Adding finishing touches with a light oil gives your blowout a shiny finish.
Don’t forget to use recommended products such as the TO112 Mega Moisture Mask, Luseta Argan Oil Hair Serum, and a medium-size, boar-bristle round brush to enhance your blowout experience. So why wait? Start practicing your blowout skills today and transform your look with the perfect blowout hairstyle.