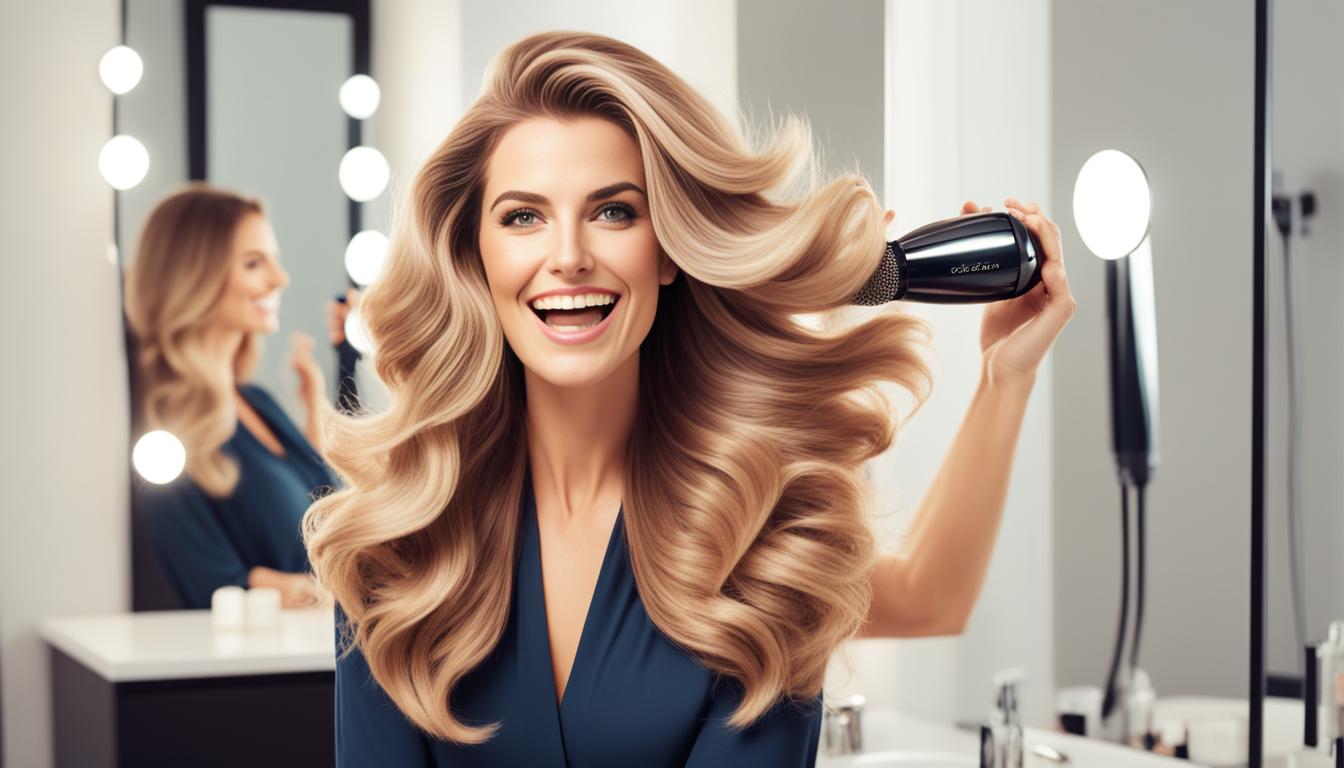
Have you ever stepped into a hair salon and been in awe of the stunning blow-dry styles that appear to be exclusive to a select few? It’s difficult to avoid feeling a bit envious as you observe their locks moving and bouncing with each movement. You desire that salon-quality blowout, yet the idea of trying to achieve it by yourself at home seems overwhelming.
Well, fear not! With the right tips and tricks, you can achieve the perfect blowout hairstyle in the comfort of your own home. Imagine the joy of stepping out with hair that demands attention, exuding confidence and style. No more wistful glances at salon-goers – you can be the one turning heads with your stunning blowout.
In this article, we will guide you through the process of achieving the perfect blowout hairstyle at home. With our step-by-step instructions and insider secrets, you’ll soon be master of the blowout, transforming your hair from ordinary to extraordinary. So, let’s dive in and unlock the secrets to achieving salon-quality results in the convenience of your own space.
Key Takeaways:
- With the right tips and tricks, you can achieve a salon-quality blowout at home.
- Follow our step-by-step instructions to master the art of the blowout.
- Choosing the right products and tools is crucial for achieving the desired results.
- Proper drying and finishing techniques enhance the longevity and appearance of your blowout.
- Maintain your blowout with a dedicated hair care routine and proper styling techniques.
Detangling and Preparation
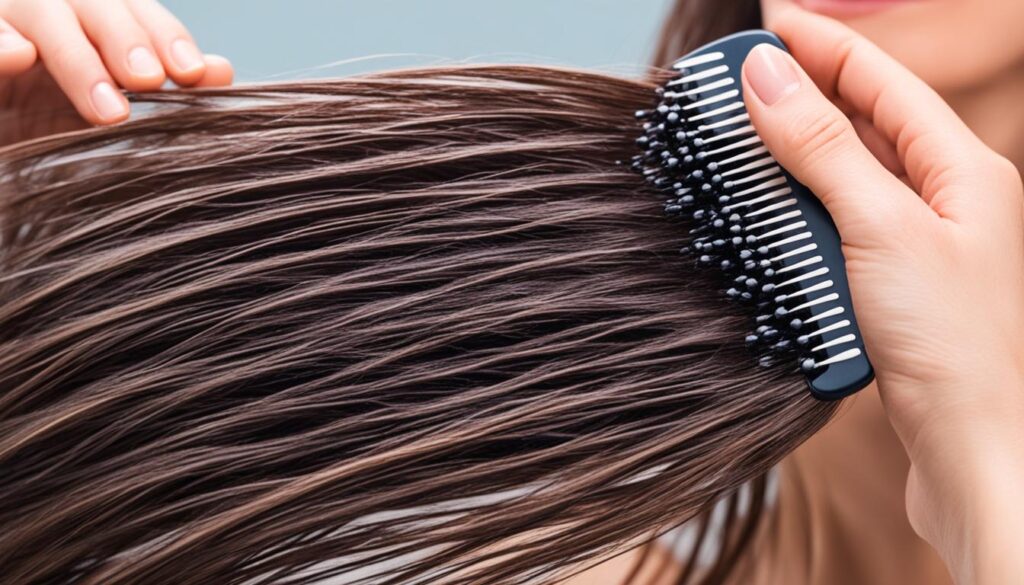
Before you begin the blowout process, it’s crucial to detangle your hair to ensure a smooth and manageable styling experience. Using a wide-tooth comb or a detangling brush will help you remove knots and tangles effectively.
Detangling your hair provides a solid foundation for achieving a flawless blowout. Start from the ends and gently work your way up, being mindful not to pull or break your hair. This method ensures minimal damage and reduces the risk of split ends.
Pro Tip: For extra stubborn tangles, apply a leave-in conditioner or detangling spray to soften the hair and make the detangling process easier.
Now that your hair is detangled, it’s time to prep and protect it before applying any heat. Using a heat protectant is essential for shielding your hair from the potential damage caused by styling tools, such as blow dryers and flat irons.
A heat protectant creates a barrier between your hair and the high temperatures, preventing moisture loss and minimizing the risk of heat-related damage. Look for a heat protectant that suits your hair type, whether it’s a spray, cream, or serum.
Pro Tip: Apply the heat protectant evenly throughout your hair, ensuring every strand is covered. Focus on the mid-lengths and ends, as these areas are typically more prone to damage.
With your freshly detangled and protected hair, you’re now ready to embark on the blowout journey and achieve salon-quality results right at home.
Detangling Tools and Products
To make your detangling process more efficient and effective, consider using the following tools and products:
| Tool/Product | Description |
|---|---|
| Wide-Tooth Comb | A wide-tooth comb is an excellent tool for detangling because its widely spaced teeth glide through the hair, minimizing breakage and reducing pulling. |
| Detangling Brush | A detangling brush is specifically designed to tackle knotty hair. Its flexible bristles gently detangle without causing pain or damage. |
| Leave-In Conditioner | A leave-in conditioner adds moisture and slip to the hair, making it easier to detangle. Look for one that is lightweight and nourishing. |
| Detangling Spray | A detangling spray is a convenient option for those who prefer a quick and easy detangling process. Spritz it on your hair to soften and loosen knots before combing through. |
By incorporating these tools and products into your detangling routine, you’ll be well on your way to achieving a smooth and manageable canvas for your blowout.
Choosing the Right Products
When it comes to protecting your hair from heat damage during styling, it’s crucial to choose the right products that suit your hair type. Different hair textures and types require different types of heat protectants, including creams, sprays, and oils. By selecting the appropriate heat protectant, you can safeguard your hair while achieving the desired blowout style.
Selecting Based on Hair Type
Your hair type plays a significant role in determining the most suitable heat protectant. Understanding your hair type will help you choose the right product that provides maximum protection without weighing your hair down.
Fine Hair: If you have fine hair, opt for lighter options like sprays or lightweight creams. These formulations provide adequate protection without adding excessive weight to your hair.
Thick or Coarse Hair: If you have thicker or coarser hair, consider using oil-based protectants. These products are typically more nourishing and moisturizing, beneficial for managing frizz and adding shine to your hair.
Keep in mind that these are general guidelines, and it’s always a good idea to consult with your stylist for personalized recommendations based on your specific hair needs.
| Hair Type | Recommended Heat Protectant |
|---|---|
| Fine Hair | Sprays or Lightweight Creams |
| Thick or Coarse Hair | Oil-Based Protectants |

Choosing the right heat protectant is crucial for maintaining healthy hair while achieving the perfect blowout. Consider your hair type and opt for products that provide the necessary protection without compromising the desired style.
Step-by-Step Blowout Technique
The blowout technique is a tried and tested method to create volume, smoothness, and shape in the hair. To achieve exceptional results, it’s crucial to follow a step-by-step process that guarantees an impeccable blowout. Here’s how you can achieve the perfect blowout at home:
- Rough dry: Start by rough drying your hair until it’s approximately 80% dry. Use a blow dryer on medium heat and high airflow to remove excess moisture. This initial drying step lays the foundation for a flawless blowout.
- Section your hair: Divide your hair into sections using hair clips or hair ties. This allows for better control and ensures that every section of your hair receives equal attention during styling.
- Round brush magic: Grab your trusty round brush and start with the first section. Using the brush, grab a small section of hair and place the brush at the roots. Slowly glide the brush through the hair while simultaneously directing hot air from the blow dryer over the brush. This technique creates tension and shapes the hair, resulting in a smooth and sleek finish.
- Repeat the process: Continue round brushing and blow drying section by section until you’ve completed your entire head. Remember to take your time and focus on achieving the desired shape and volume.
By using a combination of a blow dryer and a round brush, you can effortlessly achieve a salon-quality blowout at home. This technique provides lasting volume and a polished look that will make heads turn.
Choosing the Right Tools
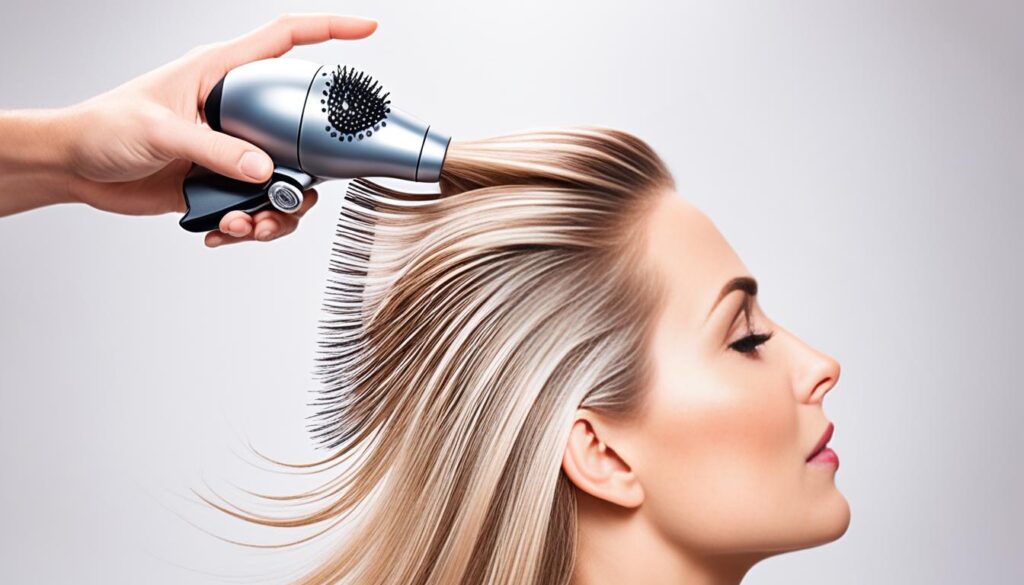
When it comes to achieving the perfect blowout hairstyle, having the right tools can make all the difference. Two popular options that combine the functions of a blow dryer and a brush are the Dyson Airwrap and the Revlon One-Step Volumizer. These innovative tools streamline the styling process, making it easier and more efficient to create a salon-worthy blowout at home.
For those who prefer a more traditional approach, a medium-size, boar-bristle round brush is recommended. This type of brush provides the ideal tension and control while using a blow dryer, resulting in a smooth and polished finish.

Comparison: Dyson Airwrap vs. Revlon One-Step Volumizer
| Feature | Dyson Airwrap | Revlon One-Step Volumizer |
|---|---|---|
| Versatility | Offers multiple attachments for various styles | Features a built-in brush for voluminous results |
| Heat Settings | Adjustable temperature and airflow | Two heat and speed options for customization |
| Size | Compact and lightweight design | Ergonomic and easy to handle |
| Price | Higher-end option | More budget-friendly |
Both the Dyson Airwrap and the Revlon One-Step Volumizer offer unique benefits and can deliver exceptional results. The choice between the two ultimately depends on personal preference, desired features, and budget.
Remember, the right tools are just one part of achieving a flawless blowout. Pairing them with the appropriate products and techniques will help you achieve salon-quality results every time.
Proper Drying Technique
When blow drying your hair, it’s crucial to employ a proper drying technique to minimize damage and achieve a smooth and shiny finish. Follow these steps to ensure optimal results:
- Start by air drying your hair partially
- Once your hair is about 85%-90% dry, use a round brush in combination with the blow dryer
- Gently glide the round brush through sections of your hair while directing the flow of hot air from the blow dryer
- Continue the process until your hair is completely dry
Avoid going straight from wet to blow drying, as this can cause excessive heat exposure and potential damage to your hair strands. By allowing your hair to air dry for a while, you can remove excess moisture naturally.
Using a round brush while blow drying helps to shape and smooth the hair, giving it a polished and salon-worthy look. Remember to select a round brush size that suits your desired level of volume and style.
By combining the warmth of the blow dryer with the tension and control of the round brush, you can achieve a smooth and shiny finish. Work from the roots to the ends, ensuring that each section receives equal attention.
Be patient and thorough to eliminate any remaining moisture and achieve the desired level of smoothness and shine. Remember to maintain a safe distance between the blow dryer and your hair to avoid excessive heat exposure.
By following these proper drying techniques, you can minimize damage while maximizing the smoothness and shininess of your blowout hairstyle.
Comparing Different Drying Techniques
| Drying Technique | Advantages | Disadvantages |
|---|---|---|
| Air Drying |
|
|
| Rough Drying |
|
|
| Round Brush Blowout |
|
|
Finishing Touches
To add the finishing touches to your blowout hairstyle, consider using a lightweight oil or serum to enhance shine and smoothness. Applying a small amount of oil to the ends of your hair can help to reduce frizz and add a glossy finish. Be cautious not to use too much product, as it can weigh down the hair and make it appear greasy. Focus on the ends and work your way up to maintain a balanced and polished look.
However, not all oils are suitable for every hair type. Different oils have varying properties that cater to specific hair needs. It’s essential to choose an oil that will complement your hair type and provide the desired results. Here are some popular oils and their benefits:
| Oil | Benefits |
|---|---|
| Argan oil | Provides hydration and nourishment while adding shine |
| Jojoba oil | Mimics the natural oils of the scalp, balancing moisture levels |
| Coconut oil | Penetrates the hair shaft, reducing protein loss and adding shine |
When applying oil, start with a small amount and gradually increase if needed. Focus on the ends of your hair, where it tends to be drier and more prone to damage. Gently massage the oil into the ends, smoothing it out to distribute it evenly. Avoid applying oil directly to the roots, as this can weigh down the hair and make it look greasy.
Additional Tips for Using Hair Oil:
- Use oil sparingly, as a little goes a long way.
- Apply hair oil on damp or dry hair, depending on your hair’s needs.
- Consider using a hair serum if you prefer a lightweight option.
- Look for oils or serums that are specifically formulated for shine and smoothness.
- Avoid applying oil too close to the scalp if you have oily roots.
Using a lightweight oil or serum can be the final step to achieving a beautifully styled blowout hairstyle. It adds that extra touch of shine and smoothness while providing nourishment and protection to your hair. Experiment with different oils to find the one that works best for you, and enjoy the stunning results.

Maintenance and Longevity
To maintain the longevity of your blowout hairstyle, proper hair care and styling techniques are essential. By incorporating a few simple strategies into your routine, you can preserve the smoothness and shape of your blowout, keeping it looking fresh and voluminous for longer.
Sleeping Techniques
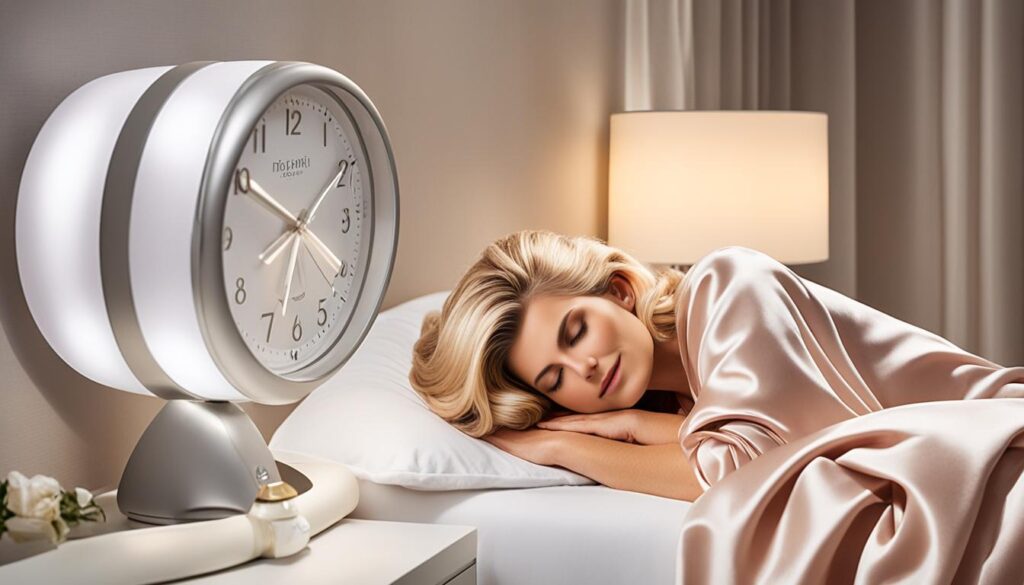
One of the key factors in preserving your blowout is how you sleep. To prevent friction and maintain the smoothness of your hair, consider using a silk or satin pillowcase. These materials are gentle on the hair and minimize friction, reducing the likelihood of frizz and tangles. By sleeping on a silk or satin surface, you can wake up with your blowout still intact and ready to go.
Preventing Frizz and Shape Disruption
Throughout the day, it’s important to avoid excessive touching or brushing of your hair to prevent frizz and maintain the shape of your blowout. Constantly running your fingers through your hair can disturb the carefully styled strands and cause unwanted frizz. If you need to tame any flyaways, try using a small amount of lightweight hair oil or smoothing serum to gently pat down the unruly strands without disrupting the overall hairstyle.
If you find that your hair becomes oily or loses its volume between washes, dry shampoo can be your secret weapon. Simply apply a small amount to the roots and gently massage it into the scalp to absorb excess oil and refresh your hair. This will help extend the life of your blowout and keep it looking fresh for longer.
Conclusion
Mastering the art of a blowout hairstyle at home is achievable with the right tools, products, and techniques. By following the steps outlined in this article, you can achieve salon-quality results and transform your hair into a bouncy and voluminous style.
Remember to choose the appropriate heat protectant for your hair type and use the correct tools, such as a blow dryer and a round brush, to achieve the desired blowout effect. Employ proper drying techniques, including air drying and using a round brush, to ensure a smooth and shiny finish.
With practice and patience, you can become a pro at creating a blowout hairstyle at home. So go ahead, embrace your inner stylist, and let your hair shine with a fabulous blowout that transforms your look and boosts your confidence.
