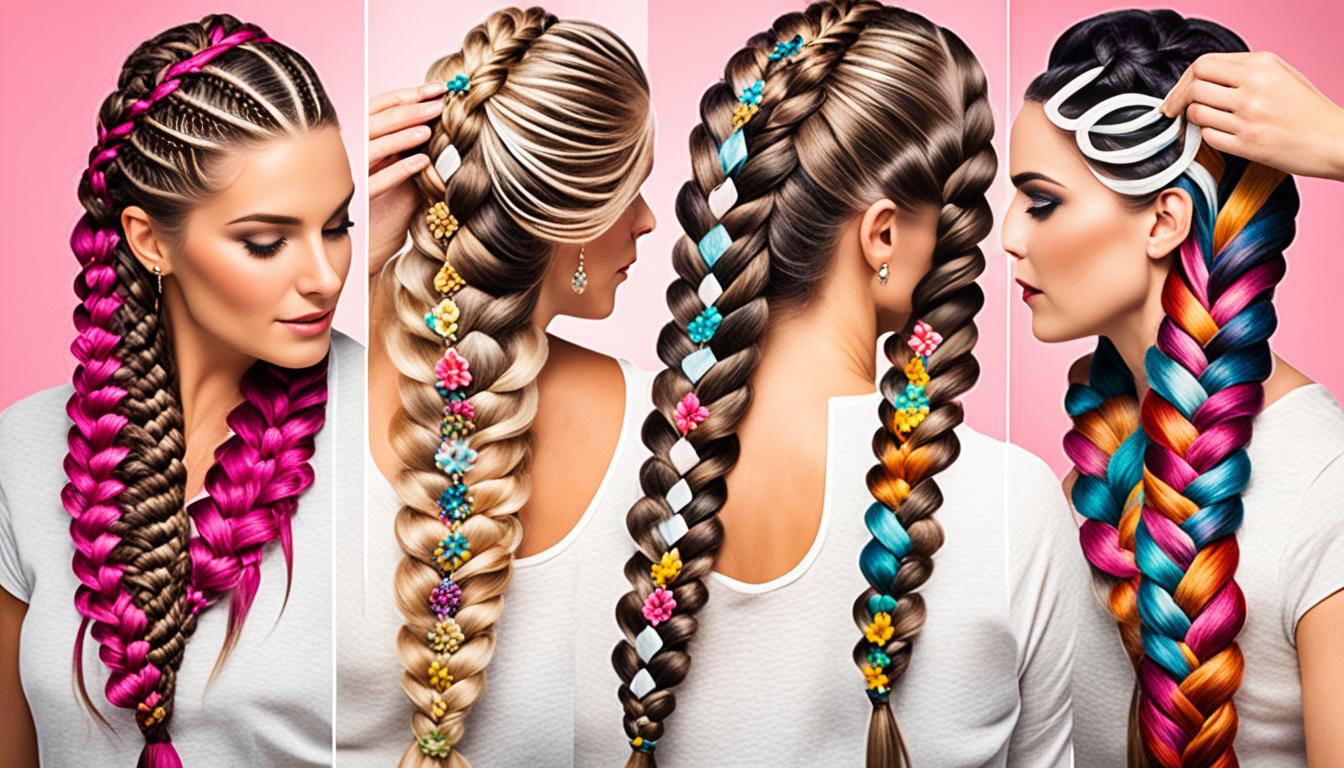
Did you know that braiding is not only a popular way to style hair but also an ancient art form that has been around for thousands of years? Braids have the ability to transform your hair, creating stunning hairstyles that will turn heads wherever you go. Whether you want a casual look for everyday activities or a more elegant style for a special occasion, mastering the art of braiding is key to achieving flawless hairstyles.
At Our Hair Magazine, we understand the importance of a well-executed braid. That’s why we’ve gathered valuable expert advice and techniques to help you take your braiding skills to the next level. Whether you’re a beginner or an experienced braider, our tips and tricks will guide you in creating flawless braided hairstyles that will make you feel confident and stylish.
Key Takeaways:
- Discover expert tips and techniques to create perfect hairstyles with braids.
- Prepare your hair properly by detangling and dampening it, according to your desired braided look.
- Create a secure base for your braids by tying your hair into a ponytail.
- Divide your hair evenly into sections to ensure a balanced and well-executed braid.
- Master the basic braiding technique of crossing sections to create a beautiful braid.
Prepare your hair for braiding
Before you start braiding, it’s important to prepare your hair properly. Follow these steps to ensure a smooth and successful braiding experience.
Detangle hair
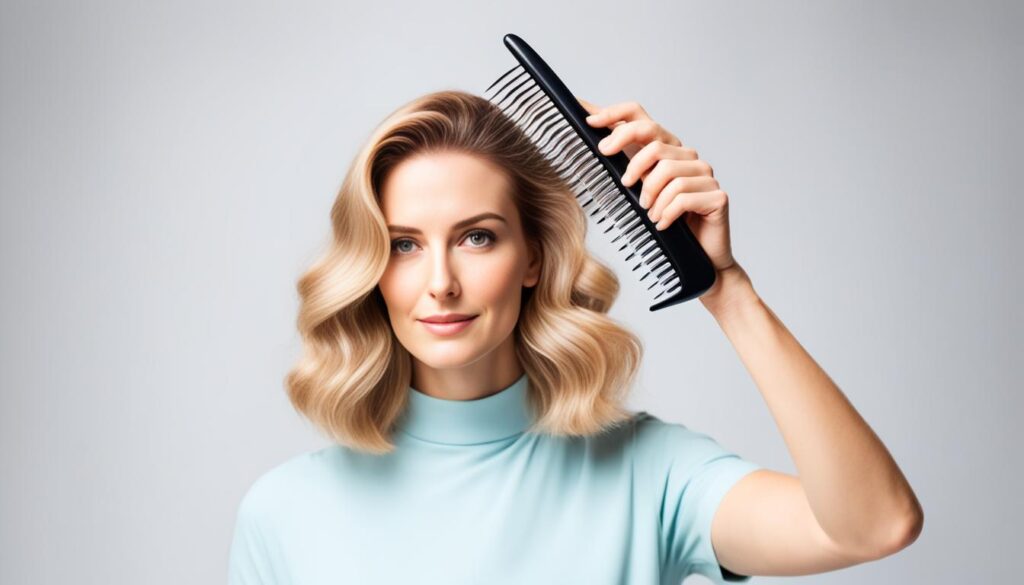
To begin, grab a brush or wide-toothed comb to detangle your hair. Start from the ends and work your way up towards the roots, gently working out any knots or tangles. This will make the braiding process smoother and faster, giving you a polished end result.
Dampen hair (optional)
If you have thick or layered hair, dampening it with water or a leave-in conditioner can make it more manageable for braiding. Simply lightly mist your hair with water or apply a small amount of leave-in conditioner from roots to ends. This will help to reduce frizz and make your hair easier to work with.
Braiding on dry hair
If you prefer a smooth and tight braid, braiding on dry hair is the way to go. Dry hair provides more grip and control, resulting in a neatly braided hairstyle. This technique works particularly well for intricate or detailed braids that require precision.
To get the best results, consider braiding your hair a few days after washing. Slightly oily hair holds a braid better and reduces flyaways, ensuring your braided hairstyle lasts longer.
Create a secure base
When it comes to braiding, creating a secure base is essential for a flawless and long-lasting style. One of the easiest ways to achieve this is by tying your hair into a ponytail.
To create a ponytail, gather all your hair and hold it tightly with one hand. Then, use a hair tie to secure it in place. Make sure the ponytail sits at the desired location on your head, whether it’s high, medium, or low.
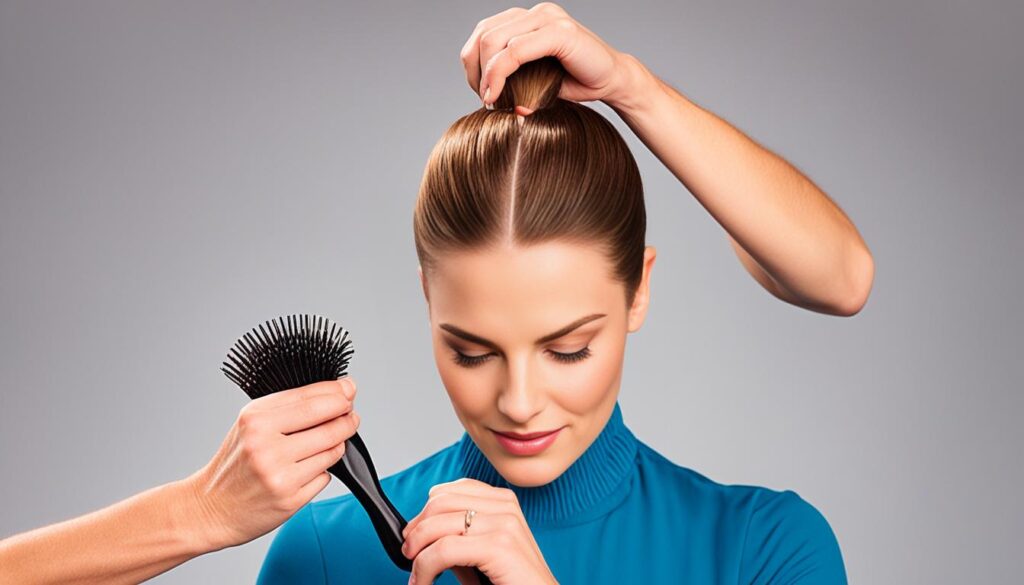
Tying your hair into a ponytail before braiding offers several benefits. First, it keeps your hair organized and easy to handle, allowing for a smoother and more efficient braiding process.
Additionally, the ponytail acts as a strong anchor for your braid, keeping it secure and preventing it from unraveling. With the hair neatly gathered, you can achieve a neater and more polished braid with ease.
Once you’ve mastered braiding with a ponytail, you can take your braiding skills to the next level by braiding loose hair at the nape of your neck. Braiding loose hair offers more versatility and allows for a wider range of hairstyles.
Braiding loose hair provides a softer and more natural look, making it perfect for casual or bohemian-inspired hairstyles. It also gives you the freedom to experiment with different textures and create unique braided hairstyles.
Whether you choose to tie your hair into a ponytail or braid loose hair, creating a secure base is the first step towards achieving flawless braided hairstyles. So grab your favorite hair tie and get ready to create stunning braids that will turn heads!
Divide hair into sections
When it comes to braiding, dividing your hair evenly into sections is key to achieving a polished and balanced look. To begin, separate your hair into three equal sections, which will serve as the foundation of your braid. You can use either your fingers or a comb to divide the hair, ensuring that each section is as even as possible.
As you divide the hair, it’s important to hold the strands securely in your hand, grasping them against your palm. This will provide stability and control as you start braiding. Keep your index fingers and thumbs free, as they will be used for manipulating the strands during the braiding process.
By paying attention to this initial step and dividing your hair evenly, you’ll set yourself up for success in creating a beautifully braided hairstyle.
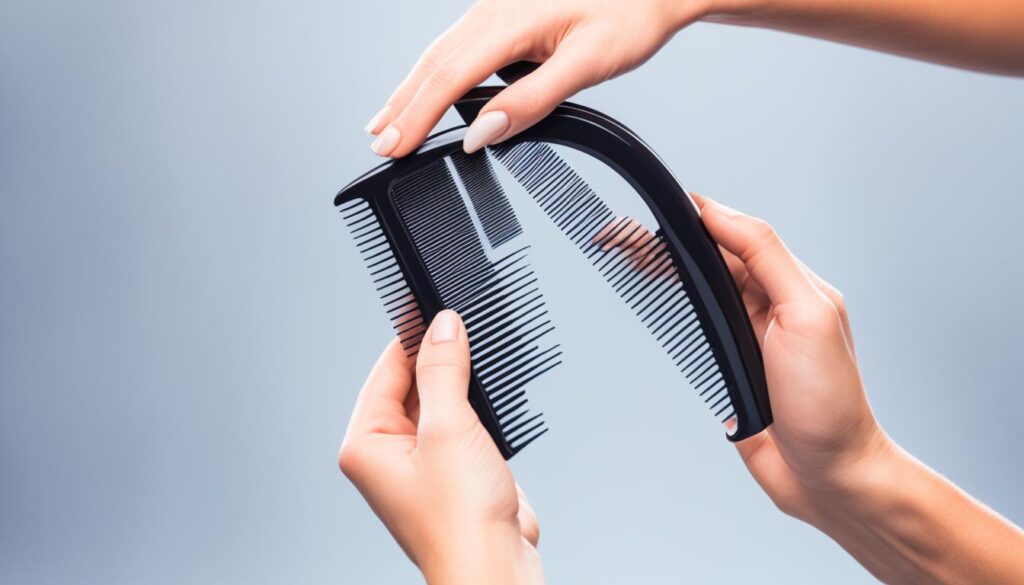
Benefits of Dividing Hair Evenly
| Benefits | Explanation |
|---|---|
| Uniform appearance | Dividing the hair evenly ensures a balanced braid with consistent sizing and tension. |
| Easier braiding process | An even division of hair provides a clear structure and makes it easier to work with each section during the braiding process. |
| Neater finished look | When the hair is evenly divided, it results in a neater and more polished braid, enhancing the overall appearance of your hairstyle. |
| Reduced risk of tangles | By separating the hair into equal sections, you minimize the chances of tangling or uneven pulling during the braiding process. |
Cross sections for a basic braid
The basic technique for braiding involves crossing the left section over the middle section and then crossing the right section over the middle section. To begin, grab the section of hair in the middle with the index finger and thumb of your left hand. Then, use the index finger and thumb of your right hand to grab the left section of hair that’s against your left palm, switching their positions. Repeat this process with the right section, grabbing it with your right hand and crossing it over the middle section.
Continue crossing the left and right sections over the middle section until you reach the end of your hair. As you braid, remember to tighten the braid for a neat and secure finish.

Example: Basic Braid Technique
| Step | Description |
|---|---|
| 1 | Divide your hair into three even sections – left, middle, and right. |
| 2 | Hold the middle section with the index finger and thumb of your left hand. |
| 3 | Use the index finger and thumb of your right hand to grab the left section of hair, switching its position with the middle section. |
| 4 | Repeat step 3, but this time with the right section of hair, crossing it over the middle section. |
| 5 | Continue alternating between crossing the left and right sections over the middle section until you reach the end of your hair. |
| 6 | Tighten the braid as you go to ensure a secure and polished look. |
Secure the braid
Once you’ve reached the end of your stunning braid, it’s time to secure it with a hair tie. Ensuring that your hard work stays intact, use a hair tie to wrap around the base of the braid multiple times, creating a secure hold. The hair tie should be tight enough to keep the braid in place while still maintaining comfort.
When selecting a hair tie, it’s crucial to avoid using rubber bands. Rubber bands can cause damage to your hair and can be difficult to remove without causing breakage. Instead, opt for a gentle and hair-friendly option such as a ponytail holder that matches your hair color or a translucent one that blends in seamlessly with your braid, giving it a more natural and polished appearance.
To ensure the longevity of your braid and prevent any unruly strays, consider using a hairspray or spray gel. Lightly misting the entire length of your braid from a distance of about 12 inches will help set the style and keep it looking flawless throughout the day.
| Secure the Braid Checklist: |
|---|
| Use a hair tie to wrap around the base of the braid several times |
| Avoid using rubber bands to prevent hair damage |
| Opt for a hair-friendly ponytail holder that matches your hair color or is translucent |
| Consider using hairspray or spray gel to set the style and prevent flyaways |
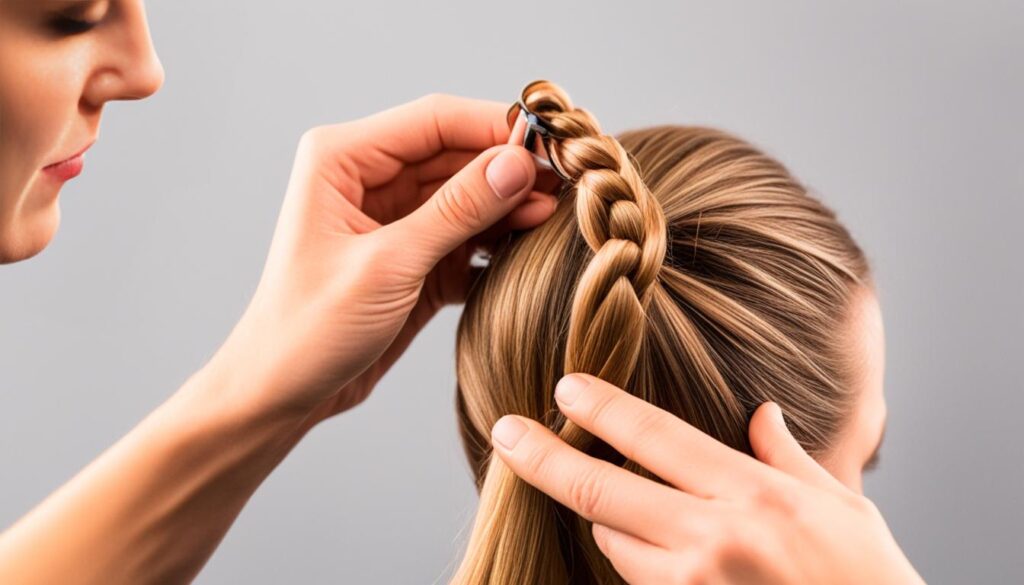
Set the braid with hairspray
After creating a beautiful braid, you’ll want to make sure it stays in place all day and looks flawless. To prevent flyaways and keep your braid intact, hairspray is your best friend. Applying hairspray or spray gel will set your braid and give it extra hold.
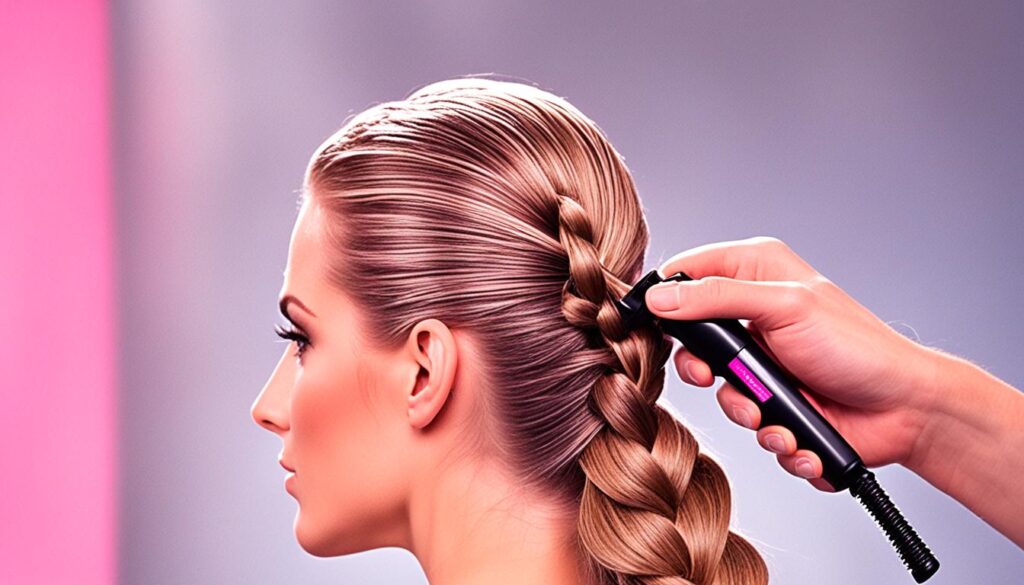
Hold the hairspray about 12 inches away from your head and lightly mist the entire length of your braid. The hairspray will provide a protective shield, preventing individual strands from escaping and ruining your hairstyle. Make sure to apply hairspray evenly, paying attention to any areas where flyaways tend to occur, such as the front or crown of your head.
Don’t forget to apply hairspray before adding accessories
If you’re planning to add accessories like headbands or clips to your braid, it’s important to apply the hairspray before adding them. This will ensure that the accessories stay in place and don’t cause your braid to loosen or unravel throughout the day. By setting your braid with hairspray first, you create a solid foundation that will hold your accessories securely.
Additionally, applying hairspray before adding accessories allows the hair to dry and set, reducing the chances of any stray hairs or flyaways popping out as you style. This step will give your braid a polished and professional look.
For added shine and smoothness, you can also apply a shine serum along the length of your braid. This will give your braid a healthy and glossy appearance, making it the star of your hairstyle.
Add fun accessories to your braid
Make your braid stand out with some fun and stylish accessories. Enhance your braided hairstyle with colorful ribbons, cute hair pins, brooches, or headbands. These accessories can add a touch of personality and creativity to your braid, making it truly unique.
One way to accentuate your braid is by using colorful ribbons. You can tie a colorful ribbon around the end of your braid, creating a beautiful bow that adds flair and vibrancy to your hairstyle. This simple addition can instantly make your braid more eye-catching and playful.
Another option is to accessorize your braid with cute hair pins or brooches. These small decorative items can be strategically placed along your braid to add sparkle and charm. Choose pins or brooches that match your personal style and complement the overall look of your braid.
If you want to add a touch of elegance to your braid, consider using headbands. Headbands can be placed at the top of your head, just above your forehead, to hold back your bangs and add a sophisticated touch to your braid. You can also use decorative clips or barrettes to secure your braid and add an extra element of style.
Get creative with your accessories and experiment with different combinations to find the ones that best suit your style and personality. Whether you opt for colorful ribbons, cute hair pins, brooches, or headbands, these accessories will take your braided hairstyle to the next level, making it truly standout and unforgettable.
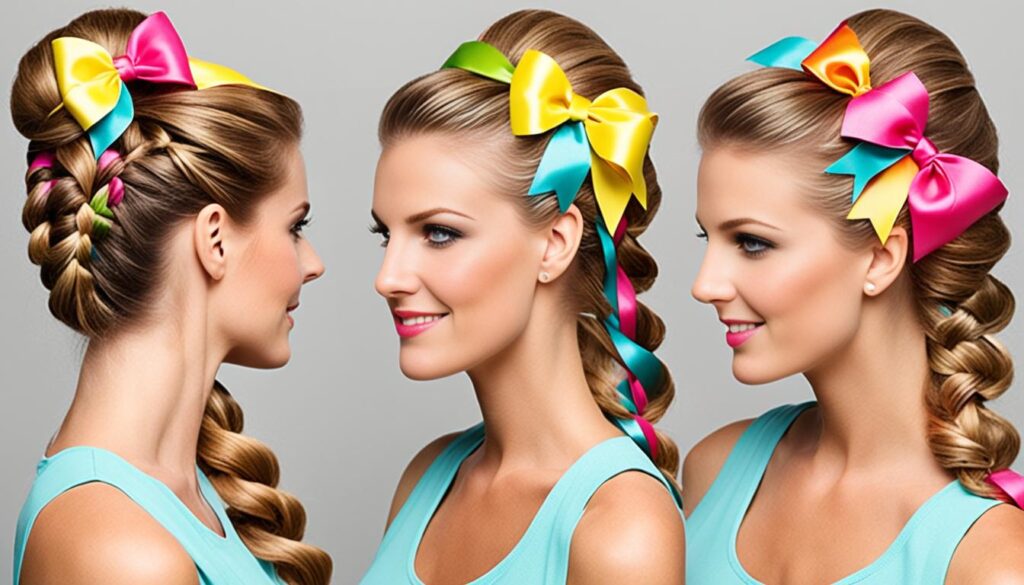
| Accessories | Description |
|---|---|
| Colorful Ribbons | Add a pop of color and create a playful look with vibrant ribbons tied around your braid. |
| Cute Hair Pins | Decorate your braid with cute hair pins for a touch of sparkle and charm. |
| Brooches | Add an elegant touch to your braid by pinning decorative brooches along its length. |
| Headbands | Hold back your bangs and add sophistication to your braid with stylish headbands. |
Explore different braid variations
Traditional braids offer endless possibilities for creating versatile hairstyles. They can be incorporated into other styles to add a unique touch. Here are a few ways you can experiment with different braid variations:
Braided accent braid

Add a trendy accent braid to your hairstyle for an eye-catching look. Create a small braid that hangs loose, framing your face. You can also pin it across your head to create a headband effect. This style adds a touch of bohemian charm to any outfit.
Braided ponytail
Elevate a simple ponytail by adding a braid to it. Start by tying your hair into a ponytail and then braid the length of it. Secure the end with a hair tie. This braided ponytail adds texture and a stylish twist to a classic hairstyle.
Full head of braids
If you’re feeling adventurous, try braiding all of your hair or small sections of it to create a completely new look. This style works well for medium to long hair and adds a unique and intricate element to your overall appearance.
“Braiding is a form of art, enabling you to express your creativity while experimenting with different hairstyles.”
By exploring different braid variations, you can discover new styles that suit your personality and enhance your overall look. Don’t be afraid to experiment and have fun with your braided hairstyles!
Get creative with French braids
French braids are a versatile and stylish choice for braided hairstyles. To achieve the perfect French braid, there are a few important steps to follow.
Before starting your French braid, it’s essential to detangle your hair thoroughly. Use a brush or wide-toothed comb to remove any knots or tangles, ensuring a smooth and seamless braid.
To create the starter section for your French braid, begin by grabbing the hair closest to your forehead and temples. This section will serve as the foundation for the braid. Divide it into three equal parts, and hold them with your fingers.
Now, begin crossing the strands over each other, starting with the outer strands. Take the left strand and cross it over the middle strand so that it becomes the new middle strand. Next, take the right strand and cross it over the middle strand, switching their positions.
As you continue braiding, add more hair to each strand before crossing them over. This will incorporate more hair into the French braid and create a beautiful, woven effect. Keep repeating this process, adding hair from both sides, until you reach the end of your hair.
French braids work well on different hair textures, from straight to curly. You can also experiment with starting the braid at various points on the head, such as the crown or nape of the neck, to achieve different looks.
Remember to keep the braid tight as you go along, and secure it with a hair tie once you reach the end. You can also use hairspray or styling gel to keep any flyaways in place and add extra hold to your French braid.
Create a Stunning French Braid
To create a stunning French braid:
- Detangle your hair thoroughly to ensure a smooth braid.
- Create a starter section at the temples by grabbing the hair closest to the forehead and temples.
- Divide the starter section into three equal parts.
- Cross the outer strands over the middle strand, adding more hair to each strand as you go along.
- Continue braiding in this manner until you reach the end of your hair.
- Secure the braid with a hair tie and style as desired.
French braids are a fabulous way to elevate your hairstyling game. With a little practice, you’ll be able to create beautiful and intricate French braids that will turn heads wherever you go!
Try the waterfall twist braid
The waterfall twist is a unique twist on traditional braiding. Instead of braiding, we twist sections of hair to create a dazzling waterfall effect. This elegant style gives the illusion of a braid without the actual braiding technique, making it a great option for those who want a twist instead of a braid.
To create the waterfall twist, start with a two-inch section of hair. Cross the pieces over each other, continually adding new hair as we go. This twisting technique creates a cascading effect that resembles a waterfall.
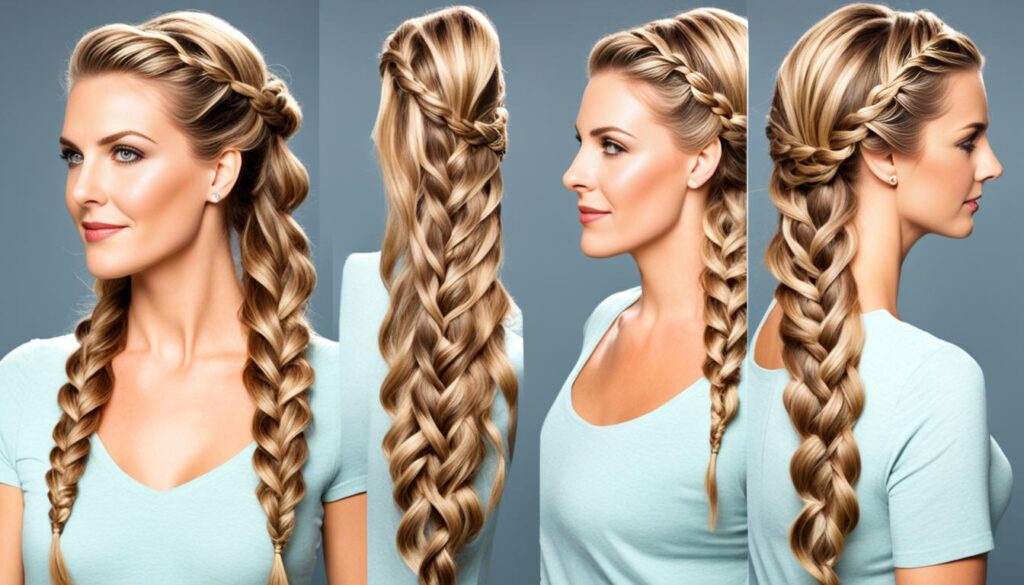
Continue twisting the hair until we reach the back of the head. Then, secure the ends with an elastic to keep the twist in place. The result is a stunning hairstyle that will surely turn heads.
The waterfall twist braid is versatile and works well with various hair lengths and textures. Whether you have long, flowing locks or a stylish bob, this hairstyle adds a touch of elegance to any look. Plus, it’s relatively easy to achieve and requires minimal tools.
So, why not try the waterfall twist braid for your next special occasion or as a chic everyday hairstyle? You’ll create a waterfall effect that will leave everyone in awe of your style and creativity.
Experiment with milkmaid braids
If you’re looking for a classic and romantic hairstyle, milkmaid braids are the perfect choice. This elegant style exudes charm and is ideal for special occasions or when you want to achieve a bohemian-inspired look.
To create milkmaid braids, start by parting your hair in the middle to achieve an even and balanced appearance. Then, divide your hair into two equal sections and create classic pigtail braids on each side.
Now comes the fun part – wrapping the braids over your head to achieve the milkmaid effect. Take one braid and position it over your head near the forehead, securing it in place with bobby pins. Make sure to tuck any loose ends neatly for a polished look.
Next, take the other braid and wrap it under your head near the nape of your neck. Secure it with bobby pins, making sure it feels secure and comfortable. If needed, you can use additional bobby pins to keep the braids in place.
This elegant and whimsical hairstyle is perfect for weddings, garden parties, or any event where you want to make a statement. It adds a touch of romance and sophistication to your overall look, making you stand out in the crowd.
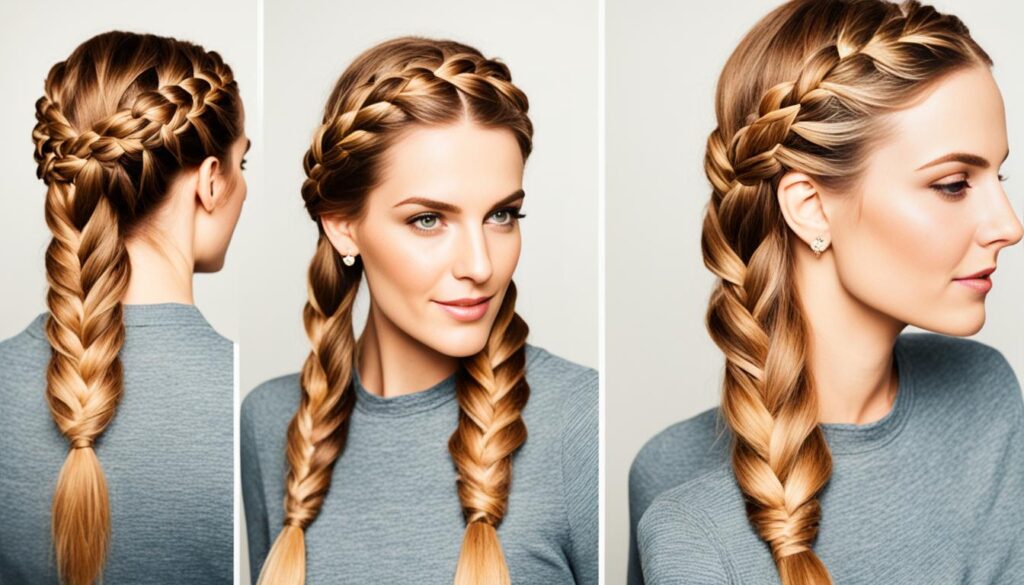
So, embrace your inner bohemian goddess and try out milkmaid braids for your next special occasion. You’ll feel like a true princess with this stunning hairstyle.
Embrace the faux fishtail braid
If you love the look of a fishtail braid but find it challenging to create, the faux fishtail braid is an excellent alternative. This style involves creating multiple sections of hair and twisting them to create the appearance of a fishtail braid. Start by dividing your hair into sections and twist each section, securing it with an elastic. Combine all the twisted sections at the end and secure them with a small elastic for a seamless faux fishtail braid.
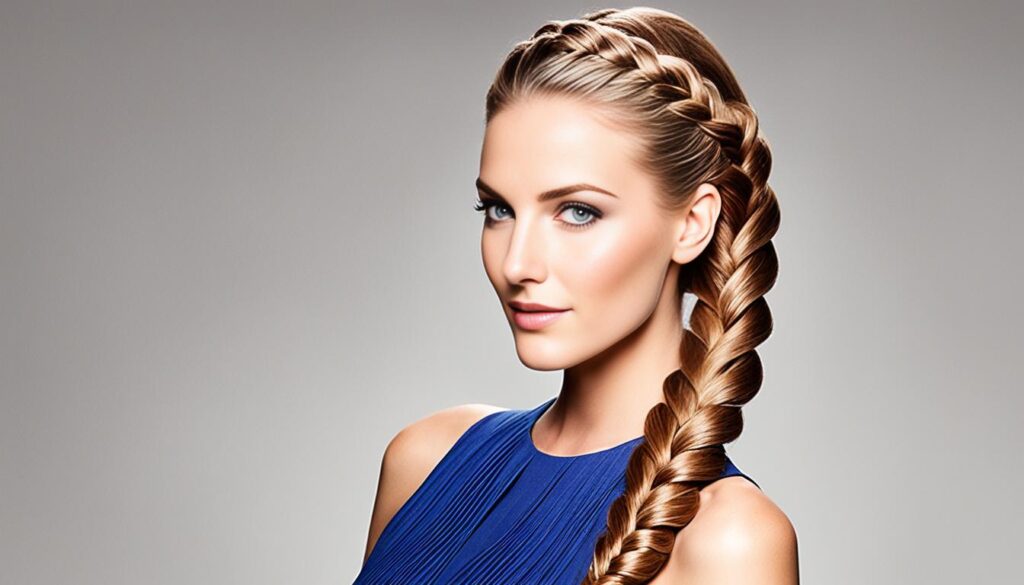
Tips for creating a faux fishtail braid:
- Divide your hair into equal sections to ensure a balanced braid.
- Twist each section tightly to create a defined look.
- Secure each twisted section with a small elastic to keep them in place.
- Combine all the twisted sections at the end and secure them with a final elastic.
- Use hairspray to tame any flyaways and enhance the longevity of the faux fishtail braid.
“The faux fishtail braid is a great way to achieve the look of a fishtail braid without the complexity. It’s a versatile style that can be dressed up or down for any occasion.” – Professional Hairstylist
With the faux fishtail braid, you can effortlessly create the illusion of a fishtail braid, adding a touch of elegance to your hairstyles. Secure each section with elastics, and you’ll have a stunning faux fishtail braid that will turn heads.
| Faux Fishtail Braid Benefits |
|---|
| Creates the illusion of a fishtail braid |
| Easy to create |
| Suitable for various hair lengths and textures |
| Versatile for different occasions |
| Secure with elastics for a long-lasting style |
Choose the right braiding technique for your hair type
The success of your braided hairstyle depends on matching your hair type with the appropriate braiding style. Additionally, considering your hair texture can help you achieve optimal results. Let’s explore how different hair types and textures can influence the choice of braiding technique.
Braiding Techniques for Kinkier Hair Textures
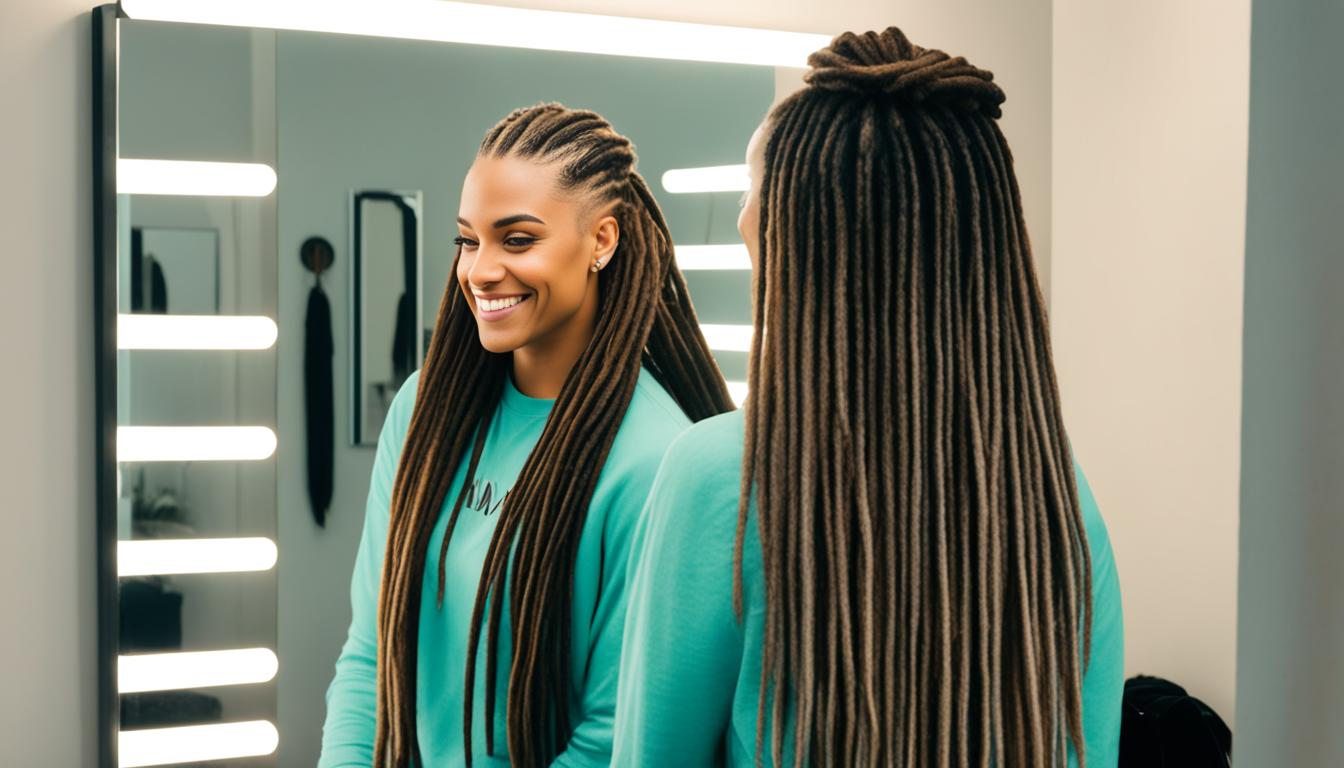
For those with kinkier hair textures, such as type 4C hair, braids tend to hold better during installation. This is due to the natural texture and coarseness of the hair, which provides a firm foundation for creating neat and secure braids. Individuals with kinkier hair can experiment with various braid styles, including box braids, cornrows, Senegalese twists, and faux locs, to achieve stunning and long-lasting looks.
Braiding Techniques for Straight or Coiled Hair
Straight or coiled hair may require additional styling techniques to ensure that the ends blend seamlessly into the braid. Depending on your desired style, you can choose from a variety of braiding options that work well with straight or coiled hair, such as French braids, Dutch braids, fishtail braids, and halo braids. These styles allow you to showcase the natural beauty of your hair while adding a touch of creativity to your overall look.
If you have straight or coiled hair and wish to achieve a smoother and more polished finish, you can incorporate hair extensions or use gel or edge control products to neaten the braiding process. These techniques help create a seamless blend between your natural hair and the braid, resulting in a flawless hairstyle.
Consulting a Stylist for Personalized Advice
Every individual has a unique hair type and texture, making it essential to consult a professional stylist to determine the best braiding technique for your specific needs. A skilled stylist can assess your hair type, take into account your desired style and preferences, and recommend a braiding technique that will suit you best. Seeking expert advice ensures that you achieve a hairstyle that complements your natural features and enhances your overall look.
| Hair Type | Ideal Braiding Techniques |
|---|---|
| Kinkier Hair | Box braids, Cornrows, Senegalese twists, Faux locs |
| Straight or Coiled Hair | French braids, Dutch braids, Fishtail braids, Halo braids |
Conclusion
Braiding is a versatile hairstyling technique that can elevate your hair game. With the expert braiding tips provided in this article, you’re now equipped with the knowledge to create perfect hairstyles with braids. Whether you’re a beginner or an experienced braider, these tips will help you achieve flawless braided hairstyles and elevate your overall hair styling skills.
From properly preparing your hair to dividing it into sections, each step plays a crucial role in creating the perfect braid. Remember to create a secure base by tying your hair into a ponytail and cross the sections for a basic braid. Secure your braid with a hair tie and use hairspray to set it and prevent flyaways.
Don’t be afraid to add fun accessories to your braid, such as colorful ribbon, cute hair pins, or headbands, to make it stand out. Explore different braid variations and try your hand at French braids, waterfall twist braids, or milkmaid braids to achieve unique looks.
Lastly, it’s important to consider your hair type and texture when choosing the right braiding technique. Whether you have straight, coiled, or kinkier hair, there is a braiding style that will work for you. By experimenting and practicing with these expert braiding tips, you can elevate your hair game and confidently rock the perfect hairstyles with braids.
