You can create stunning nail art without breaking the bank by using budget-friendly tools and household items. Invest in quality nail art brushes and dotting tools for precise designs. For quick alternatives, use bobby pins for dots, toothpicks for intricate lines, or old toothbrushes for an abstract splatter effect. Striping tape offers clean lines, while kitchen sponges can blend colors beautifully for an ombre effect. Consider affordable kits that include multiple tools, too. With creativity, you can achieve gorgeous results without overspending. Keep going to discover even more tips and tricks for your DIY nail art journey!
Key Takeaways
- Utilize the Teenitor Nail Art Kit for affordable brushes and dotting tools to create intricate DIY designs without breaking the bank.
- Household items like bobby pins and toothpicks can effectively substitute for professional nail art tools to create unique patterns.
- Nail striping tapes are inexpensive and allow for clean, straight lines in geometric designs, enhancing the overall look of your nails.
- Kitchen sponges can be used for a beautiful ombre effect, providing a salon-quality gradient finish at home.
- Invest in a high-quality base and top coat to ensure your DIY nail art lasts longer and maintains a professional appearance.
Essential Nail Art Tools

When it comes to creating stunning nail art, having the right tools at your fingertips is essential. A quality nail art brush, including flat, liner, and detailer brushes, allows you to achieve precise application and intricate designs.
Don't forget about dotting tools; they help you create uniform dots and patterns with ease. With various-sized ends, these tools cater to all your design needs. Additionally, you can draw inspiration from glamorous makeup styles to complement your nail art with stunning colors and bold designs.
For those who prefer a simpler approach, nail stickers, especially 3D designs, elevate your painted nails without requiring advanced techniques. They're perfect for beginners!
Striping tape is another must-have; it enables you to draw clean, thin lines, making geometric patterns and intricate detailing a breeze.
Lastly, investing in a quality base coat and top coat is vital. These products not only enhance the durability of your nail art but also improve the overall appearance, ensuring a professional finish at home.
With the right combination of nail polishes and tools, you can create stunning nail art that showcases your unique style and creativity. So gather your essential tools, and get ready to transform your nails into a masterpiece!
Creative Household Alternatives

You don't need to invest in expensive tools to create beautiful nail art; many household items can work just as well. By tapping into your creativity, you can make stunning nail art designs right at home using these household alternatives: Using tools like best automatic hair curlers for effortless styling can inspire your nail art creativity as well.
- Bobby Pin: Use the beaded end to create polka dots or floral designs by dipping it in your favorite polish. It's a simple and effective tool for adding intricate details.
- Toothpicks: These are perfect for intricate line work or marbled effects. Swirl different colors of polish together with a toothpick for a unique design that stands out.
- Old Toothbrush: Give your nails an abstract splatter effect by dipping the bristles in polish and flicking them onto your nails. It's a fun way to add texture and creativity to your look.
For clean lines and geometric shapes, try using clear tape. Apply it to your nails before painting and remove it once dry for a crisp finish.
If you're aiming for an ombre effect, a kitchen sponge can help blend colors beautifully. With these DIY tools, you'll achieve salon-worthy nails without breaking the bank!
Techniques for Stunning Designs

Creating stunning nail designs requires mastering various techniques that elevate your manicure from ordinary to extraordinary. Start by utilizing a variety of nail art brushes, such as flat, liner, and dotting brushes, to achieve detailed designs. These tools guarantee precision for floral patterns and intricate lines.
If you don't have dotting tools, you can use bobby pins or toothpicks to create playful dots and abstract designs, making nail art accessible for your DIY designs. It's also important to keep an eye on your nail art supplies budget to avoid overspending, similar to how credit card debt management is essential for financial stability.
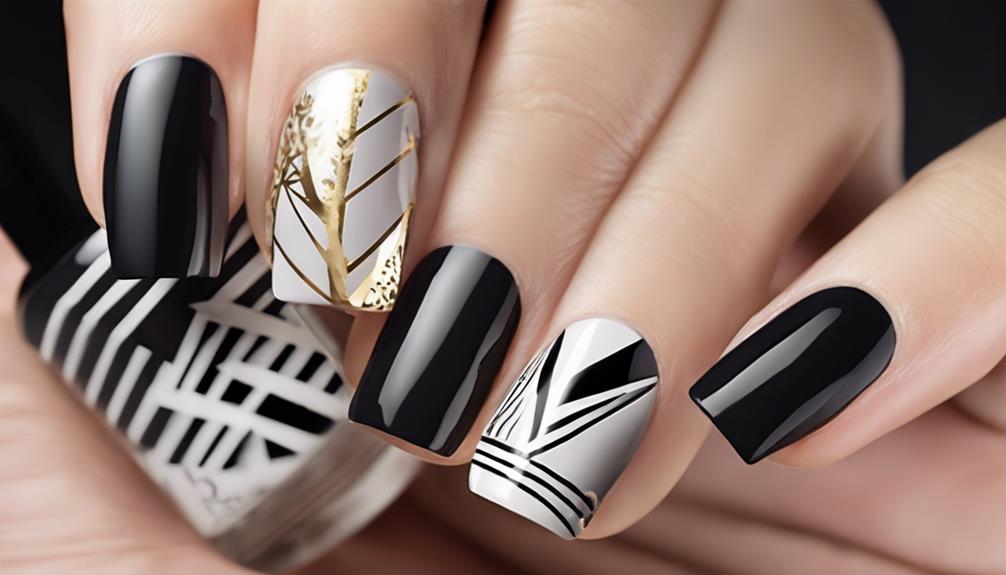
Experiment with nail striping tapes to create clean, straight lines that allow for geometric patterns and minimalistic styles, instantly transforming your look.
For a more dynamic effect, use a sponge to blend two or more colors, creating beautiful gradient effects that add depth and dimension to your nails.
Budget-Friendly Product Recommendations

For those on a budget, finding quality nail art tools can feel overwhelming, but it doesn't have to be. You can elevate your DIY nail art game without emptying your wallet.
Incorporating creativity and imagination into your designs can be just as rewarding as using expensive tools, much like how STEM toys encourage creativity.
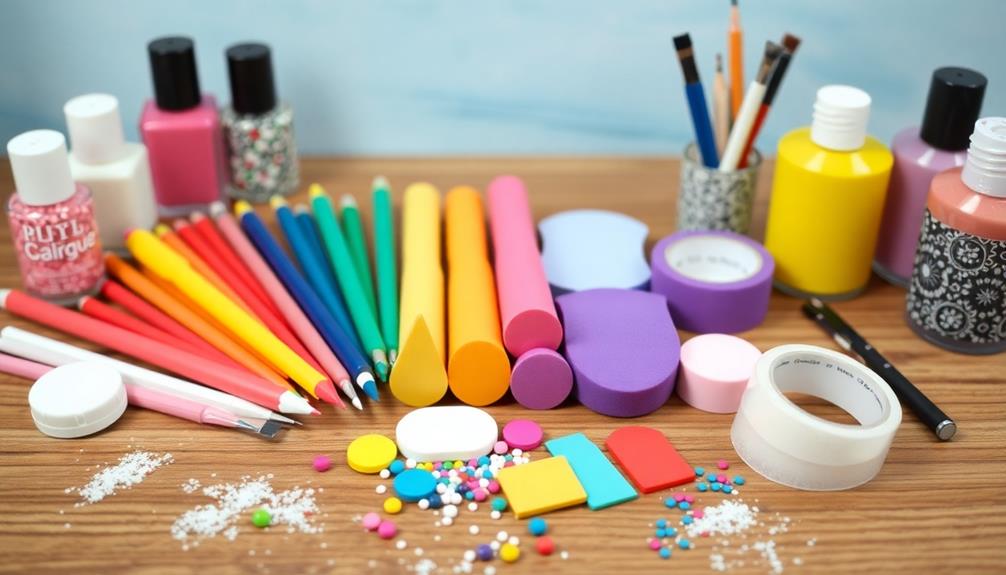
Here are some budget-friendly product recommendations that deliver great results:
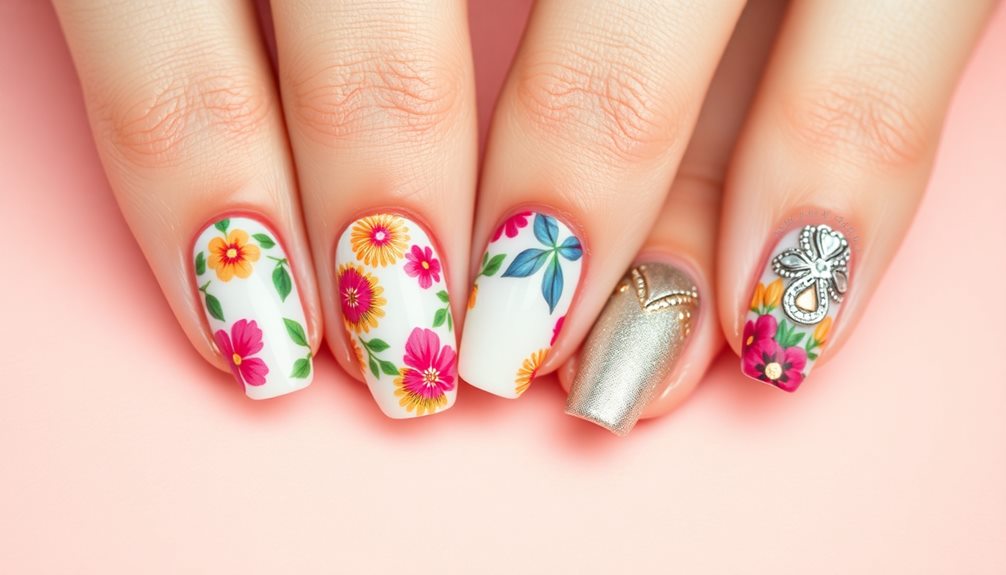
- Teenitor Nail Art Kit: This kit features 15 nail art brushes, 5 dotting tools, and 4 sheets of 3D butterfly stickers. It's perfect for creating intricate designs with nail polish, adding a pop of color or tiny dots to your nails.
- Nail Art Striping Tapes: With 10 rolls of striping tape in various colors, you can easily achieve straight lines and enhance your easy nail designs creatively. These tapes are an essential tool for any aspiring nail artist.
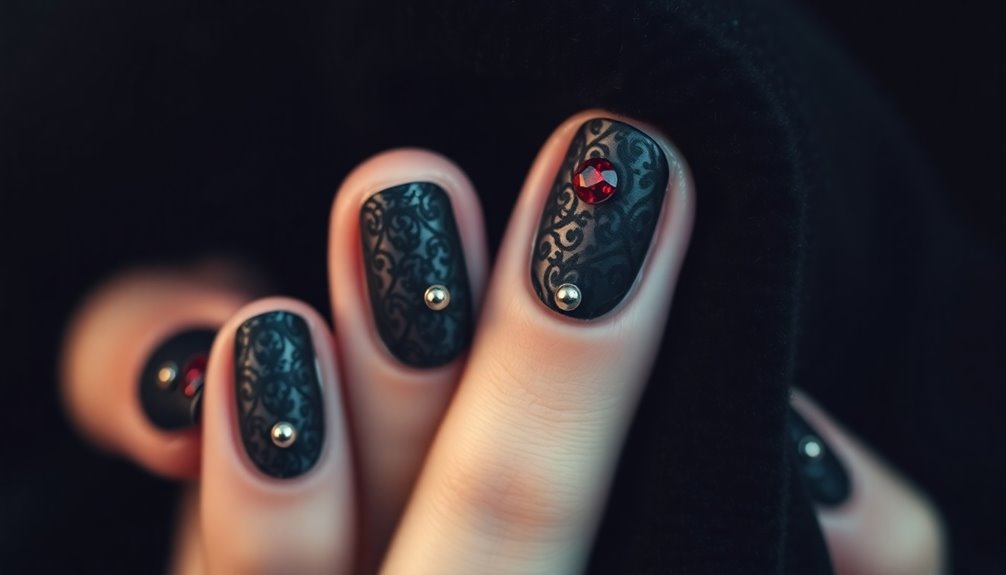
- Rhinestones: These little gems can add glamour to your nail art. Incorporate them into your designs for a touch of sparkle that rivals any nail salon.
Tips for Lasting Results
Achieving stunning nail art is just the beginning; ensuring it lasts is the next step. Start with a high-quality base coat. This helps your nail polish adhere better, preventing chipping and enhancing the longevity of your manicure.
When applying nail polish, remember to apply thin layers. Thin layers not only dry faster but also minimize the chances of smudging or peeling. For added durability, consider using essential oils like peppermint oil that can invigorate your senses and enhance your overall nail care routine.
Once you've achieved your desired design, seal it with a top coat. This step adds shine and creates a protective barrier against wear and tear, extending the life of your nail art.
Don't forget to allow adequate drying time between layers. Quick-dry sprays can be a game-changer, speeding up the process without sacrificing the finish.
Frequently Asked Questions
What Can I Use Instead of Nail Art Tools?
You can use everyday items like toothpicks for dots, bobby pins for swirls, or a plastic bag for gradients. Masking tape aids in straight lines, while craft glitter adds sparkle without any special tools.
What Can I Use for Homemade Nail Art?
You can use everyday items like bobby pins, toothpicks, and old makeup brushes for homemade nail art. Clear tape helps create clean lines, while old polish bottles keep your tools organized and handy.
How to Do Beautiful Nail Art at Home?
To create beautiful nail art at home, gather basic tools, use household items for designs, and experiment with vibrant polishes. Practice techniques like sponging gradients and applying stickers for intricate patterns that impress.
How to Do Nail Art at Home Without Tools?
Nail art doesn't need fancy tools; it's a canvas waiting for your creativity! You can use bobby pins, toothpicks, and sponges to craft stunning designs right at home. Release your inner artist and enjoy!
Conclusion
With a little creativity and the right tools, you can transform your nails into stunning works of art without breaking the bank. Remember, "where there's a will, there's a way." By using household items and budget-friendly products, you can achieve gorgeous DIY designs that reflect your personality. So, gather your supplies, get inspired, and let your imagination run wild. Your nails are a canvas waiting for your unique touch—embrace it and enjoy the process!