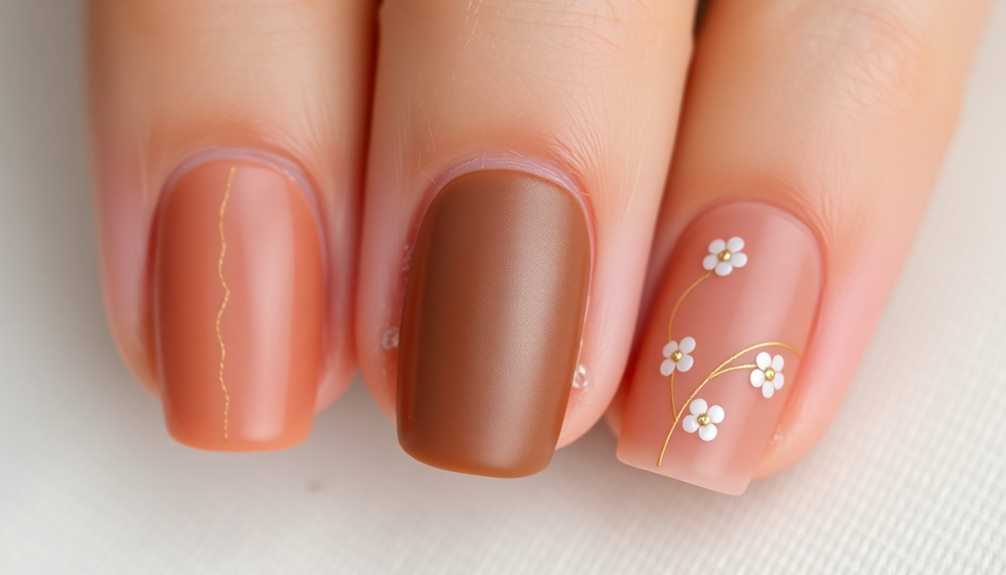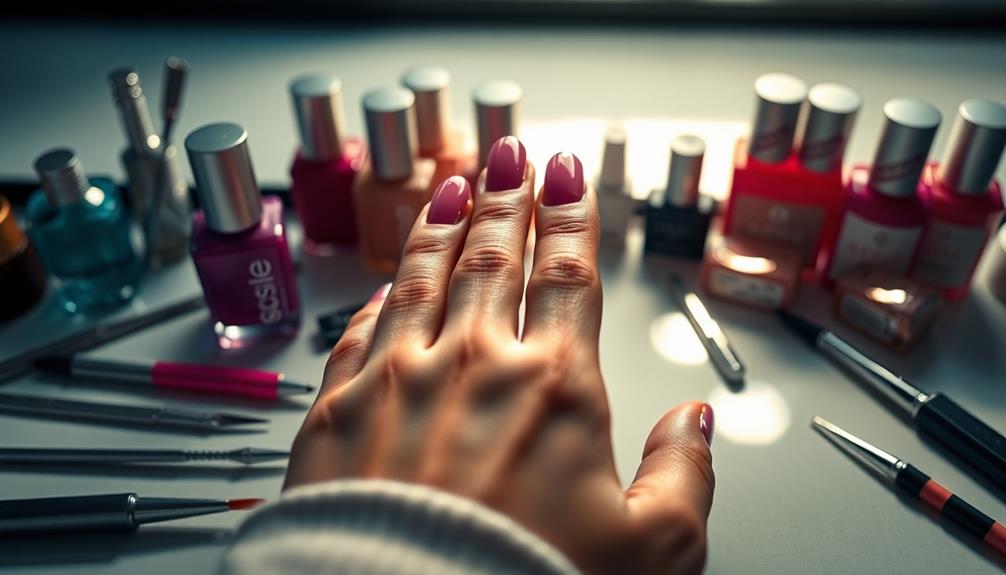

Ready to immerse yourself in jazzing up your nails? Try these Easy DIY Nail Art Ideas! Create vibrant Multi-Colored Stripes with your fave hues, seal with a top coat for a flawless finish. Explore Abstract Waves by playing with colors and brush strokes for an artsy look. Want a chic vibe? DIY Marble Stickers with swirls of colors, then seal 'em up. Get fancy with Faded Gold Chrome Tips by adding that gold shimmer to your tips. Check out DIY Heart Stickers for a lovely touch. And that's just the beginning! More stylish nail art awaits you in this creative journey.
Key Takeaways
- Experiment with vibrant colors and stripes for a striking look.
- Embrace imperfections and abstract designs for artistic flair.
- Create marble nail art stickers with 2-3 colors for a chic style.
- Achieve a sophisticated look with gold chrome tips.
- Elevate your manicure with charming polka dots in contrasting colors.
Multi-Colored Stripes
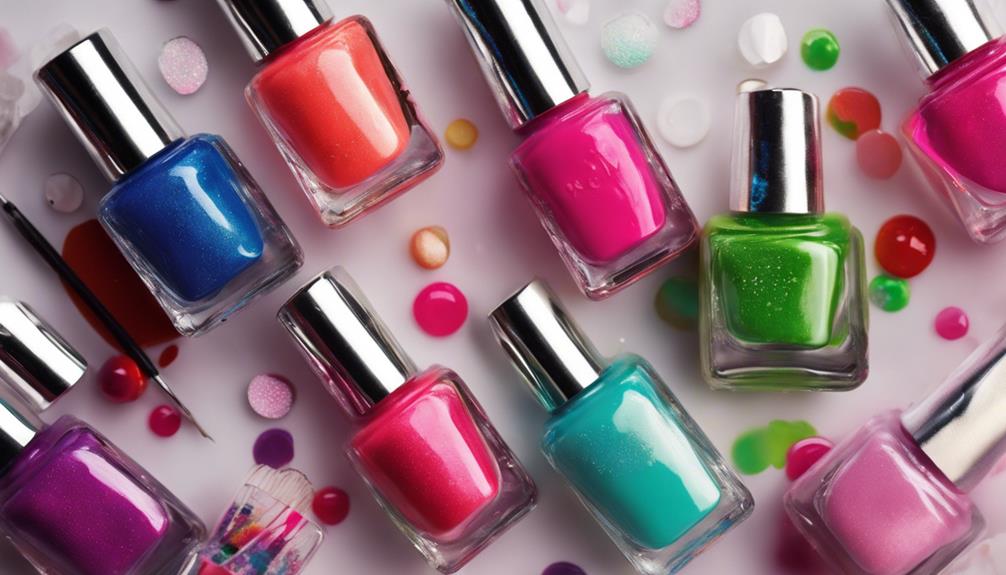
For a bold and colorful nail art design, grab a nail painting brush and 3-6 vibrant colors to create eye-catching multi-colored stripes on your nails. Start by selecting your favorite nail polish shades.
With your brush in hand, carefully draw alternating color stripes on each nail. The more vibrant and varied the colors, the more striking the design will be. Don't be afraid to mix and match different hues to create a playful and unique look.
Once you've finished painting the stripes, seal your design with a top coat. This step not only adds shine but also protects your manicure, ensuring it lasts longer.
Experiment with different color combinations to find the perfect multi-colored stripe design that suits your style. Multi-colored stripes are a fun and easy way to elevate your nail game and add a pop of color to your everyday look.
Try this DIY nail art idea for a playful and personalized manicure that will surely turn heads.
Abstract Waves
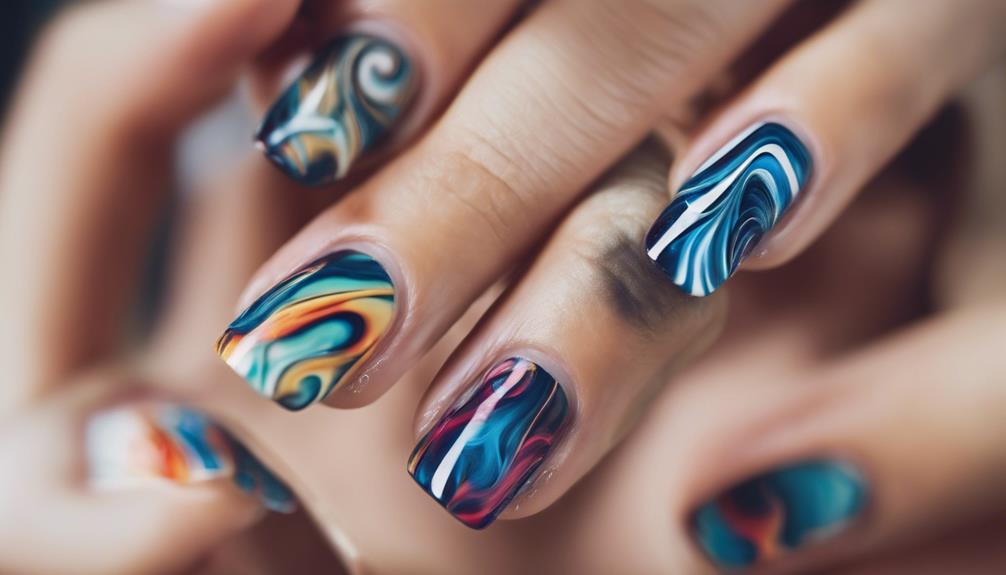
Looking to create a fun and artistic nail design? Abstract Waves offer a playful and unique style to your manicure.
Get ready to ride the wave of creativity with our Wave Design Tutorial and Color Combinations Guide!
Wave Design Tutorial
To immerse yourself in the world of abstract waves on your nails, you can experiment with various color combinations and brush strokes for a unique and artistic design. Delve into the realm of abstract wave design by playing with different colors to bring your nails to life. Mix and match shades that resonate with you – blues, greens, pinks, whatever makes your heart dance!
Let your brush strokes flow like gentle ocean waves or bold and dynamic currents, expressing your creativity with each stroke.
Don't hesitate to incorporate a touch of white into your abstract waves; it can add depth and make your design pop. Remember, imperfections can be charming, so embrace them for an artistic flair. Abstract waves are all about freedom and creativity, so let your imagination run wild.
These stylish and easy-to-master nail art designs are perfect for anyone looking to inject a burst of creativity into their nails. So, grab your tools, pick your colors, and start painting your way to stunning abstract wave nail art!
Color Combinations Guide
Experiment with a variety of color combinations to create stunning abstract wave nail art designs that showcase your unique style and creativity. Abstract Waves nail art allows you to play with different colors to achieve a mesmerizing look on your nails. To help you get started, here's a handy color combination guide to inspire your next manicure:
| Color 1 | Color 2 |
|---|---|
| Blue | White |
| Pink | Purple |
| Yellow | Green |
| Orange | Teal |
| Red | Black |
DIY Marble Stickers
Ready to create your own unique marble nail art stickers?
Gather your supplies and start by dropping 2-3 colors onto wax paper.
Swirl them together with a toothpick to create stunning marble designs that will make your nails stand out.
Once dry, peel off the stickers and apply them to your nails for a professional-looking finish that's sure to impress!
Marble Sticker Supplies
For creating DIY Marble Stickers, start by applying drops of 2-3 colors on wax paper and swirling them with a toothpick before allowing them to dry. Once your colorful nail polish swirls have dried, you're ready to cut out small pieces to fit your nails.
To do this, grab some scissors and carefully trim around the edges of your marble design. These homemade marble stickers are like mini works of art for your nails! They offer a quick and simple way to achieve that stunning marble effect without needing to be a nail art pro.
The best part? You can mix and match different hues to suit your mood or outfit. Whether you're feeling bold with bright colors or going for a more subtle look, the possibilities are endless.
Just remember to seal your marble sticker creation with a top coat to make sure your nail art lasts and stays fabulous.
Applying Marble Stickers
To apply your DIY marble stickers, start by peeling them off the wax paper and carefully positioning them on your nails for a personalized and artistic touch. Creating these nail stickers is a fun and easy way to elevate your nail art game.
Here are some tips to make the most of your DIY marble stickers:
- Get Creative: Experiment with different color combinations and swirling techniques to achieve unique marble effects on your stickers.
- Seal the Deal: After applying the stickers to your nails, make sure to protect them with a top coat to safeguard the design and guarantee longevity.
- Mix and Match: Don't be afraid to mix and match your marble stickers with other nail art elements like glitter or metallic accents for a truly customized look.
With DIY marble stickers, you can express your inner artist and transform your nails into miniature works of art effortlessly.
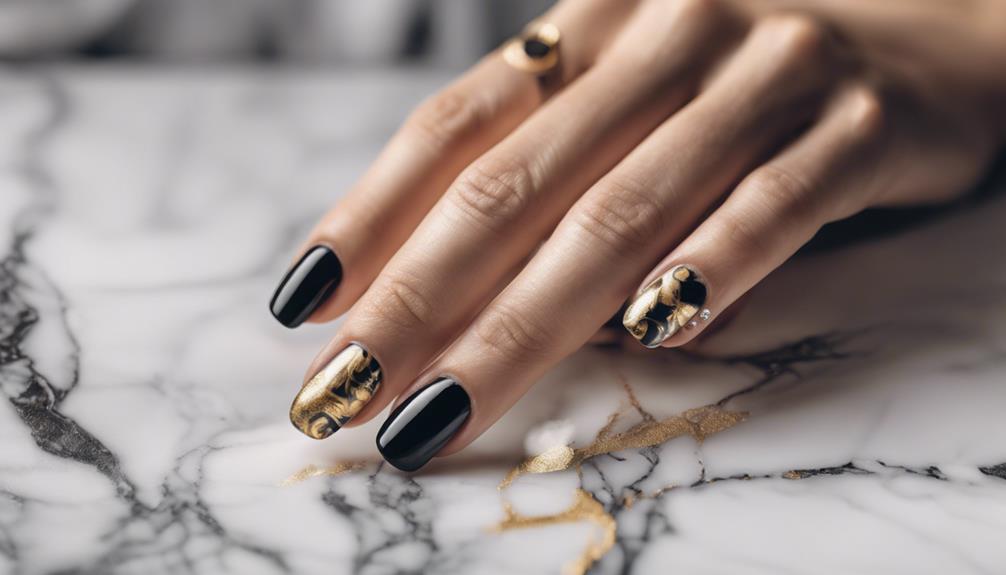
Faded Gold Chrome Tips
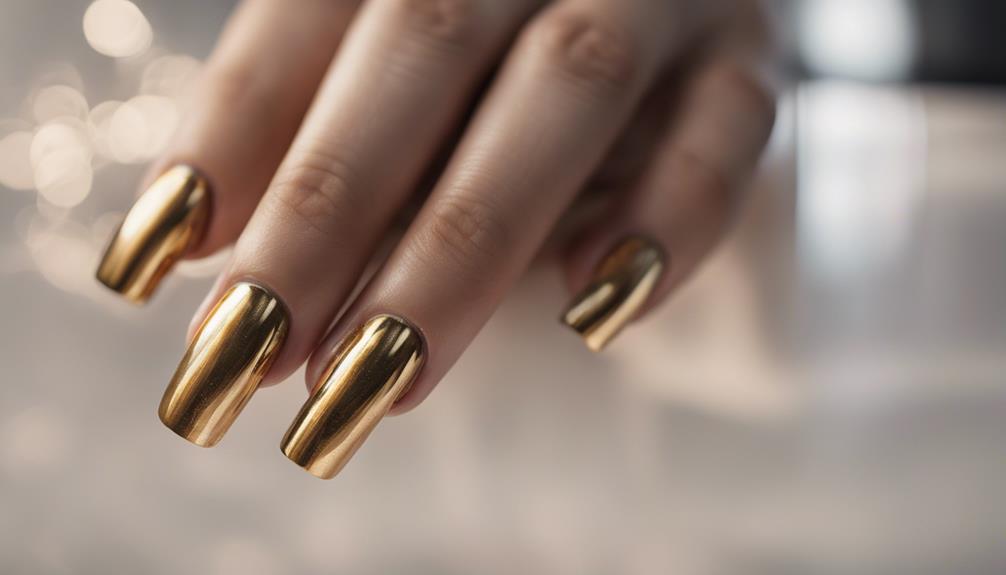
For a touch of sophistication and luxury, achieve the fabulous Faded Gold Chrome Tips nail art effect by following these easy steps. Start by applying a base coat followed by a gel polish to create a smooth canvas for the metallic color to shine. Next, gently dab chrome powder onto the tips of your nails for that glamorous gold chrome look. Seal in the design with a top coat to guarantee a long-lasting glossy finish that screams elegance.
| Steps to Achieve Faded Gold Chrome Tips | |
|---|---|
| Step 1: Apply base coat | Step 2: Use gel polish |
| Step 3: Add chrome powder | Step 4: Seal with top coat |
Faded Gold Chrome Tips offer a chic and sophisticated twist to your manicure, perfect for any special occasion or when you simply want to feel extra glamorous. Experiment with different shades of gold to personalize your look and dazzle with a touch of luxury on your fingertips.
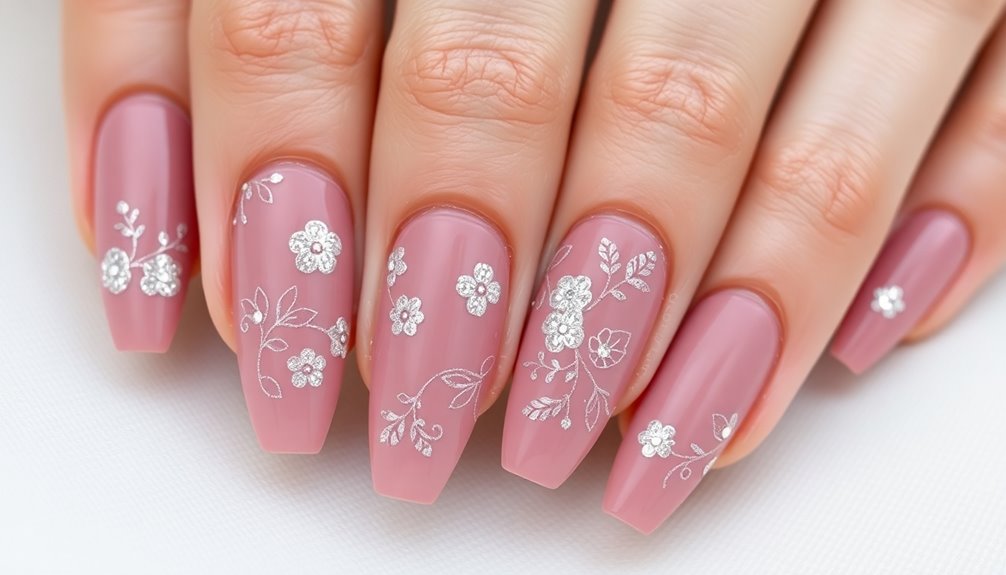
DIY Heart Stickers
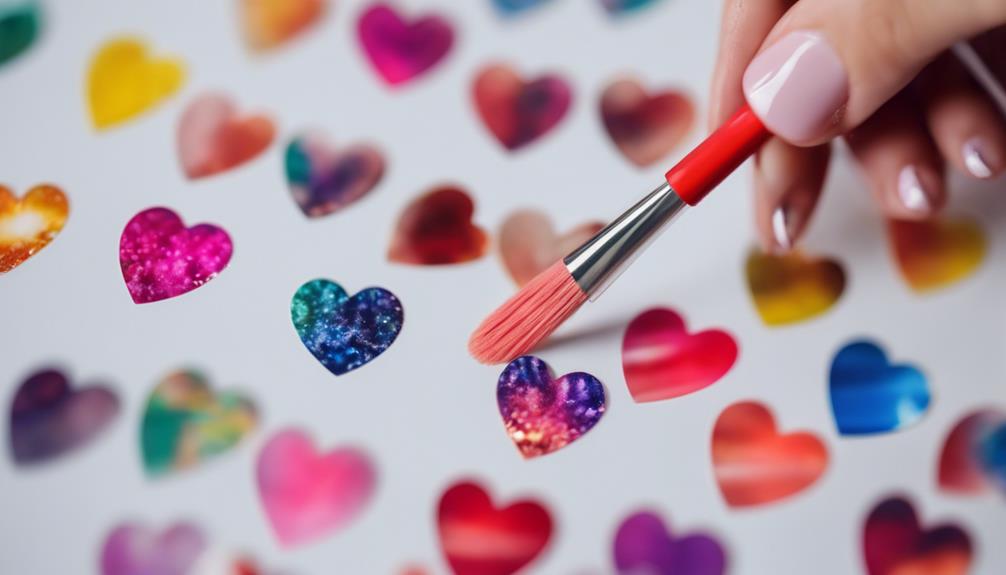
Achieve a romantic and whimsical nail art look by creating your own DIY heart stickers easily. Adding a touch of love to your nails has never been simpler with this fun technique.
Here's how to get started:
- Peel heart stickers off wax paper: Begin by carefully peeling off heart stickers from wax paper. Choose various sizes and colors to match your nail polish design.
- Punch designs: If you want to add a unique twist, use a hole puncher to create heart-shaped stickers from colored paper or tape. This allows for endless customization options.
- Apply and seal: Once you have your heart stickers ready, apply them to your nails in your desired pattern. Press them gently to ensure they stick well. Seal the stickers with a top coat for a long-lasting and professional finish.
Experiment with different arrangements and colors to create a personalized nail design that speaks to your style. These DIY heart stickers are perfect for adding a charming and dreamy vibe to your manicure.
Blue Sky & Clouds
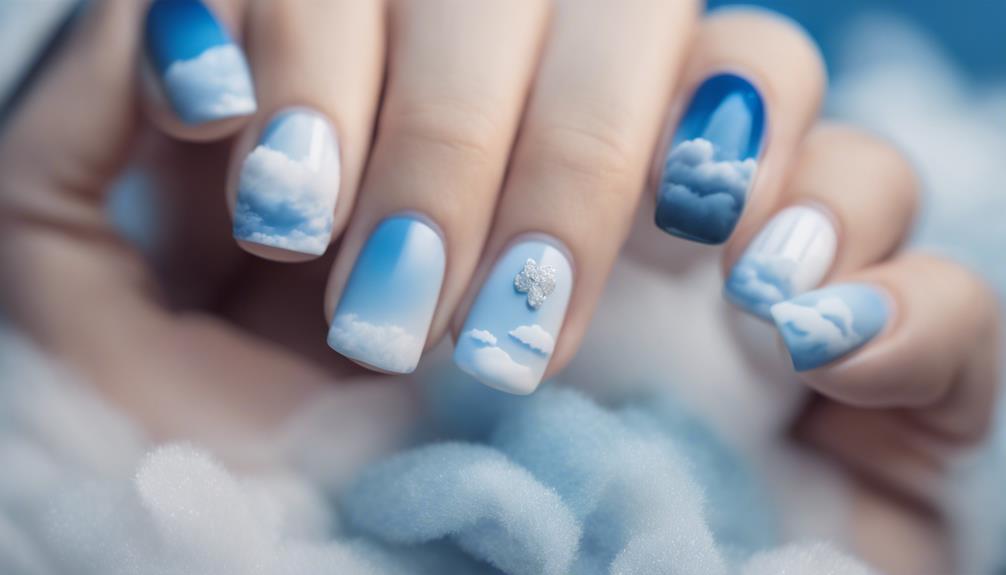
Create a serene backdrop on your nails by painting them with a pale blue polish, giving the illusion of a peaceful sky. To achieve this tranquil look, start by applying a light blue base coat on your nails.
Once dry, it's time to express your inner artist by adding fluffy white clouds. Dip a small brush or a toothpick in white polish and lightly dab it on your nails to create those fluffy cloud shapes. Remember, imperfection can make your clouds look even more realistic and charming.
Blue sky and cloud nail art is all about simplicity and elegance. It's an easy way to bring a touch of nature to your fingertips. Play around with different shades of blue and experiment with various cloud shapes to personalize your nail art.
Whether you're a beginner or a nail art pro, this design is sure to impress with its dreamy and whimsical vibe. So grab your paints and get ready to create your own piece of nail art magic in the sky!
Polka Dots
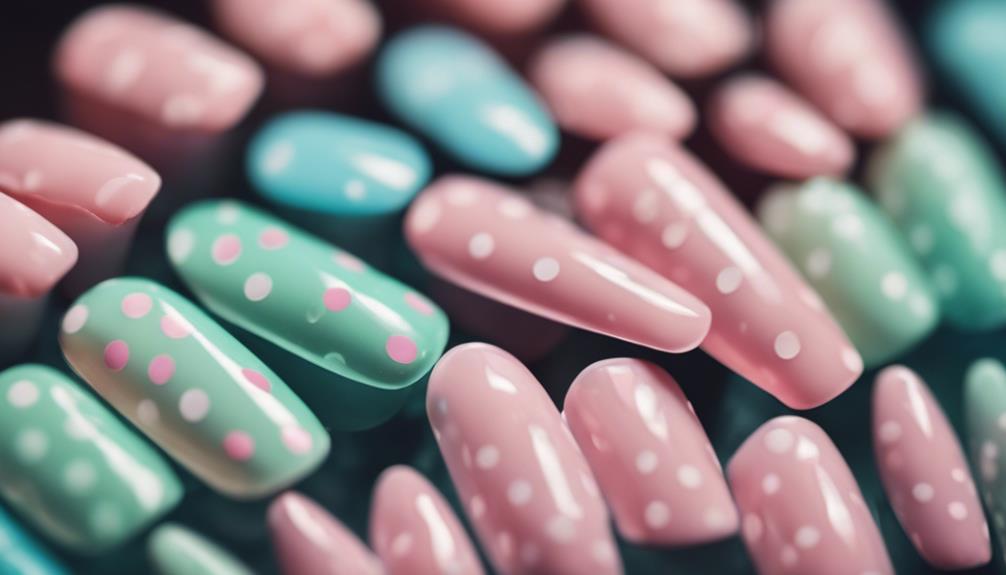
To create stylish and playful nail art, consider incorporating polka dots using a dotting tool for precise and charming designs. Polka dot nail art is a classic choice that never goes out of style.
Here are some tips to perfect your polka dot design:
- Choose Color Combinations: Experiment with pastel or dark shades to create a fun and eye-catching look. Consider pairing contrasting colors like pink and black or blue and white for a bold statement.
- Utilize a Dotting Tool: A dotting tool makes it easy to create uniform and perfectly round polka dots on your nails. Simply dip the tool into your chosen nail polish color and gently press it onto your nails to create the dots.
- Customize Dot Sizes: Play around with different dot sizes to add dimension and interest to your nail art. Mix small and large dots for a whimsical and unique design.
With these simple tips, you can elevate your manicure with charming polka dots in no time!
Cow Print
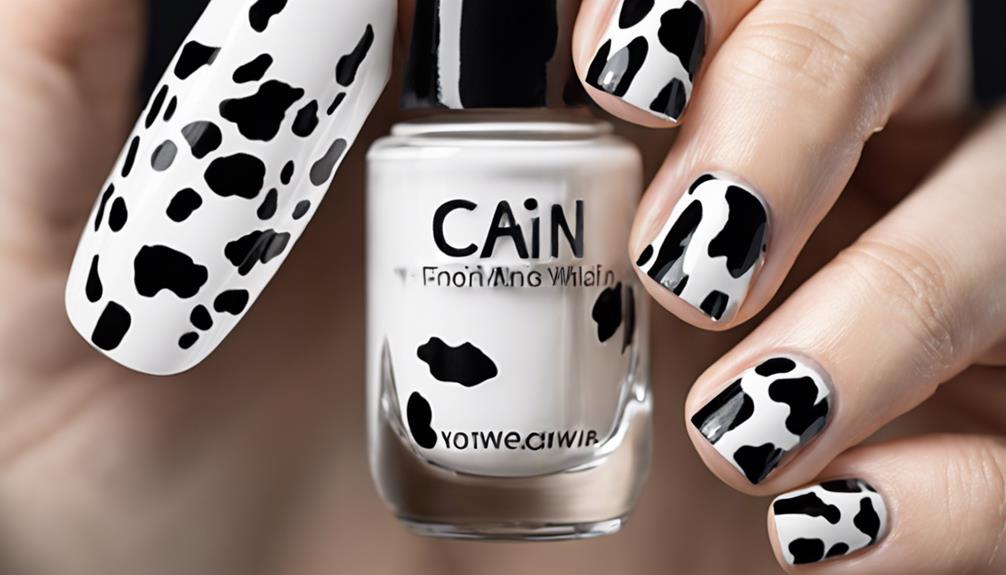
Switch up your nail art game by embracing the trendy and eye-catching design of cow print. To achieve this playful look, start by swapping the traditional white base for a bold blue color that will make your cow print pop.
Grab a dotting tool to create irregular spots that mimic the pattern of a cow's coat. Don't be afraid to get creative with abstract shapes to give your nails a unique twist on the classic print.
Remember to add black accents to enhance the contrast and authenticity of the cow print. These accents will help bring out the details of the spots and make your design stand out.
Cow print nails are all about having fun and making a statement, so let your imagination run wild as you experiment with different shapes and sizes to create a one-of-a-kind look. Embrace the trend and show off your stylish cow-inspired manicure!
Star Nails
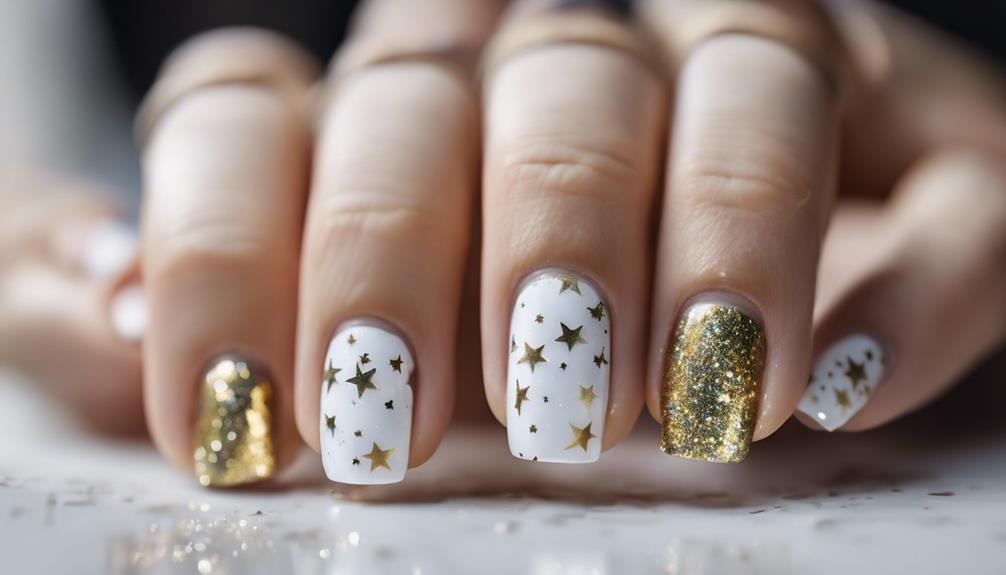
For an elegant and modern nail art design, consider incorporating star nails into your manicure repertoire. Star nails featuring a cream base color offer versatility and sophistication that can be tailored to suit any occasion.
Here are some tips to help you achieve stunning star nail art effortlessly:
- Start with a creamy base color: Opt for a soft cream hue as the backdrop for your starry design to add a touch of elegance and guarantee your stars stand out beautifully.
- Use a toothpick for precision: A toothpick can be your best friend when creating intricate star designs. Dip the toothpick into your chosen nail polish color and carefully draw the stars on your nails.
- Experiment with color combinations: Don't be afraid to mix and match different colors to create unique and eye-catching star nail art designs that reflect your personality and style.
Frequently Asked Questions
How to Make Simple Nail Art at Home?
To make simple nail art at home, start with a base color and gather tools like polish, tape, and dotting tools.
Experiment with designs like stripes or dots for a personalized look. Use stickers or create DIY ones for intricate designs.
Explore French manicure variations or try trendy techniques like watercolor art or neon tips for a fun manicure.
With practice, you'll master these easy DIY nail art ideas for fabulous nails!
What Is 5 Basic Nail Art Design?
When it comes to basic nail art designs, you've got a world of options at your fingertips. From polka dots to stripes, French tips to floral patterns, and even geometric shapes, the possibilities are endless.
These designs are easily achievable using nail polish, brushes, dotting tools, and stickers. Start with simpler designs like polka dots or stripes, then let your creativity take over with different colors and styles.
Practice makes perfect, so immerse yourself and have fun experimenting!
How to Do Minimalist Nail Art?
To do minimalist nail art, start with clean, trimmed nails. Apply a neutral base coat for a sleek canvas.
Then, use geometric shapes like triangles or squares for a modern touch. Alternatively, try tiny dots or subtle stripes for a minimalist pattern.
Finish with a clear topcoat for a polished look. Remember, less is more in minimalist nail art, focusing on simplicity and elegance for a chic and understated design.
What's Trending in Nails Right Now?
Right now, the nail art scene is all about metallic touches and minimalist designs. Think chrome specks and chic neon accents! French manicure variations with modern twists like itty bitty metallic tips are also hot.
Don't forget timeless choices like mini hearts for a touch of love and creativity. Playful elements like single squiggles bring a fun and unique flair.
Embrace these trends to keep your nails stylish and trendy!
Conclusion
Now that you've got all these easy DIY nail art ideas at your fingertips, it's time to get creative and have some fun with your nails! If you’re a beginner at nail art, start with simple designs like stripes or polka dots using a nail art brush or even a toothpick. Once you’ve got the hang of it, take it up a notch and try some more intricate designs like floral patterns or geometric shapes. With these 10 nail art ideas, you’ll never run out of inspiration for your next manicure. So grab your favorite nail polish colors and let your imagination run wild!
Whether you're feeling like channeling your inner artist with abstract waves or keeping it simple with polka dots, the possibilities are endless.
So grab your nail polish and get ready to show off your unique style with these fun and trendy designs.
Your nails will be looking fabulous in no time!