Discover five innovative DIY nail designs to elevate your manicure. Create a trendy acid wash effect using white and blue polish with a marbled finish. Try the dry marble technique by swirling colors on a surface for a unique look. Master easy zig zags with painter’s tape and glitter polish for a dynamic design. Add magic with holographic nails using sponge application and glitter polish. Enhance your nails with floral embellishments using vibrant colors and 3D elements. Elevate your nail art game with these creative ideas that allow you to express your unique style through stylish designs. Looking for something more understated? Try a minimalist look with negative space nail art, using nude polish and geometric shapes. Alternatively, create a subtle yet chic look with a sleek matte finish in a deep, moody color. These understated nail designs are perfect for those who prefer a more low-key manicure while still making a stylish statement.
Key Takeaways
- Try Acid Wash Design with white and blue polish for a trendy look.
- Experiment with Dry Marble Technique for a unique marbled effect.
- Master Easy Zig Zags using green, navy blue, and glitter polish.
- Create Magical Holographic Nails with purple, pink, and holographic glitter.
- Enhance nails with Floral Embellishments using vibrant blue polish and nature-inspired designs.
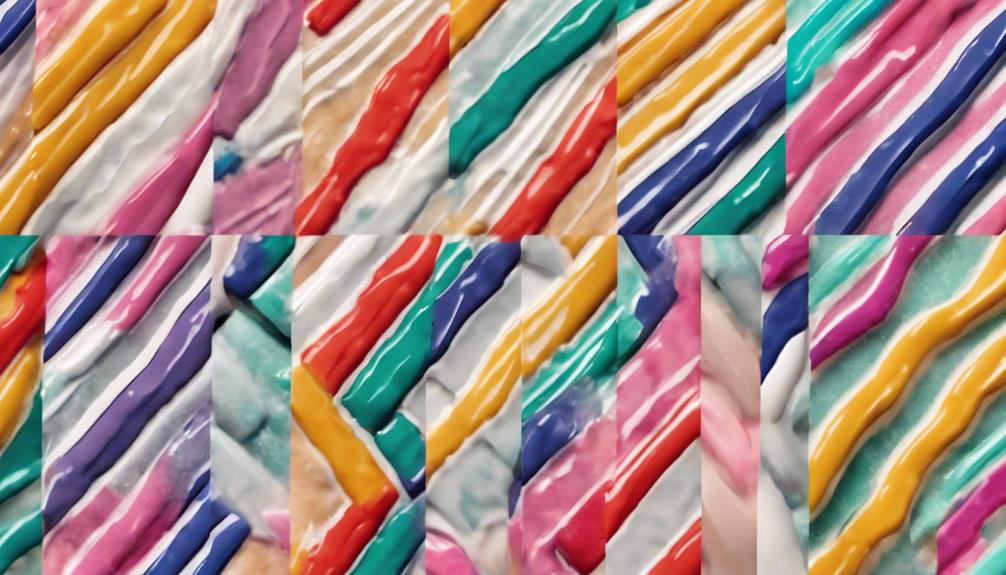
Acid Wash Design
Create a trendy acid wash design on your nails by using white polish as the base color and adding blue polish to create a striking contrast. To achieve this unique look, start by applying a coat of white polish as the base.
Once dry, dab a few drops of blue polish onto a piece of foil. Take a Q-tip dipped in acetone and lightly swirl it in the blue polish. Gently dab the Q-tip onto your nails, focusing on creating a marbled effect. Be careful not to rub too hard, as you want to maintain the white base color visible underneath.
This technique mimics the acid wash effect, giving your nails a stylish and edgy appearance. Finish off by applying a fast-drying top coat to seal the design and enhance its longevity.
With this method, you can achieve a trendy acid wash design that's sure to make a statement.
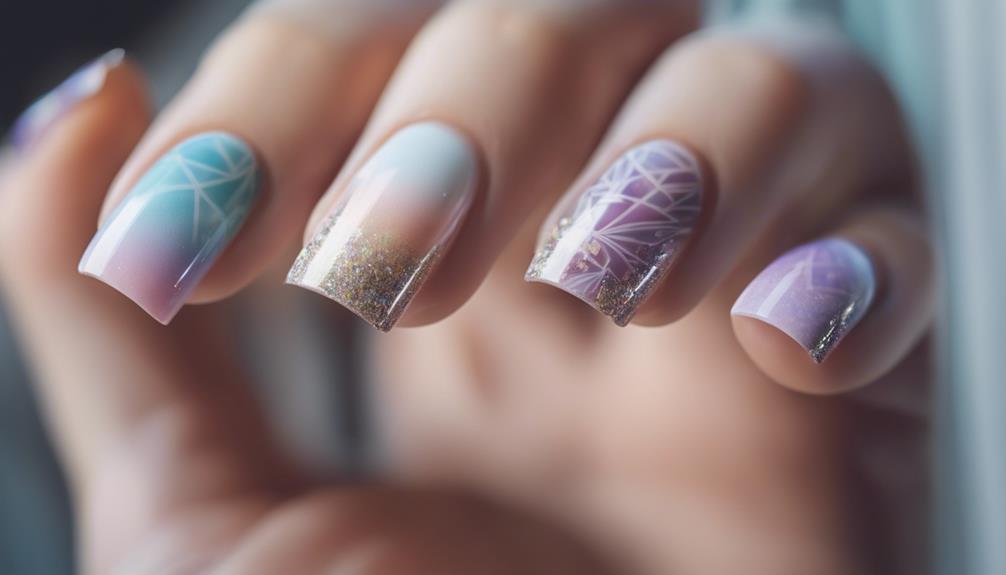
Dry Marble Technique
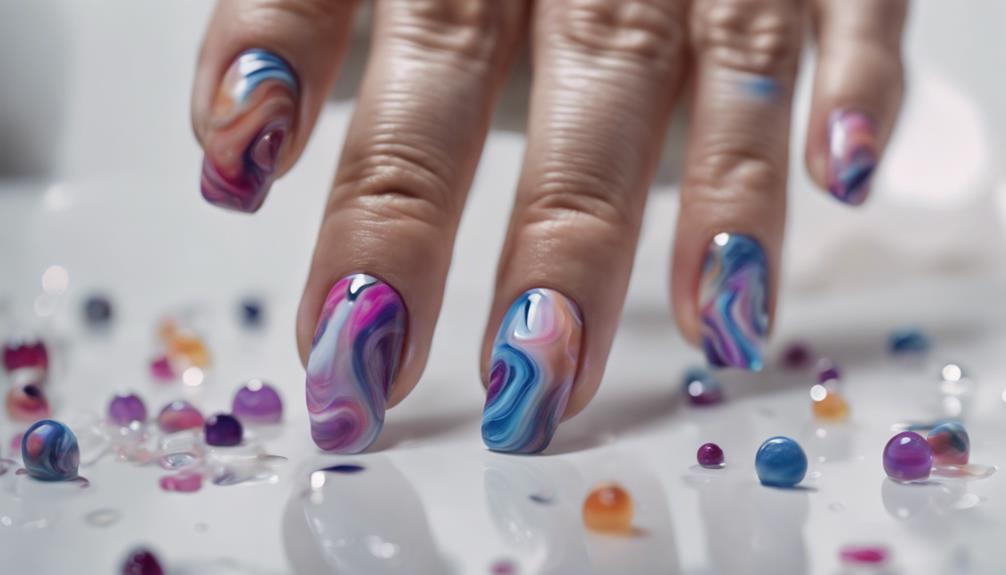
To achieve a unique marbled effect on your nails, try mastering the dry marble technique. Begin by applying a base coat to protect your nails and help the polish adhere better.
Select a blue polish or any color of your choice to create the marble effect. Start by placing blobs of different colored polishes on a plastic surface like a sandwich bag. Use a toothpick to swirl the colors together, ensuring not to over-blend for a defined marble look.
Once you're satisfied with the marble design, use a small paintbrush to apply it onto your nails. This technique allows for intricate and one-of-a-kind nail designs that resemble marble patterns.
Experiment with different color combinations and swirling techniques to achieve a personalized marbled appearance on your nails. Enjoy the creative process and embrace the uniqueness of each design you create using the dry marble technique.
Easy Zig Zags
For a fun and dynamic nail design, try mastering the Easy Zig Zags technique using green and navy blue polish with green as the base color.
Begin by cutting painters tape into sharp angles and placing it on the nail to create zig zag patterns. Next, apply navy polish over the entire nail, ensuring to cover the areas not protected by the tape.
Carefully remove the tape to reveal clean and sharp zig zag lines on the nail. If there's any excess polish, use a toothpick dipped in polish remover to clean it up for a polished finish.
To add some sparkle and pizzazz to this design, consider incorporating a glitter polish either on top of the navy blue or as an accent nail.
The Easy Zig Zags technique offers a stylish and eye-catching look that's relatively simple to achieve with stunning results.
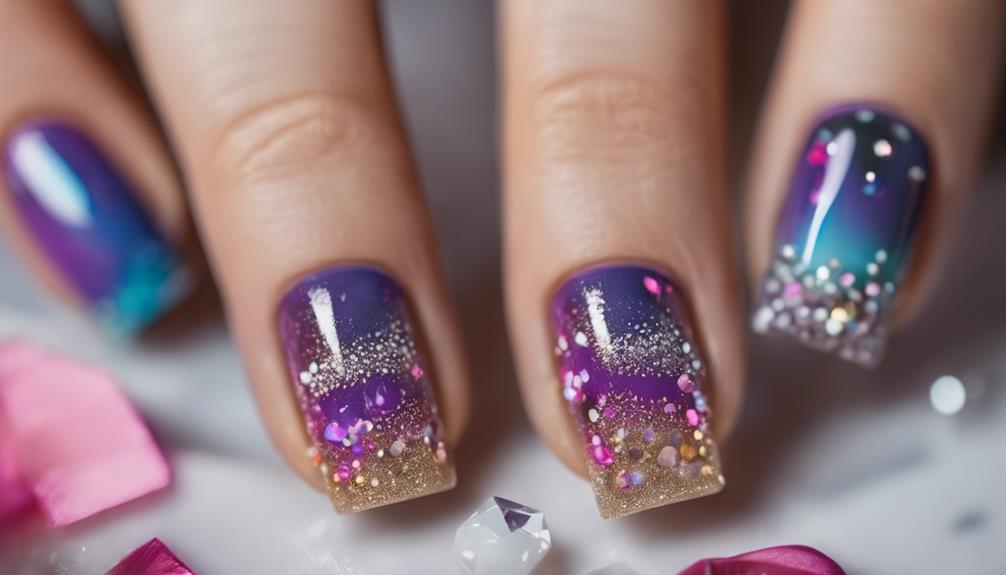
Magical Holographic Nails

Consider adding a touch of magic to your nails with the mesmerizing and eye-catching design of Magical Holographic Nails using pink, purple, and holographic glitter polish. To achieve this enchanting look, start by applying liquid latex or using scotch tape around your nails to protect the skin from excess polish. Sponge purple polish onto the nail tips and seamlessly blend it with pink polish to create a stunning gradient effect. Finally, add a generous coat of holographic glitter polish to finish off the design with a holographic shine that sparkles beautifully in the light. This nail art design is perfect for special occasions or when you want to add a bit of dazzle to your everyday look.
| Step | Instructions |
|---|---|
| 1 | Apply liquid latex or tape around nails for protection. |
| 2 | Sponge purple and pink polish for a gradient effect. |
| 3 | Finish with holographic glitter polish for a magical shine. |
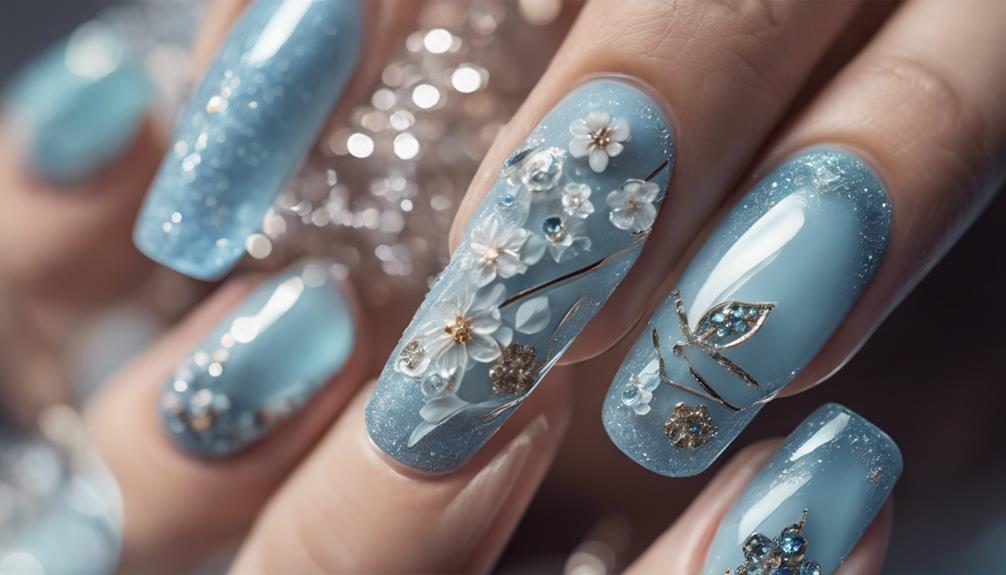
Floral Embellishments

Enhance your nail designs with the beauty of floral embellishments, adding a touch of nature-inspired charm to your manicure. Incorporating floral elements into your nail art can be a stunning way to express your creativity.
Whether you opt for nail art stickers, hand-painted flowers, or encapsulated pressed flowers, the options are endless. Consider using a vibrant blue polish as the base for your floral designs to make the flowers pop. If you make a mistake, don't worry; a bit of polish remover can help clean up any mishaps.
Experiment with different techniques like using nail stamping plates with intricate floral patterns or adding 3D elements like rhinestones or pearls to create a dimensional floral look. By utilizing various nail art brushes and methods like dotting or gradient colors, you can achieve beautifully detailed floral nail designs that are sure to impress.
Let your creativity bloom with floral embellishments on your nails.
Frequently Asked Questions
What Are the Five 5 Basic Nail Designs?
To explore the five basic nail designs, start with the Acid Wash design. Utilize blue and white polish with acetone for a distinctive look.
Next, experiment with the DIY Heart Stencil design. Incorporate red and pink glitter polish with a handmade heart stencil.
Then, try the Dry Marble design. Blend silver, pink, and gray polish in a swirling pattern.
Move on to the Easy Zig Zags design. Feature green and navy blue polish with sharp angles using painters tape.
What Are the 5 Basic Manicures?
The 5 basic manicures encompass a range of styles to suit different preferences.
From the classic French manicure with its natural base and white tips to the trendy ombre manicure blending colors seamlessly, each offers a unique look.
Whether opting for the elegant half-moon manicure, the sophisticated matte finish, or the playful polka dot design, these manicures provide versatility and creativity in nail art.
Experimenting with these styles can add flair and personality to your nails.
How to Do DIY Nail Art?
To create stunning DIY nail art, start by applying a protective base coat and exploring various techniques. Experiment with using tools like Q-tips dipped in acetone for unique effects.
Stencils cut from painters tape can help achieve precise shapes, while the dry marble technique involves swirling different colored polish on a plastic bag.
For added flair, try sponging holographic glitter polish over a base color for holographic effects. Explore and have fun with your nail designs!
What Nail Design Is Trending Right Now?
Zig zag patterns using green and navy blue polish are currently trending in the nail design scene. This sleek and modern choice offers a stylish look that's easy to achieve.
Conclusion
To sum up, DIY nail designs offer a fun and creative way to express your personal style.
While some may feel intimidated by the intricate techniques, with practice and patience, anyone can achieve stunning results.
Don't let fear of failure hold you back from trying these fabulous nail designs.
Remember, the journey of self-expression is all about experimenting and having fun with your creativity.
So go ahead, grab your nail polish and let your imagination run wild!