
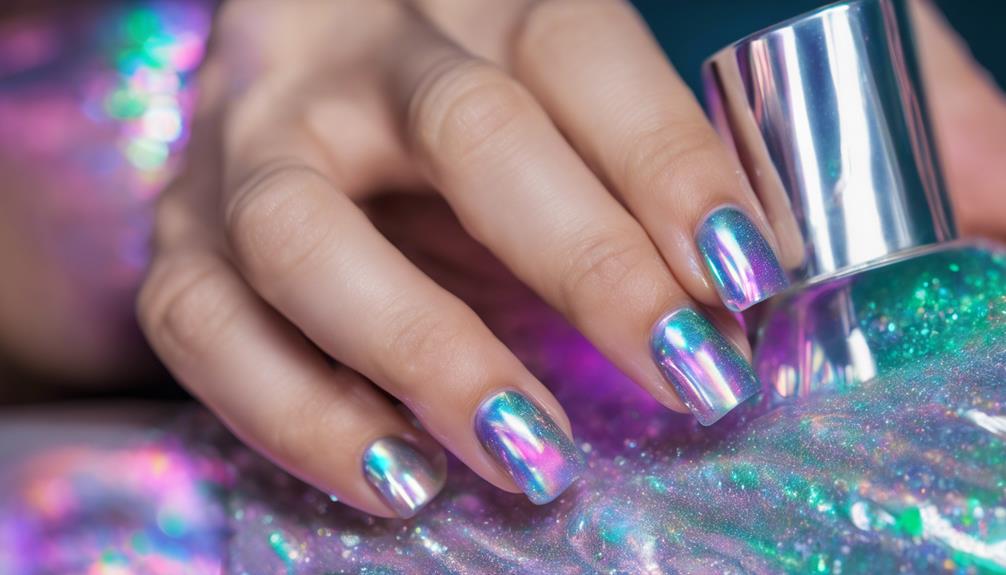
Ready to master your next manicure? Start by prepping clean, dry nails and applying a quality base coat like Holo Taco's Peely Base. Create a bold canvas with One Coat Black for holographic magic. Enhance stamping with ConEd White for intricate designs. Experiment with gradient art using complementary shades. Elevate your look with holographic polishes like High Def Box Office and Balm Life in Plastic. Seal the deal with a glossy top coat like Sesh Feet for a flawless finish. Your nails will thank you! Discover the secrets to stunning Holo Taco nail art by following these step-by-step tips.
Key Takeaways
- Start with a clean base using Peely Base for flawless application.
- Use One Coat Black as a foundation for vibrant holographic designs.
- Master stamping techniques with ConEd White for intricate nail art.
- Experiment with gradient designs using Holo Taco polishes for a seamless blend.
- Finish with Sesh Feet top coat for long-lasting, professional results.
Base Coat Application
For a flawless nail art application, start by making sure your nails are clean and dry. The base coat is your best friend when it comes to protecting your natural nails and ensuring your nail art lasts. Choose a quality base coat like Holo Taco's Peely Base to enhance the adhesion of your nail polish. Apply a thin, even layer of the base coat to create the perfect canvas for your nail art design to shine. This step not only smooths out any imperfections but also guarantees that your colors pop.
Let the base coat dry completely before moving on to the next steps. Rushing through this part can lead to smudging or bubbling, ruining all your hard work. A good base coat not only extends the life of your manicure but also provides a strong foundation for whatever colors and designs you have in mind. So take your time with this essential step to set the stage for stunning nail art.
Canvas With One Coat Black
Achieve a sleek and bold canvas for your nail art by applying Holo Taco's One Coat Black as the base color. This deep black shade sets the perfect base for your creative designs, whether you're leaning toward holographic or colorful nail art.
One Coat Black is a time-saving gem, offering full coverage in just one coat, making your nail art process efficient and hassle-free. Imagine the stunning contrast and vibrancy your designs will have when layered on this rich black base.
This versatile polish isn't just a base coat; it's a foundation for your nail art dreams to come to life. Whether you love stamping intricate patterns, blending gradients, or rocking standalone nail art, One Coat Black is your go-to.
The holographic effects of other Holo Taco polishes truly shine when paired with this base. Your creativity knows no bounds on this bold black canvas. We'd love to hear how your nail art journey unfolds with One Coat Black as your trusty base.
Stamping With Coned White
Ready to level up your nail art game with ConEd White? Let's nail down those stamping techniques first, ensuring your designs pop with crisp precision.
From selecting the perfect stamping patterns to mastering placement, these tips will help you create Instagram-worthy nails in no time!
Stamping Technique Basics
To master the stamping technique basics using ConEd White, make sure you have a steady hand and work swiftly to transfer the design onto your nails effectively. Remember, ConEd White is your best friend for stamping, thanks to its opaque and consistent formula. When stamping with ConEd White, use a firm and steady rolling motion to guarantee the design transfers crisply and covers your nails completely. Cleaning your stamping plate and scraper after each use is essential to keep your designs looking sharp and professional when using ConEd White. Before stamping directly on your nails, practice on paper or a silicone mat to enhance your precision and control. Check out the table below for a quick summary of the stamping technique basics with ConEd White:
| Stamping Technique Basics using ConEd White | ||
|---|---|---|
| Steady Hand | Work Swiftly | Firm Rolling Motion |
| Clean Tools | Practice Makes Perfect | Precision Control |
Choosing Stamping Patterns
When selecting stamping patterns to use with ConEd White polish, consider opting for intricate designs that will enhance the overall look of your nail art.
These detailed patterns from stamping plates create a striking contrast against dark base colors like One Coat Black, making your nails pop with vibrant holographic effects.
ConEd White polish is the perfect choice for stamping as its precise formula guarantees crisp and clean transfers of the design onto your nails.
By exploring different stamping techniques, you can unleash your creativity and craft unique nail art styles that stand out. You can experiment with layering stamps, reverse stamping, and double stamping to create intricate designs that will surely catch the eye. With these techniques, the possibilities are endless, and you can create magical nail art designs that reflect your personal style and flair. By mastering these stamping techniques, you can elevate your nail art game and express your creativity in new and exciting ways.
The combination of ConEd White on dark hues not only boosts the visibility of the design but also adds depth and dimension to your manicure.
Perfecting Stamping Placement
As you work on perfecting stamping placement with ConEd White polish, focus on positioning the design towards the corners of your nails for a balanced and visually appealing appearance. This technique not only creates a polished look but also guarantees that the design complements the natural shape of your nails.
When using the ConEd White special polish for stamping, you'll notice how the crisp and vibrant design transfer elevates the overall aesthetic of your nail art.
To achieve a cohesive and harmonious look, consider reversing the stamping design for the bottom part of your nails. This small adjustment can make a big difference in tying the whole manicure together. Remember, practice makes perfect! Consistency in stamping placement is key to maintaining symmetry and uniformity across all your nails.
Don't be afraid to get creative and experiment with different stamping designs and placements. Embracing variety won't only showcase your unique style but also add an extra flair to your nail art. So, grab that ConEd White polish and start stamping your way to fabulous nails!
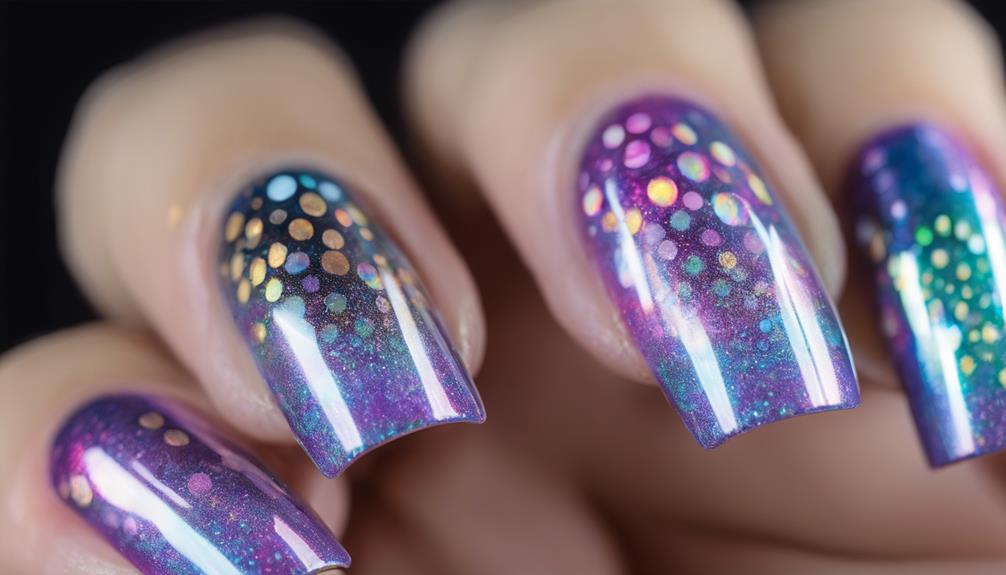
Gradient Design Creation
Consider experimenting with creating gradient nail designs using multiple Holo Taco nail polishes applied on a makeup sponge.
To start, choose two or more complementary Holo Taco shades for your gradient. Apply the polishes in stripes onto the makeup sponge, making sure they slightly overlap for seamless blending.
Press the sponge onto your nail, gently dabbing to transfer the gradient. Angle the sponge for a diagonal effect that complements your chosen stamping design.
Remember, blending is key to achieving a smooth shift between colors. To avoid a messy cleanup, apply liquid latex or tape around your nail to catch any excess polish.
Once satisfied with your gradient, seal in the colors and add shine with a glossy top coat. This final step not only enhances the vibrancy of the colors but also ensures your design stays put.
With these simple steps, you can create stunning gradient nail art using your favorite Holo Taco polishes.
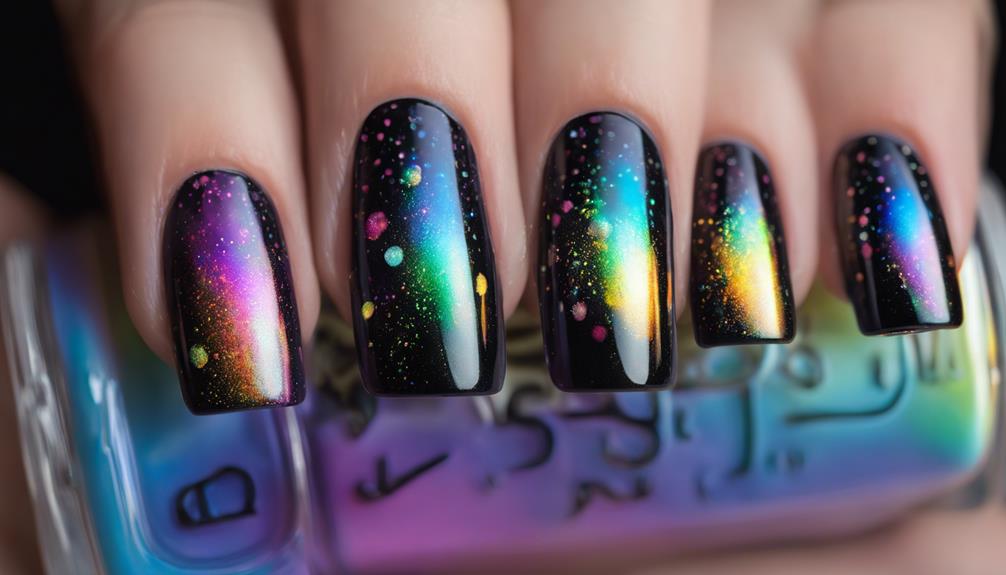
Applying High Def Box Office

To elevate your gradient nail design using Holo Taco polishes, start by applying High Def Box Office, a vibrant blue linear holographic polish that adds a stunning holographic effect to your nails.
This magical polish isn't just your average blue; it's like a disco party on your fingertips! The holographic shimmer dances and plays in different lights, creating an ever-changing spectacle that will have you mesmerized.
As you brush on High Def Box Office, you'll notice how it instantly transforms your nails, giving them a pop of color and dimension that's hard to ignore. For an even more intense holographic effect, don't be afraid to layer it up!
Using Balm Life in Plastic
When experimenting with nail art using Holo Taco's Balm Life in Plastic, harness the vibrant neon green holographic polish to create a bold and eye-catching manicure. This shade is a showstopper, adding a pop of color that's bound to turn heads.
Whether you choose to wear it on all your nails or incorporate it into a gradient design for a fun twist, Balm Life in Plastic will elevate your look with its holographic sparkle. The dimension it adds to your nails is truly mesmerizing, catching the light in the most magical way.
To make the most out of this unique shade, try experimenting with different nail art techniques. Consider using stamping plates to create intricate designs that showcase the neon green hue or express your creativity with freehand patterns that complement the holographic effect beautifully.
Whatever you decide, Balm Life in Plastic is sure to bring a touch of fun and excitement to your nail art creations.
Incorporating Anti-Hero Shade

Incorporate the enticing Anti-Hero shade from Holo Taco into your nail art repertoire to add a bold and enchanting touch to your manicures. This deep teal holographic polish is perfect for creating eye-catching designs that will make your nails stand out.
Use Anti-Hero as a base color for a striking look, or as an accent color to add a pop of holographic magic to your manicure. You can also experiment with gradients, combining Anti-Hero with other Holo Taco shades like High Def Box Office or Balm Life in Plastic for a cohesive and visually appealing nail art style.
Try different stamping designs and techniques to create depth and dimension in your nail art, showcasing the sparkle and shine of Anti-Hero's holographic finish. Get ready to elevate your creativity and enhance your nail game with the captivating Anti-Hero shade!
Adding Be Kind Rewind
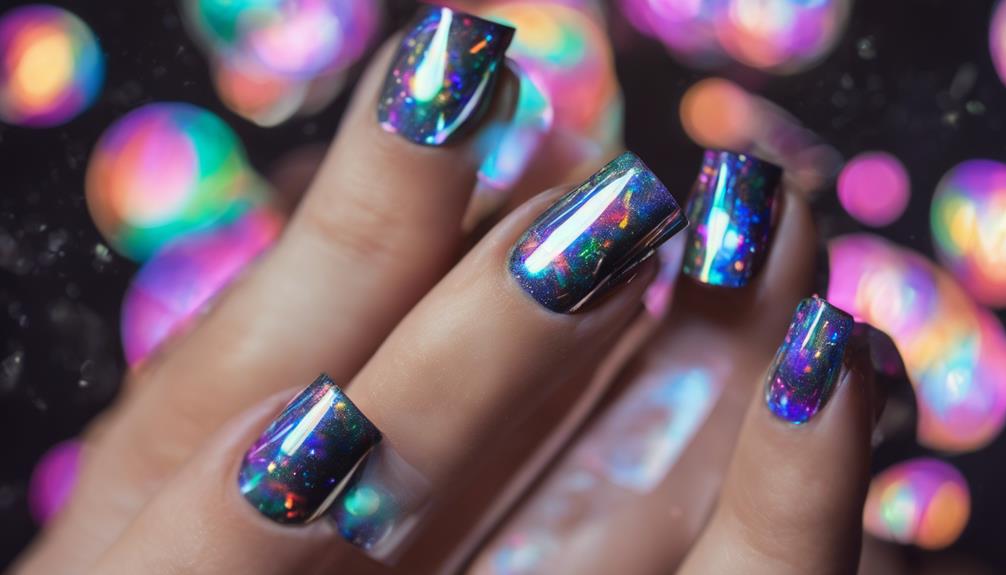
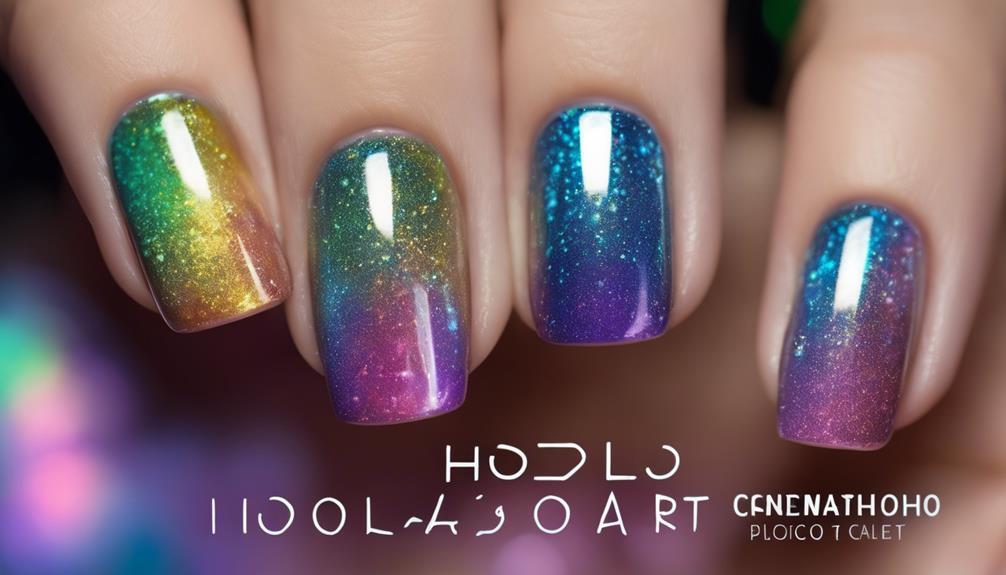
Consider enhancing your nail art designs with the vibrant blue holographic polish, Be Kind Rewind, from Holo Taco. This stunning shade adds a pop of color and holographic sparkle to your manicure, creating a futuristic and eye-catching look. Whether used on its own for a bold statement or as part of a gradient with other Holo Taco shades, Be Kind Rewind's opaque formula guarantees a smooth and vibrant application.
When Be Kind Rewind catches the light, its holographic effect shines brilliantly, giving your nails a mesmerizing finish that changes under different lighting conditions. Combine it with other Holo Taco shades to create unique and dynamic nail art designs that stand out from the crowd.
The versatility of Be Kind Rewind allows you to experiment with various styles, from subtle accents to bold, full-coverage looks. Let your creativity shine with Be Kind Rewind as you elevate your nail art game to the next level.
Final Top Coat Finish

For a flawless and long-lasting finish to your nail art designs, applying a final top coat like Sesh Feet is essential. This last step is important as it not only seals in your beautiful design but also adds a striking glossy finish that enhances the holographic effect of the nail polish, making it pop with vibrancy.
By using a top coat, you're not only protecting your nail art from chipping but also ensuring its longevity, so your stunning design can shine for days to come.
Before you apply the top coat, make sure your nail art is completely dry to avoid any smudging mishaps. Choosing a high-quality top coat will give your nails a professional and polished look, elevating your nail art game to the next level.
Frequently Asked Questions
How to Make a Holographic Nail?
To make a holographic nail, start with a holographic base coat or polish for that dazzling effect.
Use holographic nail powders or flakes to create a holographic finish on your manicure.
Experiment with holographic stamping plates and special holographic stamping polishes for unique designs.
Layer holographic top coats over your nail art for a mesmerizing holographic effect.
Explore holographic nail stickers and decals for easy holographic accents.
Get ready to shine!
How Do I Set up a Nail Art in Home Complete Guide Step by Step?
Alright, let's nail this home nail art setup!
Start with clean, dry nails, slap on that base coat for a smooth ride.
Go bold with One Coat Black, stamp on some intricate designs with ConEd White.
Blend those Hollow Taco polishes for a gradient masterpiece.
Pick a design, stamp away, flip for perfection.
Seal the deal with a glossy top coat, and voilà – share that stunning nail art with the world!
What Are the 5 Basic Nail Designs?
Alright, so let's talk about the 5 basic nail designs you can rock!
First up, you've got solid colors – simple but classy, just one color all over.
Then there's French tips, where you paint the tips a different color for a chic look.
Ombre is next, blending colors for a cool gradient effect.
Don't forget glitter accents for some extra sparkle!
And finally, geometric patterns for a bold and modern vibe.
Time to get creative with those nails!
How to Make Easy Nail Art?
To make easy nail art, start with clean, dry nails and apply a base coat for a smooth finish.
Choose a design from a stamping plate and use a special polish for crisp results.
Create a gradient with complementary shades, applying it at an angle to match the design.
Finish with a glossy top coat.
Share your creation for inspiration. It's simple, fun, and a great way to express your style.
Conclusion
Now that you've mastered these creative holo taco nail art ideas step-by-step, you're ready to display your dazzling nails to the world!
With a touch of holographic magic, your nails will sparkle and shine like never before.
So go ahead and express your inner nail artist, and let your fingertips become a work of art that will leave everyone in awe.
Remember, a little sparkle never hurt anybody!