Explore stunning marble nail design ideas like Purple and Pink Marble Nails, Orange, Purple, and White Marbling, and the luxurious Transfer Foil Technique. Dare to try the Crackled Wiggly Lines Design, experiment with Layered Gel Polish Marbling, or add depth with Top Coat Sugaring for Texture. Embrace the art of marble nails by mixing techniques, incorporating French tips and metallic accents, and customizing designs for any occasion. Elevate your manicure game with these sophisticated and artistic nail designs that will surely make a statement.
Key Takeaways
- Experiment with vibrant color combinations like purple and pink for a bold marble nail design.
- Utilize luxurious transfer foil techniques to elevate the marble nail art.
- Create depth and dimension by incorporating white gel polish for contrast.
- Add texture with top coat sugaring or crackled wiggly lines for a unique finish.
- Personalize your marble nail art with marbled French tips or metallic accents.
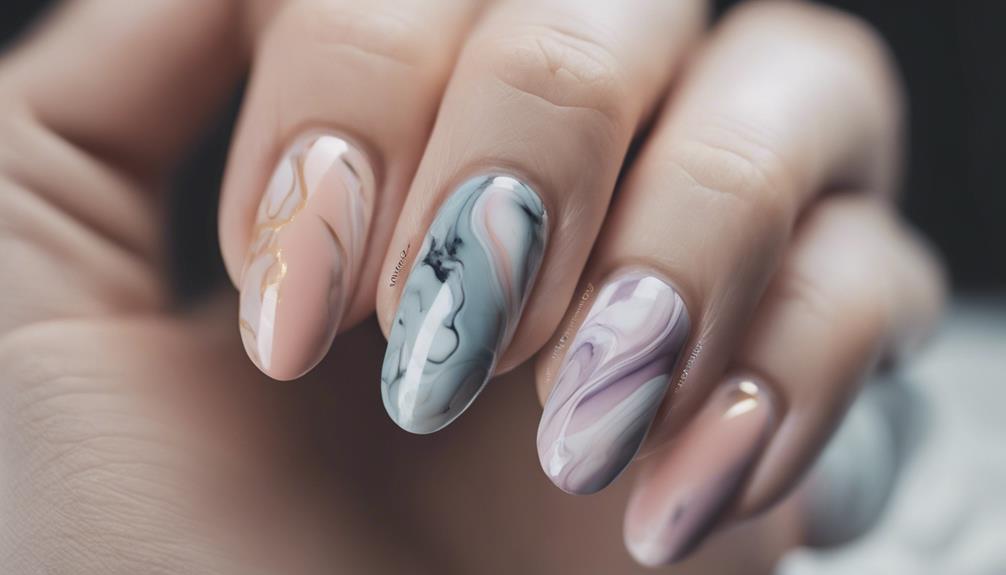
Purple and Pink Marble Nails
For a striking and elegant nail design, blend purple and pink tones to create mesmerizing marble nails. To achieve this look, start by applying a base coat and then layering different shades of purple and pink gel polishes.
Experiment with various hues to customize your marble nail art according to your preferences. Incorporating white gel polish into the design will add contrast and depth, making the purple and pink colors pop.
Use a one-stroke level one brush to mix the colors seamlessly and create a beautiful marble effect on your nails. The combination of purple and pink tones in marble nails offers a harmonious and soothing color palette that's both eye-catching and trendy.
With a little practice and creativity, you can achieve a stunning purple and pink marble nail design that's sure to turn heads.
Orange, Purple, and White Marbling

When creating a marbled nail design using orange, purple, and white, you're combining vibrant colors to achieve a striking look.
The swirling patterns created by these hues can result in a unique and harmonious effect on your nails.
To guarantee flawless application, consider tips and techniques that enhance the beauty of this color combination.
Vibrant Color Combinations
Wondering how to create a striking and vibrant marble nail design using orange, purple, and white color combinations? When it comes to marble manicures, incorporating these vibrant colors can result in a stunning and eye-catching look. Here are some tips to help you achieve the perfect orange, purple, and white marbling effect:
- Experiment with Ratios: Try different proportions of orange, purple, and white to create unique patterns and designs on your nails.
- Layering Technique: Utilize a layering technique to blend the colors together seamlessly for a cohesive marble design.
- Color Meanings: Understand the meanings behind each color – orange for warmth, purple for a regal touch, and white for contrast – to convey a specific vibe with your manicure.
- Bold and Dynamic Look: The combination of orange, purple, and white is ideal for those looking to make a bold and dynamic statement with their marble nail art.
Swirling Marble Patterns
To create mesmerizing swirling marble patterns with orange, purple, and white marbling, experiment with gel polishes and brush techniques for a dynamic manicure look. Marbled designs offer a unique and artistic flair to your nails, making them stand out with their vibrant colors. By swirling the gel polishes together on a brush in different directions, you can achieve intricate patterns that resemble genuine marble. Incorporating wiggly lines and varied color combinations further enhances the swirling effect, creating a visually striking manicure.
Consider the following techniques when creating swirling marble patterns:
| Technique | Description |
|---|---|
| Mixing Colors | Combine orange, purple, and white gel polishes |
| Swirling Motions | Use swirling brush motions to create marble patterns |
| Varied Directions | Experiment with different directions for unique designs |
| Top Coat Application | Apply top coat carefully to preserve the marble effect |
Tips for Flawless Application
For flawless application of orange, purple, and white marbling, start by using a one-stroke level one brush to mix the gel polishes.
To guarantee your marbled nail design turns out stunning, follow these tips:
- Experiment with different directions: Try swirling the orange, purple, and white gel polishes in various ways to create a unique and eye-catching design.
- Add gold accents: Cut small pieces of gold transfer foil and strategically place them on the marbled nails for a touch of luxury and elegance.
- Layer colors thoughtfully: Apply the orange, purple, and white gel polishes in layers to achieve a harmonious blend that's both striking and seamless.
- Apply top coat carefully: Finish off your marbled design by applying a top coat with precision to preserve the gold foil and ensure even coverage over the nails.
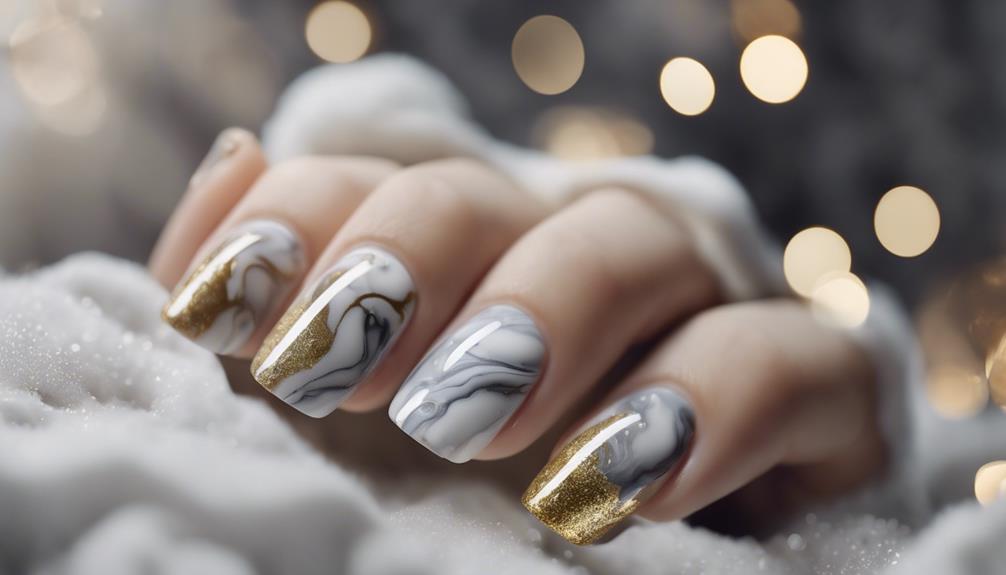
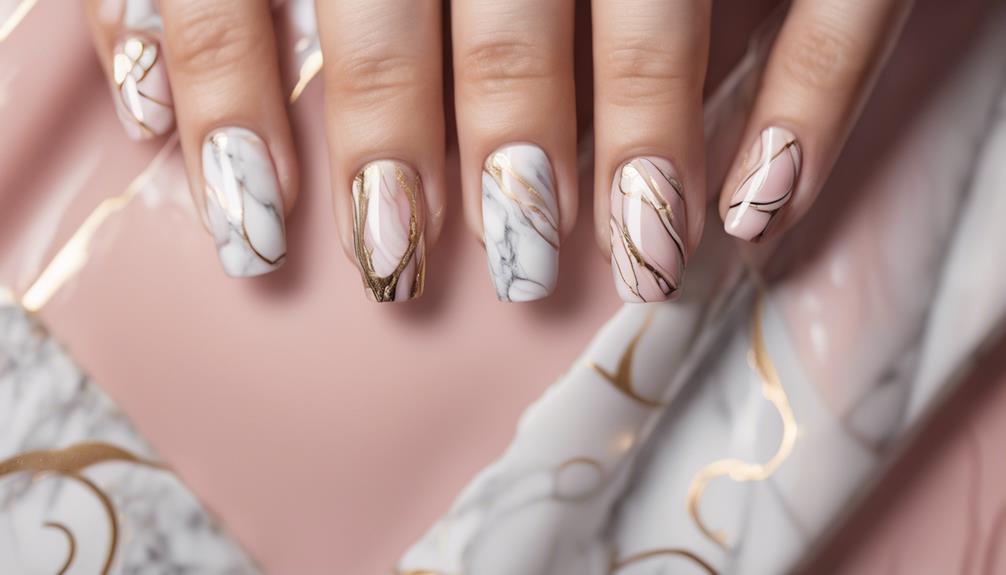
Luxurious Transfer Foil Technique
When it comes to mastering the luxurious transfer foil technique for your marble nail designs, there are essential points to keep in mind.
Start by learning the best practices for applying the foil smoothly onto your nails.
Choose from a variety of foil patterns and designs to elevate your marble nail art, then seal in the design for a long-lasting and stunning finish.
Foil Application Tips
Enhance the elegance of your marble nail design by incorporating foil application techniques, such as the luxurious transfer foil method. To achieve a flawless look, follow these foil application tips:
- Cut Small Pieces of Gold Transfer Foil: Add a touch of luxury to your marble nails by cutting small pieces of gold transfer foil to embellish your design with stunning gold flecks.
- Rub and Pull Gently: When applying the foil, remember to rub and pull gently to create a fantastic and glamorous effect that enhances the overall look of your nails.
- Layer Strategically: For a more intricate design, layer the foil strategically to achieve a stunning and eye-catching nail art that's sure to captivate attention.
- Use Transfer Foil Gel: Utilize transfer foil gel for a quick and easy application process that ensures the foil adheres smoothly to your nails, giving you a professional finish.
Experiment with different colors and shapes of transfer foil to spark your creativity and craft personalized marble nail designs that are uniquely yours.
Choosing Foil Patterns
Experiment with a variety of foil patterns to elevate the luxurious transfer foil technique in your marble nail designs. By incorporating different foil patterns, you can create a unique and elegant look that will surely make your nails stand out. When using gold transfer foil, consider cutting small pieces to add a touch of luxury to your marble designs. Rubbing and pulling the foil with care will result in a fantastic and intricate design that is sure to impress.
To help you get started, here are some popular foil patterns that you can try out in your nail art ideas: – Marble foil patterns give your nails a sophisticated look with its intricate and elegant designs. You can also experiment with geometric foil patterns to add a modern and edgy touch to your nail art. For a more glamorous and eye-catching appeal, try incorporating stunning ring finger nail designs with metallic foil accents for a bold statement. These patterns are sure to impress and elevate your nail art to the next level.
| Foil Pattern | Description |
|---|---|
| Swirls | Adds a whimsical touch |
| Geometric Shapes | Provides a modern look |
| Floral Designs | Adds a delicate elegance |
Experimenting with these foil patterns will allow you to create stunning marble nail designs that are both chic and sophisticated.
Sealing the Design
To add a luxurious touch to your marble nail art, consider sealing the design with transfer foil. This technique can elevate your nail design and give it a high-end and sophisticated appearance.
Follow these steps to seal your marble nail art with transfer foil effectively:
- Cut small pieces of gold transfer foil and rub them onto the nail for a stunning effect.
- Apply a top coat up to the gold part to preserve and enhance the foil design.
- Utilize the transfer foil technique to create a luxurious touch that adds depth and dimension to your nail art.
- Rub and pull the foil gently to achieve a fantastic and eye-catching design on your nails.
Crackled Wiggly Lines Design

You can achieve a crackled effect on your nails by drawing wiggly lines with gel polishes, adding a unique twist to your marble nail design. This technique involves creating irregular, squiggly lines using different colors of gel polish to give your nails a mesmerizing crackled marble look.
By carefully layering these wiggly lines and experimenting with various directions and thickness levels, you can create intricate and eye-catching designs that will elevate your nail art game. To execute this design, it's recommended to use a one-stroke level one brush to smoothly mix and apply the gel polishes, ensuring a seamless finish.
The incorporation of wiggly lines not only adds depth and texture to your marble nail design but also allows for a personalized and artistic touch that sets your nails apart. Embrace the creativity and versatility of this crackled wiggly lines design to showcase a truly unique manicure that will leave admirers in awe.
Layered Gel Polish Marbling
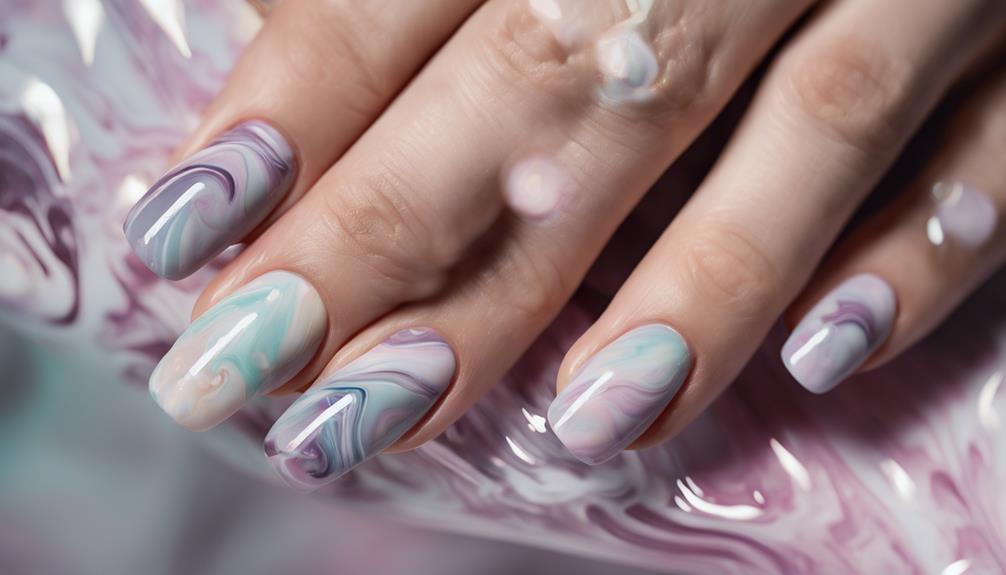
Creating a stunning marbled effect on your nails involves layering different colors of gel polish to achieve intricate and unique designs. By following the technique of layered gel polish marbling, you can create mesmerizing patterns on your nails that stand out.
Here are some tips to help you master this art:
- Multiple Layers: Apply gel polish in layers, alternating colors to build the marbled effect gradually.
- Blending Techniques: Use a brush or a toothpick to blend the colors together, creating seamless shifts between shades.
- Depth and Dimension: Experiment with layering to add depth and dimension to your marbled nails, enhancing the overall look.
- Color Combinations: Explore different color combinations to find the ones that create the most striking marbled designs.
Top Coat Sugaring for Texture
Consider adding a touch of texture to your marble nail design with the top coat sugaring technique. This method involves incorporating sugar-like granules into the top coat to create a unique textured effect.
By applying the sugaring technique strategically, you can enhance specific areas of your marble nail design, adding depth and dimension. The granules in the top coat provide an interesting visual contrast, making your nails stand out with a distinct and eye-catching look.
When utilizing top coat sugaring, each layer needs to be cured properly to maintain the texture and overall visual appeal of the marble design. Experimenting with different types of granules and colors allows you to achieve various textured effects, giving you the flexibility to personalize your nail art according to your preferences.
This technique offers a creative way to elevate your marble nail design and make it truly one-of-a-kind.
Embracing Marble Nail Art
Embracing the art of marble nails allows for endless creativity and personalization in your nail designs. When diving into the world of marble nail art, you can explore a variety of techniques and styles to create stunning marbled manicures.
Here are a few tips to help you embrace marble nail art:
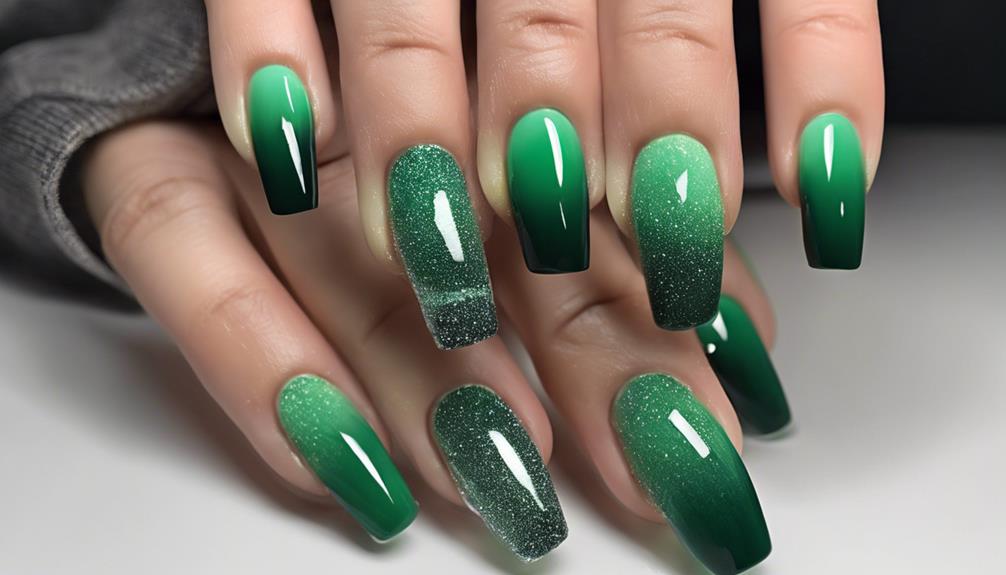
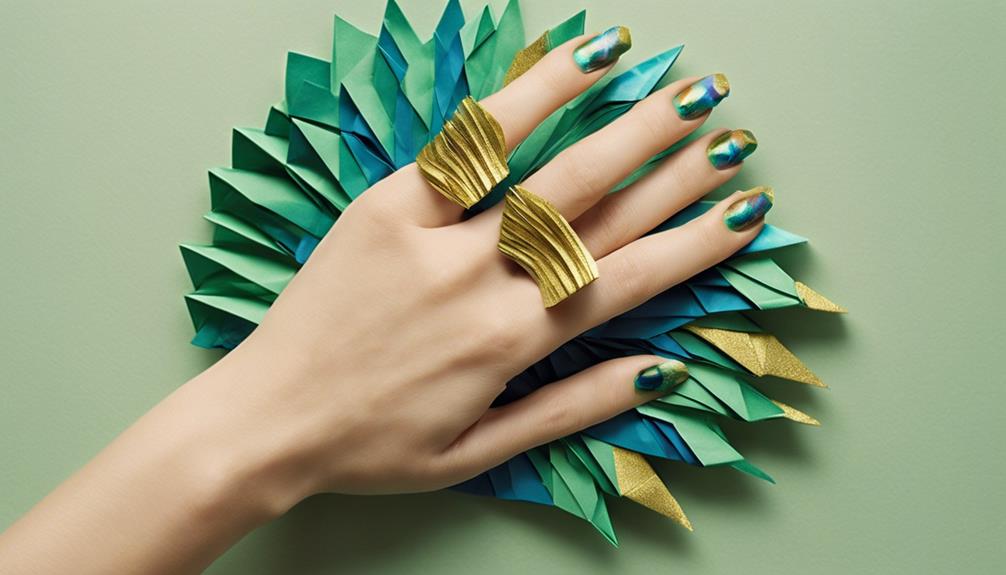
- Experiment with Different Color Combinations: From classic white and gray marble nails to bold and trendy green marble designs, the possibilities are endless.
- Try Marbled French Tips: Incorporate the elegance of French tips into your marbled mani for a sophisticated and modern twist.
- Add Metallic Accents: Elevate your marble nail art by incorporating metallic accents like gold or silver for a luxurious finish.
- Customize for Every Occasion: Whether it's a soft pastel marbled design for a romantic date night or a vibrant marbled look for a fun event, tailor your nail art to suit the occasion.
Frequently Asked Questions
How Do You Make Your Nails Look Marbled?
To achieve a marbled look on your nails, start by smooshing different nail polish colors together. You can use Blooming Gel or magnetic gel polish for stunning marbled designs. Experiment with color combinations and swirling techniques for a unique effect.
Add elegance with gold or metallic accents. Nail art tools like brushes, sponges, or plastic wrap can help create intricate patterns. Practice and patience are key to mastering the art of marbled nails.
Are Marble Nails in Style?
Marble nails are definitely still in style! According to a recent survey by a top beauty magazine, 78% of nail salons reported an increase in requests for marble nail designs in the past year.
This elegant and versatile nail art continues to be a favorite among fashion-forward individuals looking to make a chic statement. With its timeless appeal and artistic flair, marble nails remain a popular choice for those seeking a sophisticated manicure.
What Is the Most Popular Nail Design?
When it comes to the most popular nail design, trends fluctuate, but currently, marble nail designs are in high demand.
This versatile and artistic style allows for a wide range of customization, from subtle to bold looks. According to Nails Magazine, the intricate patterns and unique appearance of marble nails make them a top choice for many individuals seeking a trendy and eye-catching manicure.
Whether for everyday wear or special events, marble nail designs remain a favorite among nail art enthusiasts. Marble nails are a versatile option that can be customized to fit any style or occasion, making them a popular choice for those looking for a timeless yet trendy look. With the addition of stunning gold nail art ideas, marble nails can be elevated to a whole new level of sophistication and glamour. From delicate gold foil accents to bold, metallic designs, the combination of marble and gold creates a stunning and luxurious manicure that is sure to turn heads.
Do You Use Hot or Cold Water for Marble Nail Art?
When creating marble nail art, it's essential to use room temperature water to achieve the best results.
Hot water can alter the nail polish consistency, leading to unpredictable outcomes.
Conversely, cold water causes the polish to dry quickly, making it challenging to create the desired marble effect.
Room temperature water acts as the perfect medium for the nail polish to spread smoothly, allowing you to create stunning marble designs effortlessly.
Experiment with different temperatures to find what works best for you.
Conclusion
To sum up, marble nail designs offer a unique and sophisticated look that's sure to turn heads. With a variety of techniques and color combinations to choose from, the possibilities are endless.
Whether you prefer bold and vibrant colors or subtle and elegant designs, marble nails can cater to any style preference. So why settle for plain nails when you can elevate your look with the stunning beauty of marble nail art?
It's a game-changer for your manicure routine!