To master nail art, start by practicing precise lines with thin brushes for sharp details and playful curves. Use dots of different sizes to create patterns or mosaics, and experiment with contrast for eye-catching effects. Incorporate metallic foils for a luxurious upgrade, and leave negative space to balance busy designs with clean areas. Combining these techniques will help you craft stunning, personalized looks—exploring each element further can reveal even more creative possibilities.
Key Takeaways
- Use fine brushes for detailed lines and dots; steady hands ensure precise patterns.
- Incorporate contrasting colors to make lines, dots, and foils stand out effectively.
- Combine negative space with decorative elements for modern, balanced nail art designs.
- Apply metallic or holographic foils over base colors to add a luxurious, eye-catching touch.
- Experiment with varying line thickness, dot sizes, and layering to create unique, multidimensional effects.
Ever wondered how to transform simple nails into stunning works of art? The key lies in mastering different techniques that elevate your manicure from basic to breathtaking. One of the most fundamental skills is understanding brush techniques. Using the right brush, whether it’s a thin detail brush or a flat one, allows you to create crisp lines, delicate dots, and intricate designs. Steady hands and controlled strokes help you achieve clean, precise patterns. Practice different brush techniques to see how they influence your designs; for example, a fine brush is perfect for delicate lines or tiny accents, while a fan brush can add texture or gradient effects.
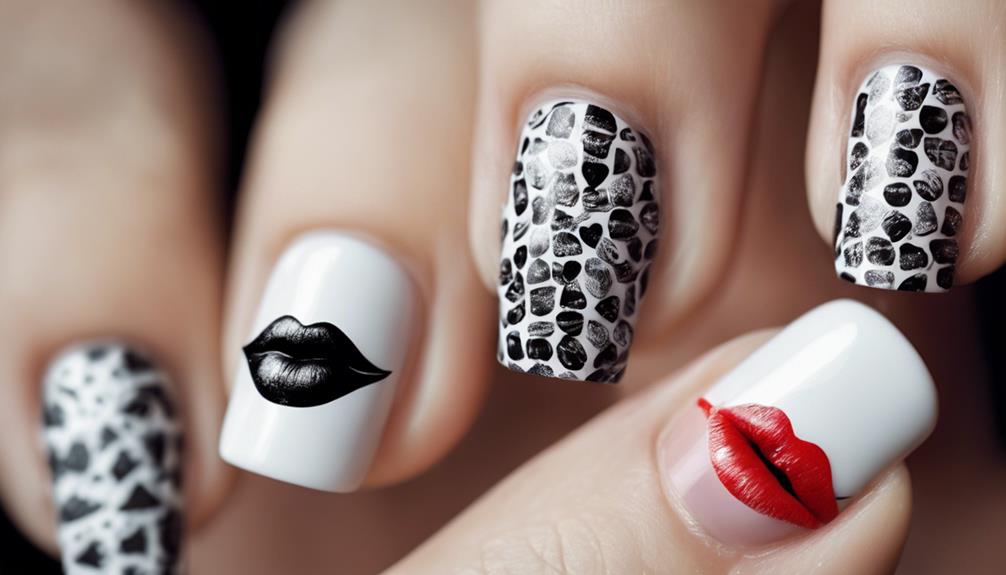
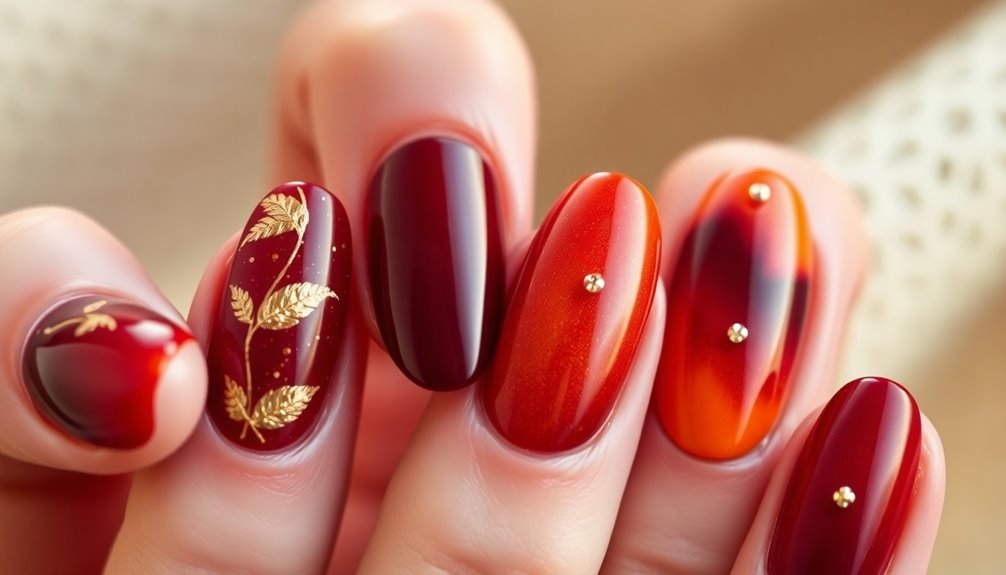
Color combinations also play a *vital* role in nail art. Choosing the right hues can make your design pop or subtly complement your overall look. When working with lines, dots, foils, and negative space, consider contrasting colors to create eye-catching effects. Bright colors paired with neutrals can make your patterns stand out, while monochromatic schemes lend a sophisticated feel. Don’t be afraid to experiment by blending shades or using complementary colors—these choices can add depth and dimension to your nail art. For instance, pairing a bold red with soft pinks or metallic gold with deep navy can dramatically enhance your design.
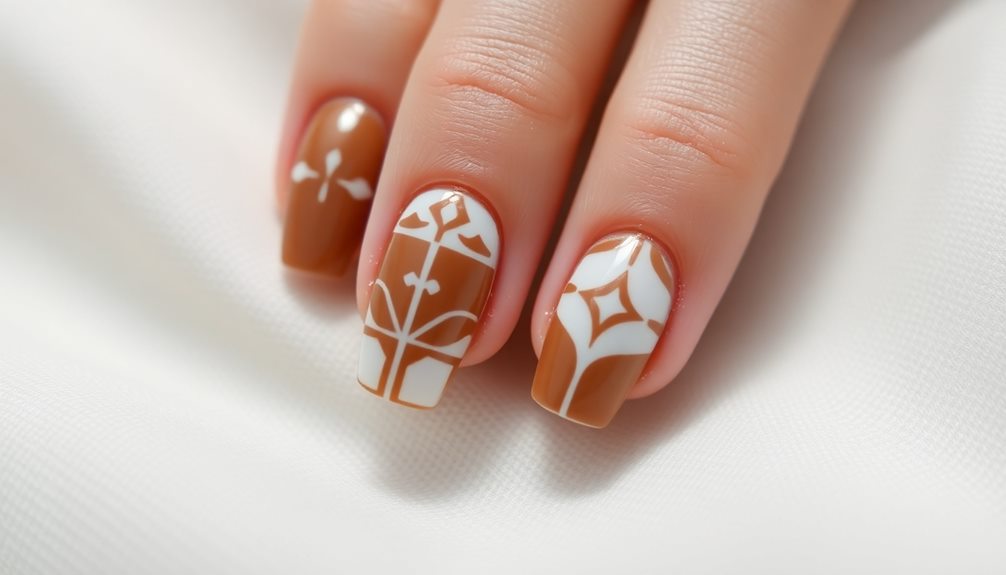
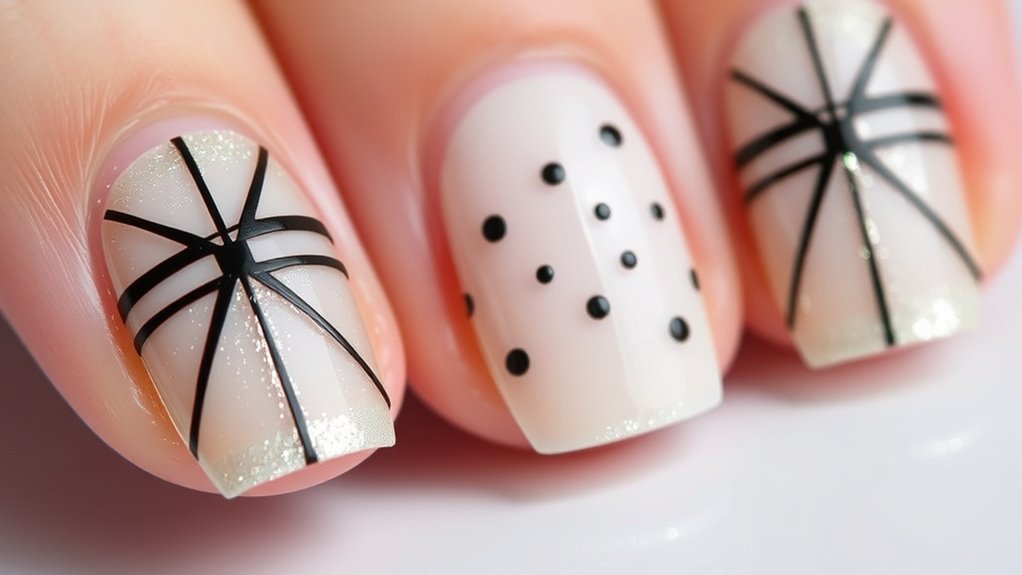
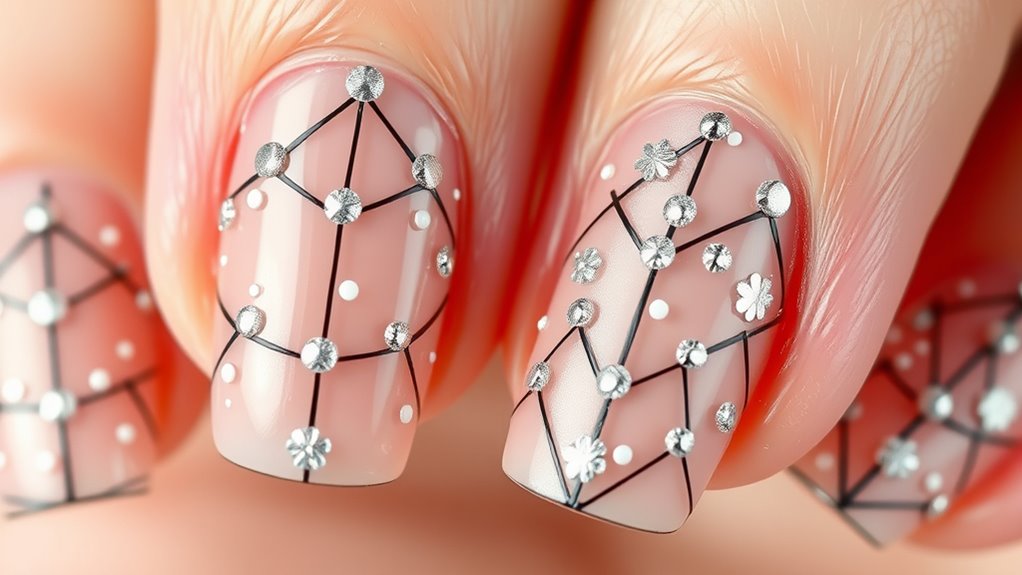
Once you have your brush techniques down and your color combinations sorted, you can start experimenting with different patterns. Lines can be straight or curved, thick or thin, depending on your desired look. Dots are versatile—they can be uniform or varied in size and placement, creating fun polka dot patterns or more complex mosaics. Foils add a touch of glam; applying metallic or holographic foils over a base color can give your nails a luxurious finish. Negative space, which involves leaving parts of the nail bare, adds a modern, minimalist touch. Combining these elements allows you to create layered, multidimensional designs that truly stand out.
Frequently Asked Questions
How Long Does Nail Art Typically Last?
Nail art usually lasts about one to three weeks, depending on your nail longevity and how well you maintain it. To keep your designs looking fresh, avoid harsh chemicals, wear gloves when doing chores, and apply a top coat every few days. Proper maintenance tips, like gentle filing and moisturizing cuticles, also help extend the life of your nail art, ensuring it stays vibrant and intact longer.
What Tools Are Essential for Beginners?
Your nail art toolkit doesn’t need to be massive to start creating stunning designs. Essential beginner supplies include nail art brushes for precision, dotting tools to make perfect dots, striping tapes for clean lines, and a good top coat for longevity. You’ll also want a nail file, buffer, and cuticle pusher. These tools are your magic wand to release your creativity and turn simple nails into eye-catching masterpieces!
Can Nail Art Be Done at Home?
Yes, you can definitely do nail art at home using DIY techniques. With some basic tools and practice, you can create stunning designs like lines, dots, and negative space. Start with simple patterns and gradually try more intricate styles. If you want professional options, you can always visit a salon later for expert touches. Most nail art ideas are achievable at home, making it fun and affordable to express your creativity.
Are There Any Nail Art Designs Suitable for Short Nails?
Think of your short nails as a canvas waiting for a story. Yes, there are stunning short nail designs perfect for your style. Focus on simple, bold patterns like clean lines or delicate dots, which can make your nails appear longer. Use nail art tips like contrasting colors or negative space to add depth. With a little creativity, your short nails can showcase beautiful, eye-catching designs that express your personality.
How Do I Remove Nail Art Safely?
To remove nail art safely, start with gentle removal techniques like soaking your nails in acetone or using foil wraps with cotton balls. Avoid harsh scraping or peeling to prevent damage. Follow safety precautions by moisturizing your nails afterward and giving them a break from polish. If needed, use a nail buffer to smooth any rough edges, and always work in a well-ventilated area for your health.
Conclusion
Now that you’ve uncovered the basics of lines, dots, foils, and negative space, your nails are ready to tell a story as unique as you are. Think of these techniques as the brushstrokes of your personal masterpiece—each one adding depth and personality. With a little practice, your nails will become a canvas that captures your style and creativity. So go ahead, let your imagination run wild and turn your fingertips into a work of art that shines from the inside out.