
Get ready to transform your baked creations into stunning masterpieces inspired by nail art! To create show-stopping cakes, you'll need essential tools like nail polish, nail art brushes, and dotting tools. Master marbling techniques, experiment with color combinations, and customize designs for unique looks. Use nail art tools to create precise shapes and patterns, and even incorporate edible images for added flair. With attention to detail and precision, you can achieve intricate designs and vibrant colors. As you continue, you'll uncover more secrets to taking your cake decorating to the next level!
Key Takeaways
• Use nail art techniques like marbling, stamping, and freehand painting to create unique and intricate designs on cakes.
• Experiment with color combinations and patterns to achieve stunning ombre effects and customized designs.
• Utilize nail art tools, such as dotting tools and nail art brushes, to create precise shapes and patterns on cakes.
• Combine baking and nail art by using non-toxic and food-safe nail polish to add vibrant colors and finishes to cake decorations.
• Practice patience and attention to detail when sculpting cakes into 3D designs using fondant, modeling chocolate, and specialized tools.
Essential Nail Art Cake Tools
To create stunning nail art cakes, you'll need a set of essential tools. These tools are the building blocks of your design, and with them, you'll be able to bring your creative vision to life.
Nail polish is a must-have for adding vibrant colors and finishes to your design. Nail art brushes, ranging from fine to thick, allow for precise strokes and delicate details.
Dotting tools enable you to create perfect dots and patterns, adding an extra layer of sophistication to your design. Finally, nail art stickers provide an easy way to add intricate designs and patterns to your cake.
With these tools, you'll be able to create a wide range of designs, from simple and elegant to bold and playful. Remember, the key to creating stunning nail art cakes is attention to detail and precision, so take your time and have fun experimenting with different techniques and designs!
Mastering Marbling Techniques

With your nail art cake tools ready, you're now set to ignite your creativity by mastering marbling techniques, a game-changer in creating visually striking designs that will elevate your nail art cakes to the next level.
This innovative technique involves swirling different colors of batter to create a marble-like effect that's sure to impress. To achieve vibrant, bleed-free marbling designs, use gel food coloring, which won't fade during baking.
To create intricate patterns and swirls, simply drag a toothpick or skewer through the batter. Feel free to experiment with different color combinations and patterns to achieve unique and stunning marbled nail art cake designs.
The best part? Marbling techniques can be applied to various types of cake batters, allowing for endless creativity in nail art cake decorating. So, don't be afraid to get creative and push the boundaries of what's possible.
With a little practice, you'll be creating show-stopping marbled masterpieces that will leave everyone in awe.
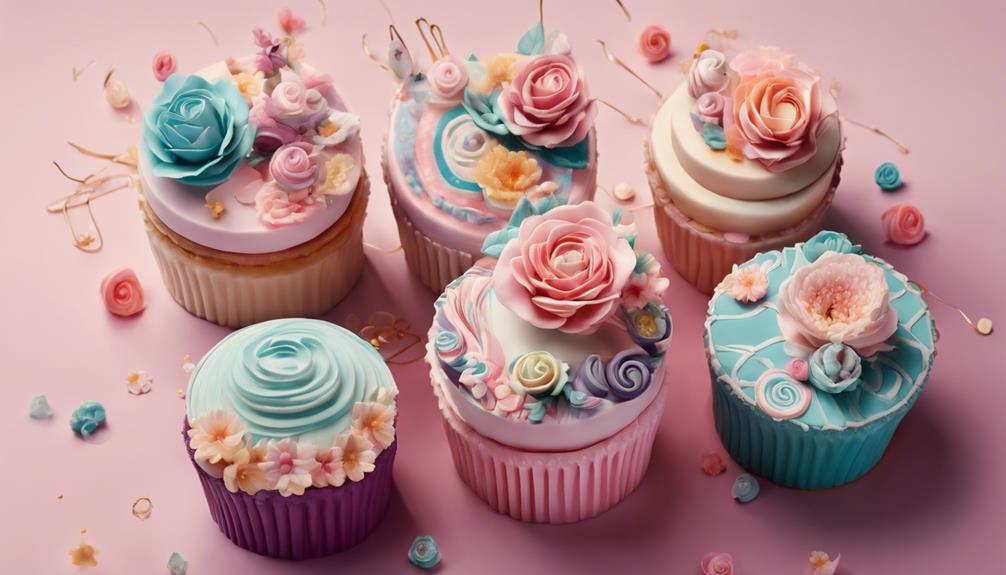
Ombre Effect on Cakes
You can achieve a beautiful ombre effect on cakes by blending different shades of nail polish-inspired colors. This trendy design element adds depth and dimension to your nail art cakes, making them visually striking.
To create an ombre effect, start with a base color and gradually blend lighter or darker shades to create a seamless gradient effect. Use a sponge or brush to apply the colors in a smooth and consistent manner for a professional-looking finish.
Here are some key takeaways to keep in mind:
- Ombre effect cakes are versatile and can be customized with different color combinations to suit any occasion or theme.
- The key to a successful ombre effect is blending the colors smoothly and consistently.
- Experiment with different shades and combinations to create a unique look.
- Don't be afraid to get creative and try out new colors and techniques to make your cakes truly stand out.
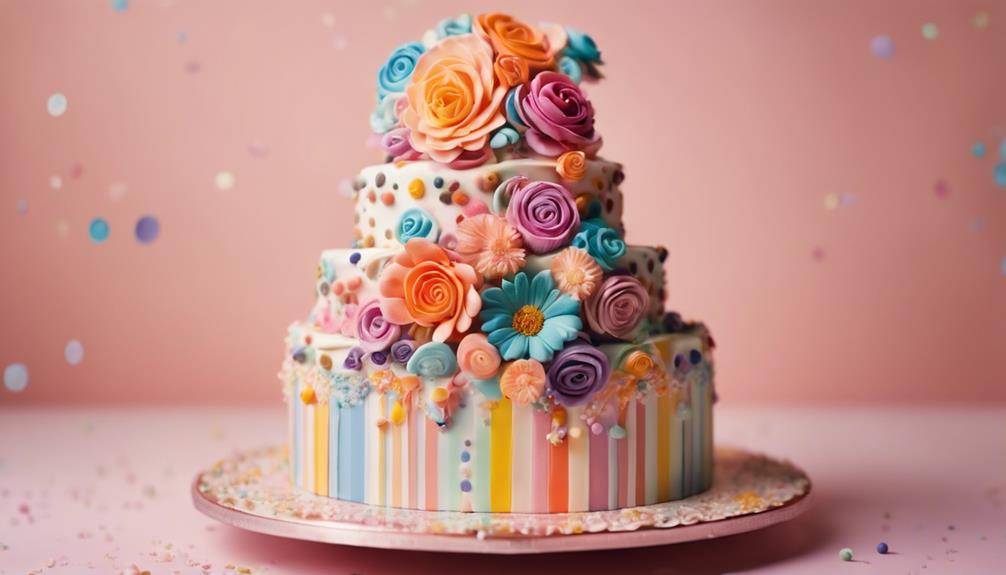
Intricate Pattern Designs
While ombre effects add a touch of elegance to nail art cakes, intricate pattern designs take them to the next level of sophistication by incorporating detailed geometric shapes, floral motifs, or abstract patterns that showcase the artist's creativity and skill.
When it comes to creating intricate patterns, precision and attention to detail are key. You'll need to focus on every stroke, every curve, and every line to achieve a design that's truly stunning. To help you achieve intricate patterns, you can use tools like fine brushes, stencils, and nail art pens.
You can also incorporate popular nail art techniques like marbling, stamping, and freehand painting to add more complexity and visual interest to your design. With intricate pattern designs, the possibilities are endless, and the result is a nail art cake that's truly a masterpiece.
As you experiment with different patterns and techniques, you'll find that your creativity and skill will shine through, making your nail art cakes truly unforgettable.
Geometric Cake Art Inspiration
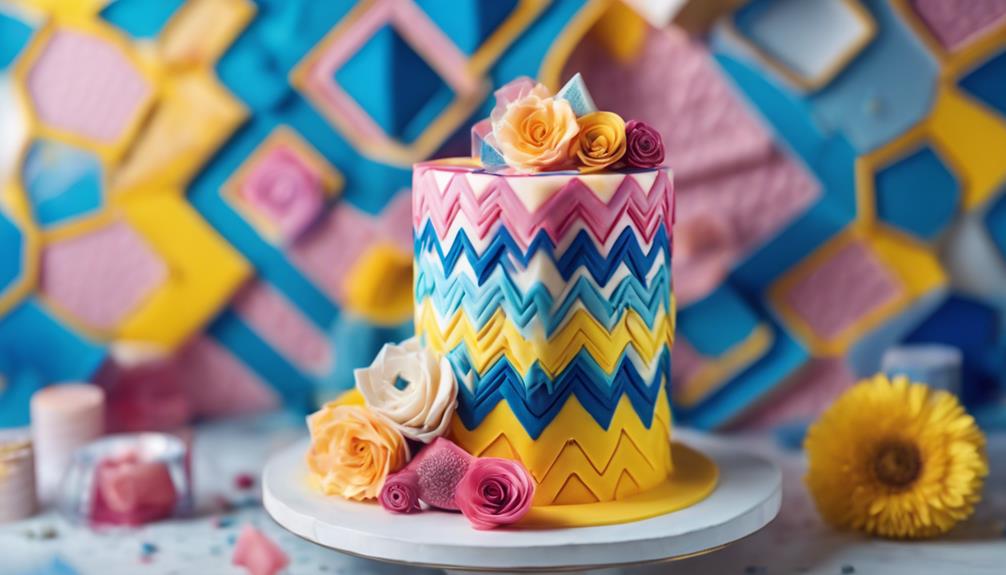
Embracing geometric cake art inspiration, you'll find that precise shapes and patterns come together to create a modern, visually striking look that's perfect for making a statement. This style is all about clean lines, bold colors, and sharp contrasts, which can elevate your cake game to the next level.
With geometric nail art cakes, you can experiment with various shapes, from triangles and squares to diamonds and more. The possibilities are endless, and the best part is that you can customize the design to fit your theme and color scheme.
Here are some key aspects to keep in mind when creating your geometric masterpiece:
- Use a variety of nail art tools, such as brushes and dotting tools, to achieve precise shapes and patterns.
- Don't be afraid to mix and match different geometric elements to create a unique design.
- Bold colors and sharp lines are key to creating a striking visual impact.
- Geometric nail art cakes are incredibly versatile, so feel free to get creative and make it your own!
Using Nail Polish on Cakes
Taking a cue from the nail art world, you can incorporate vibrant, glossy designs to your cakes using nail polish, revealing a world of creative possibilities. With nail polish cakes, the possibilities are endless, and you can create intricate patterns and designs inspired by nail art.
To get started, make sure to use non-toxic and food-safe nail polish to guarantee your creations are safe for consumption. This is essential, as you want to make sure your cake is both stunning and safe to eat.
With the right polish, you can customize your cakes to match specific themes or color schemes. Imagine creating a cake that perfectly matches a birthday girl's favorite nail polish color or a wedding cake that mirrors the bride's nail art.
The beauty of using nail polish on cakes lies in its versatility and customization options. By combining baking and nail art, you can create visually stunning desserts that will leave your guests in awe.
Cake Decorating With Stencils
Now that you've explored the world of nail polish on cakes, it's time to discover the magic of stencils!
When it comes to cake decorating with stencils, selecting the right one and placing it correctly can make all the difference.
In the following sections, you'll learn the essential tips and tricks for choosing the perfect stencil and positioning it flawlessly on your cake.
Stencil Selection Guide
When selecting stencils for cake decorating, you'll find that choosing the right material, design, and size is crucial for achieving the desired look on your nail art cake. With various types of stencils available, including plastic, silicone, and edible stencils, you're spoiled for choice. But, how do you make the right choice?
Here are some key factors to keep in mind when selecting stencils:
- Material: Plastic stencils are great for intricate designs, while silicone stencils are more flexible and easy to clean. Edible stencils, made from food-grade materials, are perfect for creating designs directly on the cake.
- Design: From floral patterns to geometric shapes, stencils come in a wide range of designs to suit your nail art cake theme.
- Size: Choose stencils that fit your cake size, ensuring the design isn't too small or too large.
- Durability: Opt for stencils that can withstand repeated use and cleaning, ensuring they remain in great condition for your next cake decorating project.
Stencil Placement Tips
Position your stencil on the cake surface, carefully aligning it with the design you want to create, and gently press it onto the cake to guarantee a crisp, clean impression. Make sure it's securely held in place to prevent smudging or shifting during decoration. You don't want your design to get ruined because of a misplaced stencil!
Next, use a gentle tapping motion with a brush or airbrush to apply color through the stencil. Be patient and take your time, as this step requires some finesse. Once you've applied the desired amount of color, carefully lift the stencil to reveal your design. If you're going for a cohesive pattern, repeat the process, adjusting the stencil's position as needed.
Don't be afraid to experiment with different stencil placements to achieve unique and visually stunning cake designs. You might be surprised at how a simple shift in stencil position can completely transform the look of your cake.
Nail Art Inspired Cake Toppers

You can elevate your cake game by incorporating nail art-inspired cake toppers that add a unique and stylish touch to any celebration. These toppers can be customized to match specific themes, colors, or events, making them a great way to personalize your cake.
With nail art techniques like marbling, stamping, and freehand painting, you can create intricate designs on your cake toppers using edible paints, fondant, or royal icing.
Here are some design ideas to get you started:
- Floral patterns: Delicate flowers and leaves can add a touch of elegance to your cake.
- Geometric shapes: Bold and colorful shapes can add a modern twist to your design.
- Ombre effects: Gradual color shifts can create a stunning visual effect.
- Custom designs: Use nail art techniques to recreate your favorite nail art designs on your cake topper.
Creating 3D Cake Designs
Now that you're prepared to elevate your nail art cake designs to the next level, it's time to delve into the art of creating 3D masterpieces.
You'll learn how to shape and carve cakes into realistic nail-inspired forms, and even discover the key to printing edible images that'll make your designs pop.
From mastering cake shaping techniques to perfecting cake carving methods, you're about to open up a world of creative possibilities!
Cake Shaping Techniques
To take your cake designs to the next dimension, master the art of cake shaping, a crucial technique that transforms flat slabs into stunning 3D masterpieces. With the right tools and techniques, you can create intricate designs that will leave everyone in awe.
To get started, you'll need to experiment with different cake textures and consistencies to achieve the desired shape and structure. You can use cake pans, molds, and carving tools to shape your cakes into unique forms. For more complex designs, layering cakes and carving them can help you achieve intricate shapes like flowers, animals, or objects.
Here are some additional tips to keep in mind:
- Use support structures like dowels or straws to maintain stability for taller or more complex 3D designs.
- Consider using fondant or modeling chocolate to sculpt detailed elements for a realistic finish.
- Don't be afraid to think outside the box and try new techniques – practice makes perfect, after all!
- Experiment with different cake flavors and fillings to add an extra layer of depth to your designs.
Cake Carving Methods
With serrated knives, fondant smoothers, and sculpting tools at your disposal, you can sculpt cakes into intricate 3D designs that mimic nail polish bottles or nail art tools with astonishing realism. To achieve this level of detail, you'll need a steady hand and attention to detail. The right tools will help, but it's your skill and patience that will bring these designs to life.
As you carve, you'll need to take into account the texture and consistency of your cake, as some will be easier to work with than others. Don't be discouraged if it takes some practice to get it right – mastering cake carving techniques takes time and patience. But with each attempt, you'll get closer to creating stunning nail art cake designs that will impress anyone.
Edible Image Printing
You can achieve stunning 3D nail art cake designs by printing intricate designs onto edible images that can be easily transferred onto your cakes. This technique, known as edible image printing, allows for customized designs using edible ink and special printers. The edible images are made from sugar or rice paper, making them safe for consumption.
Here are some benefits of edible image printing:
- High-quality results: Advanced technology guarantees that your designs are vibrant and detailed.
- Customization: Print any design you want, from simple to intricate, to match your nail art theme.
- Easy to use: Simply print and transfer the design onto your cake for a professional-looking finish.
- Safe to eat: Edible images are made from food-grade materials, making them perfect for cake decorating.
With edible image printing, you can create stunning 3D nail art cake designs that will impress anyone. The possibilities are endless, and the results are truly breathtaking.
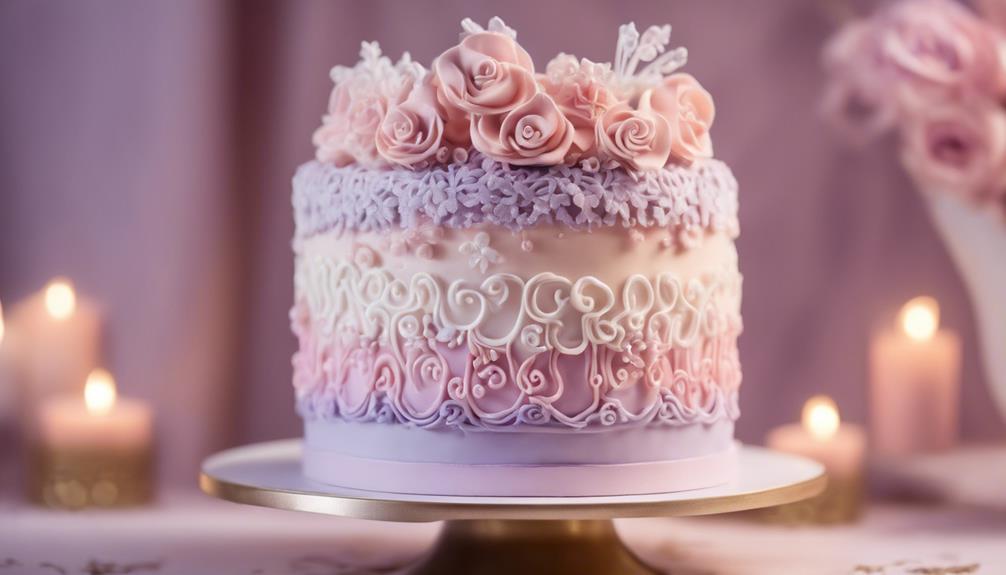
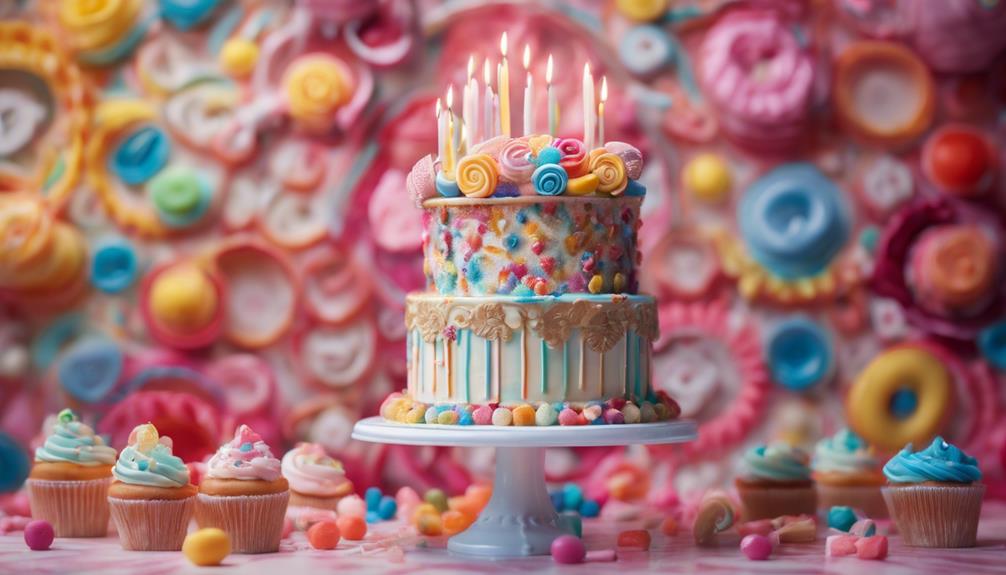
Customizing for Special Occasions
Incorporating special occasion themes into your nail art cake design allows you to create a one-of-a-kind masterpiece that resonates with the celebrant's personality and style. Whether it's a birthday, wedding, or holiday, you can tailor your design to fit the occasion perfectly. To get started, consider the colors, patterns, and decorations that are relevant to the specific event or celebration.
You can experiment with different techniques like marbling, ombre, or hand-painting to create unique and festive designs. Adding embellishments like edible glitter, fondant shapes, or edible prints can also enhance the theme and make your nail art cake stand out.
Before you begin, take some time to consult with the client or recipient to understand their preferences. This will guarantee that your design is tailored to their style and personality. By incorporating special occasion themes into your nail art cake design, you'll be able to create a truly personalized and memorable masterpiece that will impress anyone.
Frequently Asked Questions
How Do You Make Beautiful Nail Art?
You want to know the secret to creating beautiful nail art? It's all about precision and patience! Start with a steady hand and a fine-tipped brush or nail polish tool.
Choose a design that inspires you, and don't be afraid to experiment with colors and patterns. Practice makes perfect, so don't get discouraged if it takes a few tries to get it right.
With a little creativity and persistence, you'll be a nail art pro in no time!
How Can I Get Better at Nail Designs?
You want to improve your nail art skills? Start by practicing regularly, experimenting with different techniques like freehand painting and stamping.
Invest in high-quality tools and products to achieve professional-looking designs with ease. Stay updated on the latest trends by following popular artists and attending workshops.
Take care of your nails, and don't be afraid to get creative and express your unique style. With consistent practice and patience, you'll see your skills soar!
How Do You Make Nail Art Pictures?
You're ready to awaken your inner artist! To create stunning nail art pictures, start by choosing your canvas – or should I say, cake.
Grab a small brush and get creative with edible food colors and markers. You can mimic popular nail art trends like ombre or marble, or experiment with unique techniques like water marbling or stamping. The possibilities are endless when it comes to creating adorable nail designs using food colors and markers. You can even add tiny details like hearts or flowers for a cute and fun look. Whether you’re a nail art enthusiast or just looking for a fun activity, using edible food colors and markers is a great way to experiment and add a unique twist to your nail art.
The possibilities are endless, and with practice, you'll be a pro in no time!
How Do You Design Finger Nails?
When designing your fingernails, you'll want to start with a solid foundation – literally! Prep those nails with a base coat to protect and strengthen them.
Then, get creative with various nail art tools like brushes, dotting tools, and striping tape to create unique designs.
Experiment with different polish colors, finishes, and textures to make your nails truly pop.
Conclusion
Now, you're a master cake artist, with an arsenal of nail art cake ideas at your fingertips!
Imagine your creations as masterpieces on a pedestal, each one a unique reflection of your imagination.
Like a painter's canvas, your cakes are a blank slate, waiting for your brushstrokes of creativity to bring them to life.
With these designs, the possibilities are endless, and your cakes will be the talk of the town!