You're just a few simple steps away from transforming your nails into stunning works of art, and the best part is that you don't need to be a professional to get started! Try striped nail art designs using a brush and 3-6 colors for a fun, colorful touch. Experiment with ombre nail art ideas to create a stunning gradient effect. You can also try minimalist dotting techniques, quick holographic manicures, nail tape geometric patterns, or neutral nail art with studs. With these 7 easy nail art design ideas, you'll be on your way to creating stylish and modern designs that will impress. And, there's even more to explore…
Key Takeaways
• Striped nail art designs are a great starting point for beginners, requiring only a nail painting brush and a few colors. Once you have mastered the technique of creating striped nail art, you can easily move on to more intricate designs such as easy gel nail designs. These designs can be achieved with the use of gel nail polishes and a UV lamp for curing. With a little practice, you’ll be able to create beautiful and long-lasting gel nail designs at home.
• Ombre nail art ideas involve blending two or more colors for a stunning gradient effect, easily achieved with a makeup sponge.
• Minimalist dotting techniques can create stylish nail art with minimal tools, using a dotting tool to create various patterns.
• Nail tape is a versatile tool for creating precise geometric patterns, such as stripes, chevrons, and triangles, with minimal effort.
• Neutral nail art with studs adds a touch of sophistication, elevating a neutral base with strategically placed studs for a chic look.
Simple Striped Nail Art Designs
You can create a bold and eye-catching look with simple striped nail art designs, which involve using a nail painting brush and 3-6 colors to create alternating color stripes. This versatile design is perfect for beginners, as it's easy to achieve and adds a fun, colorful touch to your nails.
To get started, grab your nail polish and brush, and choose your favorite colors. You can experiment with different color combinations and stripe thickness to create unique looks. Once you've finished painting your stripes, seal your design with a top coat for a polished finish.
Striped nail art is a great way to add a trendy element to your manicure, and it's surprisingly easy to master. With a little practice, you'll be creating stunning striped designs in no time.
Easy Ombre Nail Art Ideas
By blending two or more colors seamlessly on the nails, ombre nail art creates a stunning gradient effect that's surprisingly easy to achieve, even for beginners.
With ombre nail art, you can experiment with different color combinations, from subtle neutrals to bold and vibrant shades. To get started, try using a makeup sponge to apply different nail polish shades in a fading pattern. This technique allows you to achieve a beautiful gradient effect with minimal effort.
For a more precise look, you can use a nail art brush to create a flawless ombre effect. You can also experiment with different techniques like dry brushing to add texture and depth to your design.
The best part about ombre nail art is that it's a versatile and beginner-friendly design that adds a trendy and stylish touch to your manicure. With a little practice, you'll be creating stunning ombre nail art designs in no time!
Minimalist Dotting Techniques

As you explore the world of minimalist dotting techniques, you'll discover the simplicity and elegance of simple dot patterns.
With a few dotting tools and some practice, you can create stunning designs that are sure to impress.
Simple Dot Patterns
With a few simple tools, including a bobby pin or dotting tool, you can create stunning nail art designs that feature intricate dot patterns. As a beginner, you'll love how easy it is to achieve stylish nail art with minimal tools and effort. Dotting techniques are beginner-friendly and require minimal tools to achieve stylish nail art.
| Dot Pattern Ideas | Description |
|---|---|
| Floral Dots | Create a delicate floral design using small dots in pastel shades |
| Abstract Dots | Add a pop of color to your nails with randomly placed dots in bold colors |
| Diagonal Dots | Create a chic and modern look with diagonal lines of dots in neutral shades |
Dotting Tool Tips
Your dotting tool is your new best friend when it comes to creating intricate nail art designs with minimal effort. With various sizes to choose from, you can achieve different dot sizes and patterns on your nails.
As a beginner, mastering the art of dotting is easier than you think. Start with simple techniques like creating polka dots or floral designs using your dotting tool. Experiment with different nail polish colors to create unique and personalized designs that reflect your personality.
Quick Holographic Manicures
As you explore the world of quick holographic manicures, you'll discover a world of mesmerizing rainbow effects on your nails.
You'll learn about the various holographic polish options available, from subtle shifts to bold, eye-catching hues.
Now, let's get started by exploring the essentials of holographic nail prep and simple designs that will get you hooked on this trendy nail art style.
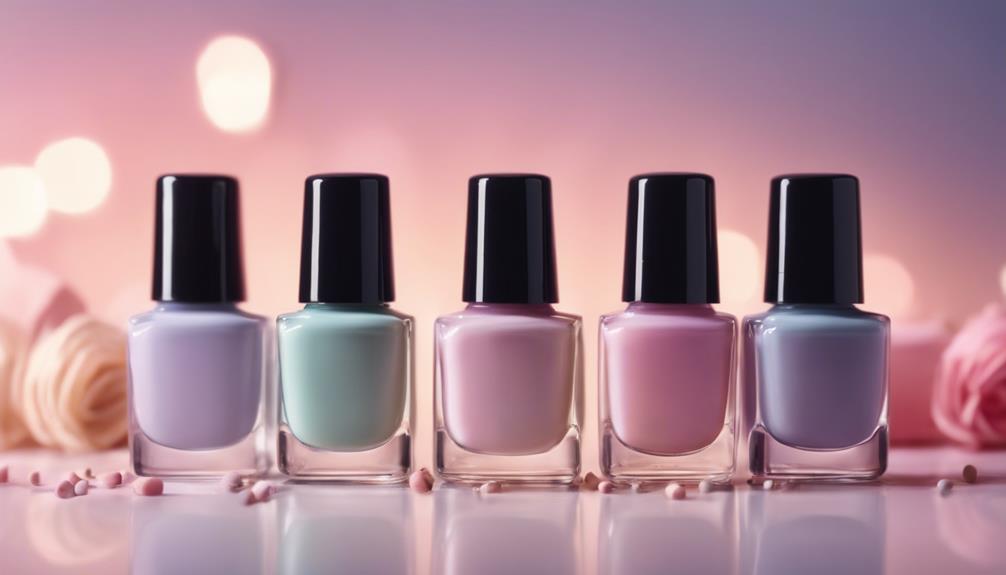
Holographic Polish Options
You can achieve a stunning, high-tech look with just one coat of holographic polish, which creates a mesmerizing rainbow effect on your nails. As a beginner, you'll love how easy it's to apply and elevate your nail art designs with holographic polish. The best part? You don't need to be a pro to get salon-quality results!
With holographic polish options available in a variety of colors, from bold neons to subtle pastels, you can choose the perfect shade to match your personal style.
Whether you're looking to add a touch of glamour to your everyday look or want to make a statement for a special occasion, holographic polish is the perfect choice. Its futuristic and eye-catching finish is sure to turn heads. Plus, the easy application process means you can get the look you want without spending hours at the salon.
Holographic Nail Prep
To achieve a flawless holographic nail art design, prep your nails by shaping, buffing, and applying a base coat for a smooth canvas. This important step guarantees a strong foundation for your holographic polish to shine. A good base coat helps the polish adhere evenly and prevents staining.
Before applying holographic polish, make sure to:
- Cleanse your nails of oils and lotions to establish a strong bond between the nail and polish.
- Prime your nails with a special holographic primer for maximum impact.
- Choose a high-quality holographic polish that's free of streaks and unevenness.
Once you've prepped your nails, you're ready to apply thin layers of holographic polish to build up the holographic effect. Finally, seal your manicure with a top coat to protect and enhance the holographic finish.
With these simple steps, you'll be on your way to a quick and stunning holographic manicure that's sure to turn heads!
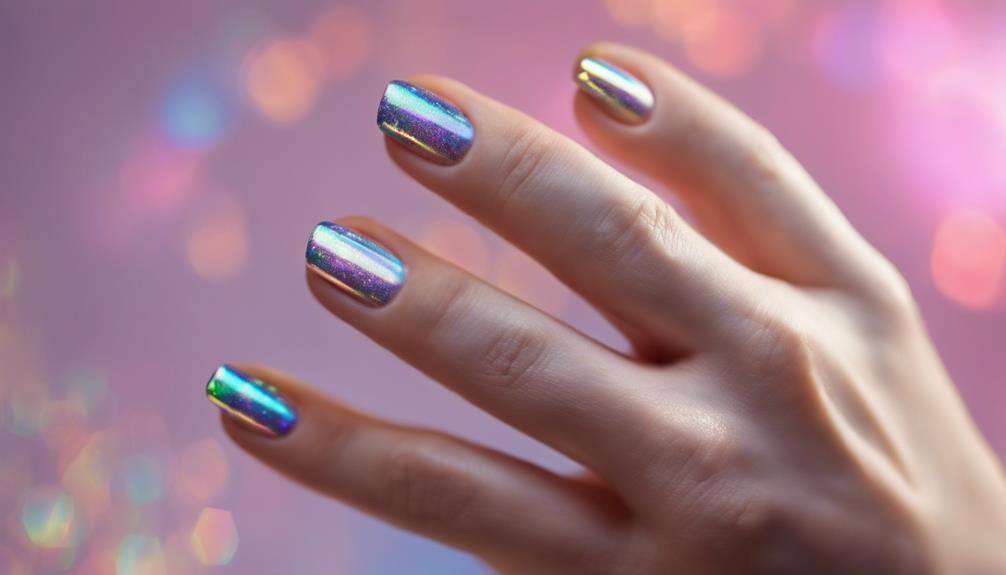
Simple Holographic Designs
Get ready to elevate your nail game with a range of simple holographic designs that deliver maximum impact with minimal effort. With specialized holographic nail polish, you can achieve a futuristic and eye-catching look that's sure to turn heads.
These polishes feature iridescent colors that shift and shimmer in the light, giving your nails a mesmerizing effect.
The best part? You don't need to be a nail art expert to achieve this look. Quick holographic manicures are perfect for beginners, requiring minimal effort for a stunning result.
Simply apply a coat or two of holographic nail polish, and you're good to go! The shimmering colors will do all the work for you, adding a touch of glam to your nails.
Whether you're heading out for a night on the town or just want to add some extra sparkle to your daily look, holographic nail designs are the perfect choice.
Nail Tape Geometric Patterns
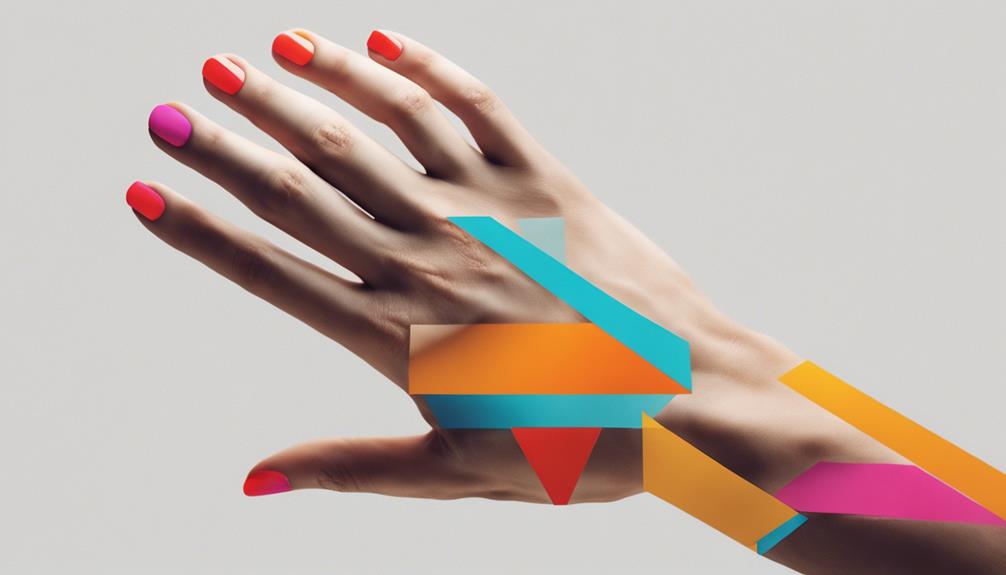
With nail tape, creating geometric patterns becomes a breeze, allowing you to achieve precise and clean designs with ease. As a beginner, you can create professional-looking nail art with straight lines and angles, thanks to the flexibility of nail tape.
One of the best things about nail tape is its versatility. You can use it to create:
- Stripes: Apply nail tape in parallel lines to create a classic, modern look.
- Chevrons: Use nail tape to create zigzag patterns that add visual interest to your nails.
- Triangles: Create geometric triangles by applying nail tape in triangular shapes.
With nail tape, the possibilities are endless, and the best part is that you don't need to be a pro to achieve stunning results. By using nail tape, you can create intricate and modern nail art designs that are sure to impress.
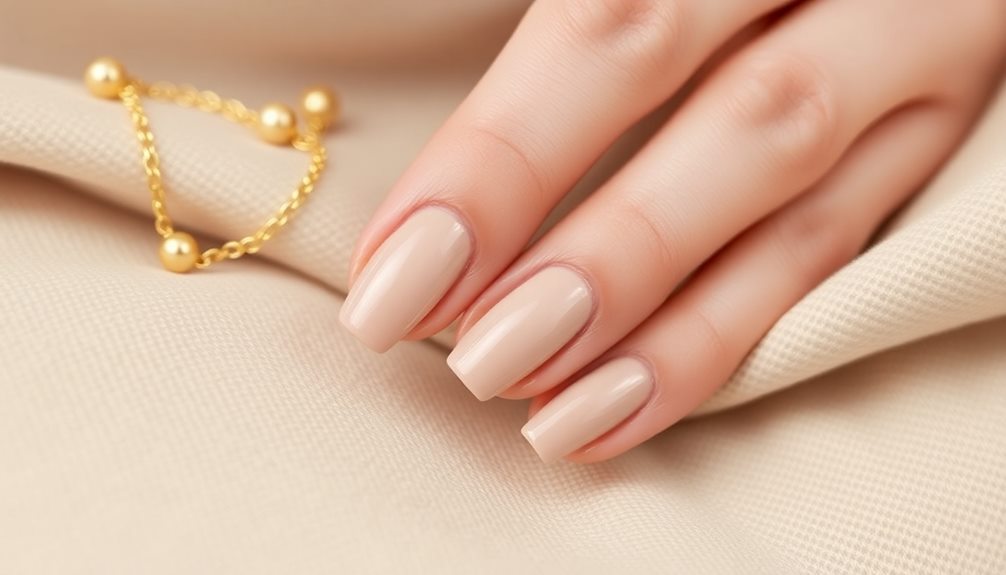
Neutral Nail Art With Studs
You can elevate your nail game by adding subtle flair to a neutral polish base with strategically placed studs. This neutral nail art with studs is a beginner-friendly design that adds a touch of sophistication to your manicure.
Start with a neutral nail polish base for a versatile look that complements any outfit. Then, add a small stud at the base of each nail for a subtle yet stylish accent. The studs can come in various shapes, sizes, and colors to suit your style preferences.
This quick and easy design is perfect for beginners looking to elevate their manicure. With neutral nail art with studs, you can achieve a chic and sophisticated look in no time. Plus, it's a great way to add some visual interest to your nails without going over the top.
Beginner-Friendly Diagonal Stripes
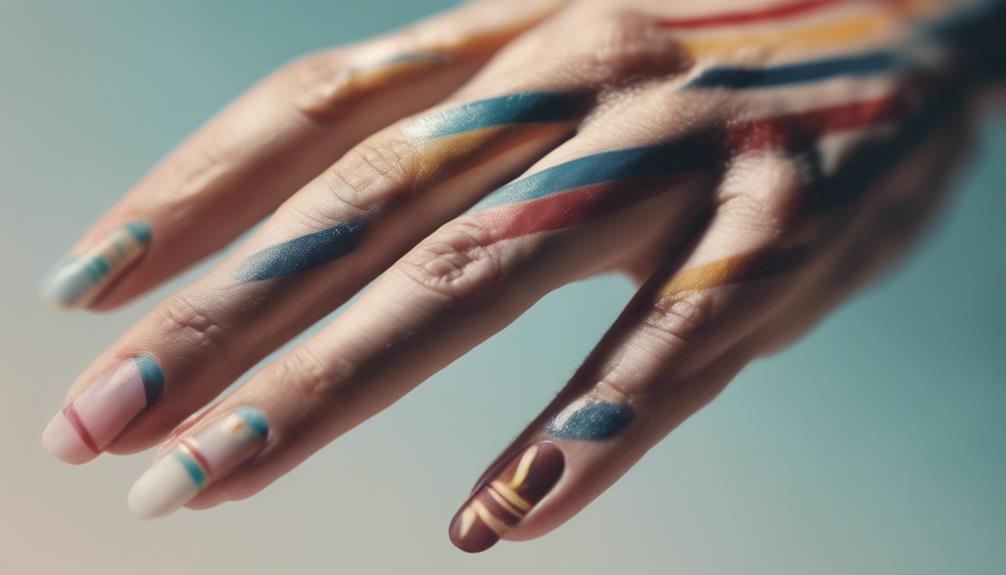
Diagonal stripes add a modern twist to your manicure, and creating them is easier than you think! With minimal tools, you can achieve a stylish and eye-catching design that's perfect for beginners.
To get started, use nail tape to create clean and precise diagonal lines on your nails. This will help you achieve crisp, sharp edges that make your design pop.
Next, experiment with different color combinations to add some personality to your look. You can choose bold and bright colors, or opt for more subtle, pastel shades – the possibilities are endless!
Here are some tips to keep in mind:
- Use a base coat to protect your nails and promote polish adhesion.
- Apply two coats of polish to guarantee an even, opaque finish.
- Seal your design with a top coat to add shine and longevity.
Frequently Asked Questions
What Are the 5 Basic Nail Designs?
You're curious about the 5 basic nail designs that'll get you started on your nail art journey! Well, you're in luck because I've got the scoop.
The five basics are:
- Dots
- Stripes
- Ombre
- Geometric shapes
- Half-moon manicures
These designs are super easy to create and require minimal tools and skills. With a bobby pin, nail tape, and a sponge, you can achieve these stylish looks that'll make your friends green with envy!
How to Make Simple Nail Art at Home?
Remember that time you tried to recreate a intricate nail design you saw on Instagram, but ended up with a mess? Yeah, we've all been there!
To make simple nail art at home, start by choosing a base color you love. Then, experiment with easy techniques like using nail tape, dotting tools, or sponges to create unique designs.
Add some elegance with studs or stickers, and seal it all with a topcoat for a pro finish. Practice, patience, and having fun are key to mastering simple nail art!
How to Do Minimalist Nail Art?
You're looking to master minimalist nail art! To get started, choose neutral colors like nude, white, or light pastels to create a clean canvas.
Use nail tape to create crisp lines and geometric shapes. Dotting tools will help you add subtle details.
Remember, the key to minimalist nail art is simplicity, so don't be afraid to leave some negative space.
With a steady hand and a little patience, you'll achieve a chic, understated look that's perfect for everyday wear.
What Is the Easiest Nail Technique?
Imagine yourself creating stunning nail art, effortlessly. You're wondering, what's the easiest nail technique to master? The answer might surprise you – it's not one, but a few!
You can start with nail tape for crisp lines, or try the dotting technique with a bobby pin. Ombre effects using a sponge are also a breeze. These techniques are so simple, you'll be captivated from the start.
The best part? They're perfect for beginners like you, ready to explore your creativity!
Conclusion
You've made it to the finish line! Your nail art journey has just begun, and the possibilities are endless. Imagine your nails as a canvas, waiting for your brushstrokes of creativity. With these 7 easy designs, you've opened the door to a world of self-expression. Now, it's time to release your inner artist and paint your personality on your nails.
As you master each design, your confidence will flourish like a blooming flower, and your nails will be the perfect reflection of your unique style.