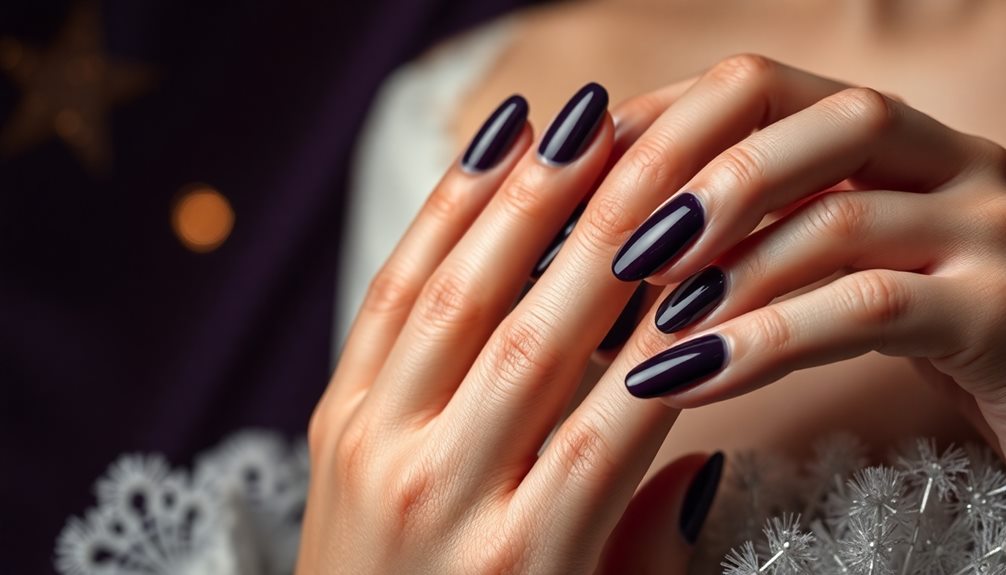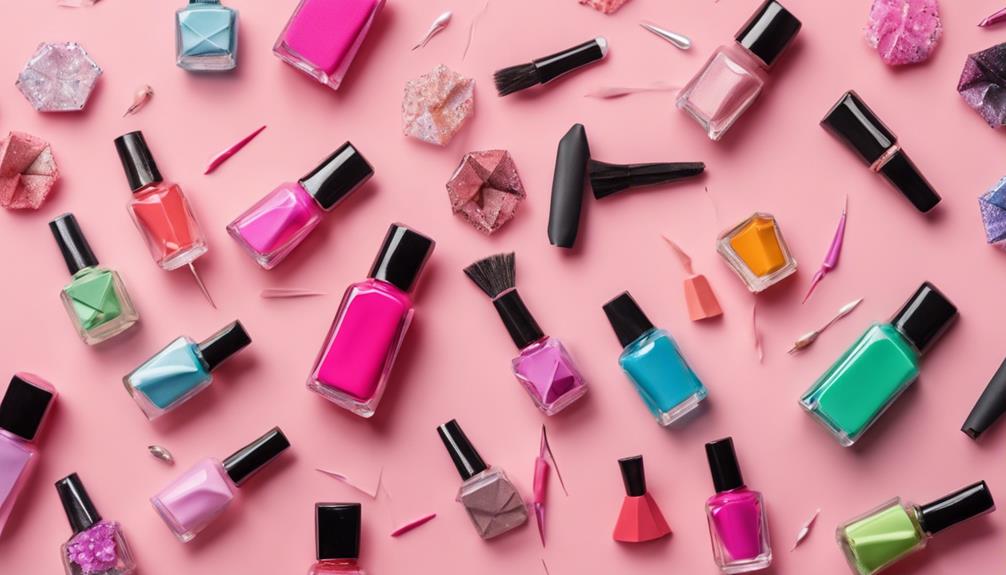

Get ready to ignite your creativity with these 10 creative nail art DIY ideas! You can create vibrant color block designs, whimsical dotting tool creations, and geometric patterns on your nails. Try easy stamping nail art ideas, marvel at nail polish marble effects, or go for simple sticker nail art ideas. Bold striped nail designs, nature-inspired nail art creations, and glitter accent nail art designs will take your nail game to the next level. Experiment with different techniques and materials to create unique, eye-catching designs that reflect your personality. As you explore these ideas, you'll discover endless possibilities for self-expression and creativity.
Key Takeaways
• Create vibrant color block designs by combining contrasting colors for a modern and artistic look.
• Use dotting tools to create whimsical designs, from simple polka dots to complex patterns.
• Achieve geometric patterns on nails using nail striping tape, stencils, or freehand techniques for a unique look.
• Add a touch of glamour with glitter accent nail art designs, including glitter ombre, glitter accent nails, and glitter color blocking.
• Experiment with different nail art techniques, such as stamping, marble effects, and ombre designs, to create personalized and unique looks.
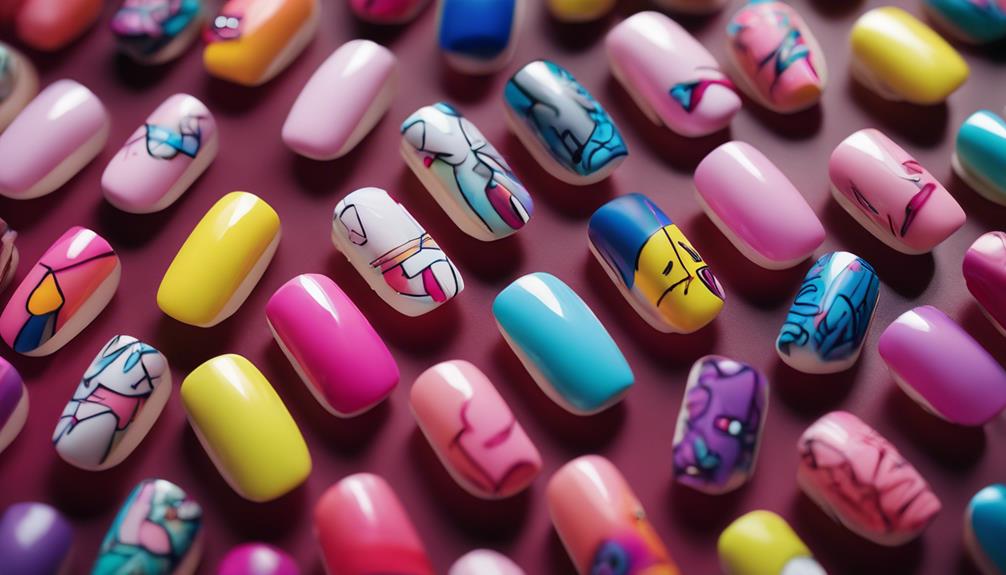
Vibrant Color Block Designs
Get prepared to ignite your creativity with vibrant color block nail art designs that boldly combine contrasting colors to create eye-catching patterns on your nails. This style is perfect for those who want to make a statement with their nails and experiment with different color combinations.
With color block nail art, you can let your imagination run wild and create unique, modern, and artistic designs that reflect your personality.
The best part? It's easy! You can start with simple, minimalist designs featuring two bold colors or go all out with intricate patterns featuring multiple shades. The possibilities are endless, and the result is always a stunning, one-of-a-kind nail art design that showcases your creativity. If you’re looking for inspiration, you can find countless creative nail art ideas on social media platforms like Instagram and Pinterest. From floral designs to geometric shapes to ombre gradients, there are endless options to express yourself through your nail art. Whether you’re a beginner or a seasoned nail enthusiast, there’s always something new and exciting to try in the world of creative nail art ideas.
Whether you're a nail art newbie or a seasoned pro, vibrant color block designs are a fun and easy way to express your style and add some flair to your everyday look. So, don't be afraid to get creative and try out new color combinations – with color block nail art, the only limit is your imagination!
Whimsical Dotting Tool Creations
Now that you've expressed your creativity with vibrant color block designs, it's time to add some whimsy to your nail art with dotting tools, which provide a world of possibilities for creating intricate, playful patterns on your nails.
With a dotting tool, you can unleash your imagination and experiment with various designs, from simple to complex. These versatile tools come in different sizes, allowing you to achieve precise dots in various sizes to match your DIY nail art vision.
Dipping the tool in nail polish and creating dots on your nail is a breeze, giving you endless opportunities to customize your nail art. You can create flowers, polka dots, and geometric patterns with ease.
Whether you're a beginner or a pro, dotting tools are easy to use, making them perfect for anyone looking to elevate their nail art game. So, get creative and experiment with different designs and patterns – the possibilities are endless!
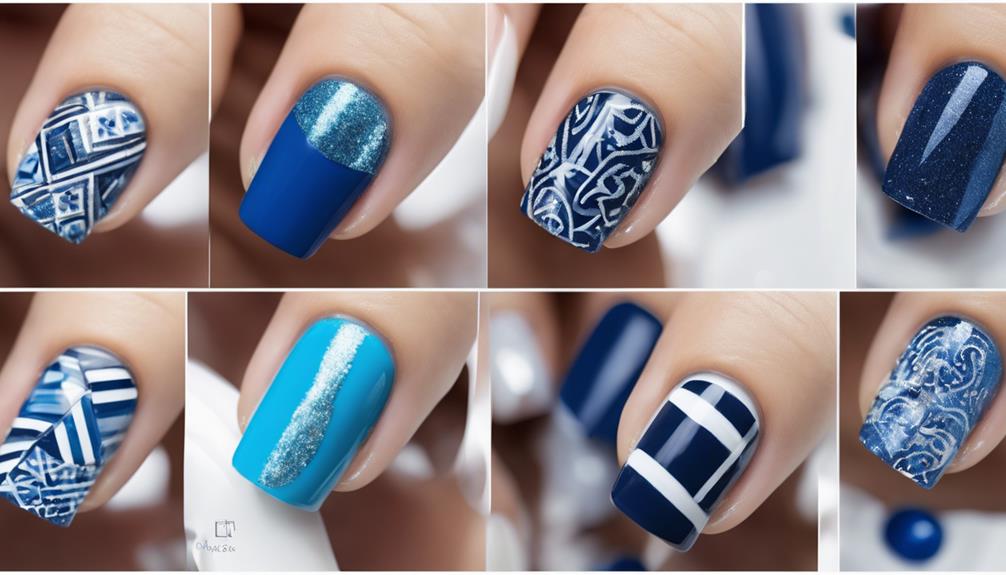
Geometric Patterns on Nails
To add a touch of modernity to your nail art, you can create geometric patterns that feature crisp, clean lines and symmetrical shapes, achieving a sleek, edgy look. Geometric patterns on your nails involve using shapes like triangles, squares, and diamonds to create a modern and edgy appearance. Precision is crucial when creating geometric nail art designs to guarantee clean lines and symmetrical patterns.
Here are some tips to get you started:
- Use nail striping tape, nail stencils, or freehand nail art techniques to achieve geometric patterns on your nails.
- Experiment with different color combinations to create unique and eye-catching nail art.
- Don't be afraid to mix and match shapes to create a look that's all your own.
Easy Stamping Nail Art Ideas
Now it's time to get creative with easy stamping nail art ideas! You're about to master the basics of stamping nail art, from understanding the technique to choosing the right tools and designs.
In the following sections, you'll learn about the essentials of stamping nail art, how to create stunning patterned nail designs, and the must-haves in your stamping tool kit.
Stamping Nail Art Basics
You can achieve salon-quality nail art at home with stamping nail art, a simple yet versatile technique that involves transferring intricate designs from stamping plates onto your nails.
With stamping nail art, you can create endless nail art ideas that are both unique and personalized. To get started, you'll need a few basic tools:
- Stamping plates: These come in various patterns and designs, allowing you to experiment with different looks.
- Nail polish: Choose a color that complements your design and personal style.
- Stamper: This tool helps transfer the design from the plate to your nail.
To create stamped nail art, simply apply nail polish to the desired design on the plate, scrape off excess polish, and stamp onto the nail.
The result is a professional-looking design that's quick and easy to achieve at home. With stamping nail art, you can experiment with different colors, patterns, and techniques to create unique and personalized nail art designs that reflect your personality.
Patterned Nail Designs
With your stamping nail art basics in place, it's time to explore your creativity with patterned nail designs that can elevate your nail game. Stamping nail art offers a world of possibilities, allowing you to create intricate designs with ease. From geometric shapes to floral patterns, the options are endless. With a stamping nail art kit, you can achieve professional-looking designs without needing freehand painting skills.
You can create easy nail art designs by applying polish to the desired pattern on the stamping plate, scraping off excess, and transferring the design onto your nail. The result is a beautiful, intricate design that's sure to impress. With stamping, you can add subtle details or go all out with bold, eye-catching patterns.
The best part? You can experiment with different designs and combinations to create unique, one-of-a-kind looks. So, get creative and have fun with patterned nail designs that showcase your personal style!
Stamping Tool Essentials
Six essential tools make up your stamping nail art arsenal: stamping plates, stampers, scrapers, stamping polish, a nail polish remover, and a lint-free wipe. With these tools, you'll be able to create intricate designs on your nails with minimal effort.
To get started, you'll need a few key items:
- Stamping plates: These have various patterns and designs that can be transferred onto your nails.
- Stamping polish: This specially formulated polish is designed for crisp and clear designs when using stamping tools.
- Stampers and scrapers: These tools help you apply the design onto your nail with precision and ease.
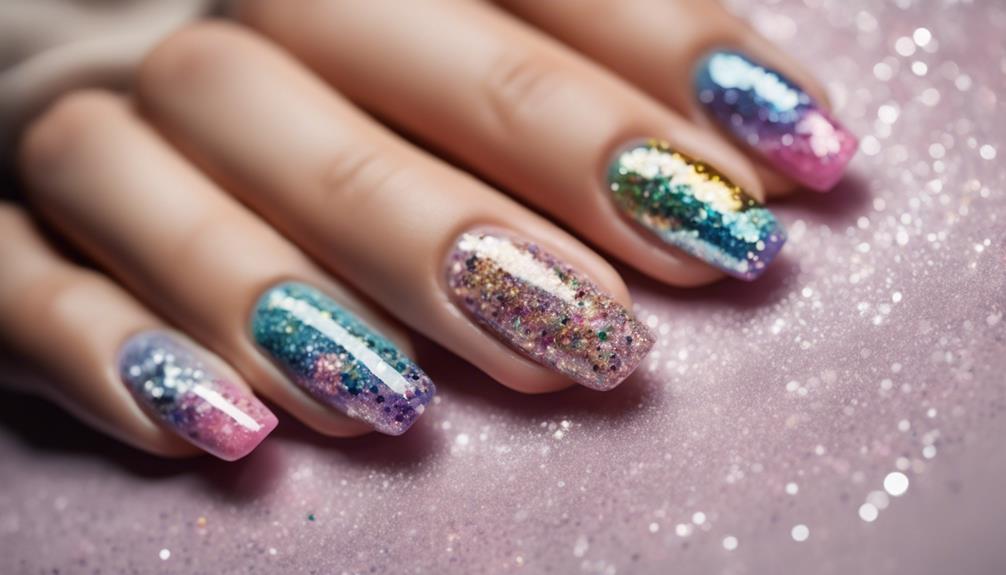
Nail Polish Marble Effects

Now that you're ready to take your nail art game to the next level, it's time to master the art of nail polish marble effects!
You'll be amazed at how easily you can create unique, one-of-a-kind designs using simple techniques like marble magic and polish layering secrets.
With a few quick tips and tricks, you'll be on your way to creating stunning, elegant looks that will turn heads!
Marble Magic Techniques
You can achieve mesmerizing marble effects on your nails by combining 2-3 nail polish colors and swirling them together on a wax paper surface. This technique allows you to create unique nail designs that resemble the intricate patterns found in marble stone.
To take your marble nail art to the next level, try these tips:
- Experiment with color combinations: Mix and match different hues to create one-of-a-kind marble effects.
- Add a personal touch: Use a toothpick to create unique swirl patterns in the polish before it dries.
- Seal the deal: Apply a top coat to seal in your design and add a glossy finish.
Polish Layering Secrets
By layering different shades of nail polish, you can create a stunning marble effect that adds depth and dimension to your nail art. This technique allows you to combine unique color combinations, resulting in a one-of-a-kind design.
To achieve the perfect marble effect, experiment with various layering techniques, such as applying thin coats of polish in a specific pattern or using a sponge to create a more textured look. Don't be afraid to mix and match different shades to create a truly personalized design.
The key to a successful marble effect is to build up layers gradually, allowing each coat to dry completely before adding the next. By doing so, you'll achieve a multi-dimensional look that's sure to turn heads.
With a little practice and patience, you'll be a pro at creating stunning marble effects in no time. So, get creative and start layering – the possibilities are endless!
Elegant Ombre Nail Designs
Elegant ombre nail designs offer a sophisticated way to add some personality to your look, and with a little creativity, anyone can achieve a salon-quality finish at home. Ombre nails are versatile and can be customized to match any outfit or occasion, making them perfect for a night out or a special event.
To create a stunning ombre look, try these tips:
- Start with a neutral base color, like a nude shade, for a French Manicure-inspired look.
- Use a makeup sponge to blend the colors seamlessly, creating a smooth gradient effect.
- Experiment with different color combinations to create a unique ombre look that's all your own.
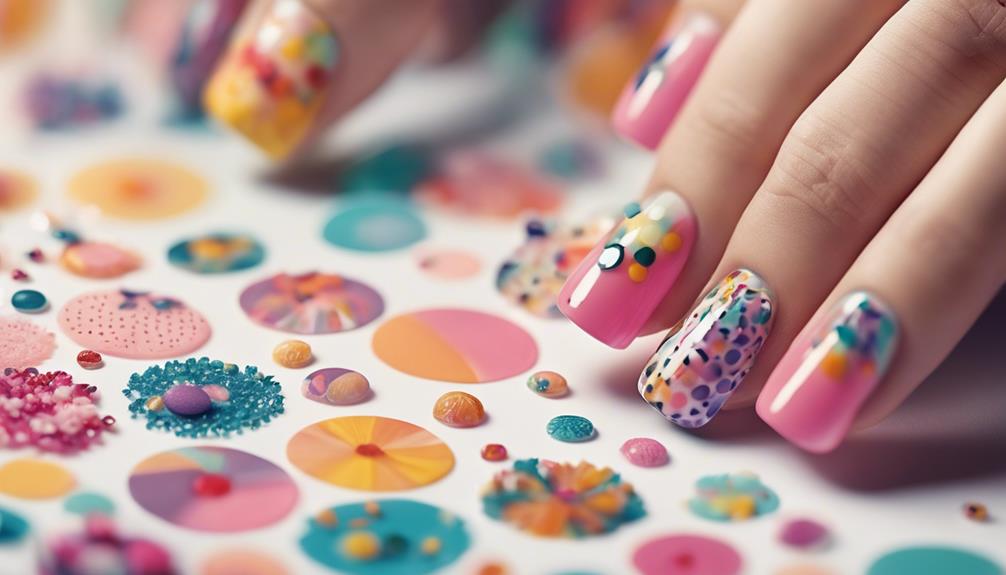
Simple Sticker Nail Art Ideas
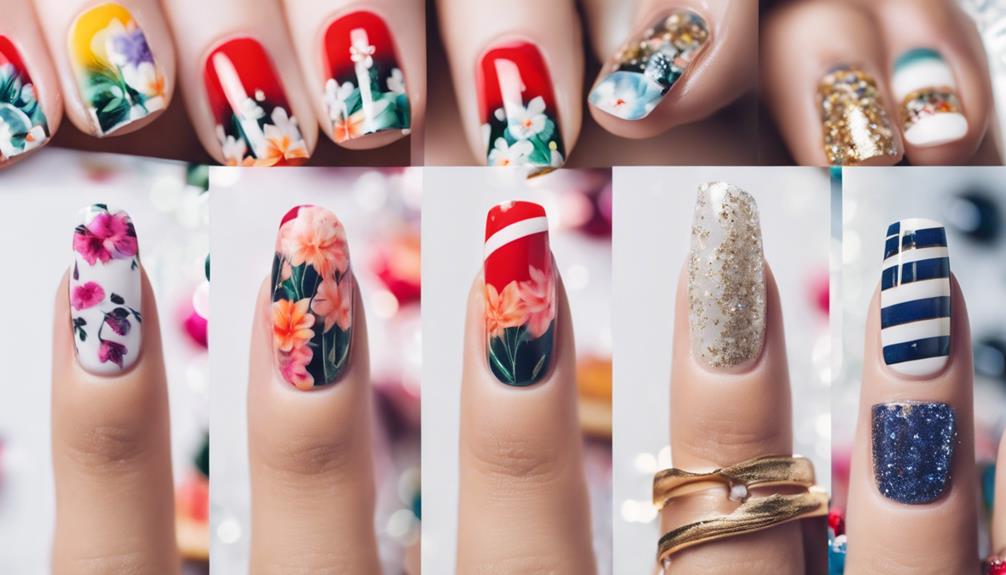
For a quick and easy way to add some personality to your nails, try using nail art stickers, which offer a wide range of designs and patterns to suit your personal style. With nail art stickers, you can create intricate designs without advanced skills or a lot of time. They come in various shapes, sizes, and patterns, providing endless possibilities for creative nail art.
| Sticker Design | Base Color |
|---|---|
| Floral | Pastel Pink |
| Geometric | Neon Green |
| Stripes | Bold Red |
| Polka Dots | Soft Peach |
| Glitter | Metallic Silver |
Experiment with different sticker designs to achieve unique and eye-catching nail art looks. Pair a bold sticker design with a neutral base color for a chic look, or mix and match different patterns for a playful vibe. Nail art stickers are perfect for those with unsteady hands or limited time, and they're affordable and convenient too!
Bold Striped Nail Designs
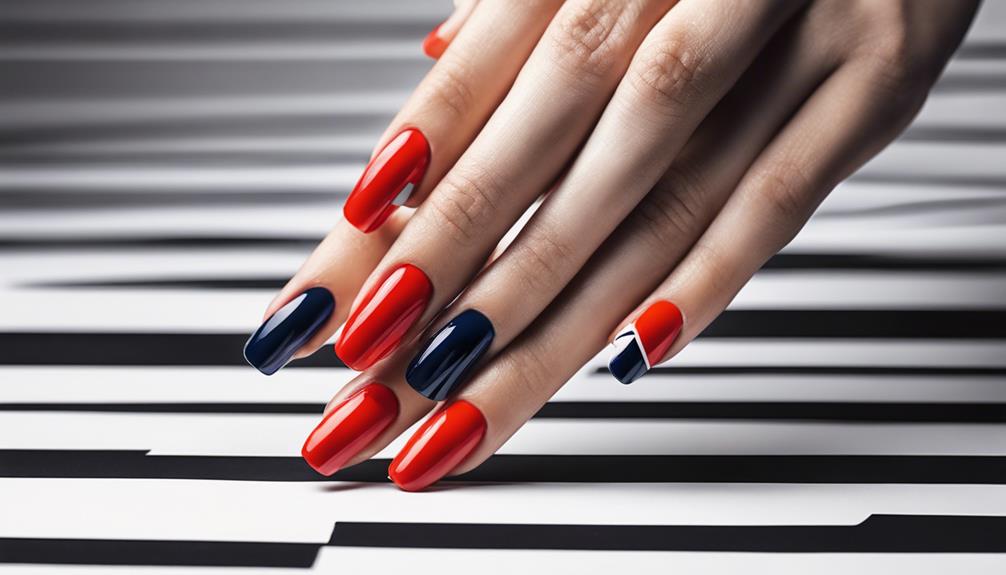
You can achieve a bold, eye-catching look with multi-colored striped nail designs. This allows you to get creative with various color combinations and thicknesses. By using 3-6 different colors and a nail painting brush, you can create a unique and dynamic look that's all your own.
Here are a few tips to keep in mind:
- Alternating color stripes create a bold and eye-catching look on the nails, so don't be afraid to mix and match colors.
- To secure the design and guarantee longevity, apply a top coat over the finished multi-colored stripes.
- Experiment with different thicknesses and directions of the stripes to create a one-of-a-kind look.
With striped nail art designs, the possibilities are endless. You can choose colors that match your personality, favorite outfit, or the current season. The key is to have fun and be creative!
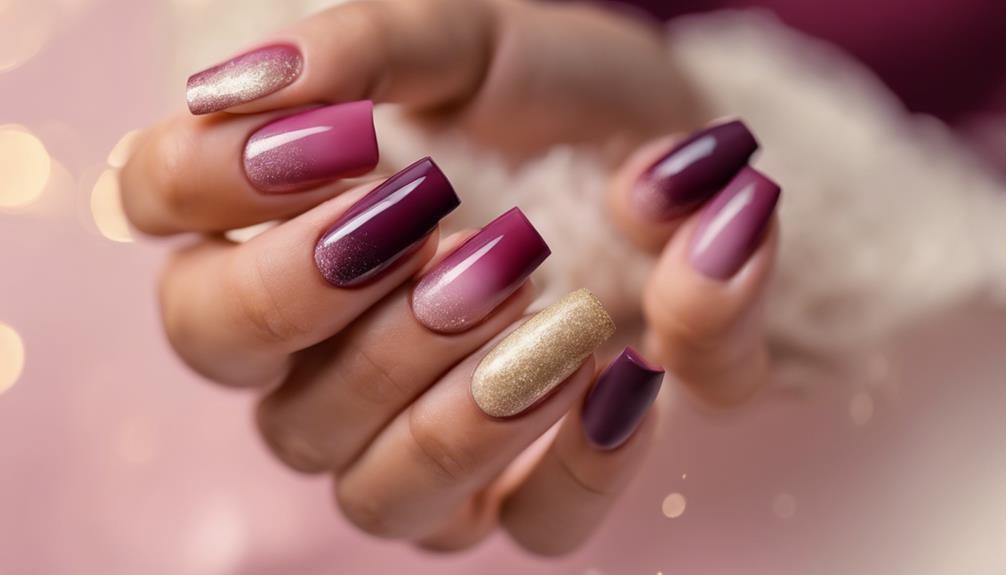
Glitter Accent Nail Art Designs
As you explore the world of glitter accent nail art designs, you're about to uncover a trio of mesmerizing techniques that will elevate your nail game.
You'll learn how to create a glitter ombre effect that gradates from subtle to stunning.
How to add glitter accents to specific nails for a pop of sparkle.
And how to master glitter color blocking for a bold, eye-catching look.
Get ready to add some serious glamour to your nail art repertoire!
Glitter Ombre Effect
By layering glitter polish over a nude base color, you can create a glamorous glitter ombre effect that adds subtle sparkle to your nails. This trendy design is perfect for anyone looking to add some extra glamour to their everyday look.
To achieve the glitter ombre effect, follow these simple steps:
- Start with a nude base color: This will provide a subtle background for your glitter polish.
- Use a sponge to apply glitter polish: This will help you achieve a gradient effect, with the glitter being more concentrated at the tips of your nails.
- Experiment with different glitter colors and sizes: This will allow you to customize your ombre effect and make it truly unique.
Glitter Accent Nails
Add a touch of glamour to your everyday look with glitter accent nails, a simple yet effective way to elevate your nail art game.
By applying glitter polish to one or two nails, you can create a statement piece that adds a pop of shine to your overall look. This look is perfect for special occasions, holidays, or when you want to add a bit of pizzazz to your nails.
The best part? You can easily incorporate glitter accent nails into your existing nail art designs or wear them on their own for a subtle yet eye-catching look. Experiment with different glitter colors, shapes, and placement to create unique designs that reflect your personal style.
Whether you're going for a bold and bold look or a more understated approach, glitter accent nails are a versatile and easy way to add some sparkle to your life.
Glitter Color Blocking
You can take your glitter accent nails to the next level by incorporating glitter color blocking, a technique that involves creating color blocks on your nails and enhancing them with glitter for a stunning look. This technique adds a touch of sparkle and glamour to your nails, making it perfect for special occasions or when you want to add some extra flair to your manicure.
To create a glitter color blocking design, follow these simple steps:
- Choose your colors: Select two or three bold, contrasting colors that complement each other.
- Create the blocks: Use nail polish to create rectangular or square blocks on your nail, leaving a small gap between each block.
- Add the glitter: Apply a thin layer of clear polish and sprinkle glitter over the blocks for a mesmerizing effect.
Glitter color blocking is a versatile nail art design that can be customized with different color combinations, making it easy to match with your outfit or personal style. With a little creativity, you can create a unique and eye-catching look that's sure to turn heads. So, get creative and take your nail art to the next level with glitter color blocking!
Nature-Inspired Nail Art Creations

Inspired by the great outdoors, nature-inspired nail art creations bring the beauty of flowers, leaves, animals, and landscapes to your fingertips. You can easily bring a touch of nature to your nail art with simple to recreate designs that evoke the serenity of the great outdoors.
Colors like green, brown, blue, and earth tones are commonly used to mimic nature in nail art, and popular themes include floral patterns, tropical leaves, ocean waves, and animal prints.
To take your nature-inspired nail art to the next level, incorporate textures like glitter, matte finishes, and 3D embellishments to enhance the natural look. You can also experiment with different techniques, such as stamping or hand-painting, to create unique and personalized designs.
With nature-inspired nail art, the possibilities are endless, and you can let your creativity shine by capturing the beauty of the outdoors on your fingertips. So, get creative and bring the outdoors to your nails!
Frequently Asked Questions
How to Make Simple Nail Art at Home?
Want to master simple nail art at home?
Start by prepping your nails with a base coat to guarantee longevity.
Then, get creative with nail striping tape or brushes to create precise designs like stripes or dots.
Don't be afraid to experiment with different colors and textures to make your design unique.
Finally, seal your masterpiece with a top coat to prevent chipping and add a glossy finish.
With practice and patience, you'll be a pro in no time!
What Can I Use to Make Designs on My Nails?
Here's a fun fact: did you know that 75% of women consider nail art a form of self-expression?
Now, when it comes to making designs on your nails, you've got plenty of options! You can use nail art brushes and dotting tools for intricate designs, or nail tapes and stencils for clean lines. If you're feeling fancy, try nail stamping kits or pens and markers for detailed designs.
And don't forget about adding some extra flair with rhinestones, studs, or decals! The possibilities are endless, and it's all up to your creativity!
What Are the 5 Basic Nail Art Designs?
You're looking to master the basics of nail art, and we're here to support you!
The 5 fundamental designs to get you started are:
Multi-Colored Stripes,
Two-Toned Nails,
Abstract Waves,
DIY Marble Stickers, and
Criss-Cross French Mani.
These easy-to-achieve looks will help you build confidence and skills, taking your nail game to the next level.
With practice, you'll be creating stunning designs in no time!
How to Draw a Heart on a Nail?
You're ready to draw a heart on your nail! Start by painting a base color, then grab a fine nail art brush or a toothpick to carefully draw the heart shape.
You can go for a solid heart or an outline, whichever you prefer. Add some cute details like dots or lines to make it pop.
Conclusion
As you ignite your creativity, your nails become a canvas of self-expression, a reflection of your personality.
With these 10 DIY nail art ideas, you'll be painting a masterpiece of vibrant colors, whimsical dots, and bold stripes.
Your nails will shimmer with glitter accents, swirl with marble effects, and bloom with nature-inspired designs.
Get ready to make a statement and turn heads – your nails are about to become a work of art that's uniquely, unapologetically you!