
Get ready to ignite your creativity with these 7 simple nail art ideas for DIY at home! From easy striped designs to whimsical doodles, you'll find a style that suits your personality. Try the neon dotting technique for a vibrant look, or go for a show-stopping glitter ombre effect. Create a marble design with just a few simple steps, or experiment with abstract swirl patterns. With these ideas, you'll be on your way to salon-quality nail art in no time. And the best part? You'll discover even more inspiration and techniques ahead, so keep exploring to take your nail art skills to the next level! For a bold and playful look, experiment with colorful nail art designs using bright and cheerful shades. Try creating a fun geometric pattern or a chic floral design for a fresh and feminine touch. With a little practice and creativity, you’ll be able to elevate your DIY nail art game and impress everyone with your stunning, one-of-a-kind manicures. Keep experimenting and have fun with it!
Key Takeaways
• Try easy striped nail art with 3-6 complementing colors and a top coat for a versatile and customizable design.
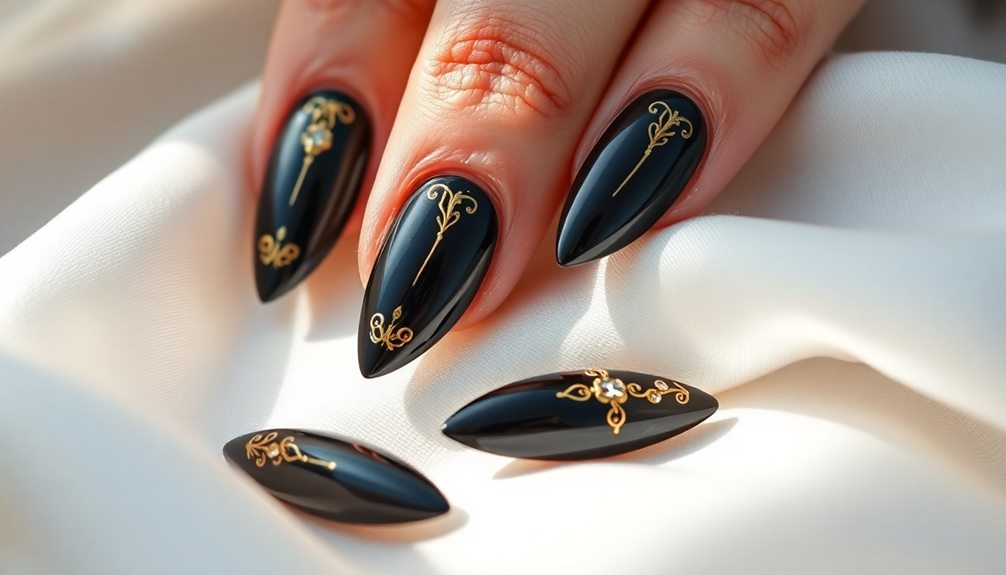
• Achieve a watercolor effect by mixing color polishes with clear polish and adding gold swooshes for elegance.
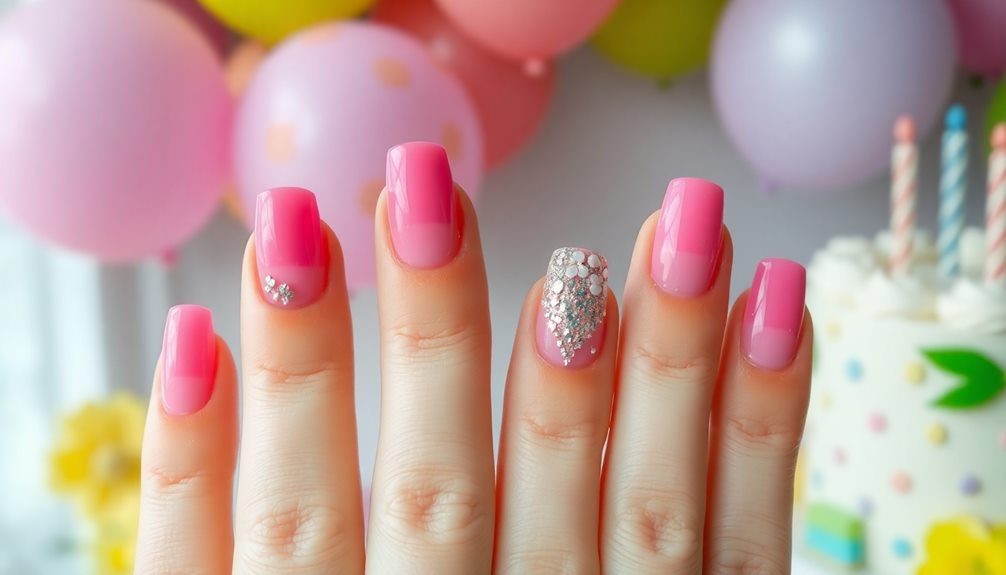
• Create a neon dotting design with vibrant colors and unique patterns using dotting tools and press-on nails.
• Use the quick marble nail art technique by swirling drops of polish on wax paper and transferring the design onto nails.
• Express your personality with whimsical doodle nail art using playful patterns, geometric shapes, and cartoon characters.
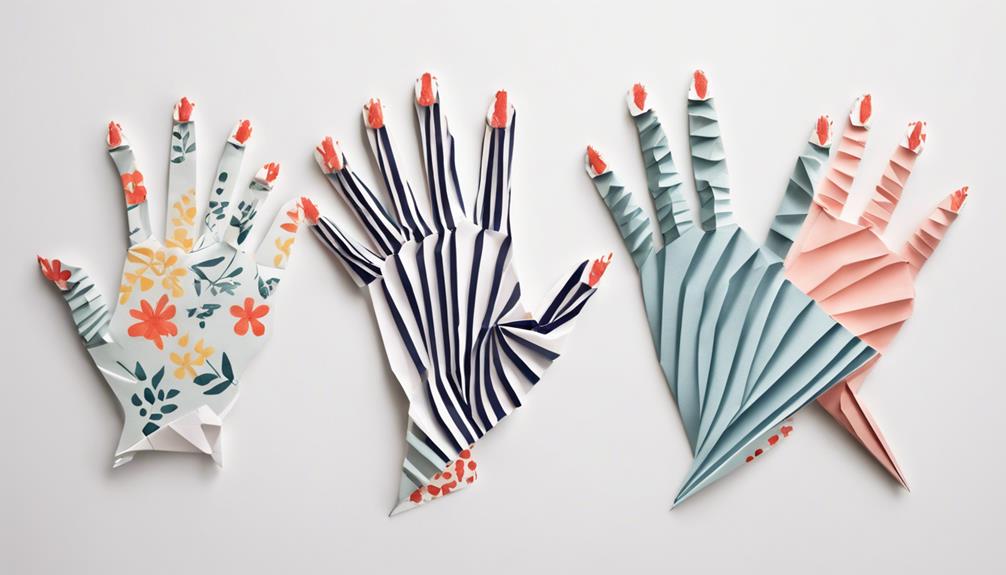
Easy Striped Nail Art Design
Take a few minutes to prep your nails and gather 3-6 nail polish colors of your choice to create a multi-colored striped nail art design that's both playful and vibrant. This easy DIY project is perfect for beginners and experienced nail artists alike.
To get started, choose colors that complement each other, and don't be afraid to experiment with different combinations.
Once you have your colors, use a nail painting brush to draw alternating color stripes on each nail. You can make the stripes as thick or thin as you like, depending on the look you're going for. The key is to have fun and be creative!
When you're happy with your design, seal it with a top coat to guarantee longevity and a glossy finish.
The best part about striped nail art is that it's incredibly versatile. You can customize the colors to suit your personal style, making it a great option for anyone. Plus, it's an easy way to add some personality to your nail game without breaking the bank.
Simple Watercolor Nail Art
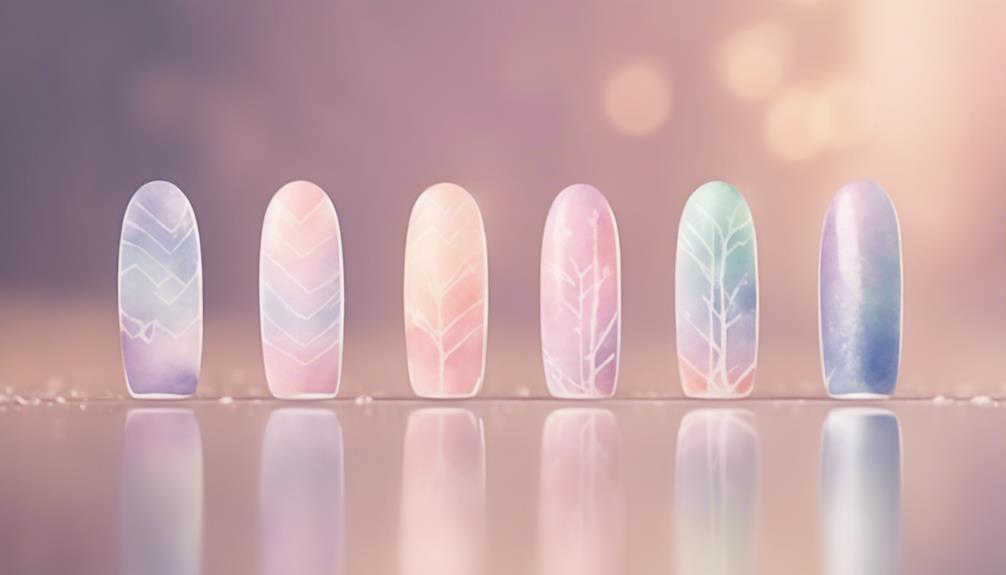
To create a soft, artistic look on your nails, mix color polishes with clear polish to achieve a watercolor effect that's both delicate and eye-catching. This technique is perfect for those who want a subtle yet striking nail art design. Before applying the polish to your nails, test the opacity on paper to get the desired look. You can experiment with different ratios of color to clear polish to achieve the perfect watercolor effect.
To add a touch of flair to your watercolor nail art, create gentle swooshes with gold polish. This will give your nails a sophisticated and elegant look. Remember, the key to achieving a beautiful watercolor design is to experiment with different colors and techniques.
Don't be afraid to try new things and make mistakes – they can often lead to unique and stunning results. With a little practice, you'll be creating stunning watercolor nail art that's sure to turn heads.
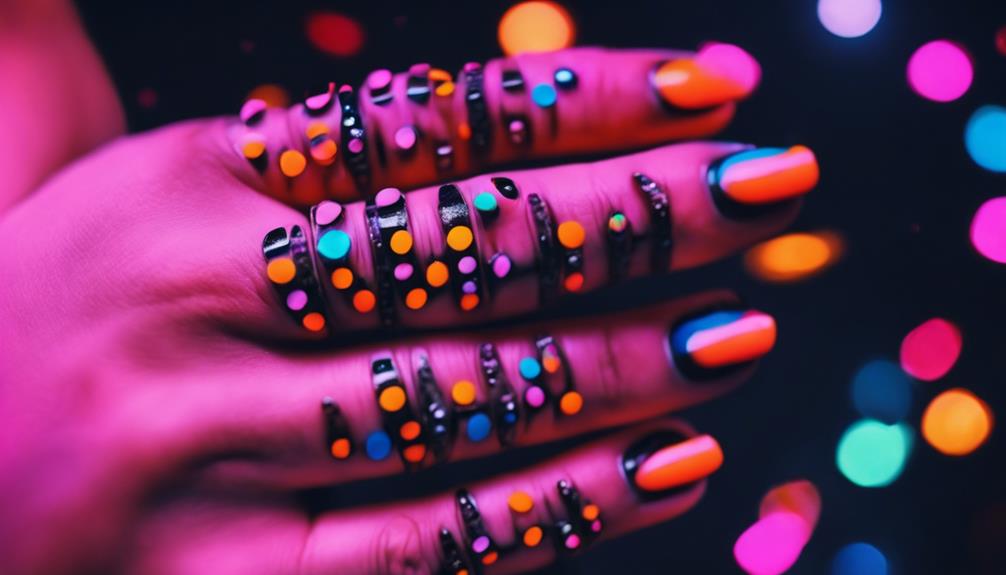
Neon Dotting Nail Art Idea
Now that you're excited about neon dotting nail art, it's time to get creative!
You'll start by choosing from a range of neon colors that'll make your nails pop, and then experiment with different dotting tools to achieve unique patterns.
From there, you can explore various design variations that showcase your personality and style.
Neon Color Options
You can easily add a pop of fun to your nail art with neon colors like lime green, hot pink, and electric blue, which are popular choices for vibrant designs. These neon colors are perfect for creating statement nail art that's sure to turn heads.
When it comes to neon dotting nail art, you can experiment with different shades to create unique and eye-catching designs. Try pairing hot pink with electric blue for a bold and playful look, or lime green with white for a fun and futuristic vibe.
The key to pulling off neon nail art is to have fun and be creative! Don't be afraid to mix and match different neon colors to create a look that's all your own. With neon dotting nail art, the possibilities are endless, and you can customize your design to fit your personal style.
Dotting Tool Tips
Frequently, achieving precise dotting requires a bit of patience and practice, but with the right tools and techniques, you can master the art of neon dotting nail art.
To get started, make sure you have the right tools, like a dotting tool or even a bobby pin or tailor's pin, which can create different sizes of dots in your neon nail art designs.
Here are some essential tips to keep in mind:
- Experiment with press-on nails for easier application of intricate dot designs.
- Start with neutral-colored nails as a base to make the neon dots stand out vibrantly.
- Apply lime-green polish for a bold and eye-catching neon effect in your nail art.
- Ensure dots are completely dry before applying a topcoat to prevent smudging.
Design Variations
One of the best things about neon dotting nail art is that it offers endless design variations, allowing you to get creative with different dot sizes, placements, and neon shades.
You can create a classic French Manicure look by placing small dots at the tip of your nail, or go for a playful polka dot design by scattering dots across the entire nail.
If you're feeling adventurous, try an abstract design by arranging dots in a random pattern. The possibilities are truly endless!
You can also experiment with different neon shades to create a unique look that's all your own. For a bold look, try combining neon dots with a bold base color, or for a more subtle look, use pastel shades for a soft, whimsical effect.
Whatever design you choose, remember to let the dots dry completely before applying a topcoat to prevent smudging. With neon dotting nail art, the only limit is your imagination!
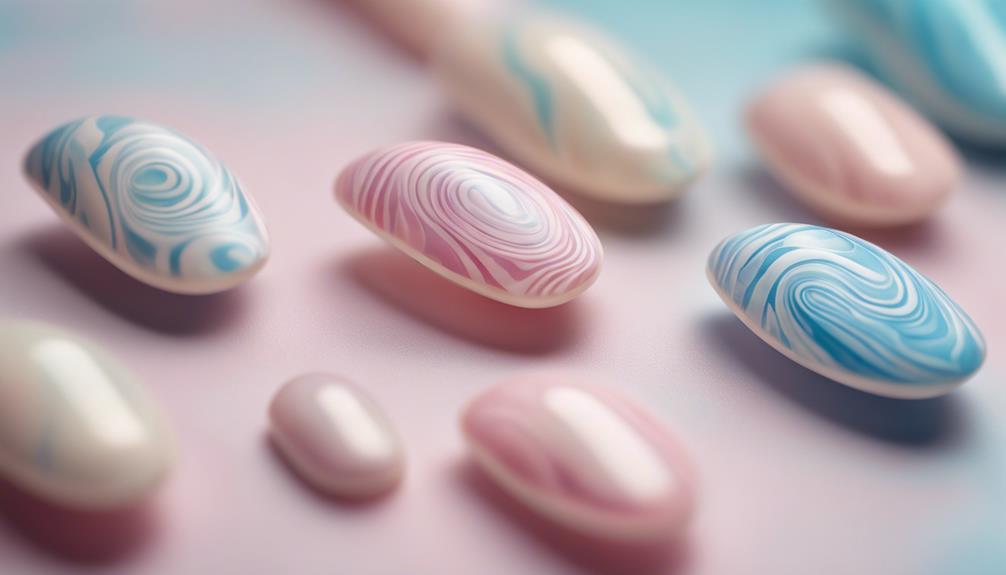
Quick Marble Nail Art Technique
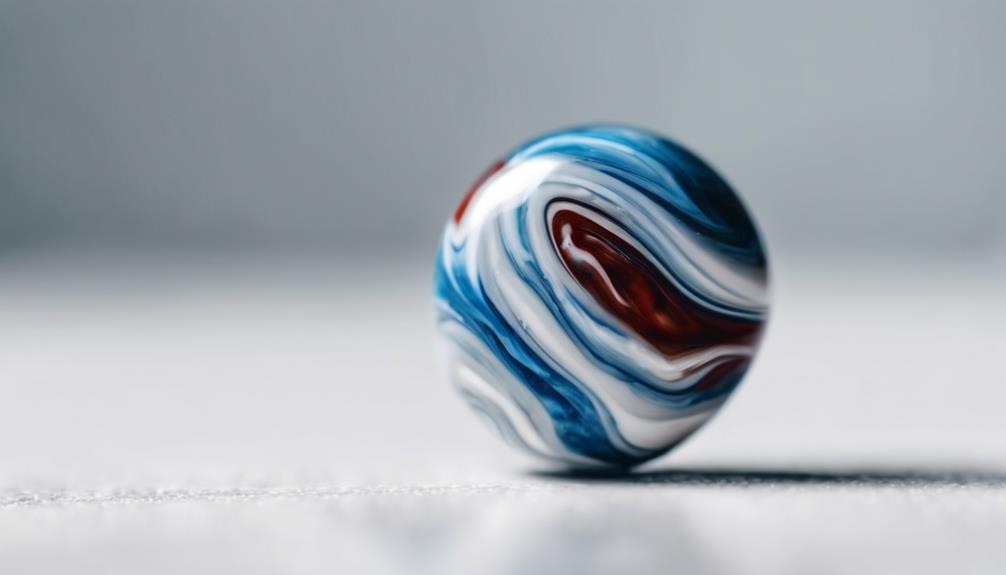
Using a few simple tools and techniques, you can master the quick marble nail art technique that adds a touch of sophistication to your everyday look. This elegant design is surprisingly simple and easy to achieve at home.
To get started, you'll need:
- Nail polish in different colors
- Wax paper or a silicone mat
- A toothpick or thin brush
- A top coat to seal the design
Swirl drops of nail polish on the wax paper to create a marble effect, then transfer the design onto your nail using a toothpick or thin brush. You can customize the look with various color combinations to suit your style.
Once you've achieved the desired design, let it dry completely before applying a top coat to seal and protect your artwork. With these simple steps, you'll be flaunting a sophisticated marble nail art look that's sure to turn heads.
The best part? It's incredibly easy to achieve at home with minimal tools and expertise!
Whimsical Doodle Nail Art Design
Get creative and playful with whimsical doodle nail art designs that allow you to express your unique personality through bold lines, vibrant colors, and quirky patterns. With doodle nail art, you can bring out your inner artist and create fun and playful designs that reflect your individuality.
Take inspiration from doodles and let your imagination run wild – the more creative, the better! Seal your masterpiece with a topcoat to make sure it lasts. Experiment with different doodle patterns and styles to find what suits you best.
You can try geometric shapes, swirly patterns, or even cute cartoon characters – the possibilities are endless! What's great about doodle nail art is that it allows you to express yourself in a unique and personalized way. So, don't be afraid to get creative and try out new designs.
Glitter Ombre Nail Art Look
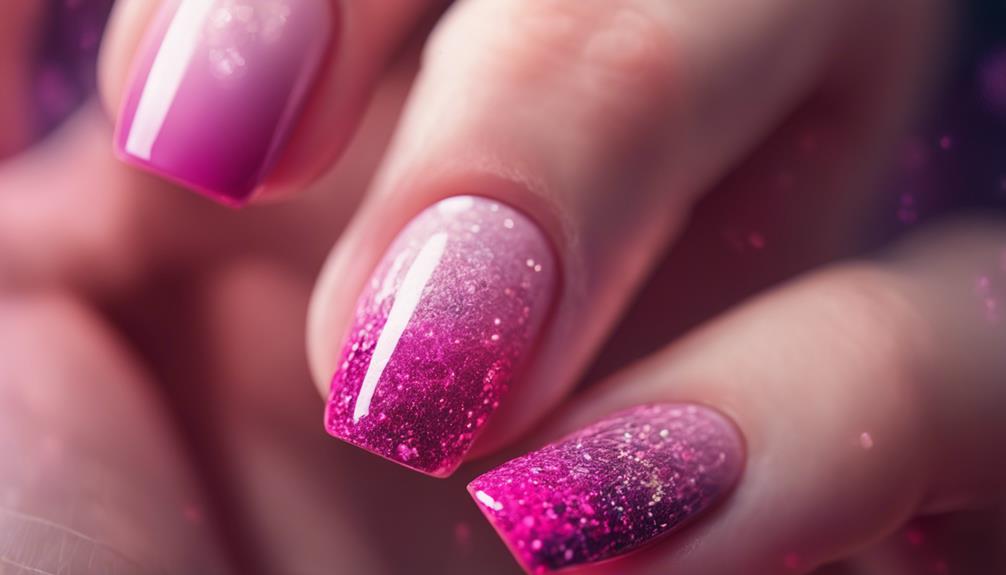
Create a show-stopping effect with a glitter ombre nail art design that's sure to turn heads. This glamorous look is easier to achieve than you think! You'll need two complementary glitter polishes to create a seamless blend effect.
Here's a step-by-step guide to get you started:
- Start with a base color and apply the lighter glitter polish at the base of the nail, blending it towards the tip.
- Layer the darker glitter polish towards the tip, creating a seamless blend effect.
- Blend, blend, blend! Make sure the shift between the two glitter polishes is smooth and even.
- Seal the design with a top coat to lock in the glitter and add shine.
Experiment with different glitter colors and combinations to create a personalized ombre look that's all yours. Remember to have fun and be creative – the possibilities are endless!
With a little practice, you'll be a pro at creating stunning glitter ombre nail art designs that are sure to impress.
Abstract Swirl Nail Art Pattern
Now that you're ready to try the abstract swirl nail art pattern, it's time to get creative with your swirl pattern techniques!
You'll want to experiment with different nail polish colors to achieve a unique look that's all your own. By mixing and matching colors, you can create a one-of-a-kind design that showcases your personal style.
Swirl Pattern Techniques
You can achieve a bold and eye-catching effect by experimenting with abstract swirl designs that combine contrasting colors. This technique is perfect for those who want to add a touch of creativity and individuality to their nail art.
To create a swirl pattern, use a thin brush to swipe polish randomly, resulting in varied and mesmerizing nail art designs.
Here are some tips to keep in mind when trying out swirl pattern techniques:
- Contrasting colors: Combine bold and bright colors to create a striking effect.
- Thin brush: Use a thin brush to create swirling patterns on your nails.
- Allow for drying between swirls: Each swirl should be dry before moving on to the next to avoid smudging.
- Random movement: Swipe polish randomly to achieve an abstract swirl pattern.
Nail Polish Colors
When selecting nail polish colors for your abstract swirl design, consider pairing bold and bright hues that contrast with each other to create a striking visual effect. This simple yet effective technique will elevate your nail art game and make your designs stand out. To get started, choose three to four different polish colors that complement each other. You can opt for a monochromatic scheme or mix and match bold, bright colors for a unique look.
Here are some color combinations to inspire you:
| Color 1 | Color 2 | Color 3 |
|---|---|---|
| Navy Blue | Neon Pink | White |
| Electric Blue | Sunshine Yellow | Coral |
| Emerald Green | Hot Pink | Black |
| Lavender | Powder Blue | Gold |
Frequently Asked Questions
How to Make Simple Nail Art at Home?
You're enthusiastic to learn how to make simple nail art at home! Start by picking a design that catches your eye, like stripes or abstract patterns.
Then, grab some easy-to-use tools like nail stickers or metallic polish to add a pop of personality.
Don't be afraid to experiment and try out different techniques – it's all about having fun and expressing yourself!
With a little practice, you'll be a DIY nail art pro in no time.
What Is 5 Basic Nail Art Design?
You're wondering what the five basic nail art designs are, right?
Well, let me tell you – you're about to reveal the secrets to creating stunning nail art at home!
The top five basic designs are stripes, dots, French tips, animal prints, and simple shapes.
These designs are super easy to recreate using nail polish, brushes, and dotting tools.
With a little practice, you'll be a pro in no time, and you can always mix and match to create your own unique look!
How to Do Nail Art Without Nail Art Tools?
You don't need specialized tools to create amazing nail art! You can repurpose household items to get creative.
Use bobby pins to create dots of varying sizes, and toothpicks to paint on straight lines and designs. Cut tape into thin strips for precise lines.
With a little practice and patience, you'll master nail art techniques in no time. Get creative, experiment, and have fun with it!
How to Put Designs on Your Nails?
You're wondering how to put designs on your nails? Well, imagine your nails as a blank canvas, waiting for your creative touch!
Start by prepping your nails with a base coat, then get creative with stripes, dots, or abstract waves using nail polish and a brush.
You can even try DIY marble stickers or French manicure variations for a trendy twist.
The possibilities are endless, and with a little practice, you'll be a nail art pro in no time!
Conclusion
You've made it through the 7 simple nail art ideas, and now it's time to get creative! Can you imagine the oohs and aahs you'll get when you show off your new nail art skills?
With these easy-to-follow guides, you'll be a pro in no time. Remember, the key to mastering nail art is practice, patience, and having fun!
So, what're you waiting for? Get out those nail polishes and let your creativity shine!