With these three easy steps, you can create stunning nail art! First, prep your nails by removing old polish, shaping, and applying a clear base coat. Next, choose a design and gather your tools, like nail art brushes and tape, considering the difficulty level and time required. Finally, add finishing touches with a fast-drying top coat, nail studs, or charms. Experiment with different finishes and embellishments to make your design stand out. As you master these simple steps, you'll reveal endless possibilities for creative expression – and discover even more exciting techniques to elevate your nail art to the next level!
Key Takeaways
• Prep your nails with a clear base coat and ensure they're dry to prevent imperfections in your nail art design.
• Choose a simple design that suits your skill level, and gather necessary tools like nail polish, tape, and a Dotting Tool.
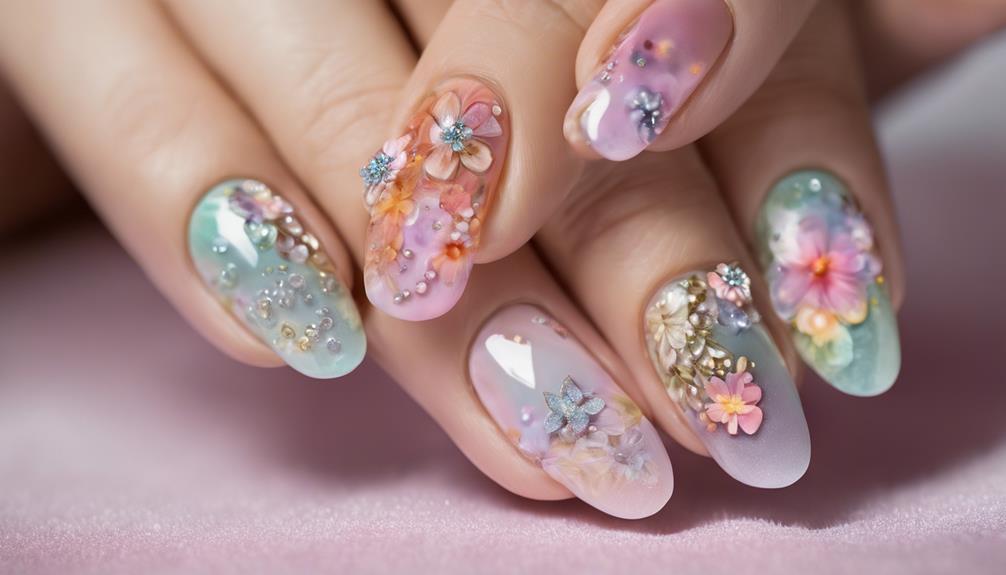
• Apply a fast-drying top coat to protect and prolong the life of your design, and enhance it with nail studs or charms if desired.
• Experiment with different design elements like bold colors, abstract lines, or polka dots to add visual interest to your nail art.
• Practice and experimentation will help you master simple nail art techniques and unlock endless possibilities for creative expression.
Prep Your Nails for Art
Before you immerse yourself in the world of nail art, prep your nails by starting from scratch – remove old polish and shape your nails with a file to create a clean canvas for your masterpiece. This is where a professional nail artist would begin, and you should too! A smooth, polish-free surface is essential for easy nail art designs to adhere to.
Next, apply a coat of clear base coat to protect your nails and create a smooth surface for your nail art to stick to. Make sure your nails are completely dry before starting to prevent smudges or imperfections. Consider using a nail primer to help your nail art last longer and adhere better to your nails.
Now that your nails are prepped, you're ready to get creative! Gather your nail art supplies, including nail polish, tape, and a Dotting Tool, and get ready to showcase your inner artist. With a little practice, you'll be creating stunning Nail Designs in no time.
Choose a Design and Tools
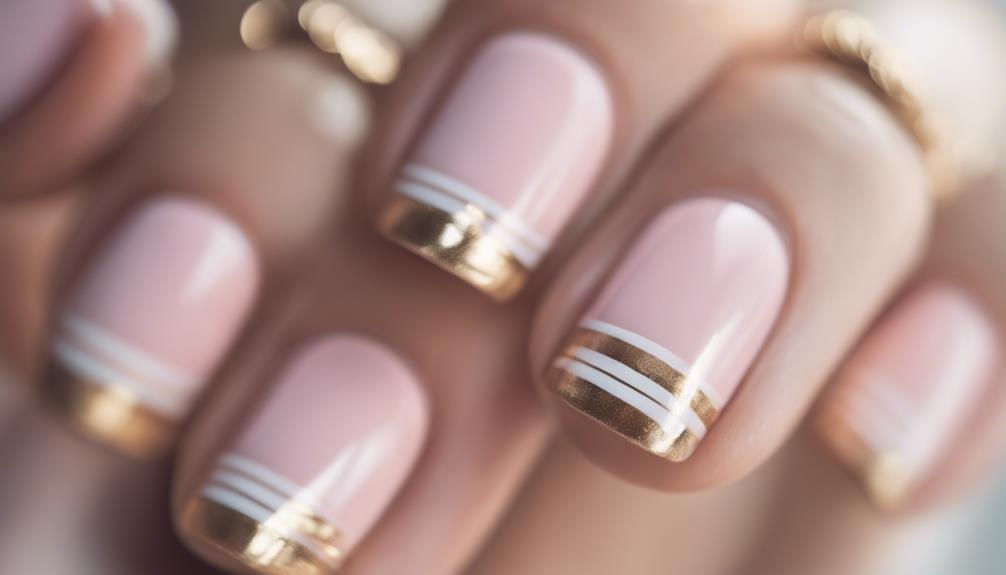
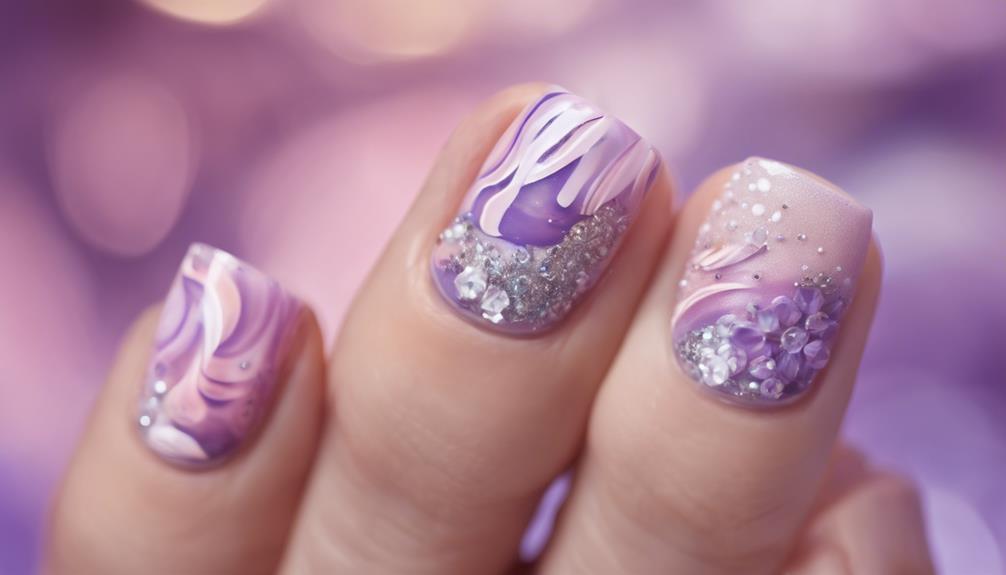
Now that your nails are prepped, you're ready to choose a nail art design that speaks to your style. From bold wavy reds to sleek golden stripes or edgy abstract lines. Consider the level of difficulty and time required for each design before starting.
You wouldn't want to start on a complicated design that takes hours to complete, only to have it chip off the next day.
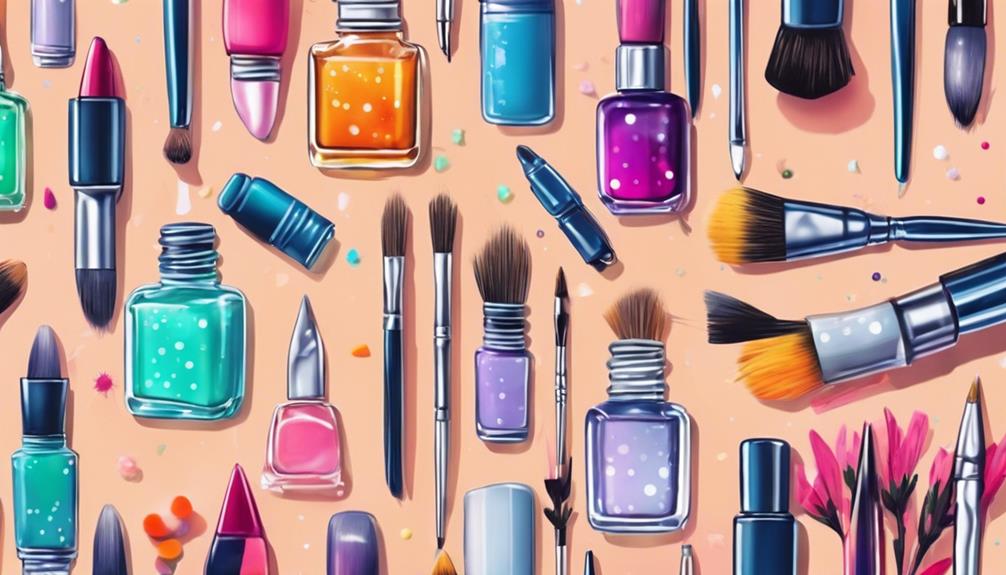
Here are the essential tools you'll need to get started:
- Nail art brushes for precise strokes and delicate details.
- Nail tape for crisp, clean lines and geometric shapes.
- Dotting tools for creating perfect dots and flowers.
Add Finishing Touches
You're ready to add the final flourishes to your nail art design, and that's where the magic happens! Now it's time to add those finishing touches that will make your nails truly pop.
Apply a fast-drying top coat to safeguard and protect your design, guaranteeing it lasts for days to come. Consider adding nail studs or charms for a unique and personalized touch to your nails. If you're feeling adventurous, experiment with matte or glossy top coats to change the finish of your nail art.
Need a quick fix? Use nail art stickers for easy embellishments to elevate your manicure. Don't forget to clean up any stray polish or design mishaps with a small Nail Art Brush dipped in acetone for a polished look.
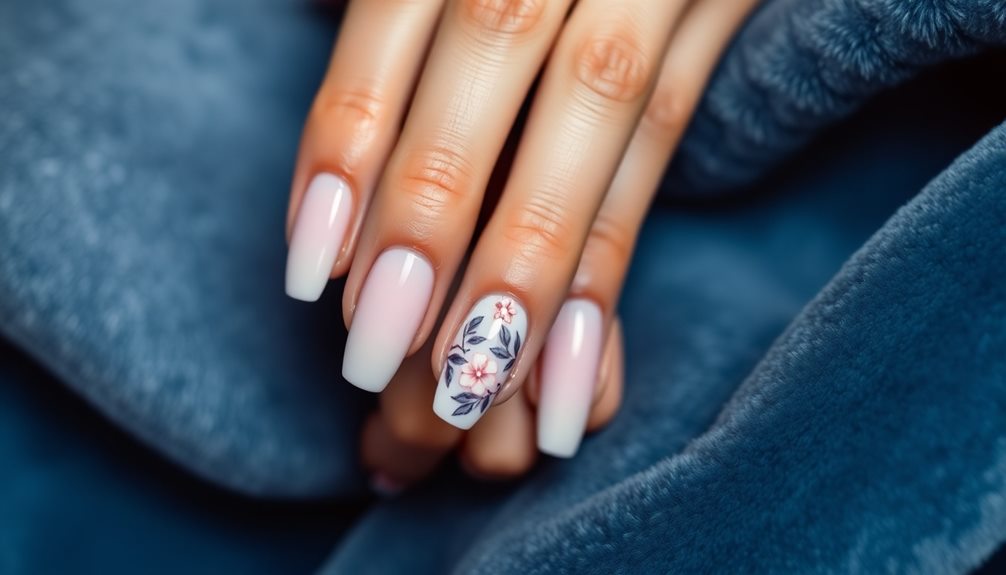
Whether you're going for a classic French Manicure with a French tip or a bold, metallic color, a clear base coat will ensure a flawless finish. Want to add some visual interest? Try pairing different shades or adding a playful polka dot design.
With these finishing touches, you'll be rocking a salon-quality nail art design in no time!
Frequently Asked Questions
How to Put Nail Art for Beginners?
Excited to try nail art, but don't know where to start? Don't worry, it's easier than you think!
Begin with a thin base coat to create a smooth surface. Then, grab a nail art brush or toothpick and get creative with random lines, swirls, or abstract designs.
Remember, imperfections can add charm to your art. Seal your design with a fast-drying top coat, and you're done!
Experiment with different techniques and tools to find what works best for you. Happy creating!
What Is the Easiest Way to Do Nail Art?
You think nail art is only for the pros, but trust us, it's easier than you think!
The easiest way to do nail art is to start small. Begin with a simple design, like a thin white stripe down the middle of your nail. This look is chic, yet requires minimal effort.
You can also use nail art stickers or guides for a foolproof design. With these tricks, you'll be a pro in no time!
What Are the 5 Basic Nail Art Designs?
You're curious about the 5 basic nail art designs, right? Well, let me tell you – they're easier than you think!
You can start with Multi-Colored Stripes, Two-Toned Nails, Abstract Waves, DIY Marble Stickers, or the trendy Criss-Cross French Mani.
These designs are perfect for beginners, and with a few simple steps, you can achieve a salon-quality look at home.
Pick the one that catches your eye, and get creative!
How to Do Your Nails Step by Step?
Imagine a blank canvas, waiting for your creative touch! To do your nails step by step, start by prepping your nails with a thin base coat. This sets the stage for your artistry.
Next, grab a nail art brush or a thin polish brush and let your creativity shine through random lines, swirls, or abstract designs. Don't worry about imperfections – they add character to your unique design.
Conclusion
You've nailed it! With these simple steps, you're well on your way to creating stunning nail art that's sure to turn heads. Your creativity is now the canvas, and the possibilities are endless.
Think outside the box, and your unique style will be the picture of perfection. Remember, practice makes perfect, so don't be afraid to experiment and try new things – after all, the proof is in the pudding!