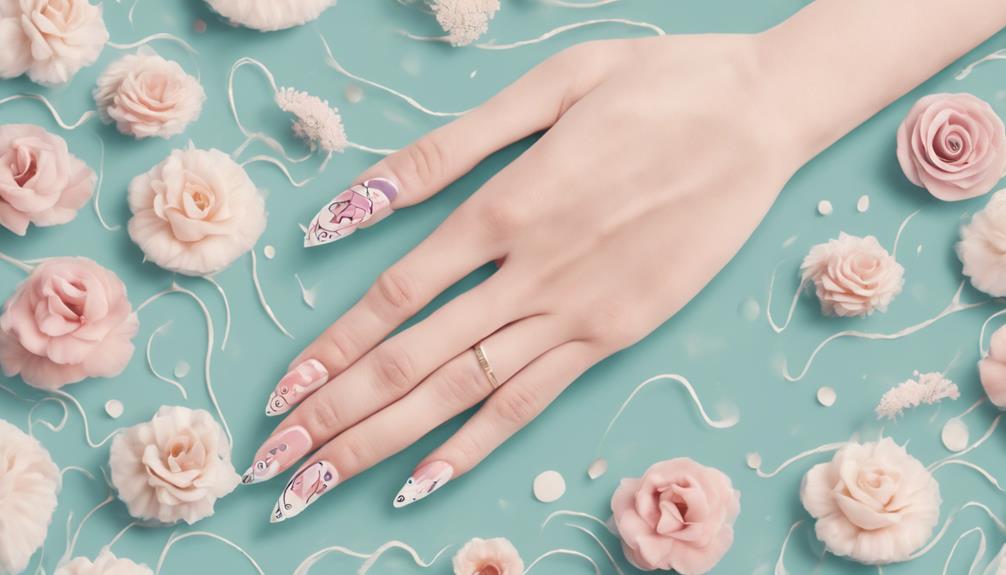
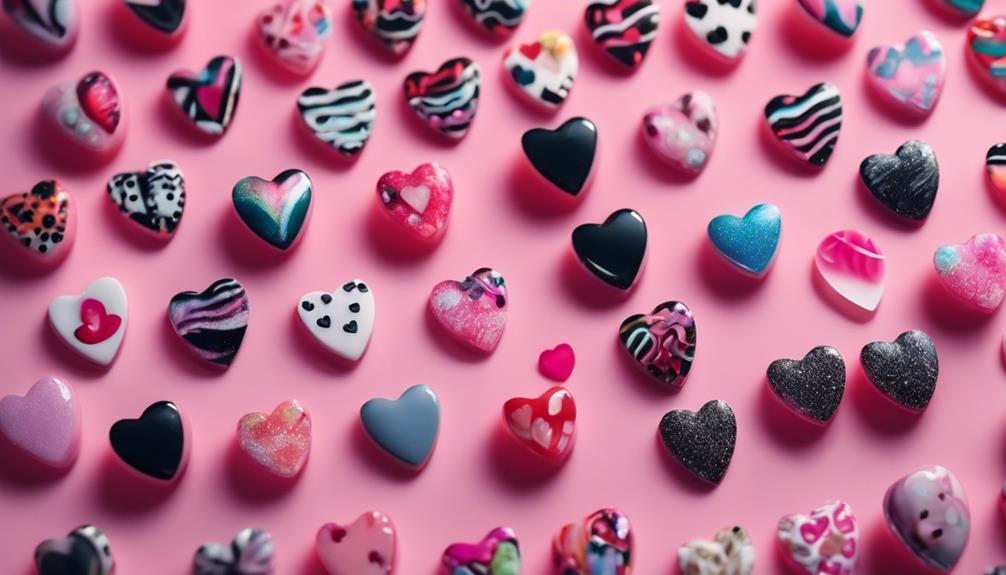
You're just a few strokes away from mastering the art of heart-shaped nail designs! Start with the basics: apply a light base color, use a dotting tool to create heart-shaped dots, and fill them in for a smooth finish. Refine edges with a fine detailing brush and practice on press-on tips to build confidence. Want to take it up a notch? Try discovering new techniques like negative space hearts, experimenting with designs like red hearts with black lines, and incorporating foil for added flair. With practice and patience, you'll reveal a world of creative possibilities – and there's even more to explore ahead!
Key Takeaways
• Create a heart-shaped design using a dotting tool to form dots and fill them in for a smooth appearance.
• Master negative space hearts by outlining heart shapes with precision and taking breaks to ensure accuracy.
• Experiment with various heart design variations, such as red hearts with black lines, foil application, and white star details.
• Practice advanced techniques, like using fine detail brushes and dotting tools, to create intricate designs and unique elements.
• Refine your technique by practicing on press-on tips and combining dotting tools with fine detail brushes for a seamless finish.
Heart-Shaped Nail Art Basics
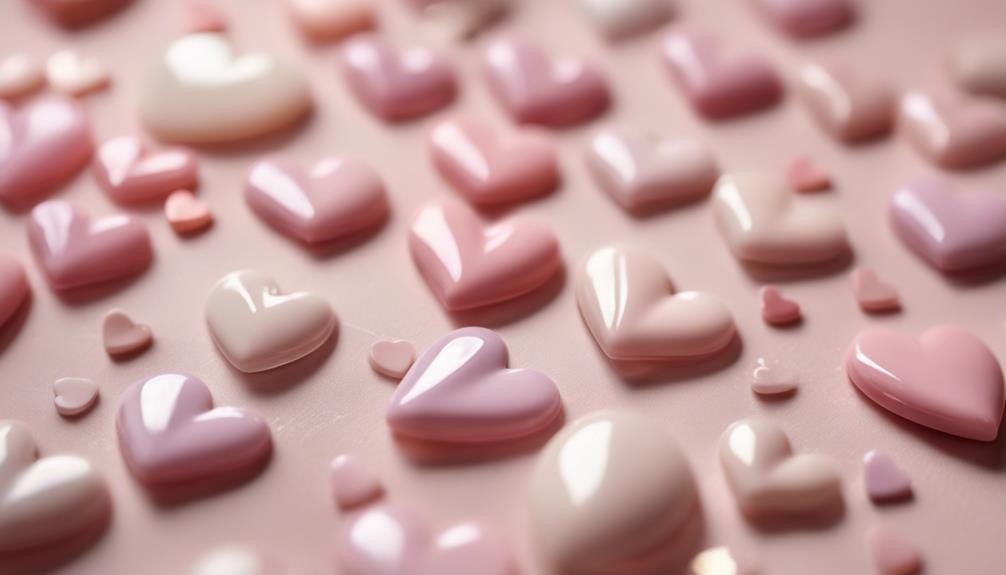
To create a stunning heart-shaped nail art design, begin by applying a light base color to your nails, such as soft pink or red, which will serve as the foundation for your classic heart design. This base color will help your red hearts pop against a subtle background.
Use a dotting tool to create dots on either side of the middle to form a heart shape. You can space them out evenly or create a more whimsical design by varying the distance between the dots.
Next, fill in the dots to complete the heart shape, ensuring a smooth and even appearance. Don't worry if it's not perfect – you can refine the shape later. Use a fine detailing brush to perfect the edges and outlines of the heart design. This is where you can add subtle details or embellishments to make your design truly unique.
Remember, practice makes perfect, so don't be discouraged if your first attempts don't turn out as expected. Try practicing on press-on tips before attempting the design on your natural nails to refine your technique.
With a little patience and practice, you'll be creating stunning red hearts in no time!
Mastering Negative Space Hearts
You'll elevate your nail art skills to the next level by mastering negative space hearts, a design that cleverly utilizes empty spaces to create striking heart shapes. By incorporating negative space, you'll add a touch of sophistication and modernity to your nail art.
To get started, begin with a nude or light base color to highlight the negative space hearts. This will create a beautiful contrast that makes the design pop.
Next, use a dotting tool or fine detail brush to outline the heart shapes. Focus on connecting the dots to form the heart outline accurately. Precision is key in negative space heart designs to achieve a clean and modern look.
Take your time, and don't be afraid to take breaks to make sure you're getting the shape just right. With practice, you'll be creating stunning negative space hearts that will take your nail art game to new heights.
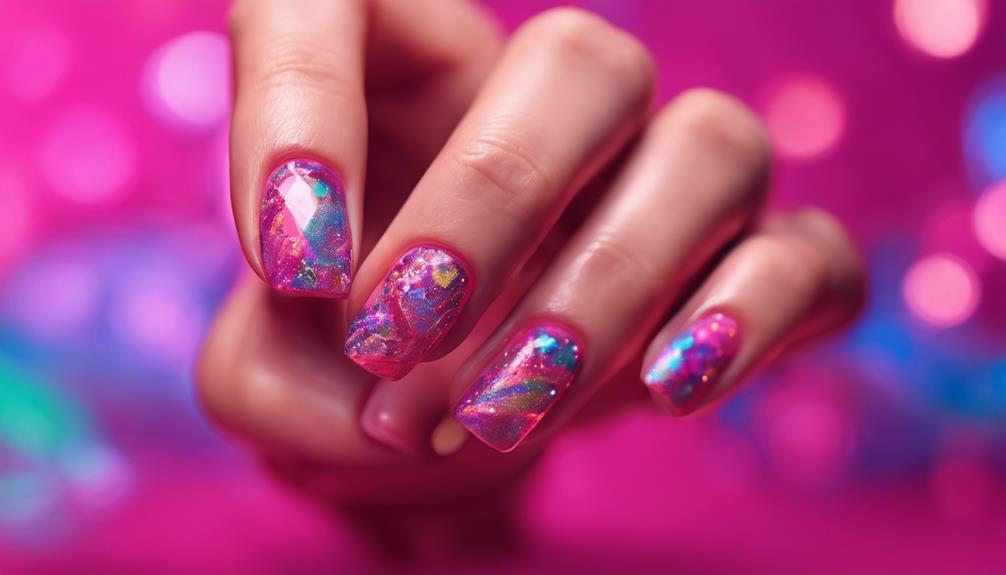
Heart Design Variations to Try
Now that you've mastered negative space hearts, it's time to experiment with various heart design variations that'll keep your nail art game strong. You've got the basics down, and now it's time to get creative!
One design that's sure to turn heads is the Red Hearts with Black Lines design. This striking look combines red gel for filling hearts and black gel paint for outlining, resulting in a bold contrast that's impossible to ignore. If you want to add some extra flair, try incorporating foil application to enhance your design. This technique involves sticking foil only to the black parts of your design, adding a metallic and eye-catching element to your nail art.
For a more whimsical touch, add some White Star Details using thick painting gel and precise dotting tools to create intricate star designs. These variations will keep your nail art fresh and exciting, and with a little practice, you'll be a pro in no time! Once you’ve mastered the white star details, you can incorporate them into your chic nail art. The added dimension and texture will elevate your overall look, making your nails a true fashion statement. Experiment with different color combinations and nail shapes to make your chic nail art uniquely yours.
Advanced Techniques and Materials
With a solid foundation in heart design variations, you're ready to elevate your nail art game by incorporating advanced techniques and materials that'll take your creations to the next level.
Now, it's time to get creative with advanced techniques that'll make your heart designs truly stand out.
Try using a fine detail brush to create intricate heart designs with crisp lines and sharp edges. You can also incorporate foil application on specific areas of the design to add a unique and eye-catching element.
Experiment with different gel paint colors, like white gel polish, to outline hearts and create contrast within the design. A dotting tool can be super helpful in adding small heart details or creating the initial shape of the hearts.
Before working on human nails, practice on press-on tips to perfect your technique and design. This will give you the confidence to try out new ideas and techniques without worrying about making mistakes.
With these advanced techniques and materials, you'll be able to create stunning heart designs that'll impress anyone!
Tips for Perfect Heart Shapes
To master the art of creating perfect heart shapes, start by using a dotting tool to achieve symmetrical designs on your nails. This will help you create identical halves of the heart, ensuring a polished finish.
Before you begin, prep your nails with a light base color like pink or nude – this will make your heart design pop. Practice makes perfect, so try your hand at creating heart shapes on press-on tips before moving on to your natural nails. This will help you refine your technique and get a feel for the dotting tool.
When you're ready, combine your dotting tool with a fine detail brush to perfect the edges and curves of the heart shape. This will give your design a seamless finish. And don't worry if things get a little messy – a detailer brush is perfect for cleaning up any uneven lines or edges.
With a little patience and practice, you'll be creating flawless heart shapes in no time!
Frequently Asked Questions
How to Do Hearts on Nails Step by Step?
Want to learn how to do hearts on nails step by step?
Start by applying a base color like soft pink or red.
Next, use a dotting tool to create dots on either side of the nail's middle, forming a heart shape.
Fill in the dots carefully, then use a fine detailing brush to refine the edges.
Practice on press-on tips before moving to natural nails.
With patience and practice, you'll master the heart design in no time!
How Do You Make a Heart Tip Nail?
To create a heart tip nail, you'll start by applying a base color and letting it dry.
Then, use a fine detail brush to carefully draw a heart shape at the tip of your nail.
Fill in the heart with your desired color, and add any extra details you like.
Finally, seal it all with a top coat for a glossy finish.
With a little patience and practice, you'll be rocking a heart-tipped nail that's sure to turn heads!
How Do You Paint Red Hearts on Your Nails?
You're ready to paint red hearts on your nails! Start by applying a red gel or polish as the base color.
Then, use a fine detail brush to outline the heart shape with precision. Fill in the heart with the same red gel or polish for a consistent look.
Add dimension with a dotting tool, creating small details within the heart.
How to Make Heart on Nails With Toothpick?
'Practice makes perfect' is especially true when it comes to creating heart designs on your nails with a toothpick!
To start, dip the toothpick in nail polish and create a small dot on your nail. Then, carefully drag the dot into a V-shape to form the top of the heart. Repeat on the other side to complete the heart shape. Adjust the size and symmetry as needed.
With a little patience, you'll be a pro in no time!
Conclusion
As you've mastered the art of heart-shaped nail art, remember that it's not just about creating a pretty design – it's about embracing the beauty of imperfections.
Just as a heart is made up of intricate patterns and flaws, so too are we. And it's in those imperfections that we find our true uniqueness.
So don't be afraid to experiment, to take risks, and to make mistakes. For in the end, it's the imperfections that make our hearts truly beautiful.