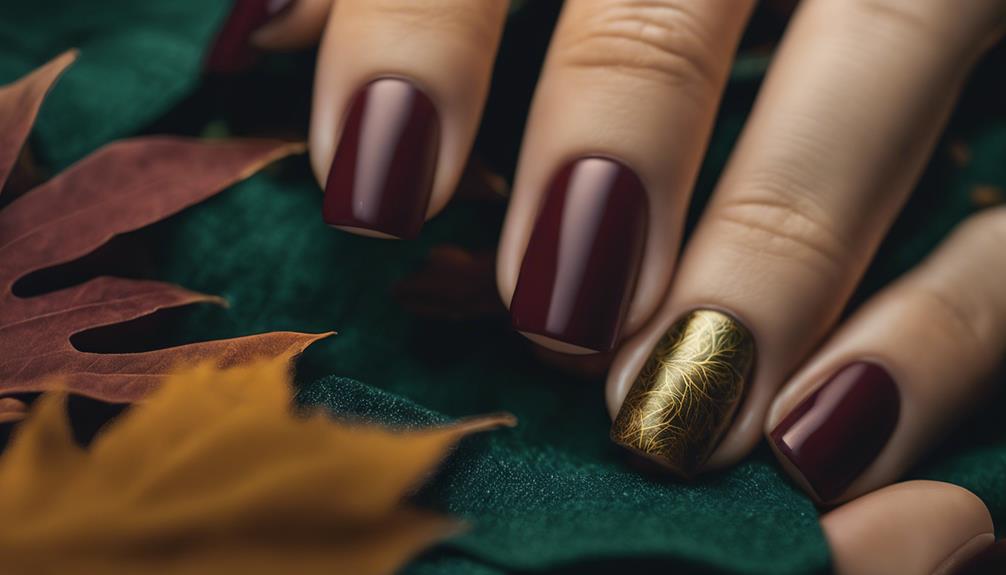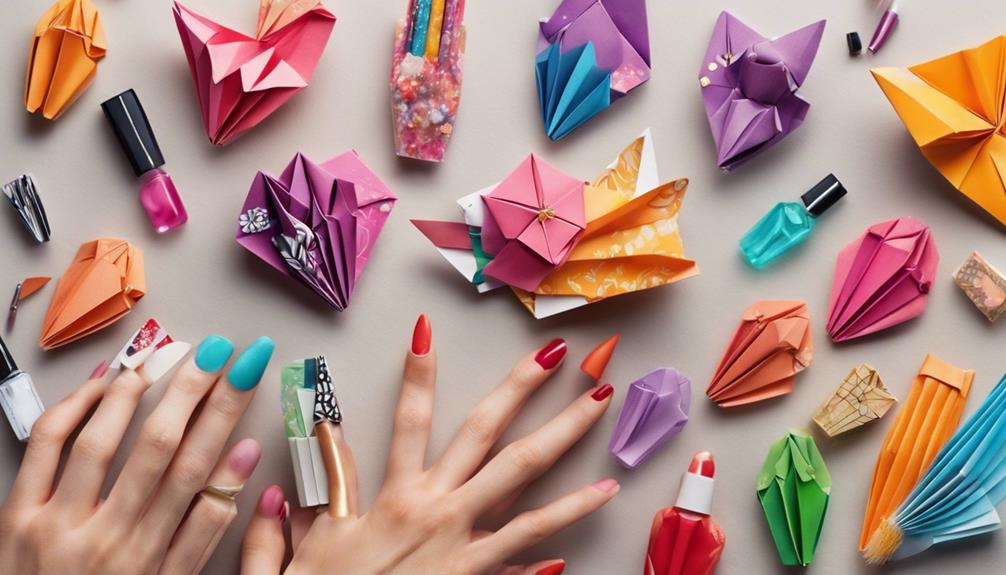

You're about to discover the secrets to creating stunning nail art designs that will elevate your style and confidence. Get ready to master the basics, from prep to polish, and explore advanced techniques like water marbling and encapsulated designs. From chic stripes to playful polka dots, you'll learn how to create trendy, unique looks that turn heads. With essential tools and expert tips, you'll unleash your creativity and transform your nails into mini masterpieces. As you journey through these 10 step-by-step guides, your nail art skills will flourish, and your style will reach new heights – and that's just the beginning of your creative adventure.
Key Takeaways
• Master basic nail art techniques, including polka dots, stripes, and gradient effects, to create stunning designs.
• Use essential tools like dotting tools, striping brushes, and nail guide stickers to achieve precise and intricate designs.
• Experiment with different textures, finishes, and color combinations to create unique and personalized nail art designs.
• Practice advanced techniques like water marbling and freehand nail art to take your skills to the next level.
• Combine different techniques and tools to create one-of-a-kind, show-stopping nail art designs that express your creativity and individuality.
Nail Preparation Essentials
Before you immerse yourself in the world of nail art, prepare your nails by trimming, filing, and buffing them to create a smooth canvas for your design. This important step guarantees a flawless finish and helps your nail art last longer. Take your time to shape your nails to your desired shape, and gently file away any ridges or imperfections.
Next, use a buffer to smooth out the surface, removing any excess cuticles or oils.
Once you've prepped your nail, it's time to apply a base coat. This essential step protects your natural nail and creates an even surface for your design. Choose a good quality base coat that's free of harsh chemicals and won't damage your nails. Apply a thin layer, making sure to cover the entire nail surface. This will help your nail art adhere better and prevent chipping.
With your base coat in place, you're now ready to express your creativity and start designing!
Mastering Basic Nail Art Techniques

With your nails prepped and base coat applied, you're ready to explore your creativity and master the basic nail art techniques that will take your designs to the next level. These fundamental skills will elevate your nail art designs and give you the confidence to try more complex creations.
Here are some essential techniques to get you started:
- Polka Dots: Achieve chic designs with a dotting tool for a playful touch.
- Stripes: Create stylish lines using tape or freehand painting for a modern look.
- Gradient Nails: Blend colors seamlessly for a gradient effect that adds depth to your nail art designs.
Mastering these basic techniques will allow you to experiment with different base colors and create unique nail art designs that reflect your personality. Remember, practice makes perfect, so don't be discouraged if it takes a few tries to get the hang of it. With patience and practice, you'll be creating stunning nail art designs in no time!
Creating Stunning Stripe Designs

Get ready to take your nail art skills to the next level by mastering striped designs!
You'll learn how to create stunning striped nail tips that are perfect for any occasion.
And even tackle the tricky art of nailing diagonal stripes with ease.
With these techniques, you'll be able to create unique and stylish looks that are sure to turn heads!
Striped Nail Tips
To create stunning stripe designs on your nail tips, start by applying a base color and letting it dry completely before adding thin stripes on top. This will guarantee a smooth, even surface for your stripes to shine.
You can achieve precise lines using striping tape or thin nail art brushes, depending on your personal preference.
Here are some tips to get you started:
- Experiment with different color combinations and patterns to customize your striped nail tips.
- Add metallic or holographic stripes for a glamorous finish.
- Pair your striped nail tips with other nail art techniques for a unique look.
Nailing Diagonal Stripes
You can take your striped nail tips to the next level by creating diagonal stripes that add a dynamic element to your nail art. To achieve this, you'll need some striping tape and a steady hand.
Start by applying a base color and letting it dry completely. Then, place the striping tape diagonally across your nail, pressing it firmly to make sure it adheres. Paint over the tape with a contrasting color, and carefully remove the tape to reveal crisp, diagonal stripes.
Experiment with different color combinations to achieve striking and trendy designs. You can also use nail art brushes to create thinner, more delicate stripes. Remember to finish your design with a top coat to seal the stripes and enhance the overall look.
Diagonal stripes can elongate the appearance of your nails, adding a dynamic element to your nail art. With a little practice, you'll be nailing diagonal stripes like a pro!
Polka Dot Perfection Techniques

Master the art of precision with a dotting tool, which allows you to create perfect, uniform dots in various sizes and colors to elevate your nail art game. With a dotting tool, you can achieve polka dot perfection, adding a playful touch to your nail design.
Whether you're going for a classic, subtle look or a bold, eye-catching statement, polka dots can be tailored to fit your style.
Here are some polka dot perfection techniques to try:
- Experiment with different dot sizes and colors to create unique, one-of-a-kind designs
- Space dots evenly for a chic, sophisticated look or cluster them for a playful, whimsical feel
- Mix and match polka dot patterns to create a customized nail art design that's all your own
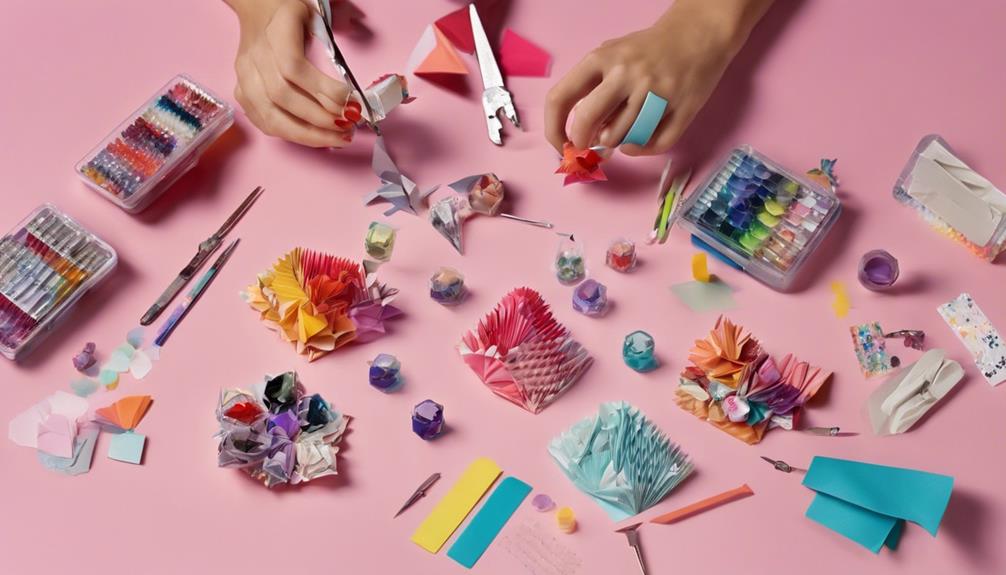
Essential Tools for Nail Art

Now that you're prepared to unlock your creativity, it's time to talk about the essential tools you'll need to bring your nail art designs to life.
You'll want to stock up on a few must-haves, including a range of nail polish colors, high-quality nail art brushes, and nail guide stickers to help you achieve crisp, clean lines.
With these tools at your fingertips, you'll be well on your way to creating stunning, professional-looking nail art that's sure to turn heads!
Nail Polish Colors
Exploring a vast array of shades, finishes, and textures at your fingertips, nail polish colors become the ultimate game-changer in creating stunning nail art designs. You can create a wide range of looks, from subtle and natural to bold and daring, simply by choosing the right colors.
The right color choices can make or break a nail art look, so experimenting and finding the perfect shades for your designs is crucial.
Here are a few things to keep in mind when working with nail polish colors:
- Mood and style: Different colors can evoke various moods and styles, so choose wisely to create the desired effect.
- Texture and finish: From glossy to matte, and from glitter to holographic, the possibilities are endless.
- Endless combinations: Mix and match colors to create unique, one-of-a-kind designs that showcase your creativity.
Nail Art Brushes
As you experiment with various nail polish colors, you'll soon realize that the right brushes can make all the difference in bringing your designs to life. Nail art brushes are essential tools for creating intricate designs on your nails. With the right brushes, you can achieve precise and detailed designs that will take your nail art game to the next level.
| Brush Type | Best For |
|---|---|
| Detailer Brush | Fine lines and details |
| Striping Brush | Stripes and intricate patterns |
| Flat Brush | Filling in large areas |
Investing in a set of high-quality nail art brushes can elevate your nail art game and allow for more precise and detailed designs. Look for brushes made from synthetic fibers that are durable and easy to clean. With the right brushes, you'll be able to create intricate designs that will make your nails stand out. Whether you're a beginner or a seasoned nail artist, having the right tools can make all the difference.
Nail Guide Stickers
You can achieve salon-quality nail art with ease using nail guide stickers, which provide a foolproof way to create crisp, precise designs. These stickers are a game-changer for anyone looking to create intricate nail art without the hassle of free-hand painting.
With nail guide stickers, you can achieve salon-quality results without breaking the bank or requiring extensive nail art experience.
Here are just a few benefits of using nail guide stickers:
- Precision designs: Nail guide stickers help you create crisp, clean lines and patterns with ease, making them perfect for intricate nail art designs.
- Easy to use: These stickers are a breeze to apply and remove, making them a convenient tool for nail artists of all skill levels.
- Versatile: Nail guide stickers come in a variety of shapes and sizes, making them perfect for creating French manicures, geometric patterns, and more.
Beginner-Friendly Gradient Nails

Creating a gradient effect on your nails can be as simple as dabbing on different polish colors with a makeup sponge. This beginner-friendly technique is perfect for those new to nail art.
To achieve a seamless gradient design, start with a light base color on your nails. Then, use a makeup sponge to dab on darker shades, blending them smoothly for a stunning ombre look.
Experiment with various color combinations to create unique and eye-catching gradient nail designs. For a bold look, try pairing pastel shades with neon hues. If you prefer a more subtle look, stick to monochromatic shades.
Once you've achieved your desired gradient effect, finish with a top coat to seal and protect the design for long-lasting results. With a little practice, you'll be a pro at creating gradient nails in no time!
Exploring Water Marbling Designs

Take your nail art skills to the next level by exploring water marbling designs, a technique that yields one-of-a-kind results. This mesmerizing technique involves dropping different colors of nail polish into water and creating patterns using a tool. The result is a unique, intricate design that's impossible to replicate exactly.
Here are just a few reasons to give water marbling a try:
- Endless color possibilities: Mix and match your favorite colors to create mesmerizing patterns that are all your own.
- One-of-a-kind results: No two water marble designs are alike, making each nail art creation truly unique.
- Challenging yet rewarding: Mastering the water marbling technique takes practice, but the results are well worth the effort.
As you experiment with water marbling, remember to work quickly and precisely to achieve the desired pattern before the polish dries on the surface of the water. With a little patience and practice, you'll be creating stunning water marble designs that showcase your creativity and skill.
Stiletto Nail Art Inspiration

As you explore stiletto nail art inspiration, you'll discover a world of creative possibilities.
You can experiment with stiletto shape designs that accentuate the pointed tip, pair bold nail polish colors for a statement look, or add elegant accent tips for a touch of sophistication.
With these elements, you'll be able to craft a unique style that showcases your individuality.
Stiletto Shape Designs
With stiletto nail art, you can express your creativity and add a touch of glamour to your look. The pointed shape of stiletto nails elongates your fingers, making a bold statement. Stiletto nail art designs often feature intricate patterns, 3D embellishments, and creative color combinations that showcase your personality.
Here are some stiletto nail art inspiration ideas to get you started:
- Elegant and glamorous designs featuring rhinestones and metallic accents
- Edgy and avant-garde looks with bold colors and geometric patterns
- Whimsical and playful designs featuring cartoon characters or abstract art
Stiletto nail art inspiration can be found in various styles, making it a great way to express your individuality. Celebrities and nail art enthusiasts alike love stiletto nails for their dramatic and eye-catching appearance. With regular maintenance, you can enjoy your stiletto nail art for an extended period.
Nail Polish Colors
Choose a bold, eye-catching shade to complement your stiletto nail art, as the right polish color can elevate your overall look and make a statement.
For a dramatic effect, try bold reds, deep purples, or metallic shades that will make your nail art pop. These vibrant colors will add an extra layer of sophistication to your stiletto nail art.
On the other hand, if you prefer a softer look, nude and pastel shades can create an elegant and understated vibe. Remember, the key to stunning stiletto nail art is to balance your polish color with your design.
If you're going for a bold, intricate design, a simpler polish color might be the way to go. But if you're opting for a simpler design, a bold polish color can take center stage.
With stiletto nails, the possibilities are endless, and the right polish color can make all the difference. So don't be afraid to experiment and find the perfect shade to complement your unique nail art style.
Elegant Accent Tips
To elevate your stiletto nail art game, incorporate elegant accent tips that add a touch of sophistication, such as delicate floral patterns, dainty charms, or subtle glitter accents that catch the light. These accents can instantly elevate your nail design from basic to breathtaking.
With stiletto nails, you have the perfect canvas to get creative with your accent choices.
Here are some elegant accent tips to try:
- Apply a thin layer of clear top coat to seal in your design and add shine.
- Use a metallic polish to create a sleek, modern look that's perfect for a night out.
- Add a dainty charm or rhinestone to the tip of your nail for a touch of glamour.
Advanced Freehand Nail Art

Mastering advanced freehand nail art requires a combination of artistic talent, precision, and practice. You'll be creating intricate designs directly on the nail surface without the aid of stencils or guides. To excel in advanced freehand nail art, you'll need a steady hand. Even the slightest tremble can ruin your design.
With a steady hand, you'll be able to paint intricate patterns, portraits, and abstract designs directly on the nail surface. This gives you limitless creativity and personalized designs on your nails.
As you practice, you'll find that advanced freehand nail art allows for unparalleled creativity and precision. You'll be able to create unique, one-of-a-kind designs showcasing your artistic talent. The possibilities are endless, and the only limit is your imagination.
Encapsulated Nail Art Designs

As you explore the world of advanced nail art, you'll discover that encapsulated nail art designs offer a unique way to elevate your creations by embedding decorative elements within acrylic or gel nails for a stunning 3D effect. This technique allows you to create intricate designs like flowers, jewels, or glitter within the nail enhancement, making your DIY nail art truly stand out.
To get started, you'll need to choose the perfect decorative elements for your design. Here are some popular options worth exploring:
- Dried flowers for a delicate, romantic look
- Rhinestones or metallic charms for added glamour
- Holographic glitter for a mesmerizing, eye-catching effect
This technique not only adds visual interest to your nail art but also provides durability and protection to the embedded elements, ensuring your manicure lasts longer. Experiment with different combinations of elements and placement techniques to create unique designs that showcase your creativity and skills. With practice and patience, you can master the art of encapsulated nail designs and take your nail art to the next level.
Frequently Asked Questions
How to Nail Art Step by Step?
You're all set to immerse yourself in the world of nail art!
To get started, prepare your nails by trimming, filing, and buffing them for a smooth surface.
Next, apply a protective base coat to safeguard your natural nails.
Then, choose your polish colors and grab your brushes and tools.
Practice basic techniques like polka dots, stripes, and marbling to create stunning designs.
What Are the 5 Basic Nail Art Designs?
You're curious about the basic nail art designs, right? Well, you're in luck! There are five fundamental designs that every nail art enthusiast should know. You'll love these classic looks: polka dots, stripes, gradient nails, French manicure, and marbling.
These timeless designs are easy to master and will enhance your nail game. Each one offers a unique touch, from playful dots to sophisticated gradients. Get ready to ignite your creativity and try them out!
What Is the Easiest Way to Do Nail Art?
Imagine yourself as a master artist, with a tiny canvas – your nails! To get started, remember that the easiest way to do nail art is to keep it simple. Consider starting with a basic French manicure and then adding a single rhinestone or small flower decal to each nail for a touch of elegance. Another easy nail art idea is to use a striping brush to create simple geometric shapes or stripes in contrasting colors. By keeping your designs minimal and understated, you can create stunning nail art without feeling overwhelmed. Easy nail art ideas can be found all over the internet for inspiration and guidance.
Begin with basic tools and techniques like dotting or striping. You can even use nail stickers or decals for a quick, unique look.
Don't be afraid to experiment – it's all about having fun and creating something that makes you smile!
How to Do Nails at Home Step by Step?
You're ready to take nail art into your own hands! To do your nails at home step by step, start by prepping your nails – shape, buff, and remove old polish.
Push back those cuticles and apply a light base coat. Then, follow a simple nail art technique, like dots or stripes.
Conclusion
You've reached the final stroke of your nail art journey! As you close this book, remember that your nails are now a canvas, waiting for your brushstrokes of creativity.
Just as a painter adds the final touches to a masterpiece, you've added the final touches to your nail art skills.
Your nails are now a work of art, a reflection of your personality, and a tribute to your creativity.
Wear them with pride, and get ready to receive a masterpiece of compliments!