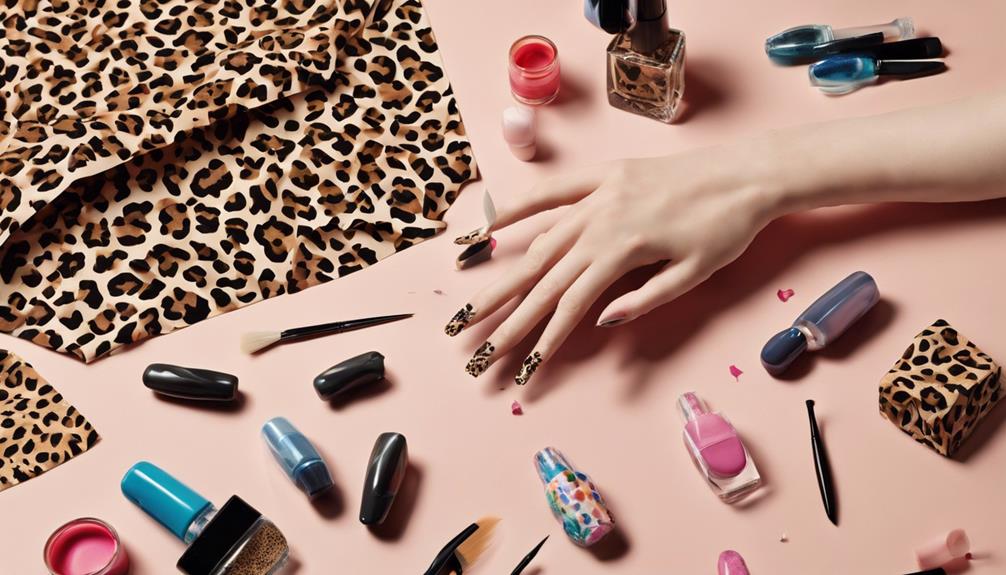

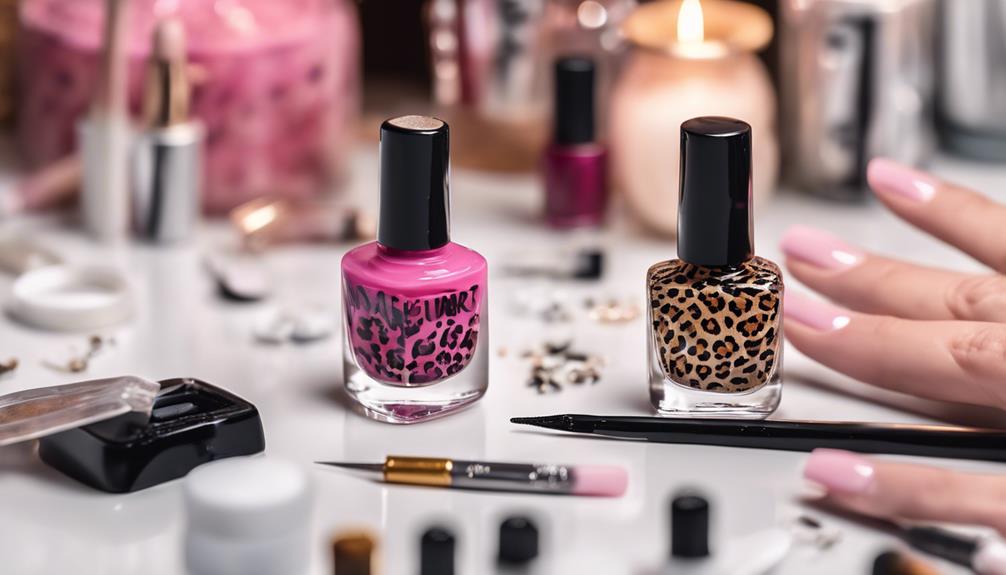
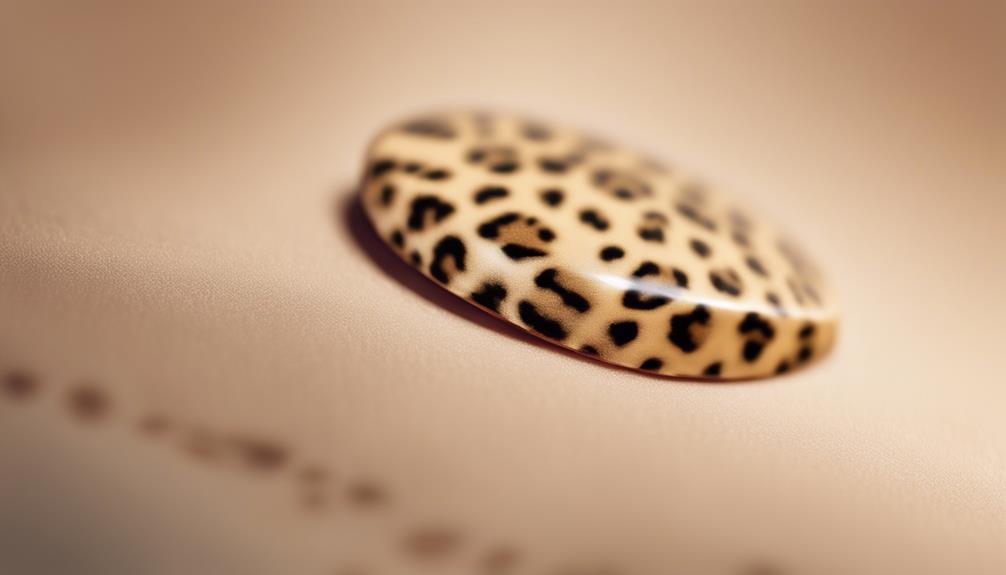
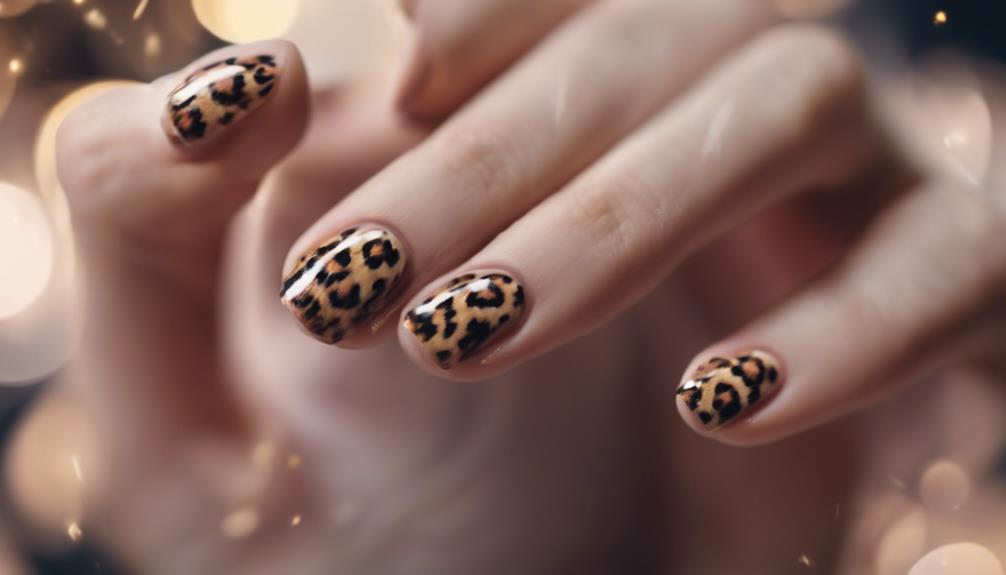
To create perfect leopard print nail art, start by preparing your nails with a smooth surface, uniform shape, and even base coat. Then, apply a light or neutral base color and let it dry. Next, create realistic leopard print spots with varying sizes, shapes, and colors, activating them with an LED lamp for longevity. Add delicate outlines and definition to your spots, followed by shading and dimension with small lines and curves. Seal your design with a top coat, and finish with final touches like cleaning up mistakes and moisturizing your cuticles. Now, get ready to unleash your creativity and take your nail art to the next level! Looking for some inspiration for your leopard print nail ideas? Consider using different colors for the base and spots, such as a deep purple or emerald green. You can also experiment with using metallic or glitter polish for a more glamorous look. Don’t be afraid to get creative and make the design your own by adding in unique elements like a jewel or rhinestone accent. The options are endless for creating the perfect leopard print nail art that suits your personal style!
Key Takeaways
• To achieve a natural leopard print look, vary spot sizes and shapes, and leave space between them for a realistic appearance.
• Use a fine brush or nail art pen to create delicate outlines and add definition to the spots for a more intricate pattern.
• Apply a suitable base coat to ensure the design lasts longer, and choose a light or neutral base color to make the leopard print pop.
• Experiment with different colors for the spots and outlines to add depth and dimension to the design.
• Seal the design with a top coat and reapply every few days to maintain the shine and longevity of the leopard print nail art.
Prepare Your Nails for Art
Prepare and shape your nails before starting the leopard print nail art to guarantee a smooth, even surface for your design. This essential step sets the foundation for a flawless finish. Take your time to trim, file, and buff your nails to achieve a uniform shape. A well-prepared nail surface guarantees that your leopard print design will adhere evenly and last longer.
Next, apply a base coat to create a smooth surface for your nail art. This coat will help your design stand out and prevent staining. Make sure to choose a base coat that's suitable for nail art, as it will help your design stay vibrant and long-lasting.
With your nails and base coat in place, you're ready to unleash your creativity and create those stunning leopard spots. Get ready to tap into your inner artist and create a show-stopping leopard nail art design that's sure to turn heads!
Apply Base Coat and Color
With your nails prepped and ready, it's time to lay the foundation for your leopard print design by applying a base coat and a neutral-toned color that will make your spots pop. This step is essential in creating a smooth surface for your design and ensuring your nail polish adheres evenly.
Here's what you need to do:
- Apply a base coat to protect your nails and create a smooth surface for your design.
- Choose a light or neutral-toned nail polish as your base color, which will serve as the background for your leopard print design.
- Apply the base color evenly, making sure to cover your entire nail surface.
- Allow the base color to dry completely before moving on to the next step.
Create Leopard Print Spots
Now it's time to get creative and add the iconic leopard print spots to your nail art design!
You'll want to master the techniques for achieving spotted perfection, including varying spot sizes and random placement tips.
Spotted Perfection Techniques
To achieve a realistic leopard print look, you'll need to create small, irregular spots that vary in size and shape, just like those found on a genuine leopard's fur. Using a dotting tool or a thin nail art brush, you can create these unique spots that will give your nail art a natural and effortless look.
Here are some essential techniques to master for spotted perfection:
- Vary spot sizes and shapes: Create irregular shapes to mimic the leopard's fur. Experiment with different sizes, from small to medium, to achieve a realistic look.
- Leave space between spots: Don't overcrowd your nail with spots. Leave some space between them to create a natural, scattered look.
- Experiment with colors: Try different shades and hues to add depth and dimension to your design.
- Cure your spots: Use a LED lamp to fully set your spots, ensuring they last longer and stay vibrant.
Spot Size Matters
Spot Size Matters
You'll create more realistic leopard print spots by varying their size, from tiny to medium, to capture the organic, scattered look of a leopard's fur. This is important in achieving a genuine leopard print design. To get started, grab your trusty dotting tool or thin nail art brush and let's get started!
| Spot Size | Description | Tips |
|---|---|---|
| Tiny | Small, delicate dots | Use for subtle accents or to fill in gaps |
| Small | Medium-sized ovals or circles | Perfect for creating clusters or scattered spots |
| Medium | Larger, irregular shapes | Adds depth and dimension to your design |
| Large | Big, bold spots | Use sparingly for a dramatic pop of color |
Random Placement Tips
Frequently, you'll find that the most realistic leopard print designs emerge when you create spots in a random, scattered pattern, rather than in perfect rows or columns. This will give your nails a more natural, organic look. To achieve this, use a dotting tool or toothpick to create small, irregular spots on your base coat.
Vary the sizes and shapes of the spots to add depth and dimension to your design.
Here are some additional tips to keep in mind:
- Space out the spots evenly to mimic the authentic leopard pattern.
- Create small, imperfect dots with a second neutral shade to add depth and dimension.
- Allow the spots to dry slightly before applying a fast-drying top coat to prevent smudging.
- Vary the sizes and shapes of the spots to achieve a realistic and natural look.
Add Outline and Definition
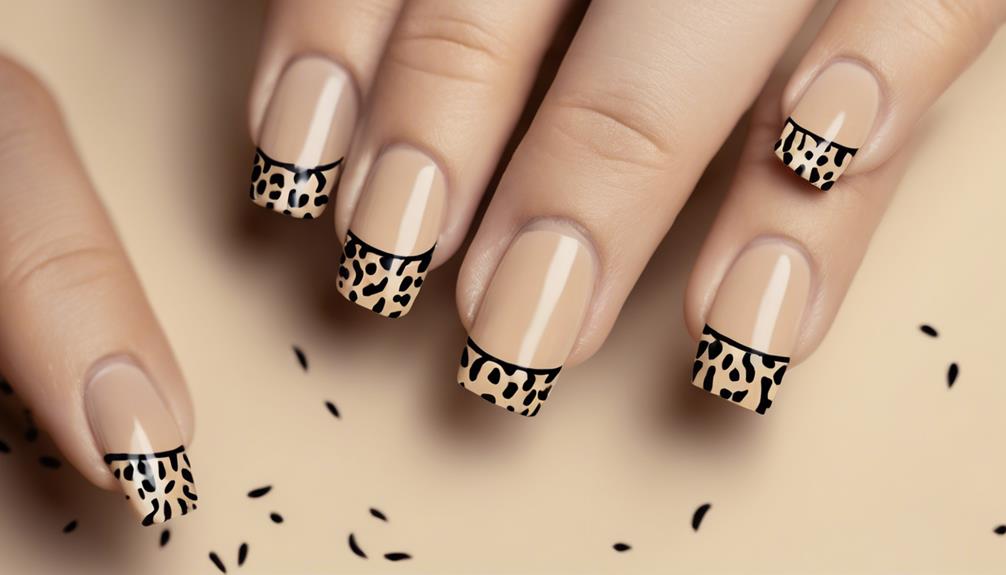
With your leopard print design base coat dry, you're ready to add definition and dimension with a delicate outline. This step is essential in creating a realistic leopard nail design. To achieve this, use a fine brush or nail art pen to outline the leopard spots with black polish. Create small 'C' shapes or irregular lines around the spots for a realistic look.
| Technique | Description |
|---|---|
| Fine Brush | Use a fine brush to create delicate outlines around the leopard spots |
| Nail Art Pen | Alternatively, use a nail art pen for more precision and control |
| 'C' Shapes | Create small 'C' shapes around the spots for a realistic look |
| Irregular Lines | Use irregular lines to add depth and dimension to the design |
| Varying Thickness | Vary the thickness and shape of the outlines for a more intricate pattern |
Add small dots inside the spots to enhance the leopard print design. The outlining step helps define and accentuate the leopard print, giving it a polished and professional finish. By following these simple steps, you'll be on your way to creating a stunning leopard nail design that's sure to turn heads. Remember to vary the thickness and shape of the outlines for a more intricate and detailed pattern.
Add Shading and Dimension
Now that you've outlined your leopard spots, it's time to add some depth and visual interest by introducing shading and dimension. This step will take your nail art from flat to fabulous!
Here are some tips to help you achieve a more realistic and visually appealing look:
- Use a lighter shade of the base color to add shading and dimension to the leopard spots.
- Apply the lighter shade in small strokes or dots around the edges of the spots to create a 3D effect.
- Blend the lighter shade into the base color using a fine nail art brush or a small dotting tool.
- Focus on adding shading to one side of each spot to mimic light hitting the design.
Seal With Top Coat

You're ready to lock in your leopard print design with a top coat, the final step that guarantees your nail art stays vibrant and chip-free for longer. By applying a top coat, you'll seal and protect your masterpiece, ensuring it lasts for days to come.
But before you do, make sure your leopard print design is fully dry, as you don't want to smudge or smear your hard work. Choose a glossy or matte top coat, depending on the finish you prefer, and apply it evenly to cover the entire nail. This is essential for a polished, professional-looking finish.
The top coat acts as a shield, preventing chipping and fading, so take your time and do it right. With a few smooth strokes, you'll have a flawless, long-lasting leopard print design that's sure to turn heads.
Finish With Final Touches
Add a splash of personality to your leopard print nail art by incorporating additional embellishments or subtle details that make your design truly one-of-a-kind. You can experiment with different top coat finishes, such as matte or glossy, to achieve your desired look.
Here are some final touches worth exploring:
- Seal with a glossy top coat to protect your design and add shine.
- Wait for the spots to dry slightly before applying the top coat to prevent smudging.
- Use a fast-drying top coat to speed up the drying process and avoid any mishaps.
- Allow the top coat to fully dry for at least 3 minutes before handling or applying additional products.
Frequently Asked Questions
How to Do Leopard Print Nails Step by Step?
You want to master leopard print nails, but where do you start?
Begin with a base coat and choose a neutral base color that'll make your spots pop.
Then, grab a dotting tool or thin nail art brush to create small, irregular black spots.
Don't forget to add a second color for depth and dimension.
With each layer, cure it in an LED lamp for a long-lasting finish.
Finish with a fast-drying top coat, and you'll be rocking those leopard print nails in no time!
How to Draw Leopard Prints?
As you commence on this artistic adventure, remember that ancient Egyptians revered leopards for their majestic beauty – now, it's your turn to reveal that wild charm on your nails!
To draw leopard prints, start by creating irregular shapes with a dotting tool or small brush. Vary spot sizes and shapes to mimic the real deal. Don't overcrowd – leave space between spots for a natural look.
How to Do Perfect Nail Art?
When you're aiming for perfect nail art, it's all about the prep work!
You're probably thinking, 'How do I even get started?'
First, make sure your nails are clean and shaped to perfection. Then, apply a base coat to guarantee a smooth canvas for your design. Next, select a fun and vibrant nail polish color that will serve as the base for your colorful nail art designs. Once the base color is dry, use thin brushes or nail art pens to create intricate designs such as flowers, stripes, or geometric patterns. Don’t forget to seal in your designs with a top coat for a long-lasting and glossy finish. With these steps, you’ll have gorgeous and eye-catching nails that are sure to turn heads!
From there, the possibilities are endless! Choose a bold color scheme, get creative with patterns or designs, and don't forget to seal it all in with a top coat.
With these basics down, you're ready to awaken your inner artist!
How to Do Leopard Print Nails With a Toothpick?
You're about to awaken your inner leopard! Imagine you're a wild beauty, strutting down the savannah with claws that shine.
To get that fierce look, grab a toothpick and dip it in nail polish. Create small, irregular spots in various sizes and shapes, leaving space between them for an authentic leopard pattern.
Practice on foil first to master the technique, and then, let your creativity roar!
Conclusion
You've made it! You've survived the wild ride of leopard print nail art. And you know what? It was easier than you thought, right?
You've got the skills, the patience, and the perfect leopard print nails to show for it. Now, go forth and flaunt those fierce claws – you've earned it!