When designing your nail art mood board, start by exploring themes and trends like French manicures, unique patterns, and luxurious inspirations. Gather inspiration from visual cues, bold colors, and personal experiences. Create a visually appealing board by experimenting with textures, choosing a cohesive color palette, and adding illustrations. Combine bold colors with textures and balance bold and subtle elements. To bring your ideas to life, visualize your theme, experiment with styles, and define your concept. Now, get ready to discover the secrets to creating stunning nail art designs – the best is yet to come!
Key Takeaways
• Gather inspiration from visual cues, bold colors, and intricate patterns to create a unique nail art concept. If you’re new to nail art, start by experimenting with easy nail art designs like simple stripes or polka dots. As you build your confidence, you can try more complex designs such as floral patterns or geometric shapes. Don’t be afraid to play with different techniques and tools, like striping tape or nail stencils, to achieve the look you want.
• Start with a clear design concept and experiment with textures, colors, and illustrations to create a visually appealing mood board.
• Use a cohesive color palette and balance bold and subtle elements to create a striking mood board.
• Research and plan your concept, focusing on representation and nuance to ensure a strong and impactful mood board.
• Organize your nail art vision by defining the concept, conveying a story, and considering techniques, colors, textures, and shapes.
Exploring Nail Art Themes and Trends
As you explore the world of nail art, you'll discover a vast array of themes and trends that can inspire your next design, from bold French manicures to unique patterns and stylish fonts. These trendy ideas can spark creativity for your mood board, helping you visualize your dream nail art design.
You might find yourself drawn to luxurious inspirations like opulent designs reminiscent of Clase Azul tequila bottles or textured chrome finishes. Or, you could opt for seasonal themes, such as autumn ombré or French ombré with glitter splatter for added sparkle.
If you're looking for something more playful, vibrant designs featuring fluorescent floral patterns or tutti fruity themes can evoke a lively summer vibe. Even nature-inspired nail art, like cactus tips, can add a whimsical touch to your mood board.
Gathering Inspiration for Your Board
As you start gathering inspiration for your nail art mood board, you'll want to nail the basics by exploring various sources that spark your creativity.
You'll discover that visual cues like color palettes, textures, and patterns can evoke the mood and theme you want to convey in your nail art.
Nailing the Basics
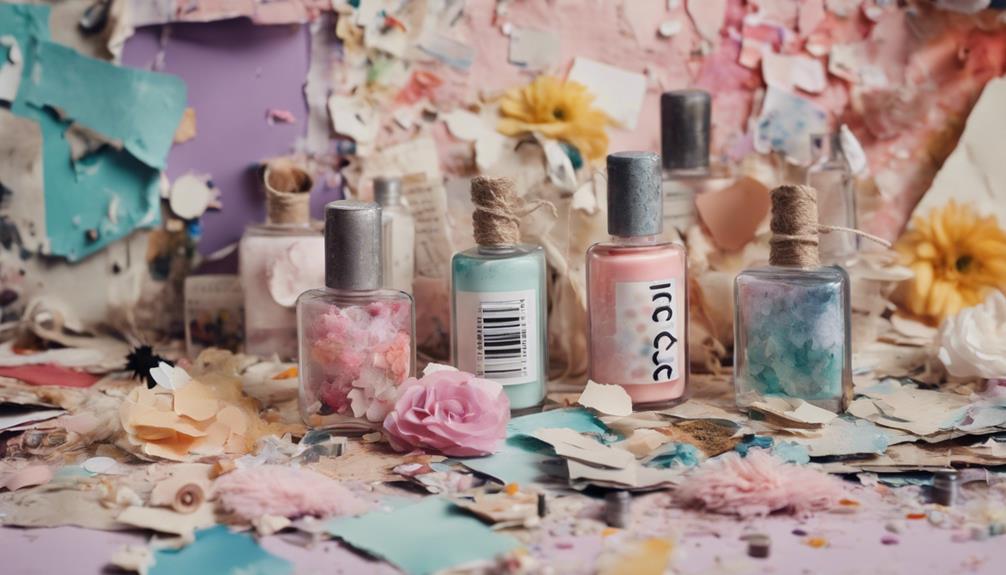
You'll find inspiration for your nail art mood board in unexpected places, from the bold colors of fashion magazines to the intricate patterns of nature. As you explore these sources, think about your design concept and what themes, colors, and textures resonate with it. Consider your personal experiences, emotions, and memories that you want to translate into your nail art design. This will add a unique touch to your mood board and make it truly yours.
When gathering inspiration, look for elements that speak to your design concept. Flip through fashion magazines, visit art galleries, or take a walk in nature to spark your creativity. You can also browse social media platforms or online platforms like Pinterest or Canva to create digital mood boards with images, quotes, and swatches that inspire your nail art ideas.
Experiment with different elements like typography, illustrations, and photography to create a visually appealing and cohesive mood board. Remember, the goal is to create a board that reflects your design concept and inspires your nail art creations.
Exploring Visual Cues
By delving into diverse sources, you'll uncover a wealth of visual cues that will help shape your nail art mood board, from the intricate patterns of nature to the bold statements of fashion and art.
As you explore, consider the colors, textures, patterns, and shapes that resonate with your design concept. This will help you create a cohesive theme for your mood board. Don't be afraid to incorporate personal interests, emotions, or memories to add a unique touch to your nail art.
You can find inspiration online through platforms like Pinterest, Instagram, or design websites. Experiment with different styles, trends, and aesthetics to discover what speaks to you and aligns with the message you want to convey through your nail art.
As you gather visual cues, start to envision how they'll come together to create a stunning design mood board. Remember, this is your chance to let your creativity shine and set the tone for your nail art. So, take your time, have fun, and get inspired!
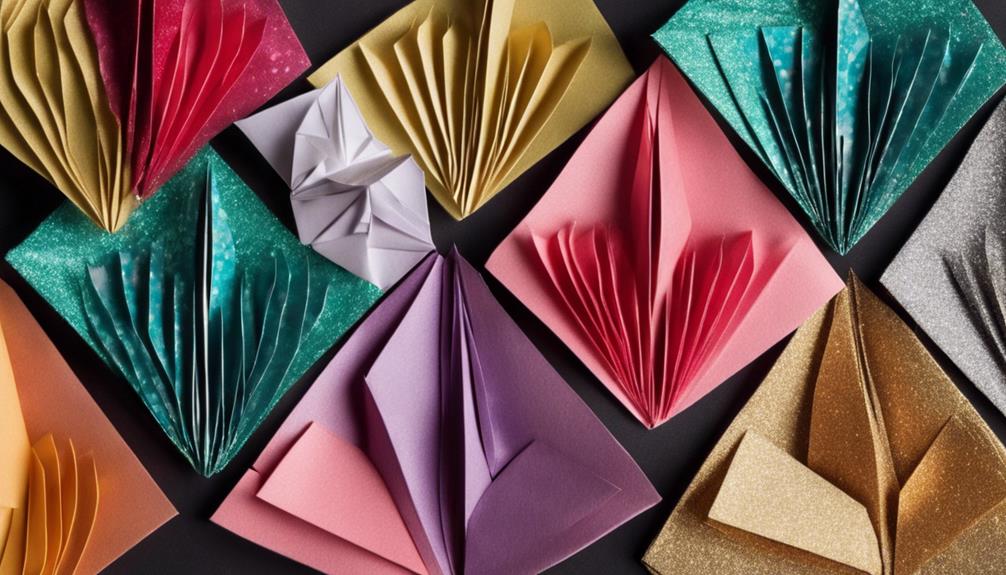
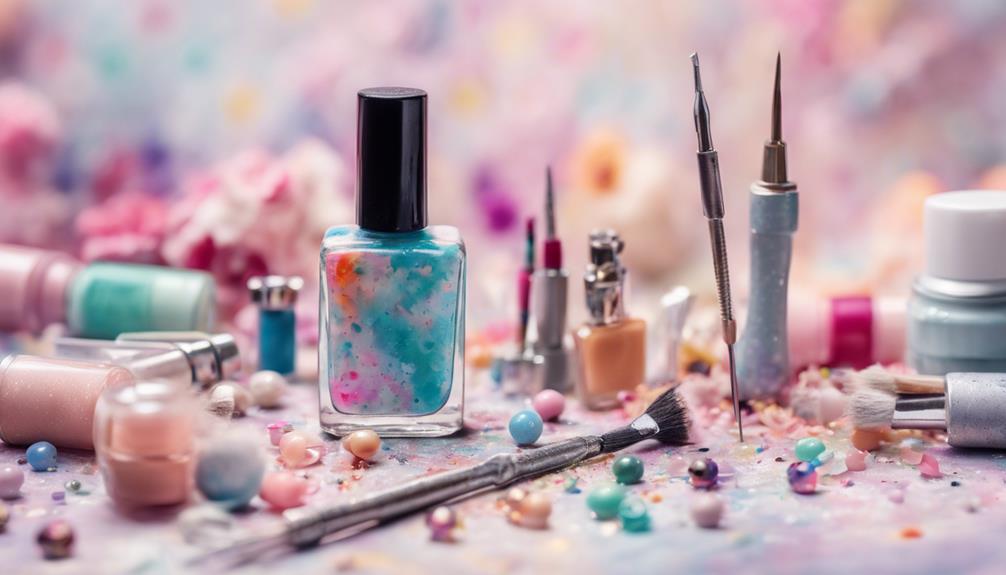
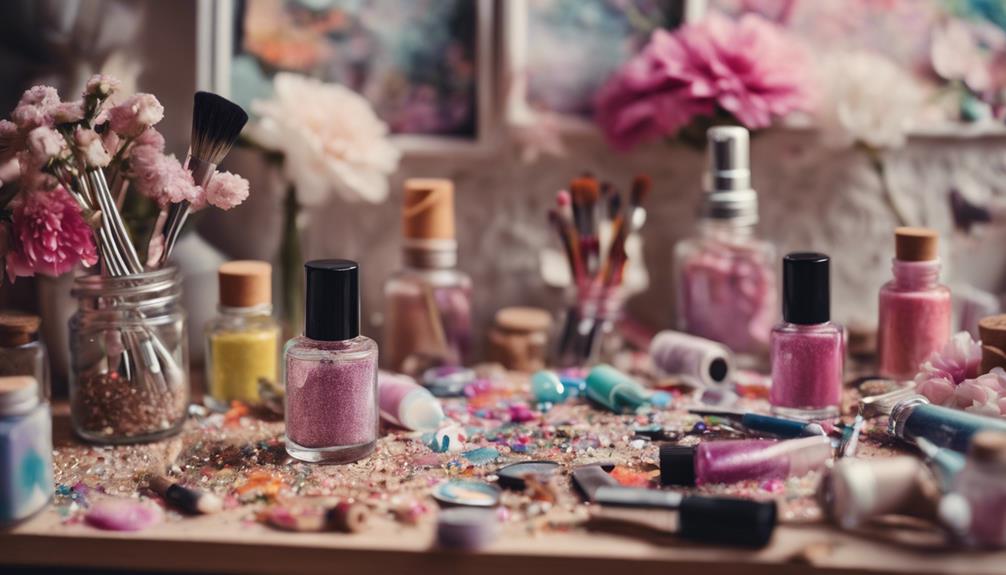
Creating a Visually Appealing Mood Board

To create a visually appealing mood board, frequently incorporate a mix of textures, illustrations, and color palettes that reflect your unique nail art vision and theme. This will help you effectively communicate your design ideas to clients and stakeholders.
By customizing designer-made mood board templates, you can make sure that your mood board truly represents your brand and aesthetic.
Here are some essential tips to keep in mind:
- Start with a clear concept: Define your nail art theme and vision before creating your mood board.
- Experiment with textures: Mix and match different textures to add depth and visual interest to your mood board.
- Choose a cohesive color palette: Select a few core colors that reflect your brand and nail art style.
- Add illustrations and graphics: Incorporate illustrations, patterns, or graphics that reflect your nail art theme and style.
Combining Colors and Textures Effectively
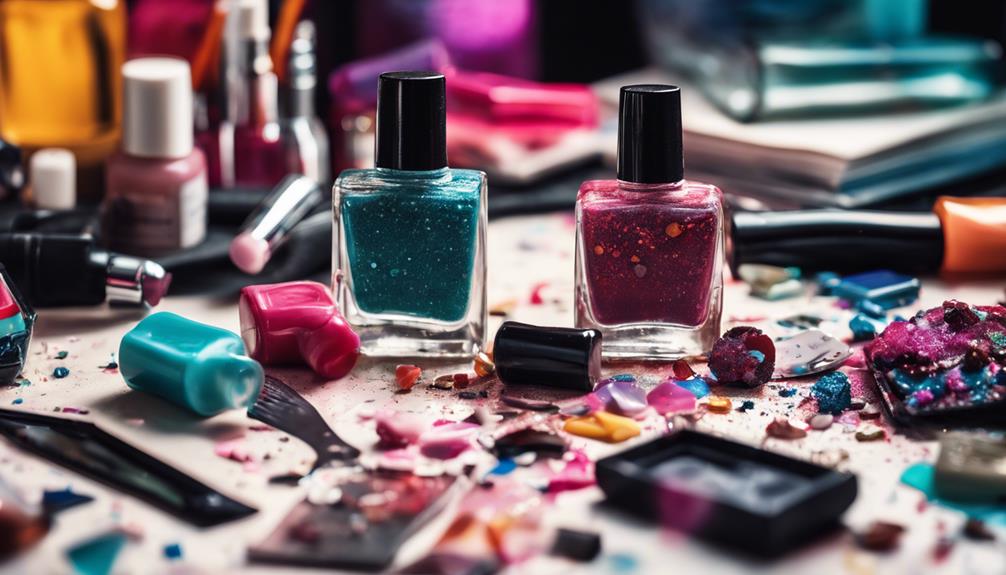
As you craft your nail art mood board, it's time to combine colors and textures in a way that elevates your design, and the key to achieving this lies in striking a balance between bold, eye-catching elements and subtle, sophisticated accents.
By combining bold colors like neon and metallics with textures like glitter and matte, you'll create dynamic nail art designs that attract attention. Experiment with contrasting textures, such as smooth chrome alongside rough rhinestones, to add visual interest.
For a more subtle look, pair nude tones with textured elements like studs and beads for a modern, sophisticated design. Don't be afraid to mix and match different finishes, like glossy and matte, to add depth and interest to your nail art.
Designing Your Nail Art Concept
Your nail art concept begins to take shape when you pinpoint the specific event, feeling, or thing you want to represent on your nails. This could be a special occasion, a personal interest, or even a favorite hobby. Whatever it is, clearly defining it's crucial in creating a cohesive design.
To develop your concept, follow these steps:
- Research and gather inspiration: Look for visuals, context, history, and associated people that resonate with your theme.
- Sketch and plan: Transfer imagery that inspires you and start sketching out rough designs.
- Focus on representation: Consider what you want to represent on your nails, whether it's a passion, interest, or event.
- Formulate your concept: Based on your research and sketches, create a cohesive nail art concept that showcases your theme.
Bringing Your Ideas to Life
Now that you've nailed your nail art concept, it's time to bring it to life!
You'll want to visualize your theme by incorporating visuals, textures, and colors that align with your inspiration on your mood board.
As you start to bring your ideas to life, remember to experiment with different nail art styles and patterns to create a visually appealing board that showcases your unique concept.
Nailing the Concept
To bring your nail art concept to life, define the event, feeling, or thing you want to represent on your nails, whether it's a special occasion, passion, or interest. This will set a clear direction for your design.
You'll want to research visuals, context, history, and associated people to gather inspiration and create a cohesive theme.
Here are some steps to help you nail the concept:
- Define your concept: Focus on what you want to represent on your nails, whether it's a special occasion, passion, or interest.
- Conduct research: Gather inspiration by researching visuals, context, history, and associated people.
- Sketch it out: Sketch or transfer imagery that resonates with your concept to visually plan out your nail art.
- Formulate your design: Formulate nail art ideas based on chosen visuals and conduct thorough research to understand the meaning behind your design concept.
Visualize Your Theme
With your concept nailed down, start building your visual narrative by gathering imagery that screams your theme, from bold colors and textures to evocative shapes and patterns. This is where your nail art mood board starts to come alive! Consider the overall feeling you want to convey through your nail designs. Is it bold and edgy, or soft and whimsical?
| Theme Element | Visual Representation |
|---|---|
| Colors | Bold reds, deep blues, or pastel hues |
| Textures | Glossy, matte, or metallic finishes |
| Shapes | Geometric patterns, florals, or abstract forms |
Sketch or transfer your visual ideas onto the mood board to see how they come together and tell a story. Pay attention to details and nuances in your theme to ensure a strong and impactful representation in your nail art mood board. As you visualize your theme, remember to have fun and experiment with different combinations. You'll be amazed at how your nail art ideas start to take shape!
Organizing Your Mood Board Elements

By categorizing your mood board elements into groups based on color palettes, textures, and design themes, you'll create a fundamental foundation for your nail art inspiration board. This pivotal step in the design process helps you visualize your theme and identify patterns, making it easier to refine your nail art vision.
To organize your mood board elements effectively, follow these steps:
- Use grid layouts or digital tools to arrange images, patterns, and inspiration cohesively, ensuring a balanced composition.
- Incorporate fonts, typography, and accents to enhance the overall aesthetic of the mood board.
- Experiment with different arrangements and compositions to find the most effective layout for your nail art mood board.
- Balance visuals, text, and negative space for a visually appealing composition that showcases your inspiration.
Refining Your Nail Art Vision
As you explore further into your nail art concept, define the event, feeling, or thing you want to represent on your nails to crystalize your vision. What's the story behind your nail art? Is it a special occasion, a passion, or an interest? Focus on what you want to convey, and let that guide your creative process.
To refine your vision, discover visuals, context, history, and associated people related to your nail art concept. This will help you gather inspiration and solidify your idea. Researching different nail art techniques and styles can also provide valuable insight and spark new ideas for creative nail art designs. Exploring the work of other nail artists and experimenting with different tools and materials can further enhance your concept. By immersing yourself in the world of nail art, you can expand your knowledge and skills, ultimately leading to more innovative and unique designs.
Sketch or transfer imagery that resonates with your concept to further clarify your vision. Consider the techniques, colors, textures, and shapes that will bring your nail art to life. Will you use bold colors, intricate designs, or subtle textures?
Think about what'll make your nail art unique and reflective of your personality.
Frequently Asked Questions
Where Can I Find Nail Inspo?
You're wondering where to find nail inspiration? Explore Instagram and Pinterest for a treasure trove of nail art ideas from talented artists and enthusiasts.
Immerse yourself in nail art blogs and websites for unique designs, and follow popular polish brands and influencers on social media to stay on top of trends.
You can even visit nail salons or attend events to observe different styles and techniques. Join online nail art communities to connect with fellow enthusiasts and get inspired!
How Do You Make Basic Nail Art Designs?
Did you know that 75% of women consider their nails an essential part of their beauty routine?
Now, let's get creative! To make basic nail art designs, start with simple techniques like solid colors, stripes, or polka dots.
You can also experiment with ombre, marble, or glitter gradients for added dimension.
Don't be afraid to use nail stickers, decals, or stamping tools for intricate designs without needing advanced painting skills.
Practice different nail shapes to complement your art, and explore online resources for step-by-step guidance.
What Is 5 Basic Nail Art Design?
You're looking for the top 5 basic nail art designs! Well, you're in luck!
Stripes are a classic, and easy to create using nail tape.
Dots are another favorite, adding a playful touch to any nail.
Geometric shapes, like triangles and chevrons, add a trendy vibe.
French tips are always chic, and ombre gradients provide a subtle, sophisticated look.
Last but not least, color blocking is a fun way to mix and match bold hues.
Can You Get a Design on Gel Nails?
You're wondering if you can get a design on gel nails? Absolutely! Gel nails are a perfect canvas for intricate designs. With a smooth, even surface, gel nails allow for precise detailing and complex patterns. From minimalist to elaborate designs, gel nail art offers endless possibilities.
You can choose from hand-painted designs, decals, or embellishments to create a unique look that reflects your personality. The durable canvas of gel nails guarantees your design will last longer than traditional nail polish.
Conclusion
You've got a treasure trove of nail art ideas, and now it's time to bring them to life!
Imagine a stunning sunset-inspired design, with warm oranges and yellows ombre-ing into a soft pink.
You've envisioned a delicate, hand-painted palm tree on the ring finger, surrounded by subtle, shimmering glitter.
Your mood board has led you to this moment – now, grab your polish and let your creativity shine!