
You're about to reveal nail art posters that truly pop! Start by setting up a 4×4 inch canvas with a high-resolution design. Think vibrant colors, elegant typography, and engaging visuals that showcase your nail art skills. Organize your design elements with a clear layout, balancing bold typography and eye-catching graphics. Add flair with textures, patterns, and finishes. Next, categorize your nail art services into clear sections, prioritizing key information like pricing and contact details. As you refine your design, you'll discover the secrets to creating truly eye-catching posters that drive customers wild – and there's even more to explore!
Key Takeaways
• Use vibrant colors, elegant typography, and high-quality images of intricate nail designs to create an eye-catching poster. To attract attention and draw in potential customers, consider including a bold call-to-action such as “Get the hottest nail trends today!” or “Book your appointment now for trendy short nail art ideas.” These phrases will entice viewers to take action and engage with your poster. Additionally, be sure to include contact information and location details so interested individuals can easily reach out or visit your salon for their nail art needs.
• Organize design elements with a grid layout, categorizing nail art services into clear sections for a well-structured design.
• Experiment with different design elements, such as textures, patterns, and finishes, to add visual interest to the poster.
• Prioritize key information like pricing and contact details, and use color coding or section headers for clarity.
• Review the layout for proper alignment, spacing, and balance to ensure a visually appealing and cohesive design.
Setting Up Your Canvas
To get started on your nail art poster, open a new canvas with specific dimensions, such as 4×4 inches, to make sure your design fits perfectly on the poster. This will give you a clear idea of the space you have to work with.
Next, adjust the resolution to 300 to guarantee your poster prints out in high quality. You want your nail art poster to be crisp and clear, especially when it's displayed in your nail salon.
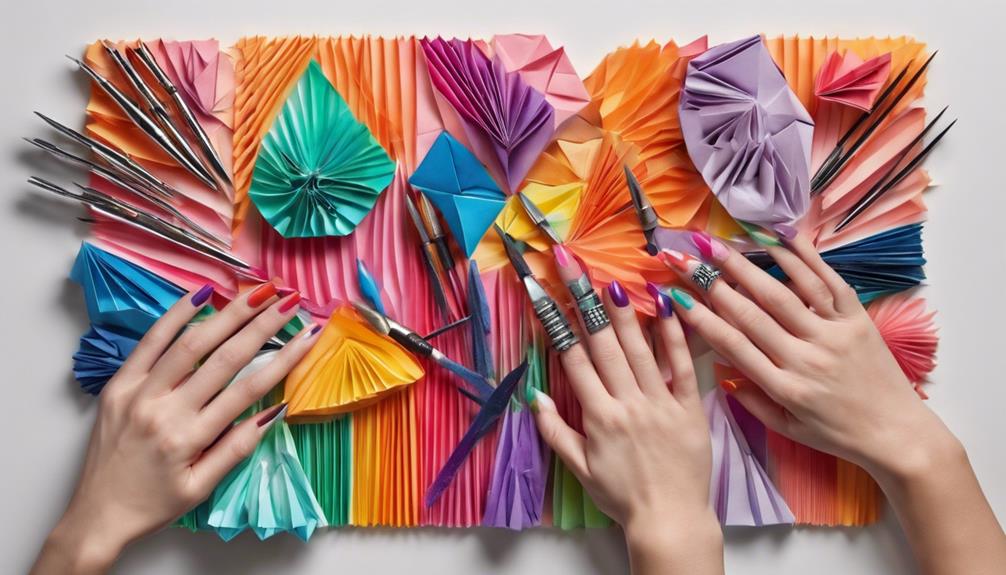
As you begin designing, think about what'll catch your customers' attention. Enticing visuals are key to drawing them in. Consider what makes your nail art stand out and how you can showcase that on your poster. For example, if your nail art is known for its bold colors and intricate designs, incorporate those elements into your poster design. Play around with different layouts and compositions until you find one that truly captures the essence of your nail art. You can also create an inspired nail art mood board to gather ideas and inspiration for your poster. This can help you brainstorm different visual concepts and ensure that your poster effectively represents your unique style.
Use the shape tool to add rectangles that will help you organize your design elements. This will make it easier to visualize your final product. Remember, the goal is to create a poster that showcases your art and entices customers to visit your salon.
Design Elements and Layout

Your nail art poster's design elements and layout are crucial in capturing the attention of potential customers, so choose them wisely. You want to create a visually appealing poster that showcases your salon's nail art designs and services.
To achieve this, consider the following design elements and layout tips:
- Incorporate vibrant colors, elegant typography, and engaging visuals to create an eye-catching nail art poster.
- Utilize high-quality images of intricate nail designs to showcase the salon's expertise and attract customers.
- Guarantee a well-organized layout with clear information on services offered, pricing, and any special promotions.
- Use a balanced composition with a focal point to draw attention and create visual interest.
- Experiment with different design elements like textures, patterns, and shapes to make the poster visually appealing and unique.
Adding Visual Interest

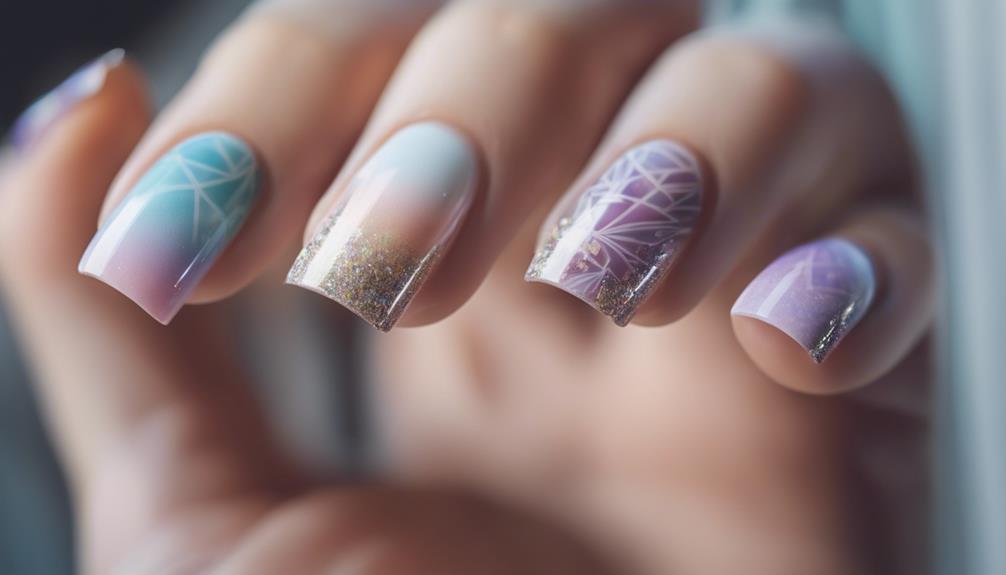
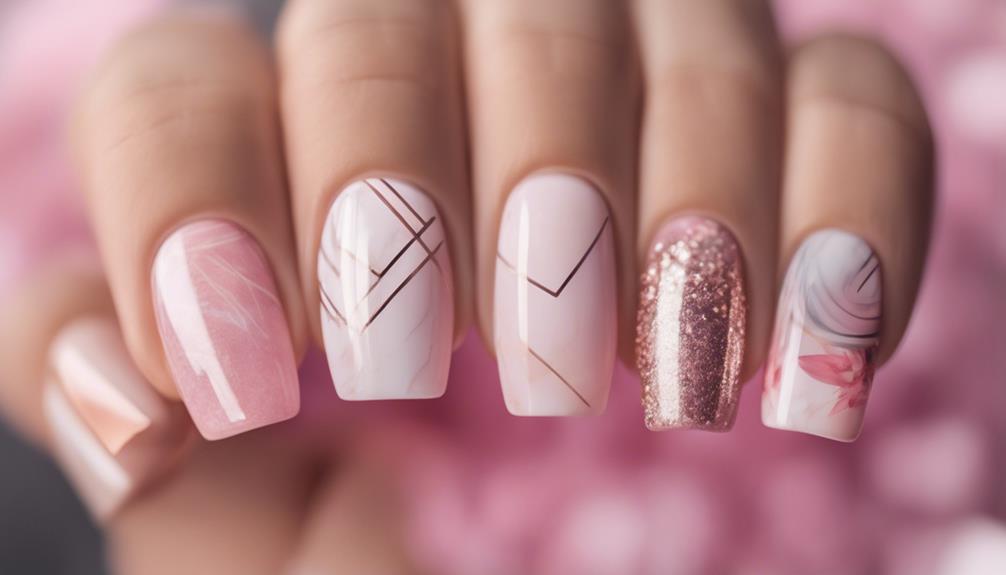
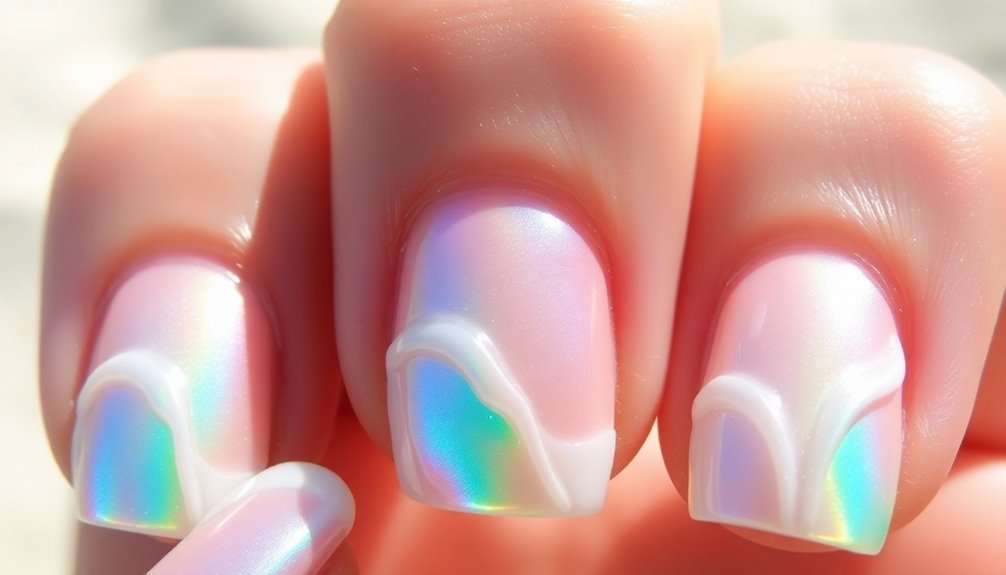
Incorporating vibrant colors, intricate nail art designs, and high-quality images into your poster's design is essential for adding visual interest and engaging potential customers. You want to create a poster that stops people in their tracks, and the right visuals can make all the difference.
To create the best nail art poster, use contrasting colors, bold typography, and eye-catching graphics to make it pop. Experiment with different textures, patterns, and finishes to create a visually dynamic design that draws in viewers.
Add some extra flair with glitter, metallic accents, or 3D embellishments to give your poster depth and dimension. Don't be afraid to think outside the box and try unique layouts, geometric shapes, and negative space to make your poster truly memorable.
Organizing Your Design

Break down your poster design into clear sections by categorizing your nail art services, such as manicures, pedicures, and nail art styles, to create a cohesive and easy-to-follow layout. This will help you organize your design and make it easy for potential customers to quickly find the information they need.
To take your design to the next level, consider the following tips:
- Use a grid layout to arrange information and images neatly for a structured and visually appealing poster.
- Prioritize key information like pricing, specials, and contact details in a clear and easy-to-read manner.
- Group similar elements together to create a cohesive and organized design that guides the viewer's eye.
- Utilize color coding or section headers to differentiate between different types of nail services for clarity and organization.
- Make sure your contact details are prominently displayed, so customers can easily get in touch with you.
Finalizing Your Poster

Now that you've organized your design, it's time to refine the visual elements and make sure your poster is polished and error-free. Review your layout for proper alignment, spacing, and balance to enhance the overall aesthetics of your nail art creations.
Double-check spelling and grammar to maintain a professional-looking poster. Incorporate any additional text or details needed to convey important information effectively.
If you're planning to use your poster as a Business Card, make sure to include your social media handles or website URL to drive traffic to your online platforms.
Pay attention to the art designs and guarantee they're visually appealing and cohesive. Save and export your completed poster in the desired format for printing or digital sharing. Your final poster should be a stunning representation of your nail art skills, perfect for showcasing your talents on social media or in-person.
Take your time, and don't hesitate to make adjustments until you're thrilled with the final result. With a little patience, your poster will be ready to impress!
Frequently Asked Questions
How to Make an Eye Catchy Poster?
When creating an eye-catching poster, you'll want to start with a bold, attention-grabbing design. Use vibrant colors, bold typography, and high-quality images to make your poster pop.
Keep your message concise and clear, focusing on the most important information you want to convey. Don't be afraid to get creative and think outside the box – after all, you want your poster to stand out from the crowd!
How to Create a Nail Poster?
'Get ready to nail it! You're about to create a stunning poster that showcases your salon's nail art mastery. Start by brainstorming a theme that resonates with your target audience. Will it be bold and edgy or soft and feminine?
Choose a concept that reflects your brand's personality and appeals to your clientele. Then, gather high-quality images that make their eyes pop!'
Conclusion
Now you've got a nail art poster that's sure to turn heads!
You've carefully set up your canvas, balanced design elements, added visual interest, and organized your masterpiece.
The final result is a stunning visual treat that showcases your creativity.
Pat yourself on the back, because you've just created an eye-catching nail art poster that's sure to inspire enviable nails everywhere.