Transform your nails into miniature works of art with these three easy and stylish ideas! Try geometric patterns made easy with nail tape and a matte top coat for a modern finish. Create simple floral nail designs with pastel shades and delicate petal details. Or, follow a beginner's guide to nail art, practicing with dotting tools and nail tape to master simple designs like dots and stripes. With these ideas, you'll be on your way to creating stunning nail art. And, as you explore further, you'll discover even more inspiration to take your nail art skills to the next level!
Key Takeaways
• Ensure clean, trimmed, and shaped nails before starting your nail art design for best results.
• Use nail tape to create bold, modern geometric patterns with precise shapes like triangles and squares.
• Experiment with simple designs like dots and stripes, and practice using nail art tools like dotting tools and nail tape.
• Apply a base coat for protection and better polish adherence, and finish with a matte top coat for a sophisticated look.
• Try a simple floral design with a light base color, experimenting with shades of pink, red, or purple for delicate petals.
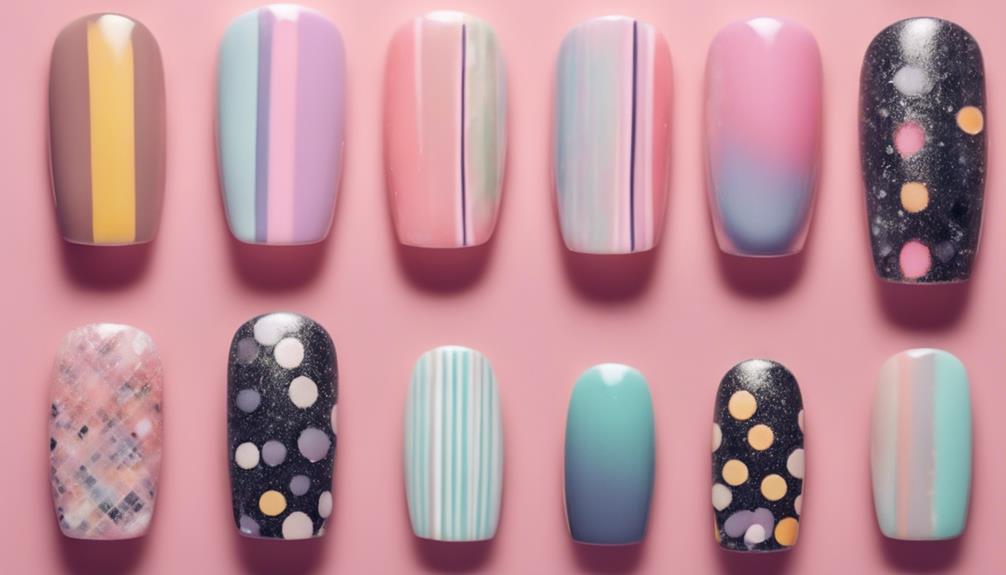
Geometric Patterns Made Easy
Create bold, modern nail art with geometric patterns that are surprisingly easy to achieve.
With a few simple steps, you can create stunning nail designs that'll make a statement. To start, use nail tape to create precise geometric shapes like triangles, squares, and stripes. This will give you a crisp, clean look that's perfect for a modern take on nail art.
Next, experiment with different colors to make your geometric patterns pop. You can choose bold and bright hues or go for a more subtle look with pastels. The key is to have fun and play around with different combinations until you find one that you love.
To finish off your look, opt for a matte top coat for a modern and sophisticated finish. This will help to bring your design together and give it a polished look. And don't be afraid to try negative space designs by leaving parts of your nails bare with geometric accents.
You can also combine geometric patterns with other nail art techniques like ombre or glitter for a unique look. With these easy tips, you'll be on your way to creating stunning geometric nail art in no time!
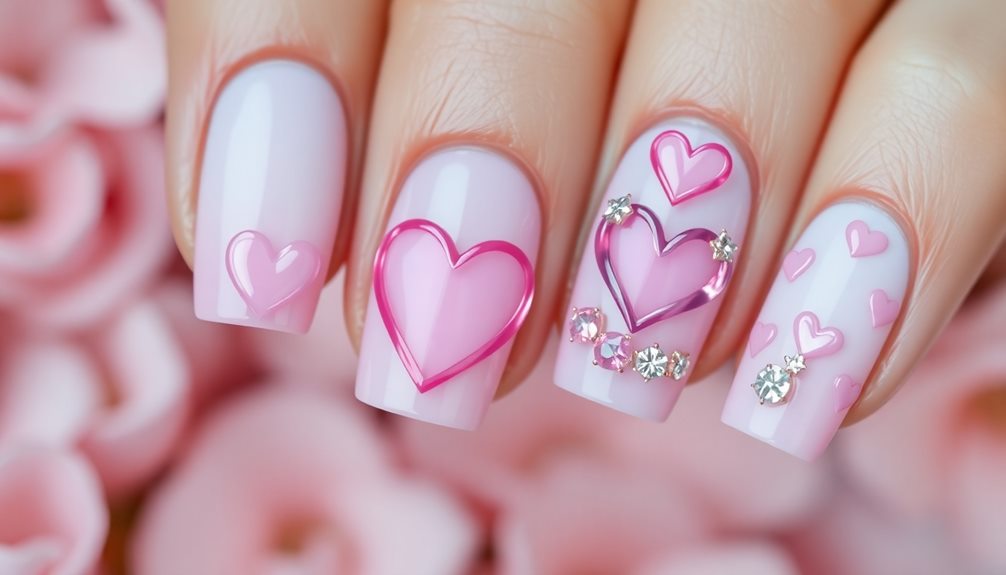
Simple Floral Nail Designs
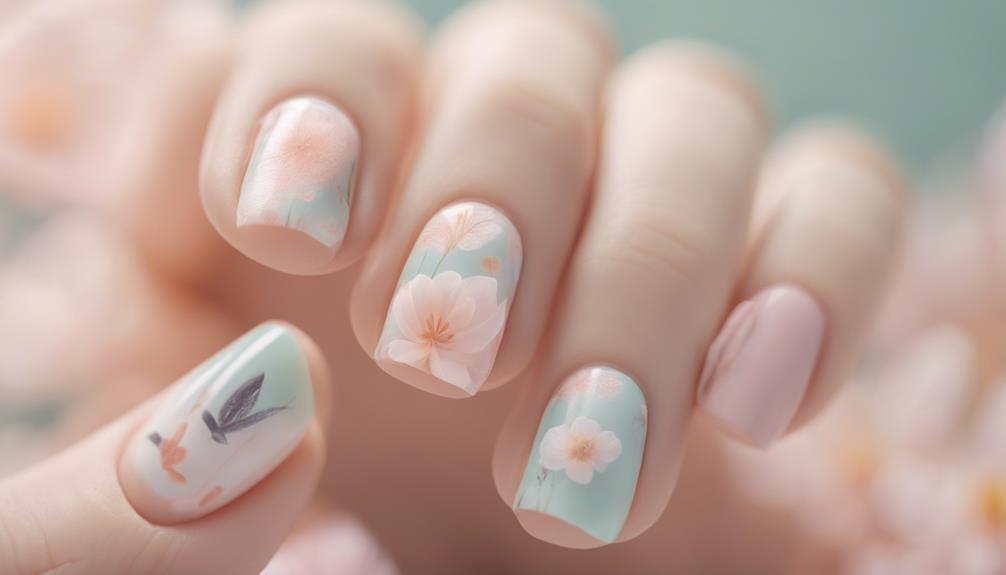
Floral patterns add a touch of elegance to your nail art, and with a few simple steps, you can achieve a beautiful, delicate look. To start, choose a light base color like pastel pink or white for a fresh floral look. This will provide a clean canvas for your design.
At your local nail studio, you can experiment with different shades of pink, red, or purple to create delicate flower petals using a thin nail art brush. Don't be afraid to try out unique flower shapes and sizes to make your design truly personalized. Add some green leaf details with a small brush to complete the look.
If you want to add a pop of contrast, try incorporating shades of blue into your design. For some valuable tips and tricks, remember to finish with a clear top coat for a glossy and long-lasting manicure. With these simple steps, you'll be on your way to creating stunning floral nail art that's sure to turn heads.
Nail Art for Beginners Guide
As you've mastered the art of simple floral nail designs, it's time to take your skills to the next level with a beginner's guide to nail art that covers the basics and beyond. To get started, make sure your nails are clean, trimmed, and shaped for the best results.
Apply a base coat to protect your nails and help the nail polish adhere better. Now, it's time to get creative! Experiment with simple designs like dots, stripes, or geometric shapes using your left hand – yes, it's okay to start with your non-dominant hand!
Practice using nail art tools like dotting tools, nail brushes, and nail tape for precise designs. Remember, the key to mastering nail art is practice, so don't be discouraged if it takes a few tries to get it right.
Frequently Asked Questions
How to Do Simple Nail Art at Home?
You want to learn how to do simple nail art at home?
Start by prepping your nails with a base coat to protect them.
Then, use nail tape or stickers to create clean lines and shapes.
Experiment with different colors and textures to create unique designs.
Practice using dotting tools or toothpicks to create intricate patterns.
Finish with a top coat to seal in the design and add shine.
With these easy steps, you'll be a pro at simple nail art in no time!
What Are the 5 Basic Nail Art Designs?
Did you know that 80% of women consider nail art a form of self-expression?
When it comes to getting creative with your nails, you're probably wondering what the basics are.
You'll be glad to know that there are five fundamental nail art designs to get you started. These include stripes, dots, ombre, geometric patterns, and floral designs.
Each of these styles offers a unique look that's easy to achieve and customize to your personal taste.
Which Nail Art Technique Is One of the Easiest Techniques?
You're curious about which nail art technique is one of the easiest to master, right? Well, you're in luck! One of the easiest nail art techniques to master is the perfect leopard print nails. By using a few simple tools and a steady hand, you can create a stunning leopard print design that will surely impress. With a little practice, you’ll be able to achieve this popular nail art look in no time.
The water marble technique is a great starting point for beginners. It's incredibly easy to learn and requires minimal effort.
By swirling nail polish in water and transferring the pattern onto your nails, you can create unique, intricate designs with ease.
Give it a try, and you'll be amazed at how stunning your nail art can be!
How to Alternate Three Colors on Nails?
You're on the verge of discovering a secret: 60% of women consider their nail game a reflection of their personality!
Now, let's proceed to revealing three colors on your nails. Start by applying a base coat, then choose three complementary colors and paint each nail in a consistent order. Use nail polish striping tape or brushes for clean lines.
Allow each color to dry before applying the next, and finish with a top coat to seal in the colors and add shine.
Voilà! Your three-color masterpiece is ready!
Conclusion
You've mastered three easy nail art step-by-step ideas, and now you're ready to explore your creativity! From geometric patterns to simple florals, you've got the skills to create stunning nail art.
Don't be afraid to experiment, mix and match designs, and make them your own. With practice, you'll be a pro in no time, and your friends will be green with envy over your trendy talons.
So go ahead, get creative, and show off your unique style to the world!