
You're just a few steps away from achieving salon-quality nail art from the comfort of your own home, with a little creativity and practice, you can master a wide range of styles, from bold and simple bases to elegant negative space designs. Try playful polka dots, shimmering color accents, or graphic neon designs to add some flair to your look. If metallic finishes are more your style, create sophisticated and eye-catching looks with chrome or gold. With these 10 DIY nail design ideas, the possibilities are endless, and the best part is, you can experiment and find your unique style – so, what are you waiting for?
Key Takeaways
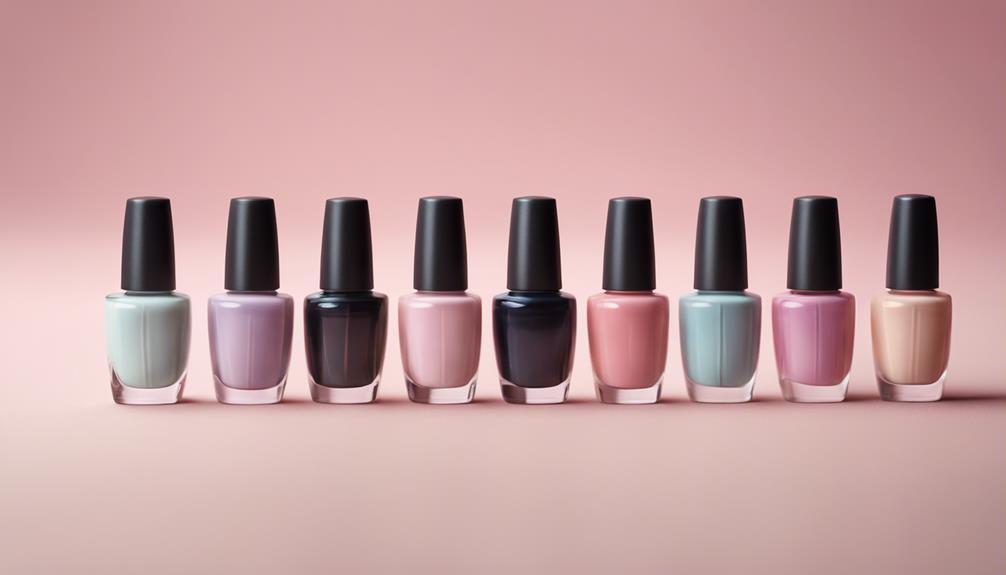
• Start with a bold and simple base color to create a stunning look with minimal effort and easily experiment with different colors and designs.
• Use polka dots, a classic and timeless pattern, which are easy to create and always stylish, perfect for beginners and experts alike.
• Create a striking visual contrast with negative space nail art, which allows for intricate and sophisticated designs with different shapes and colors.
• Add glamour to your nail designs with shimmering color accents, achievable with simple DIY tricks and paired with gold jewelry for a statement look.
• Experiment with graphic neon designs, which make a bold statement when paired with geometric shapes and metallic shades, finished with a glossy top coat.
Bold and Simple Bases
By starting with bold and simple bases, you can lay a strong foundation for your nail art, allowing your creativity to shine through.
A bold base color can elevate your entire design, making it easy to create a stunning look with minimal effort. Plus, a simple base is the perfect canvas for your DIY nail art skills.
For a chic and easy design, try pairing a neutral or nude nail color with intricate stickers to add visual interest. This combination creates a unique and eye-catching look that's sure to turn heads.
With a simple base, you can experiment with different colors and designs, making it easy to switch up your style whenever you want. Whether you're going for a subtle, everyday look or a bold, statement-making design, a simple base is the perfect place to start.
Playful Polka Dots

You can add a playful touch to your nail design with polka dots, a classic and timeless pattern that's easy to create and always in style. Polka dot nails are perfect for beginners and experts alike, making them a versatile design option.
To get started, apply a Flawless Foundation Gel Base Coat to guarantee your dots adhere well. Then, use a dotting tool to create tiny dots in multiple colors, adding variation and overlap for a more dynamic look.
Here are some tips to help you achieve a playful polka dot design:
- Use multiple colors for tiny dots to create a fun and playful nail design.
- Utilize a dotting tool to create a dotted smile line with precision.
- Add variation and overlap in the dots for a more dynamic and interesting look.
- Apply a Flawless Foundation Gel Base Coat to guarantee the dots adhere well.
Elegant Negative Space

After mastering playful polka dots, take your nail design skills to the next level with elegant negative space, a modern and sophisticated look that creates a striking visual contrast by leaving areas of the nail bare.
You'll be amazed at how this technique can elevate your nail game! With negative space, you can create intricate nail art that's both modern and sophisticated. The beauty of this style lies in its simplicity, allowing you to explore different shapes and colors to create unique designs.
You can opt for simple line work or delve into more complex geometric patterns – the possibilities are endless! The best part? You can achieve this look at home with a little practice and attention to detail. Don't be afraid to get creative and try out new designs.
Shimmering Color Accents

Add a dash of glamour to your nail design with shimmering color accents that elevate your overall look. You can easily achieve this glamorous effect at home with a few simple DIY tricks.
To get started, try adding a touch of shimmer to your nails with a swipe of gold at the tips using a chunky metallic shade for impact. You can also pair your shimmering tips with gold jewelry for a statement look that complements your nails.
Here are some more ideas to get you started:
- Enhance bare nails with a touch of shimmer for a subtle yet glamorous effect.
- Experiment with different metallic shades to find the one that best suits your style and skin tone.
- Seal in your shimmering nail design with a glossy top coat to lock in the shine and protect the color accents.
- Add a swipe of shimmer to your nail tips for a quick and easy DIY nail design that's perfect for a night out.
Graphic Neon Designs

Now it's time to get bold and bright with graphic neon designs! You'll have a blast exploring the world of neon colors and graphic patterns, and we're about to break it down for you.
From choosing the perfect neon shade to creating eye-catching graphic patterns, you're just a few steps away from mastering this trendy nail art style.
Neon Color Options
With a palette of vibrant hues like bright pinks, greens, oranges, and yellows, you can create graphic neon nail designs that make a bold statement. Neon colors are perfect for those who want to add a pop of color to their look and make a long-lasting impression. By applying a top coat, you can secure these vibrant hues and guarantee a long-lasting, glossy finish.
Here are some tips to get you started:
- Experiment with different neon color combinations to create unique and eye-catching graphic designs.
- Don't be afraid to mix and match bold colors to create a look that's all your own.
- Use neon colors to add a pop of color to a classic design, like stripes or dots.
- Try pairing neon colors with neutral shades to create a chic, modern look.
Graphic Pattern Ideas
You can create bold, eye-catching graphic pattern ideas by combining neon colors with geometric shapes, like chevrons or triangles, to add a modern twist to your nail design.
To guarantee it lasts, finish with a Top Coat to seal in the colors and add a glossy finish.
To take it to the next level, try pairing neon colors with metallic shades for a futuristic look.
For a French twist, incorporate abstract design elements, like subtle florals or abstract shapes, to add visual interest.
Using a striping brush, you can create easy nail art designs that are perfect for a DIY nail enthusiast like you. Some easy nail art ideas using a striping brush include creating simple geometric shapes, like triangles or stripes, or adding delicate floral designs. By using different colored nail polishes and experimenting with different patterns, you can easily achieve a professional-looking manicure at home. With a bit of practice and patience, you can master the art of creating intricate and beautiful nail designs using a striping brush.
Try using neon colors to create bold stripes or geometric patterns.
If you're feeling adventurous, add some nail stickers to create a more elaborate design.
With graphic neon designs, the possibilities are endless, and the best part is that it's easy to achieve a professional-looking manicure at home.
Whimsical Nail Art Ideas

Now it's time to get playful with your nail art!
You're about to explore the whimsical world of fantastical designs, where flowers bloom in pastel hues, cartoon friends make an appearance, and quirky patterns steal the show.
From delicate florals to goofy characters, you'll discover how to bring a touch of magic to your nail art with these enchanting ideas.
Whimsical Floral Patterns
To create a whimsical floral pattern, start by selecting soft, pastel hues like pink, lavender, and mint green that evoke a feminine touch. These delicate colors set the tone for a romantic and playful design.
To bring your design to life, try these tips:
- Experiment with different flower designs, like roses, daisies, or cherry blossoms, to add variety to your nail art.
- Use nail art brushes or dotting tools to easily create intricate floral details like petals, stems, and leaves.
- Incorporate glitter or rhinestones as accents to make your floral nail art designs sparkle and stand out.
- Finish off your whimsical floral nail art with a glossy top coat to seal in the design and add shine to your manicure.
Dreamy Pastel Colors
Pastel colors work their magic on your nails, conjuring up a whimsical and dreamy look that's perfect for the warmer months. As you step into spring and summer, soft hues like lavender, mint, and baby blue become irresistible choices for your nail art designs. These delicate shades evoke a sense of playfulness and romance, making them ideal for the season of blooming flowers and sunny days.
To create a charming pastel nail art look, you can combine these soft hues with floral or abstract designs. The result is a whimsical and dreamy finish that's sure to turn heads. The best part? You can easily achieve this look at home with a few simple tools and techniques.
With pastel colors, the possibilities are endless, and you can experiment with different shades and designs to create a look that's uniquely yours. So, go ahead and get creative with pastel colors – your nails will thank you!
Quirky Cartoon Characters
You can bring a dash of playfulness to your nail art by recreating your favorite quirky cartoon characters on your nails. With a little creativity and practice, you can create whimsical nail art ideas that showcase your personality.
To get started, begin with a light-colored base and use nail art pens to create detailed designs. Practice drawing your chosen character on paper before attempting it on your nails for better accuracy.
Here are some tips to help you achieve a flawless design:
- Start with a light-colored base to make your design pop
- Use nail art pens to create detailed and intricate designs
- Add small details like eyes, facial expressions, or accessories to bring your cartoon character to life
- Seal your design with a top coat to protect the artwork and make sure it lasts longer without chipping
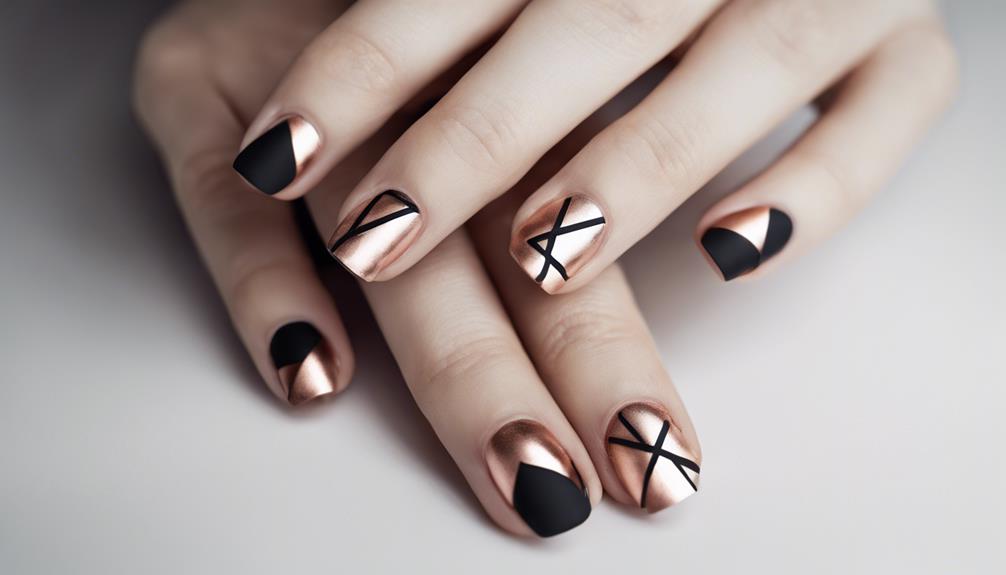
Metallic Nail Designs

One metallic nail design trend that's hard to ignore is the resurgence of chrome and gold finishes, which add a sophisticated sheen to your nails. These metallic shades are perfect for creating a glamorous, eye-catching look that's sure to turn heads.
You can opt for a subtle, shiny accent on a single nail or go all out with a bold, reflective chrome or gold manicure. The beauty of metallic nail designs lies in their versatility – you can incorporate them into intricate patterns, geometric shapes, or even quirky accents that add a touch of whimsy to your nails.
Whether you're going for a trendy, modern vibe or a more understated, elegant look, metallic nail polish is a great way to express your creativity and style. So don't be afraid to experiment and try out different metallic shades and designs to find the one that's uniquely you!
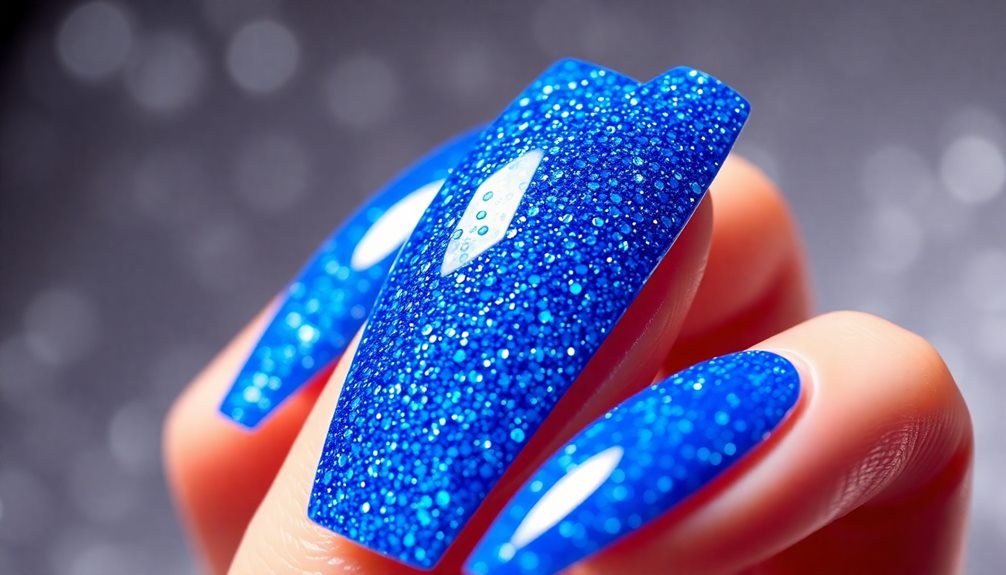
Glittering Nail Accents

As you move beyond metallic shades, add some serious sparkle to your nail game with glittering accents that instantly elevate any manicure. With glitter polish, you can create a stunning accent nail that catches the light, or try glitter tips for a dazzling look.
If you want a custom shade that suits your style, mix loose glitter with clear polish for a one-of-a-kind sparkle.
Here are some tips to get you started:
- Use glitter polish as an accent nail or create glitter tips for a dazzling look
- Mix loose glitter with clear polish for a custom shade that suits your style
- Seal your glitter design with a thick top coat to guarantee a smooth and long-lasting finish
- Remove glitter easily by using foil and acetone for a hassle-free cleanup process
With these tips, you'll be on your way to a sparkling manicure that turns heads. And don't worry about the cleanup – with foil and acetone, removing glitter is a breeze.
Easy Stripe Designs
Striping tape is your best friend when it comes to creating crisp, professional-looking stripes that elevate your at-home manicure game. With this magic tool, you can achieve flawless, salon-quality stripes that'll make your friends green with envy.
Want to add a pop of creativity to your manicure? Try experimenting with different color combinations to create a unique and eye-catching striped look. You can even add a touch of sophistication with French tips or bold, bright hues.
Once you've achieved your desired design, seal it with a top coat for a polished and long-lasting finish. Don't worry if things get a little messy – a small brush dipped in nail polish remover is all you need for a quick clean up.
The best part? Striped nail art is a versatile and fun way to add some personality to your manicure. So go ahead, get creative, and show off your stripes! With a little practice, you'll be a pro in no time, and your at-home manicure game will be stronger than ever.
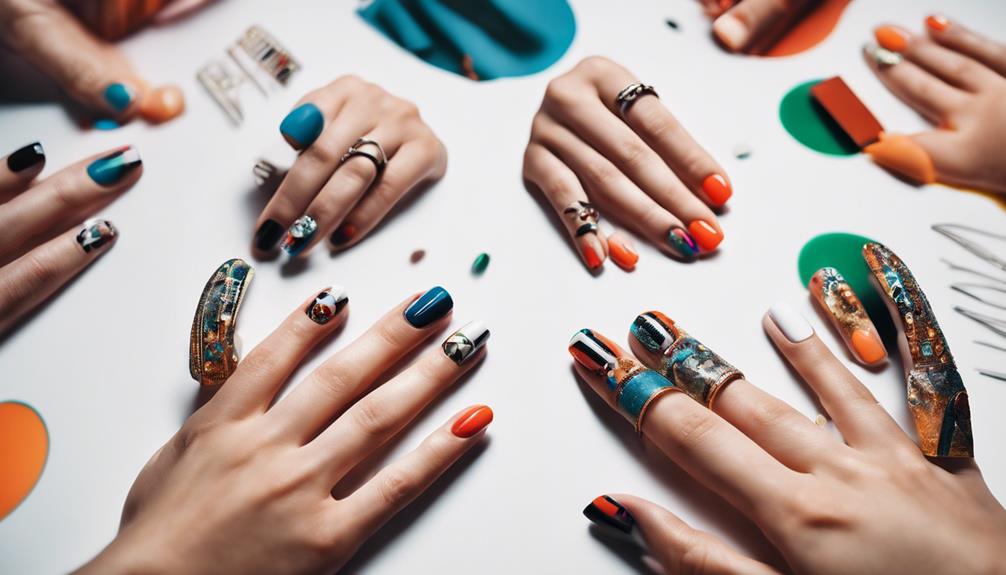
Chic Nail Art Trends
You can add a touch of sophistication to your nail art with chic designs that are both modern and trendy. With a few simple and easy techniques, you can create stunning nail art that's sure to turn heads.
Try incorporating metallic designs like chrome specks or itty bitty metallic tips for a chic and modern look. Or, add a pop of color with neon accents or single squiggles for a vibrant and trendy nail art style.
Here are some chic nail art trends to try at home:
- Experiment with artistic designs like Matisse lines or blue teardrops for a creative touch
- Opt for minimalistic designs with just a couple dots or simple line work for a sleek and understated look
- Try unique nail tips like classic chevrons or half and half designs to elevate your nail art game
- Explore simple and easy nail designs like a classic French Manicure with two contrasting colors for a timeless look
With a little creativity and the right nail polishes, you can create stunning nail art that's both chic and trendy.
Frequently Asked Questions
How to Make Simple Nail Art at Home?
Want to create simple nail art at home?
Start by prepping your nail with a base coat, then grab a striping brush or nail stripe stickers for precise lines and shapes.
Don't be afraid to experiment with colors and patterns – you can even try watercolor or abstract designs!
Seal your masterpiece with a glossy or matte top coat, and voila! You'll be rocking a salon-quality look from the comfort of your own home.
What Can I Use to Make Designs on My Nails?
You're wondering what you can use to make designs on your nails! Well, you've got a lot of options!
Nail art pens, striping tape, and dotting tools are all great for creating intricate designs. You can even use everyday items like toothpicks, bobby pins, and fine-tipped brushes to get creative.
Don't forget about nail stickers – you can even make your own using nail polish drops on wax paper!
What Are the 5 Basic Nail Designs?
You're getting started on your nail art journey!
When it comes to basic nail designs, you've got five fabulous options.
You can go for a timeless French Manicure, a chic Ombre look, or add some playfulness with Polka Dot Nails.
Striped Nails are also a great choice, and for a feminine touch, you can't go wrong with Floral Nails.
These classic designs are easy to recreate and will get you hooked on nail art in no time!
How Do You Style Your Own Nails?
You're wondering how to style your own nails? Let's get real, it's all about experimentation and having fun!
You don't need to be a pro to create stunning nail art. Start by choosing a design that resonates with your personality, whether it's bold stripes, elegant neutrals, or abstract masterpieces.
Don't be afraid to try new techniques, like striping tape or DIY nail stickers. With a little practice, you'll be a nail styling pro in no time!
Conclusion
You've reached the final stroke of genius, and your DIY nail design journey has been nothing short of mesmerizing! With these 10 show-stopping ideas, you've discovered the secrets to salon-quality nails from the comfort of your own home.
Your creativity has been ignited, and your nails are now a canvas of self-expression. Get ready to turn heads and make a statement with your newfound nail art skills – the world is your runway, and your nails are the stars of the show!