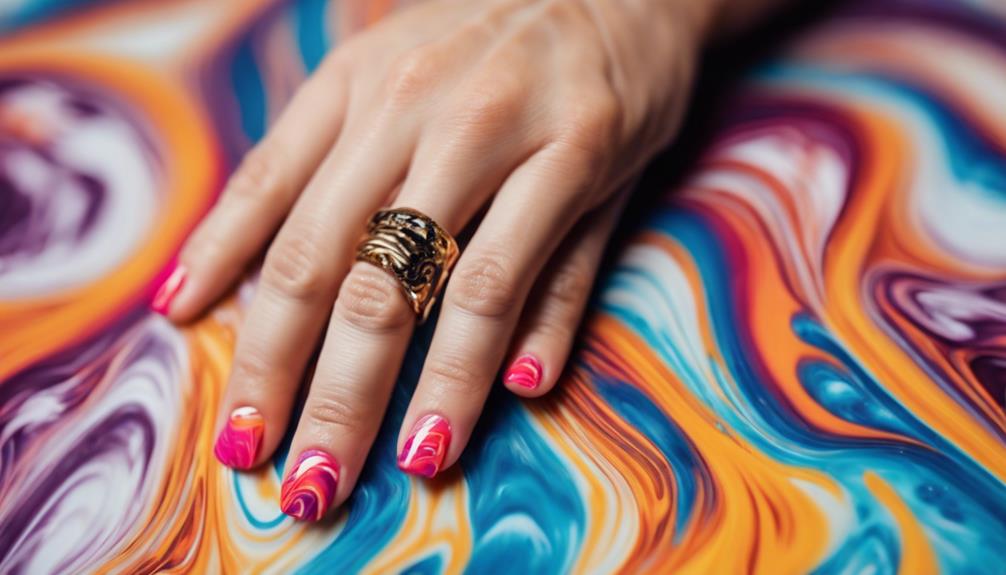
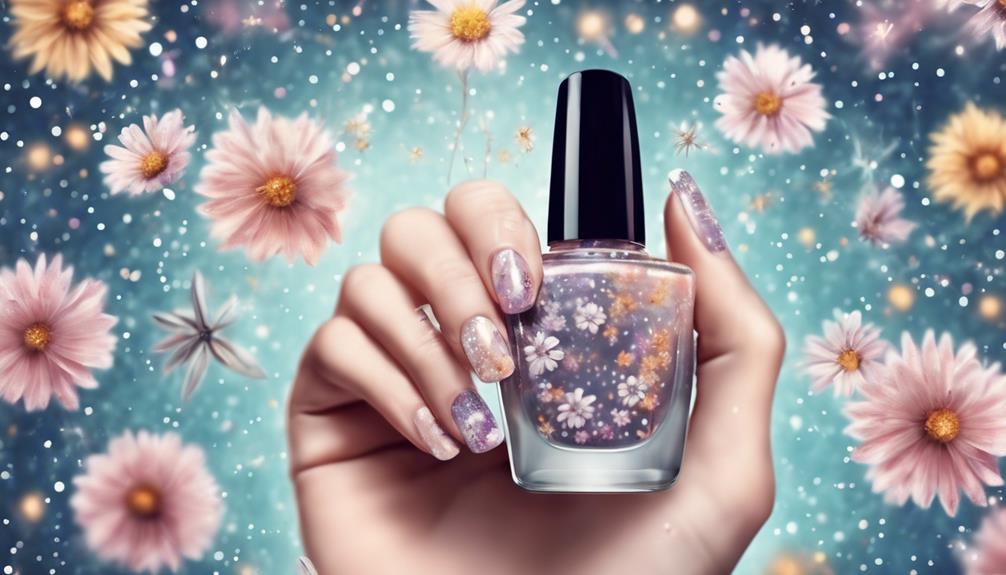
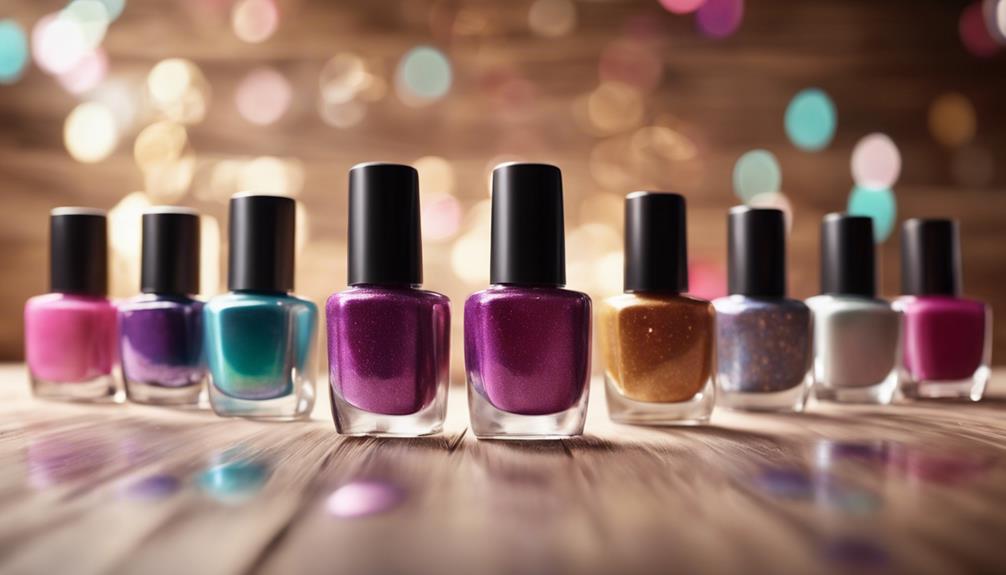
You're prepared to ignite your creativity and create stunning nail art designs that'll turn heads! With these 10 simple steps, you'll be on your way to salon-quality results. Prep your nails with a good clean-up, shape, and buff. Next, apply a smooth base coat and choose your nail art technique – from gel polish marbling to ombre and stamping designs. Add whimsy with hand-painted details and seal with a top coat finish. Finally, showcase your masterpiece and get ready for the oohs and aahs! Now, get ready to take your nail art skills to the next level…
Key Takeaways
• Prepare your nails by removing old polish, shaping, and buffing for a clean surface before applying base coat.
• Experiment with various nail art techniques, such as marbling, ombre, and stamping, to create unique designs.
• Use a suitable base coat to enhance polish adhesion and apply a thin, even layer for a flawless finish.
• Combine different techniques, like hand-painted details and foil application, to add complexity and visual interest to your design.
• Seal your masterpiece with a top coat, choosing a glossy or matte finish to protect and showcase your artwork.
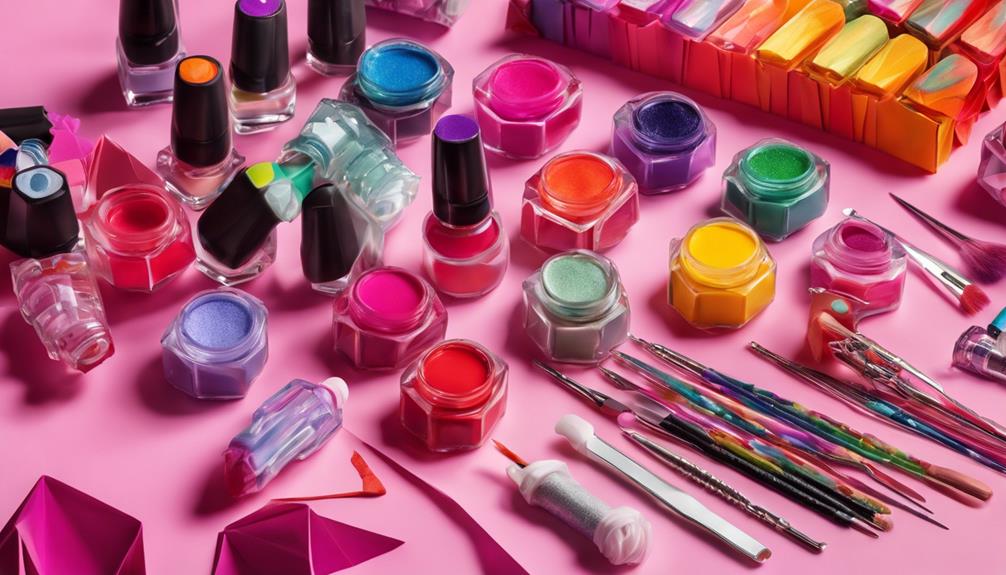
Prep Your Nails for Design
Before you begin your DIY nail design, start by giving your nails a fresh start by removing old polish with an acetone-free remover to ensure a clean canvas. This step is important in ensuring that your nail design turns out flawless.
Next, grab a nail file and shape your nails to perfection. Smooth out any ridges or imperfections to create the ideal base for your design. Don't forget to gently push back those cuticles with a cuticle pusher or orange stick – this will make your nails appear longer and neater.
Finally, lightly buff the surface of your nails to remove any remaining ridges. With a smooth surface, you're ready to move on to the next step. Remember, a smooth canvas is essential for a stunning nail design.
Apply Base Coat for Smoothness
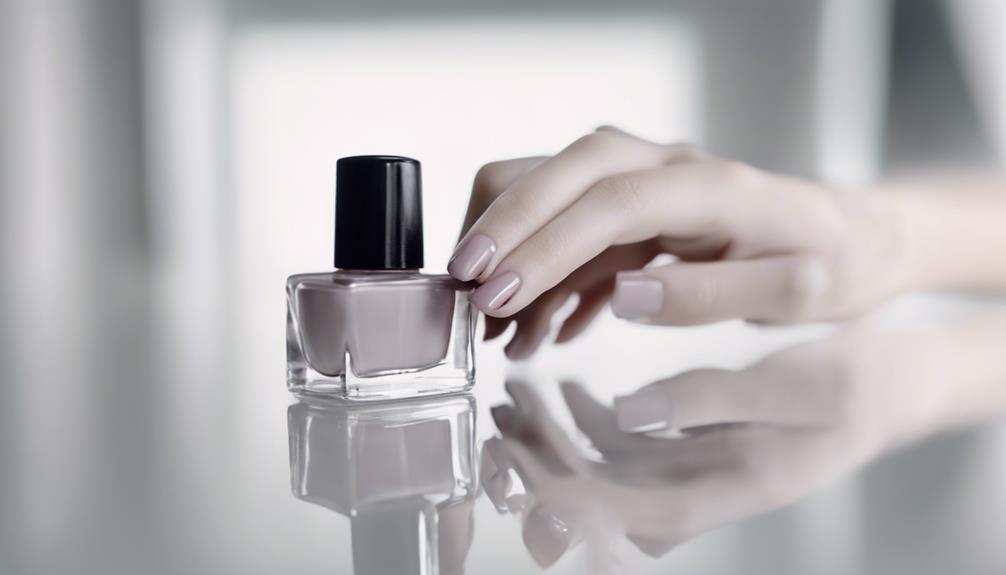
You'll set the stage for a stunning nail design by applying a thin, even layer of base coat to each nail, ensuring a smooth surface for your artwork to adhere to. This pivotal step is often overlooked, but trust us, it's a game-changer!
A good base coat acts as a protective barrier, preventing staining and yellowing of your natural nails. Plus, it helps your nail polish adhere better, resulting in a longer-lasting manicure.
Choose a base coat that suits your nail type – whether it's strengthening, hydrating, or ridge-filling. Apply a thin layer to each nail, making sure to cover the entire surface. Allow it to dry completely before moving on to the next steps. This will ensure a flawless, long-lasting finish.
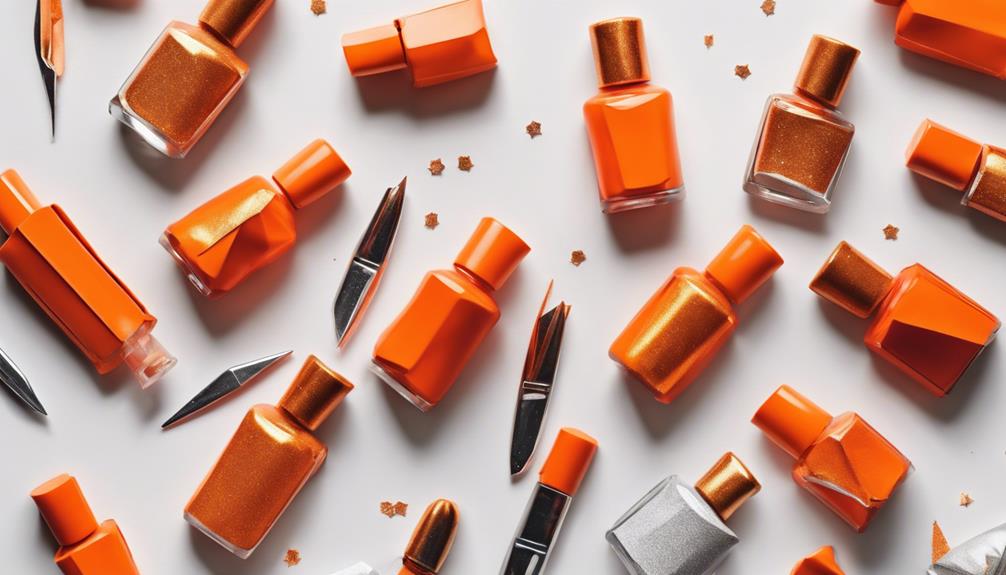
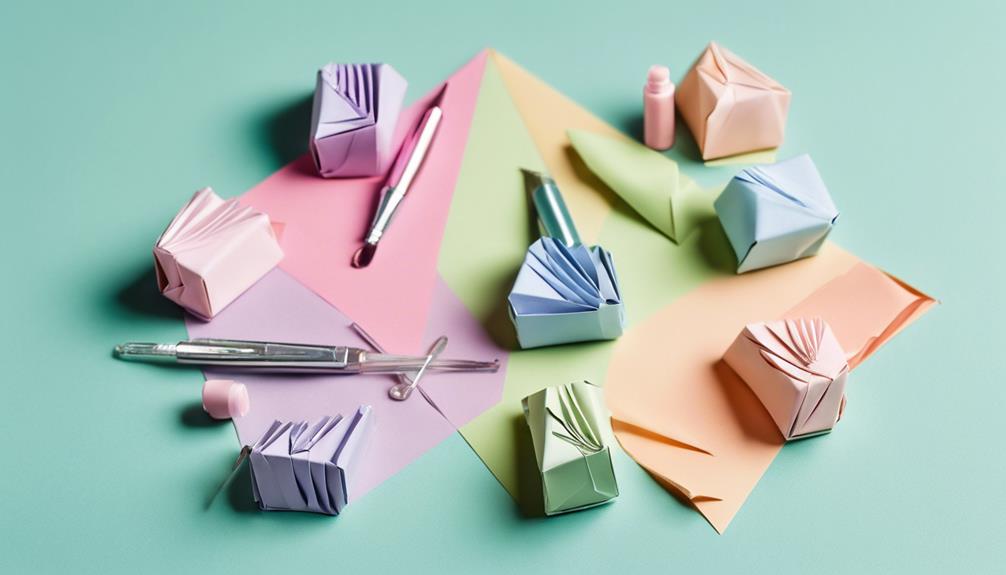
Choose Your Nail Art Technique
Now that your nails are prepped with a smooth base coat, it's time to decide on a nail art technique that suits your style and creativity. You have a world of options to explore!
Consider using nail tape to create intricate patterns and designs that are sure to impress. If you're feeling bold, try your hand at holographic nail art for a glamorous and eye-catching look.
Or, experiment with different techniques like ombre or dotting to create unique nail art creations. A dotting tool is a great investment for creating precise, delicate designs. You can use it to add subtle details or create bold, geometric patterns.
If you're new to nail art, start with a simple gel polish design and build your way up to more complex techniques. Remember, practice makes perfect, so don't be discouraged if it takes a few tries to get the hang of it. With patience and practice, you'll be a nail art pro in no time!
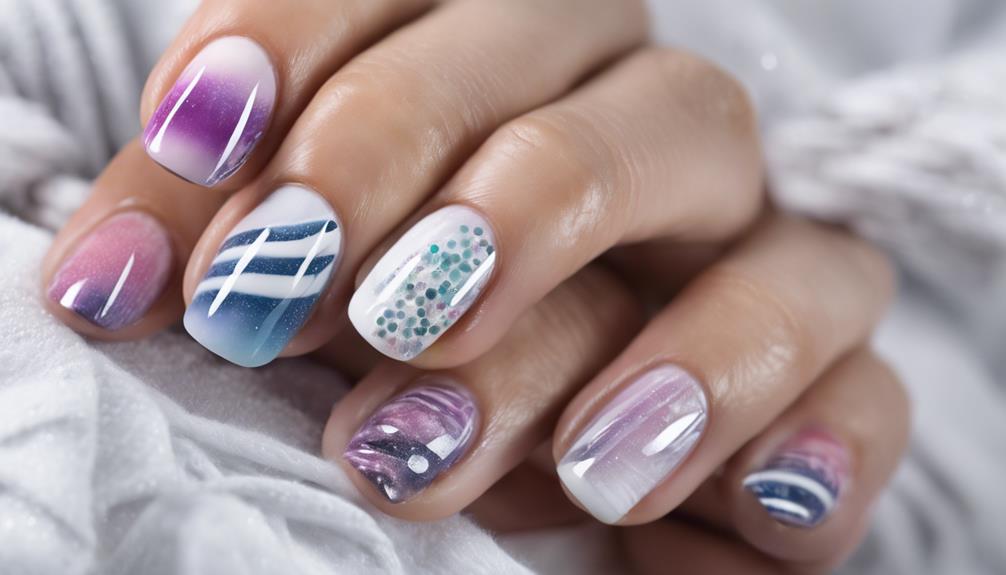
Master Gel Polish Marbling Effect
To achieve a mesmerizing gel polish marbling effect, start by selecting two or more colors that complement each other. Apply a thin layer of each polish to a nail wheel or a piece of paper to visualize how the colors will blend together.
Next, use a toothpick or a dotting tool to swirl the colors together, creating a marbled pattern. Avoid overmixing to prevent a muddy look. Once satisfied with the design, use a clean-up brush to remove any excess polish from around the cuticles.
Now, it's time to transfer the design to your nail. Clean your nail with nail polish remover, apply a base coat, and let it dry. Use a nail glue to attach the marbled design to your nail, and finish with a top coat to seal it in place.
With gel polishes, you can achieve a stunning marble effect that adds dimension and depth to your nail design. Layering different colors allows you to create a unique and eye-catching look that's sure to turn heads.
Achieve Ombre With Ink Blending

Blending different colored nail inks seamlessly creates a stunning ombre effect on your nails, and with practice, you can master this technique to achieve a professional finish. Ink blending is all about layering colors to create a gradient effect that's both visually appealing and unique.
To get started, apply a light base color and then layer darker colors over it, merging them together with a brush or sponge. The key to a flawless ombre effect is to merge, merge, merge! By doing so, you'll achieve a smooth shift between colors, creating an ombre effect that's truly stunning.
Don't be afraid to experiment with different color combinations and blending techniques to achieve unique and stunning ombre nail designs. With ink blending, the possibilities are endless, and the best part is that it's easy to master with a little practice.
Add Flair With Foil Application
You can elevate your nail art game by incorporating foil application, a technique that adds a luxurious, metallic sheen to your designs. This glamorous technique is perfect for creating sophisticated and eye-catching nail art.
To get started, you'll need foil gel, which is specifically designed for applying foil onto your nails. Experiment with different foil patterns and colors to achieve unique and stunning nail designs. Gold foil, in particular, adds a touch of luxury to any design.
When paired with complementary colors, foil application can create a cohesive and eye-catching look. Don't be afraid to mix and match different foil patterns and colors to create a one-of-a-kind design. With foil application, the possibilities are endless, and the result is always a show-stopping, head-turning nail art design.
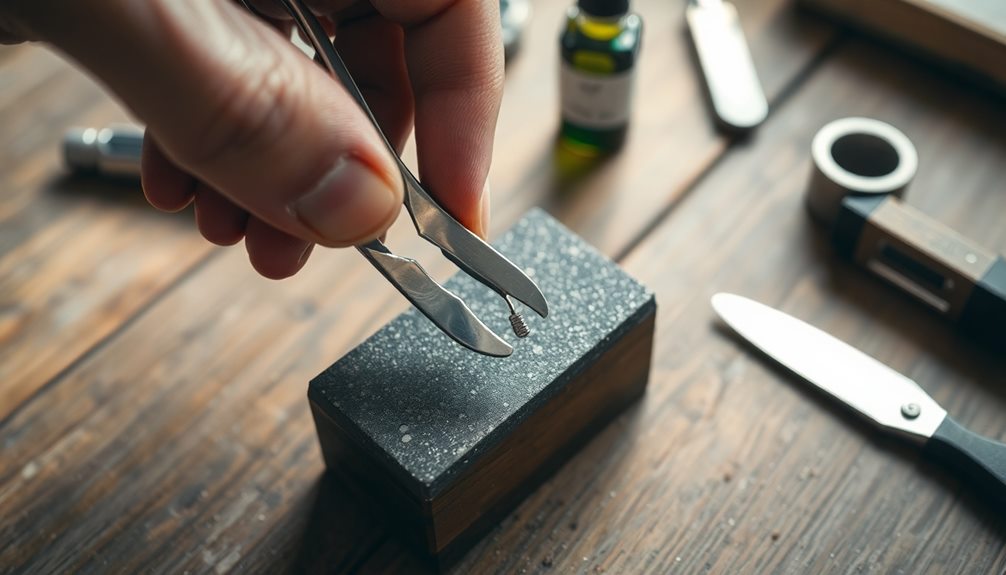
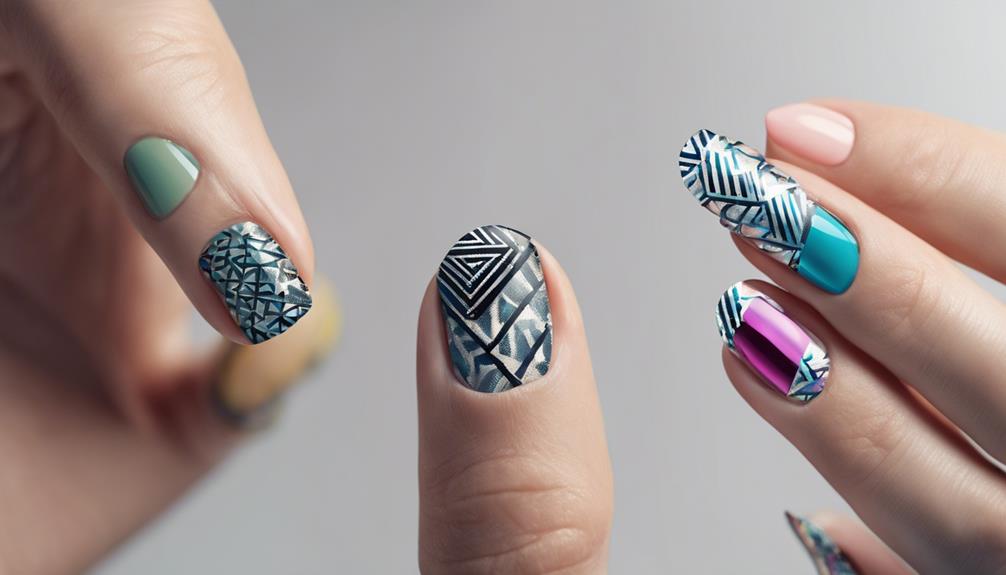
Create Depth With Stamping Designs
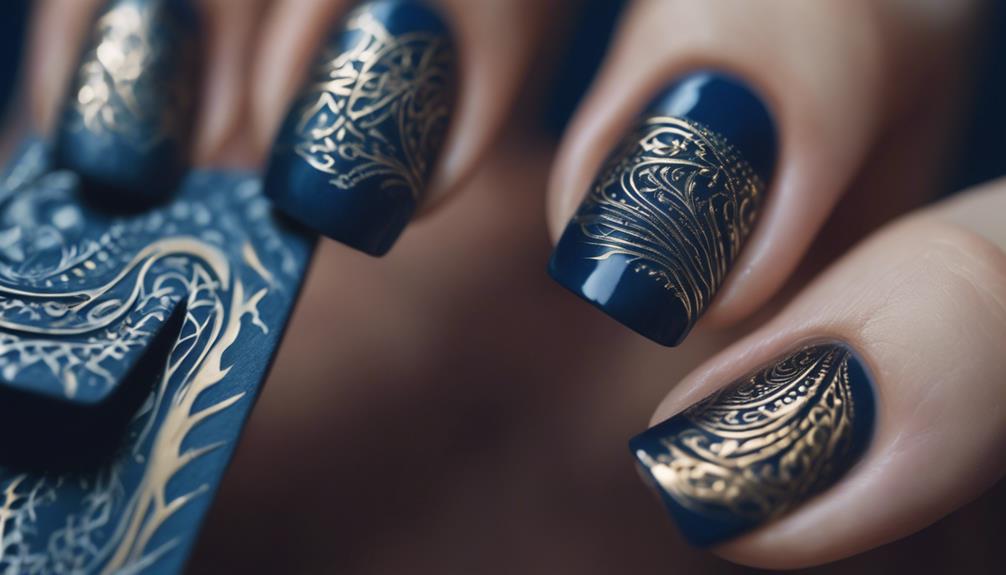
Stamping designs bring an extra layer of sophistication to your nail art, allowing you to add intricate patterns and details that elevate your overall look. With stamping, you can achieve complex designs that would be difficult to recreate by hand. The key to mastering stamping is to experiment with different stamping plates, each with its unique design. You can combine these plates with various layering techniques to create depth and dimension.
Here are some popular stamping designs to try:
| Design | Technique | Effect |
|---|---|---|
| Chevron | Layering | Geometric pattern with depth |
| Floral | Reverse stamping | Delicate, intricate details |
| Stripes | Single-color stamping | Clean, modern look |
| Geometric | Multi-color stamping | Vibrant, eye-catching design |
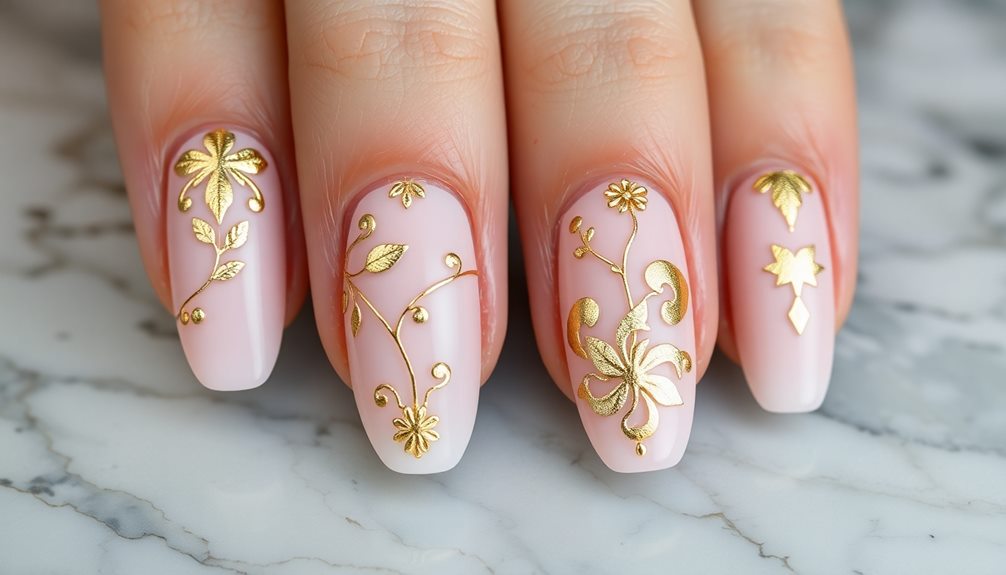
Add Whimsy With Hand-Painted Details
Adding a personal flourish to your nail art, hand-painted details can transform a simple design into a one-of-a-kind masterpiece. With a small brush, you can add intricate, whimsical touches that make your nails truly unique. Try incorporating flowers, animals, or abstract shapes to give your design an extra layer of personality. The best part? You can experiment with different colors and techniques to create a look that's all your own.
Want to add some subtle texture? Try layering on some delicate, hand-painted stripes. Or, go bold with bright, graphic flowers that pop against a neutral background. The possibilities are endless, and it's all up to your imagination! With hand-painted details, you can take a simple manicure from meh to mesmerizing.
Select a Top Coat Finish
Finishing touches are essential to your DIY nail design, and selecting a top coat finish is the final step in bringing your creative vision to life. Now, it's time to decide on the perfect top coat to seal and showcase your artwork.
You're faced with an important decision: do you go for a sleek, modern matte finish or a bold, glossy shine? Consider the overall aesthetic you're aiming for. A matte top coat can give your design a sophisticated, understated vibe, while a shiny top coat can add a touch of glamour and polish.
Experiment with different finishes to see which one complements your design best. Remember, the type of top coat you choose can greatly impact the overall appearance and longevity of your nail art.
Will you opt for a subtle, matte finish or a dazzling, shiny top coat? The choice is yours, and the result will be a stunning, one-of-a-kind nail design that's all about you.
Seal and Show Off Your Design
Now it's crucial to put the finishing touches on your DIY nail design! You've created a stunning masterpiece, and it's vital to seal and show it off with confidence.
Next, you'll learn the expert tips to apply the perfect top coat, showcase your art, and make it last.
Finishing Touches Applied
You're just one step away from flaunting your creative masterpiece, and that's applying a top coat to seal and protect your nail design. This vital step guarantees your hard work lasts longer and looks fabulous.
Choose a top coat that suits your style – do you prefer a glossy finish or a matte look? Either way, it'll give your nails a professional touch. Apply the top coat evenly, making sure to cover the entire nail surface. Let it dry completely to prevent smudging or damage.
Now, show off your stunning nail design proudly! You've earned the right to flaunt your creativity and skill. Regularly maintain and care for your nails to preserve the beauty of your DIY nail design. With proper care, your nails will continue to turn heads.
Nail Art Sealant Tips
Once you've applied your nail art design, it's time to lock it in place with a reliable sealant that complements your creative masterpiece.
A clear top coat is essential to seal and protect your design from chipping or fading. But, not all sealants are created equal. Here are a few tips to keep in mind:
- Choose a finish that fits your style: Nail art sealants come in various finishes such as glossy, matte, or satin to enhance the look of your design.
- Long-lasting results: Sealants can help your nail art last longer and maintain its vibrant colors.
- Dry time matters: Some sealants dry quickly, while others may require UV light curing for a durable finish.
- Quality matters: Using a quality nail art sealant can make your design pop and give it a professional, long-lasting finish.
Showcase Your Masterpiece
With your nail art design complete, it's time to seal and show off your masterpiece to the world! You've put in the effort, and now it's time to make it last. Seal your design with a top coat to protect it from chipping and fading.
Opt for a glossy top coat to enhance the colors and shine of your nail art. If you want a more modern look, try a matte top coat for a sophisticated finish. And, if you're short on time, a quick-dry top coat is the way to go.
Now that your design is sealed, it's time to show it off! Share your stunning nail art on social media or with friends and family. You can even get inspiration from their reactions and start brainstorming new nail ideas for your next design.
After all, DIY nail design ideas are all about expressing yourself and having fun. So, don't be shy – show off your masterpiece and get ready for the compliments to roll in! If you’re feeling particularly adventurous, why not try experimenting with some stunning natural nail designs? From minimalist and elegant to bold and colorful, there are endless possibilities for creating a unique look that reflects your personality. So go ahead and let your creativity shine through your fingertips with these DIY nail design ideas!
Frequently Asked Questions
What Are the Five 5 Basic Nail Designs?
You're curious about the basics of nail design! Let's delve into it!
You've got five fundamental options to choose from: solid color, French tip, half-moon, glitter accent, and ombre. These classic styles are the building blocks of nail art, and each one offers a unique vibe.
Solid colors are chic and simple, while French tips are elegant and timeless. Half-moon nails add a modern twist, glitter accents bring the sparkle, and ombre nails blend colors for a gradient effect.
Now, which one will you try first?
How to Make Designs on Your Nails?
As you gaze at your blank canvas nails, envision a work of art waiting to happen!
To make designs on your nails, start by prepping your surface with a base coat.
Then, get creative with nail tape for crisp lines, holographic foils for a mesmerizing effect, or water marble techniques for a whimsical look.
Don't forget to add a top coat to seal your masterpiece!
How to Do Nails at Home Step by Step?
You're ready to master the art of doing your nails at home!
Start by prepping your nails with a file and cuticle push-back for a smooth canvas.
Next, apply a base coat to protect and prime your nails.
Choose your favorite polish color and apply thin, even coats for a flawless finish.
How to Make Beautiful Nails?
You want to know the secret to making beautiful nails?
It's all about experimentation and creativity! Start by choosing a base color that flatters your skin tone, then get creative with nail tape, tip guides, and techniques like water marbling or ombre gradients.
Add some glamour with gold charms or holographic foil, and finish with a top coat for a long-lasting shine.
Don't be afraid to try new things and make mistakes – that's where the magic happens!
Conclusion
As you admire your handiwork, the colors and patterns seem to dance on your nails, a miniature masterpiece that's uniquely yours.
With each glance, you're reminded of the thrill of creation, the satisfaction of bringing your vision to life.
Your nails are no longer just a part of your body, but a canvas that showcases your personality, creativity, and flair.