
Controlled lighting makes your nail photos look more professional by providing consistent, even illumination that highlights colors, intricate details, and textures. It eliminates harsh shadows and reflections that can obscure your work, giving your images a polished appearance. By managing background clutter and adjusting light angles, you keep the focus on your nails, creating cohesive, eye-catching images. Once you see how proper lighting transforms your shots, you’ll understand why it’s a game-changer.
Key Takeaways
- Controlled lighting provides consistent, even illumination that highlights nail colors and intricate details effectively.
- It eliminates shadows and reflections, ensuring a polished, professional appearance in photos.
- Adjusting light angles and intensity reduces background distractions, keeping the focus on the nails.
- It enhances color vibrancy and texture, making nail art appear more vivid and appealing.
- Creative lighting setups allow for varied moods and styles, elevating overall image quality.
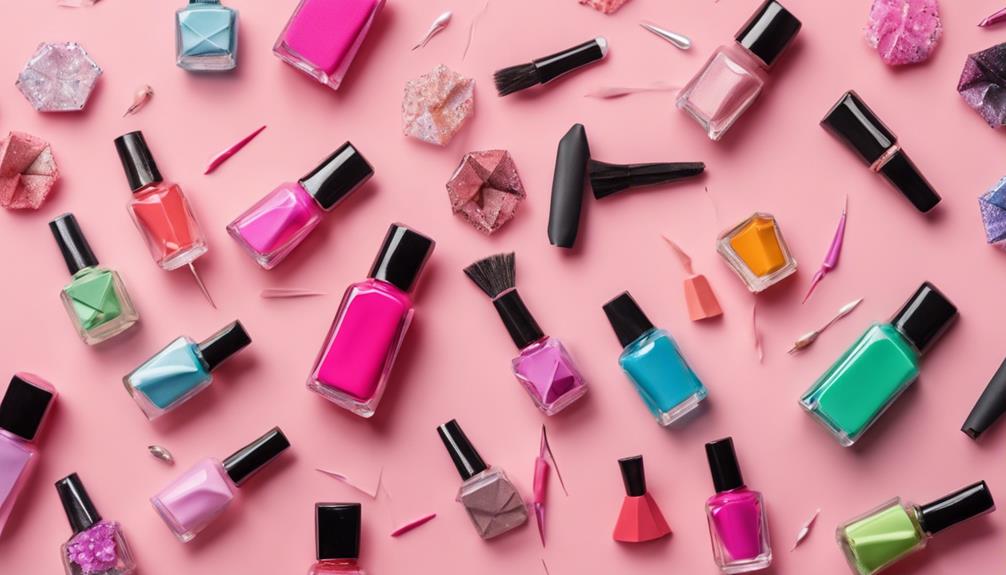
Capturing stunning nail photos requires more than just a good camera; it demands precise control over lighting to highlight details and colors effectively. Natural light can be a double-edged sword. While it offers soft, flattering illumination, it’s unpredictable and can cast unwanted shadows or cause reflections that dull the vibrancy of your nail designs. When you rely solely on natural light, the background clutter may also become more noticeable, distracting from your main focus—your nails. Shadows cast by nearby objects or uneven lighting can obscure fine details, making your photos look less polished and professional. Understanding lighting principles is essential to mastering the art of nail photography. Controlled lighting allows you to shape the environment to suit your needs. Instead of depending on natural light, you can use artificial sources like ring lights, softboxes, or LED panels. These tools give you consistent, even illumination that enhances the colors and textures of your manicure. With regulated lighting, you can eliminate harsh shadows and reflections, ensuring every detail—from intricate nail art to the shimmer of polish—stands out clearly. This consistency lets you take multiple shots under the same conditions, helping you select the best image without worrying about changing light conditions.
Natural light can enhance but also hinder nail photos with shadows and reflections.
Another advantage of controlled lighting is the ability to manage your background. When natural light is involved, background clutter can become more prominent, especially if your setup isn’t clean or organized. With artificial lighting, you can position your nails against a neutral, uncluttered backdrop that doesn’t compete for attention. You can also adjust the light angle to minimize reflections and shadows that might draw the eye away from your nails. This focus on a clean, well-lit scene ensures your manicure remains the star of the photo. Additionally, lighting consistency plays a crucial role in producing professional-looking results, as it allows you to maintain the same visual style across multiple photos. Proper lighting setup is fundamental, especially when aiming for a cohesive portfolio or social media feed. Good lighting control also helps to reduce unwanted reflections, which can be distracting and diminish the quality of your photos. Furthermore, controlled lighting gives you creative freedom. You can experiment with different intensities, angles, and color temperatures to produce the perfect mood or highlight specific features of your nails. Whether you want a soft, romantic glow or a sharp, high-contrast look, adjusting your lights is straightforward. When natural light dominates, such flexibility is lost, and your photos may look inconsistent or unrefined.
Additionally, mastering lighting techniques can help you achieve professional results that truly showcase your nail artistry. In short, controlled lighting elevates your nail photography by providing consistent, adjustable illumination that accentuates your work while keeping background clutter in check. It transforms your photos from casual snapshots into polished, eye-catching images that truly showcase your nail art’s beauty.

InnoGear Overhead Phone Mount Ring Light with Stand for Desk Canvas Lamp
- USB-Powered with 6.23ft Cable: Requires 5V/2A+ adapter for optimal use
- Three Color Modes and Brightness Levels: 30 lighting options for versatile content creation
- 360° Phone Rotation and 180° Tilt: Flexible positioning for perfect angles
As an affiliate, we earn on qualifying purchases.
As an affiliate, we earn on qualifying purchases.
Frequently Asked Questions
What Camera Settings Are Best for Nail Photography?
For nail photography, you should use a macro lens with a small aperture setting, like f/8 to f/16, to guarantee sharp focus across the nails. Use focusing techniques such as manual focus or focus stacking to get precise detail. Keep your ISO low to reduce noise, and adjust shutter speed to balance exposure. This setup helps you capture crisp, detailed images that highlight the nail’s design and texture effectively.
How Do Different Backgrounds Affect Nail Photos?
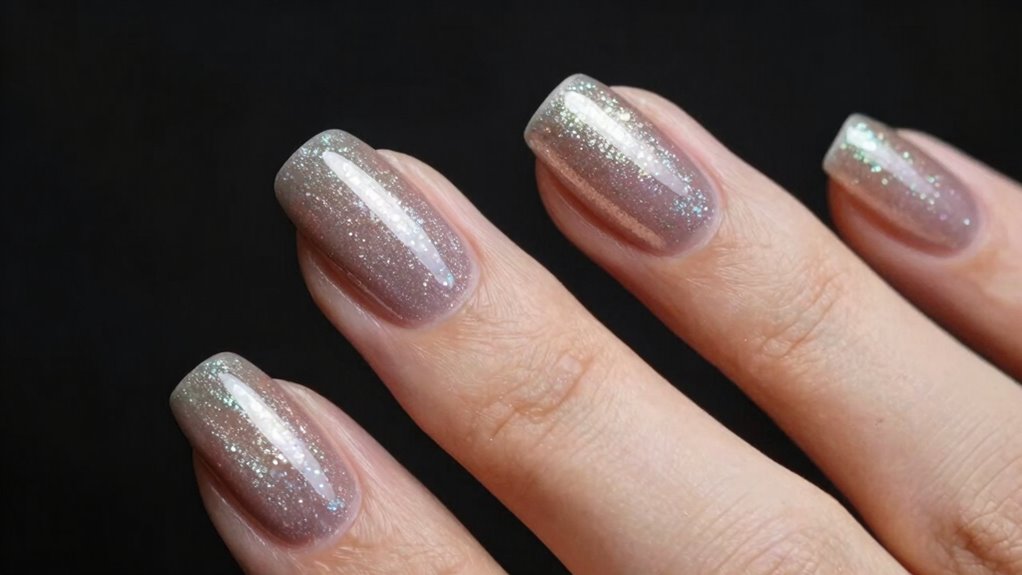
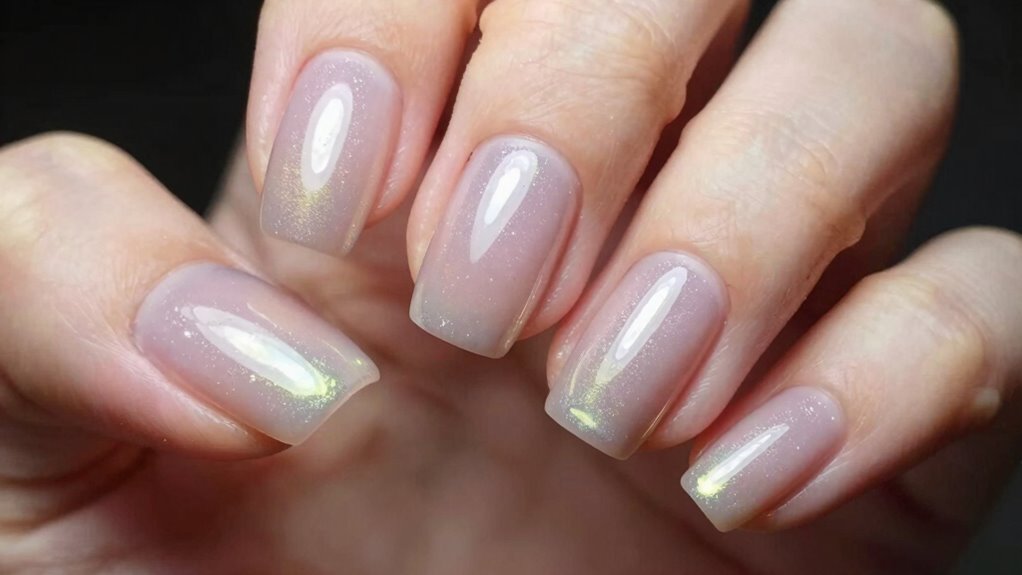
Bright backgrounds boost bold color contrast, making nails pop with vivid vibrancy. Subtle textures, like matte or textured surfaces, add depth and dimension, enhancing detail and design. Dark backgrounds create a dramatic, striking effect, emphasizing shine and polish. Soft, neutral tones foster a clean, classic look, highlighting color without distraction. Your choice of background influences mood and focus, so select one that complements your nails, balancing contrast and texture to capture mesmerizing, compelling shots.
Can Natural Light Be Used Effectively for Nail Photos?
Yes, you can use natural light effectively for nail photos. Use natural lighting techniques like shooting during the golden hour or near a window with indirect sunlight. Sunlight vs. shade matters—shade provides softer, more even light, reducing harsh shadows and glare. Avoid direct sunlight to prevent overexposure. With the right timing and positioning, natural light highlights nail details beautifully, giving your photos a fresh, authentic look.
What Are Common Mistakes in Nail Photography Lighting?
Did you know poor lighting is a top mistake in nail photography? You often mishandle nail polish colors and hand positioning when lighting isn’t controlled. Common errors include uneven lighting, harsh shadows, and reflections that distort the true color. To improve, make sure your light source is soft and even, and position the hand correctly to highlight nail details without glare. Proper lighting enhances the vibrancy and accuracy of your nail photos.
How Do You Maintain Consistent Lighting in Multiple Shots?
To maintain consistent lighting across multiple shots, you should use lighting accessories like diffusers and reflectors to control light quality and direction. Keep your light source at the same distance and angle each time, and use a light meter if possible. Consistently set your camera’s white balance to maintain color consistency, and avoid changing your setup. This approach guarantees your nail photos look uniform and professional.
Conclusion
When you master controlled lighting, your nail photography transforms into a shimmering tapestry of perfection. It’s like painting with light, sculpting every glint and shadow to highlight your artistry. With the right setup, your images become a dance of brilliance, capturing the sparkle in every detail. So, take control of your lighting, and watch your nail photos shine brighter than ever—turning simple nails into a mesmerizing showcase of your talent.