Nail designs inspired by *The Nightmare Before Christmas* mix spooky fun with chic flair, perfect for any festive occasion. You can start by choosing characters like Jack Skellington or Sally to create eye-catching artwork. Use seasonal colors like orange, black, and glittery purples to enhance the vibe. Don't forget to experiment with different nail shapes, such as stiletto or coffin, to display your designs beautifully. High-quality decals can simplify your work, and mastering a few techniques will help you get unique results. Keep your nails healthy with regular care, and you'll enjoy your spooky-chic nails even more. There's so much more to discover!
Key Takeaways
- Explore character-inspired designs featuring Jack Skellington and Sally for a whimsical touch to your nail art.
- Utilize seasonal colors like orange, black, and glittery purples to create a festive vibe in your designs.
- Experiment with different nail shapes, such as stiletto or coffin, to showcase intricate artwork effectively.
- Incorporate high-quality nail art decals for easy application and to elevate your spooky-chic nail designs.
- Master various nail art techniques, like freehand painting, to enhance creativity and uniqueness in your nail creations.
Introduction
When it comes to nail art, few themes capture the imagination quite like *The Nightmare Before Christmas*. This beloved movie blends Halloween and Christmas aesthetics, making it perfect for your seasonal celebrations.
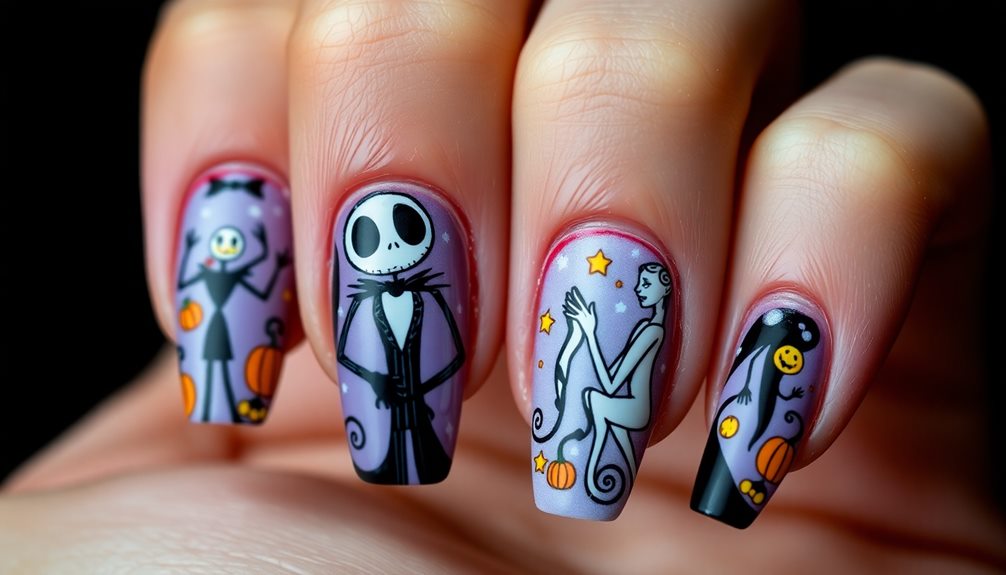
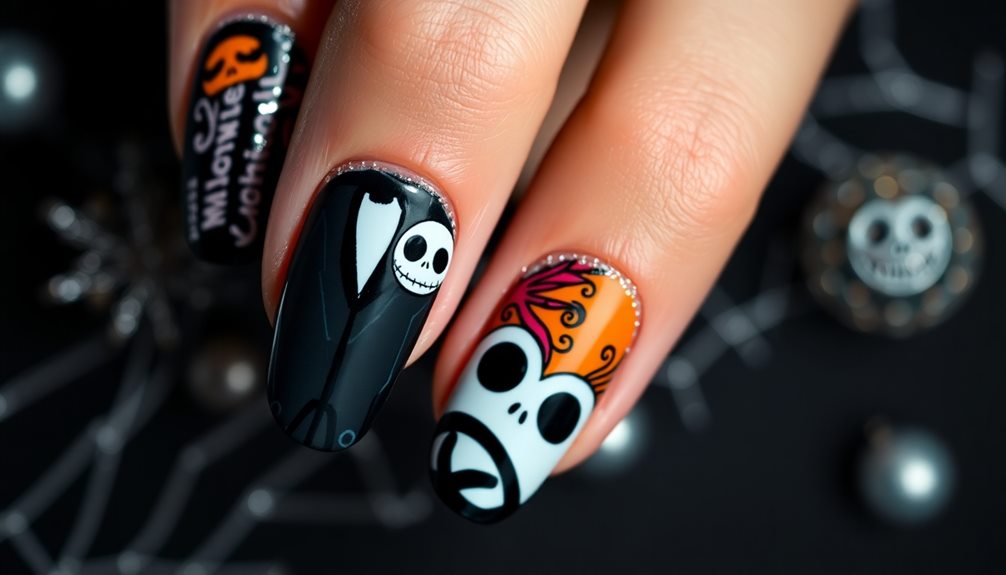
With Nightmare Before Christmas nails, you can showcase characters like Jack Skellington and Sally, bringing the whimsical essence of Halloween Town right to your fingertips. You can enhance your designs with cute and fun styles featuring bright colors and whimsical characters, adding a playful twist to your spooky theme. Whether you prefer a simple Jack Skellington silhouette or a more intricate Sally portrait, there are endless possibilities to express your love for this iconic film. Join in on the spooky Halloween nail trend with these unique and playful designs that are sure to make a statement at any Halloween party. So, why not show off your love for The Nightmare Before Christmas with some creative and spooky nail art this season?
Creating these enchanting designs is easier than you might think! You can choose from various nail shapes, like stiletto or coffin styles, which offer plenty of space for intricate artwork.
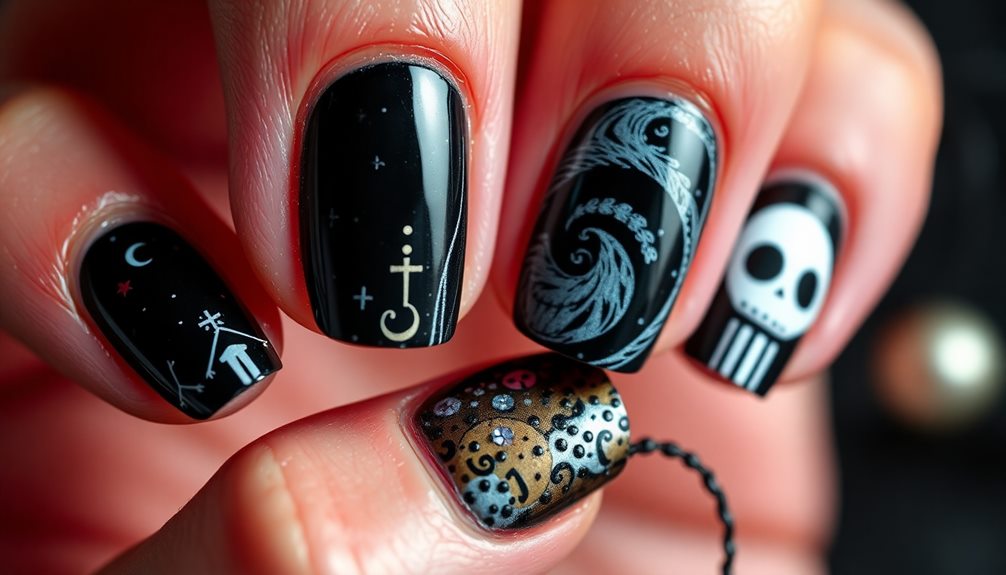
Seasonal colors, such as orange, black, and glittery purples, enhance the festive vibe of Halloween nail art. Whether you want a spooky skull or a charming pumpkin, the possibilities are endless.
If you're eager to try your hand at this nail art, DIY tutorials and online communities can provide inspiration and guidance. With a little creativity and practice, you'll be able to recreate these magical designs at home.
Cultural Icon for Halloween Enthusiasts
*The Nightmare Before Christmas* has solidified its place as a cultural icon, particularly among Halloween enthusiasts. Blending Halloween and Christmas themes, this film inspires creative expressions like nail art. You might find yourself wanting to celebrate your love for the movie through your nails, and that's where Halloween nails come in!
With the same creativity that goes into crafting a delicious breakfast like Egg Rollup and Dumpling Sauce, you can channel your artistic flair into your nail designs. Characters like Jack Skellington and Sally are perfect for nail designs. They allow you to showcase your favorite elements of the film, whether you prefer spooky or festive styles.
During the Halloween and Christmas seasons, seasonal nail art inspired by *The Nightmare Before Christmas* becomes super popular. You can use vibrant colors and intricate details to truly capture the film's charm.
Thanks to online communities and social media platforms like Instagram and Pinterest, you can explore a treasure trove of *Nightmare Before Christmas*-themed nail art. You'll find amazing DIY tutorials that make it easy for anyone, no matter your skill level, to recreate these looks at home.
Plus, nail decals featuring characters from the film add a fun touch, making your Christmas inspired designs even easier. Get ready to show off your festive nails!
Popular Variations and Ideas

Countless variations exist for *Nightmare Before Christmas* nail designs, catering to every fan's unique style. One popular option is character-inspired designs featuring Jack Skellington and Sally. These nail art designs let you express your love for Halloween Town with vibrant and fun colors.
Additionally, just as coffee can enhance your mood and creativity linked to cognitive function, you might find that working on your nail art can be a delightful way to unwind and express yourself.
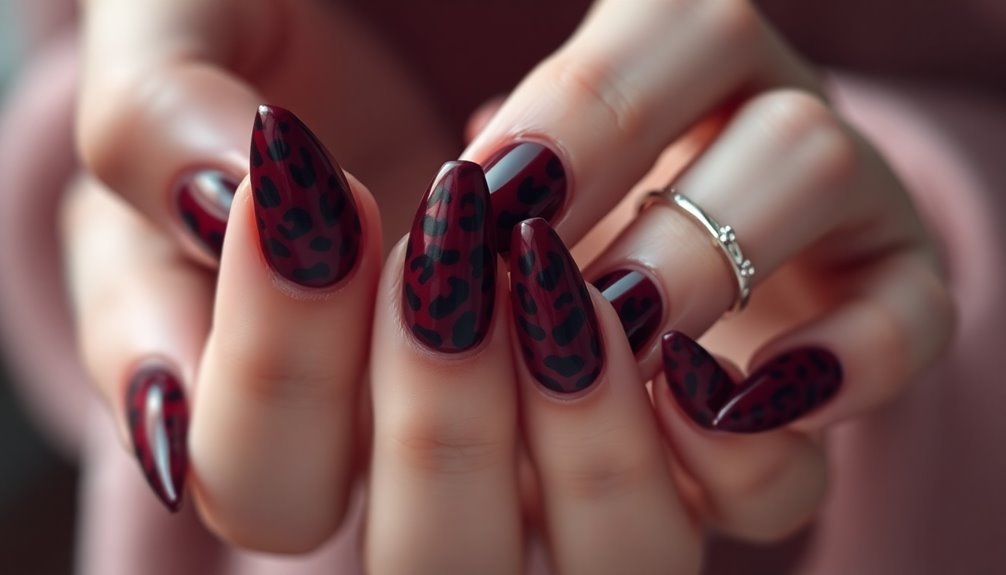
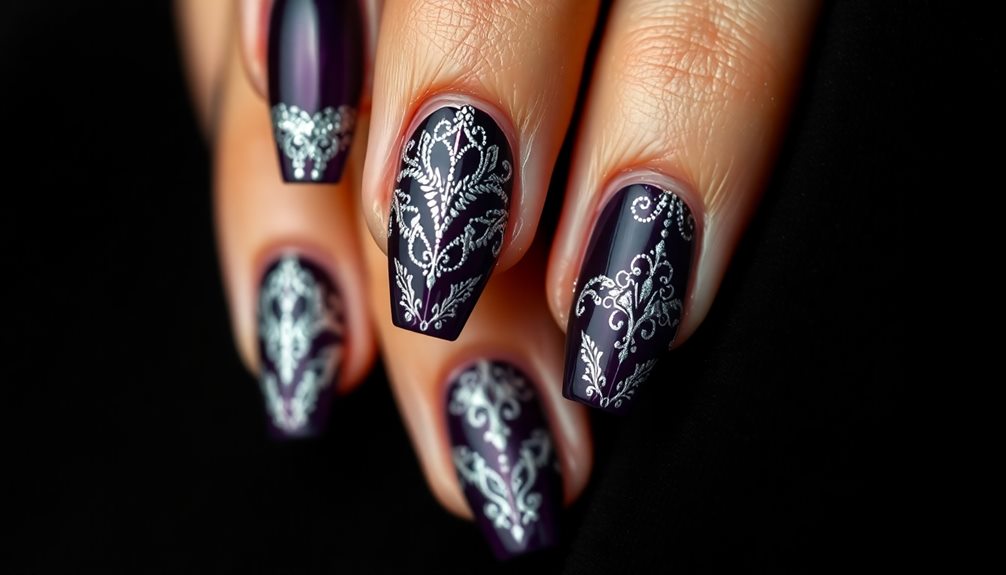
When it comes to shapes, think about stiletto, coffin, or square nails. Each shape offers a different way to display intricate artwork and color schemes that match the movie's spooky charm. You can also use classic Halloween colors like orange, black, and purple, mixing them with festive elements for a design that's perfect for both Halloween and Christmas.
For those who enjoy detailed art, advanced techniques like freehand painting and decals can help you create stunning designs. These methods turn your nails into miniature canvases, showcasing beloved scenes from the film.
Plus, with so many DIY tutorials and easy-to-use decals available, you can easily replicate these popular *NBC* nail designs at home. Whether you're a beginner or an experienced nail artist, there's something for everyone to enjoy!
Tips and Tricks
Creating stunning *Nightmare Before Christmas* nail designs is all about applying some practical tips and tricks. First, consider experimenting with various nail shapes like square, stiletto, or coffin. Each shape can enhance the overall look of your designs, allowing for more intricate and detailed artwork that captures the magic of the movie.
Next, don't underestimate the power of high-quality nail art decals. Using decals featuring your favorite characters can simplify the application process and give you those professional-looking results you want.
Also, incorporating seasonal color schemes like classic black, white, orange, and purple will elevate your nail designs while keeping that spooky vibe alive.
Mastering different nail art techniques is also essential. Try freehand painting, stamping, or layering to unleash your creativity and make your *Nightmare Before Christmas* themed nails truly unique. Remember that practice makes perfect, so don't be afraid to experiment!
Lastly, always remember to have fun while creating your nail art! With these tips and tricks, you're on your way to designing some fantastic *Nightmare Before Christmas* nails that'll impress everyone around you. Happy decorating!
Care and Maintenance

Maintaining the beauty of your *Nightmare Before Christmas* nail designs requires regular care and attention. To keep your nails looking fabulous, start by moisturizing your cuticles and nails daily. This helps prevent dryness, especially when you're rocking those festive designs.
When it's time to remove your polish, use a gentle nail polish remover. This way, you won't damage your intricate designs, and your nail art will last longer.
Every few days, apply a clear top coat over your nails. This protects your artwork, adds shine, and helps prevent chipping.
Regular nail care appointments are essential too. Schedule these to keep your nails in top shape, focusing on filing, shaping, and cuticle maintenance.
Common Mistakes to Avoid
When designing your *Nightmare Before Christmas* nails, it's easy to make a few common mistakes that can detract from the overall look. First, try not to use too many contrasting colors at once. This can lead to a chaotic appearance instead of the charming aesthetic you want from your nail art designs. Stick to a few colors that coordinate well together.
Next, don't skip the base coat! This essential step protects your nails from staining, especially with darker polishes. Also, make sure to prep your nails by cleaning and buffing them. Neglecting this can cause uneven application and peeling, which takes away from your design.
You should also avoid overloading your nails with too many details. Instead, focus on a few key elements that represent your favorite characters or themes. This keeps your design chic and not overwhelming.
Frequently Asked Questions
Can I Use Regular Nail Polish for These Designs?
You can definitely use regular nail polish for these designs! Just make sure to choose high-quality polishes for better results. With a steady hand and some creativity, you'll achieve stunning looks that stand out beautifully.
Are There Specific Tools Needed for Detailed Designs?
For detailed designs, you'll need a few specific tools. Consider using a fine brush for precision, dotting tools for patterns, and striping tape for clean lines. These will help you achieve professional-looking results easily.
How Long Do These Nail Designs Typically Last?
Typically, these nail designs last about two to three weeks, depending on your daily activities and how well you care for them. Regular maintenance and touch-ups can extend their life and keep them looking fresh.
Can I Customize Designs for Different Nail Lengths?
Absolutely, you can customize designs for different nail lengths! Just think about the size and shape of your nails, then adjust the details accordingly. It'll make your nail art unique and perfectly suited to you.
Where Can I Find Inspiration for My Own Designs?
You can find inspiration for your own designs by browsing social media platforms like Instagram and Pinterest. Check nail art blogs, watch YouTube tutorials, or even visit local salons to spark your creativity and ideas!
Conclusion
In conclusion, creating Nightmare Before Christmas nail designs can be a fun and spooky way to express your love for this iconic film! With so many variations and ideas, there's something for everyone. Remember to follow our tips and care for your nails to keep them looking fabulous. So grab your nail polish, get creative, and show off your spooky chic style this Halloween! You'll impress your friends and celebrate in style!