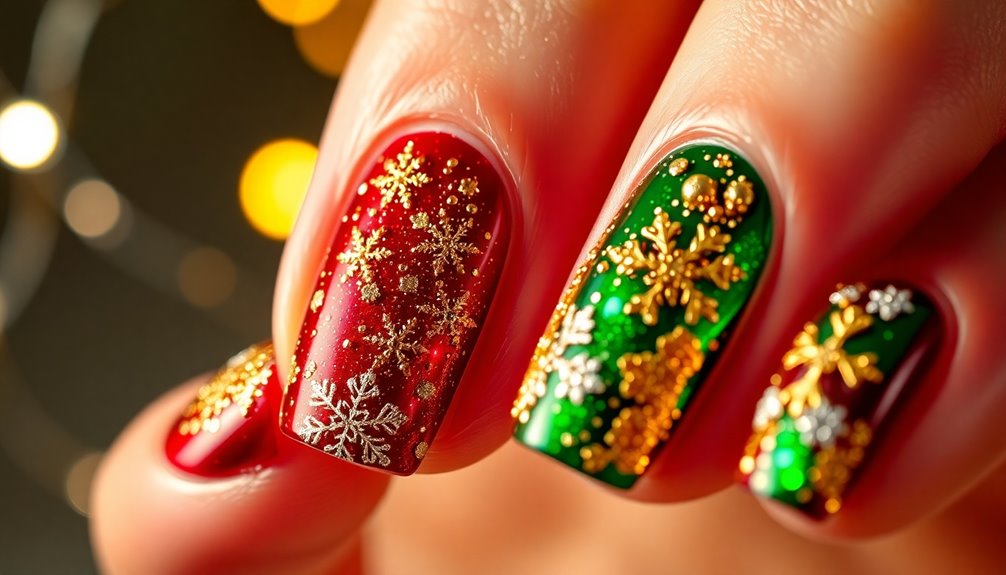

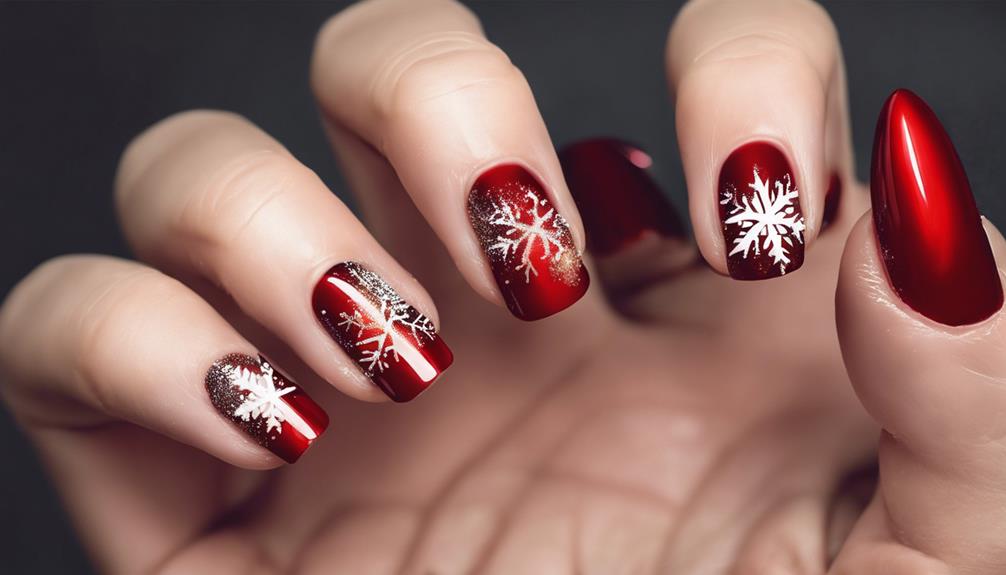
To create stunning red Christmas nail designs, start by applying a Pink Rubber Base. This will ensure durability and a smooth finish. Follow up by applying Builder Gel in layers and curing it under a UV or LED light for a glossy look. Add some Red Tinsel Edges and festive Holiday Decals for extra flair. Finish off with a Rubber Top Coat and a touch of Cuticle Oil for that perfect final touch. Explore how to make your nails stand out this holiday season.
The step-by-step guide covers the basics, but there are more detailed tips to enhance your nail art skills.
Key Takeaways
- Use Pink Rubber Base for durability and adhesion.
- Apply Red Tinsel Borders for a festive touch.
- Opt for intricate Christmas stickers for design depth.
- Seal with Rubber Top Coat for longevity.
- Nourish with Cuticle Oil for healthy nails.
Nail Prep With Pink Rubber Base
To initiate our journey into creating stunning Christmas nail designs, we choose to begin by applying the Pink Rubber Base Coat, a crucial step for guaranteeing the durability and adhesion of our nail art. This essential base coat not only offers a smooth canvas for our festive red designs but also serves as a protective barrier, keeping our nails healthy and strong throughout the holiday season. After carefully applying the Pink Rubber Base Coat, we cure it for 60 seconds to ensure proper adhesion and a flawless foundation for our Christmas-themed nail art.
As we embrace the holiday spirit, the Pink Builder Gel becomes essential as a slip layer, allowing us to create a seamless and polished nail surface. Applying one to two thin coats of Builder Gel, and curing after each application, guarantees the longevity of our Christmas nail designs. Remember, removing any bulkiness from the Builder Gel will maintain a tidy and even nail shape, ready to be decorated with festive ornaments. Let's prepare our nails for the joyful season ahead with care and precision.
Applying Builder Gel
After making certain the Pink Rubber Base Coat is properly cured, we smoothly apply the Pink Builder Gel as an essential step in creating a flawless surface for our Christmas nail designs. Here's how we do it:
- Preparation is Key: Before starting, make sure your nails are clean and dry, ready for the Builder Gel application. This will help the gel adhere better and last longer.
- Even Application: Using a Thin Nail Art Brush, apply one to two thin coats of Pink Builder Gel, ensuring to cover the entire nail surface evenly. This layer acts as a slip layer for the upcoming nail design.
- Cure and Repeat: After applying each coat of Builder Gel, cure your nails under a UV or LED lamp according to the gel's instructions. If there's any bulk created at the free edge, gently file it down for a smooth finish.
Red Tinsel Borders Application
When applying Red Tinsel borders to our Christmas nail designs, we must first delineate our nails meticulously with the vibrant color.
Next, we guarantee the tinsel is secured by applying a topcoat over the border, sealing in the festive flair.
Outline Nail With Tinsel
For a festive and polished Christmas nail design, the application of the Red Tinsel border requires precision and attention to detail. When outlining nails with the Red Tinsel border, follow these steps for a flawless look:
- Preparation: Verify your nails are clean and dry before starting the application process. This will help the Red Tinsel border adhere smoothly to the edges of your nails.
- Precision Application: Using Gelous Nail Art Tweezers, carefully place the Red Tinsel border around the perimeter of each nail. Take your time to confirm the border is applied evenly for a professional finish.
- Finishing Touch: After outlining the nails with the Red Tinsel border, gently use a Silicone Tool to smooth out any imperfections, creating a seamless and festive design.
Secure Tinsel With Topcoat
To enhance the longevity and vibrancy of our festive Christmas nail art, sealing the Red Tinsel borders with a topcoat is crucial.
After outlining our nails with the red tinsel borders and verifying they're precisely placed, the next step is to secure them in place.
Gently apply a layer of topcoat over the borders, taking care to cover the entire surface to protect the Christmas nail art.
This topcoat not only seals the design but also adds a glossy finish, making the red and white polish pop even more.
Clean up Excess Tinsel
Let's tidy up any extra Red Tinsel border by gently wiping it away with a nail polish remover on a lint-free wipe.
Apply a small amount of nail polish remover on the lint-free wipe.
Gently swipe the wipe along the edges of your nails to clean up any stray Red Tinsel.
Guarantee a precise and defined look by carefully removing any excess tinsel for a polished finish.
Following this guide to doing pretty, the clean-up process will ensure that your festive red Christmas nail design looks flawless and ready to shine. Remember, the Red Tinsel border is a key element in adding that extra sparkle and charm to your overall nail art.
Festive Sticker Placement
When it comes to sticker placement on festive nails, choosing the right size sticker is essential to complement nail size and design. Precision is key in applying stickers; Gelous Nail Art Tweezers can help guarantee accurate placement for a polished look.
Additionally, layering sticker designs can create depth and complexity in your holiday nail art.
Sticker Size Selection
For ideal holiday nail designs, carefully select stickers that match the size of our nails to guarantee accurate and delightful placement. When choosing sticker sizes, consider the following:
- Fit to Perfection: Make sure stickers align with the width and length of your nails.
- Shape Harmony: Select stickers that complement the shape of your nails, whether square, round, almond, or stiletto.
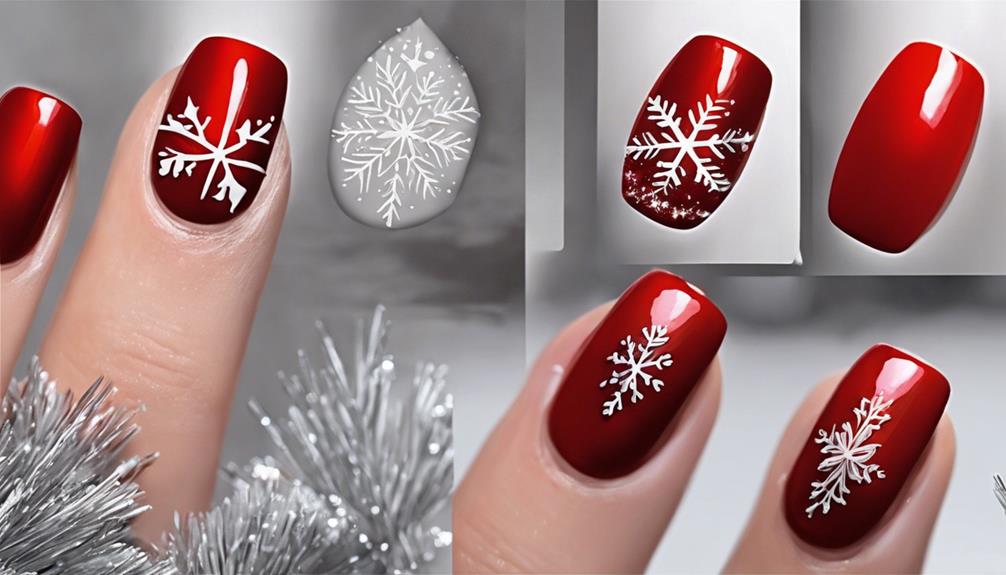
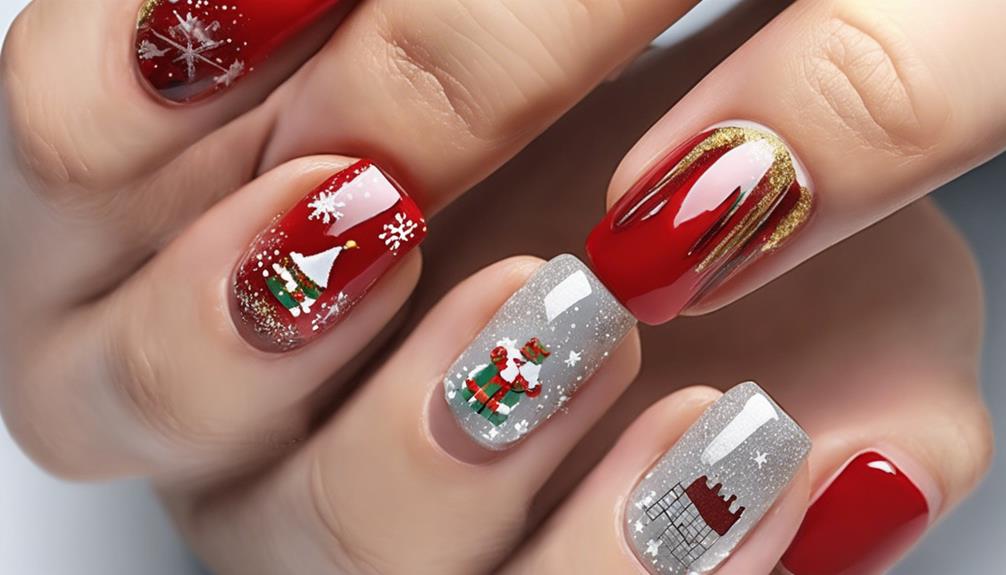
- Design Coordination: Opt for stickers with intricate Christmas-themed elements like stars, snowflakes, or reindeer to enhance the festive look.
Placement Precision Tips
With precision as our guiding principle, we meticulously place festive stickers on nails to achieve a flawless and professional holiday nail design. Gel Nail Art Tweezers are essential tools for accurate handling of the stickers during application, ensuring precise placement.
It's important to position the stickers correctly from the start as they can't be adjusted once applied. Utilizing a Silicone Tool to carefully rub the stickers into place helps eliminate air bubbles, resulting in a smooth and polished finish.
Accurate sticker placement not only enhances the overall appearance of the nail design but also guarantees a professional result that will impress during the festive season. Mastering the art of precise sticker placement is key to creating stunning and festive nail designs.
Layering Sticker Designs
Layering festive sticker designs on nails involves strategically combining different sticker elements to create a multidimensional and visually alluring nail art masterpiece. To achieve this look with Christmas nails in red, follow these steps for easy nail art:
- Apply a small, intricate sticker near the cuticle area for a delicate touch.
- Place a larger sticker on the center of the nail to serve as the focal point of the design.
- Add French tips stickers at the end of the nail for a sophisticated finish.
Remember to use Gel Nail Art Tweezers for precision, rub stickers with a Silicone Tool to avoid air bubbles, and clean the nails with Nail Polish Remover before application for optimal adhesion. Enhance the overall design by outlining with Red Tinsel for a festive flair.
Rubber Top Coat Finishing

Applying a protective Rubber Top Coat to your Christmas nail design not only seals in the vibrant colors and intricate details but also guarantees longevity and durability. The glossy finish provided by the Rubber Top Coat enhances the overall look, giving your nails a polished and professional appearance. This extra layer not only protects your festive nail art but also helps extend its wear time, ensuring your design lasts throughout the holiday season. Remember, curing the Rubber Top Coat is essential for durability, so make sure to follow the proper curing process for the best results.
| Benefits of Rubber Top Coat |
|---|
| Seals and safeguards nail design |
| Provides a shiny finish |
| Prolongs wear time of nail art |
| Enhances colors and details |
| Secures durability and longevity |
Cuticle Oil Nourishment

Let's move from sealing your Christmas nail design with a Rubber Top Coat to nourishing your cuticles with essential cuticle oil for the best nail health and appearance. Here's how we can pamper our nails with cuticle oil:
- Apply with Care: Gently apply a small drop of cuticle oil to each nail, then massage it into the cuticles for best absorption.
- Nourish and Moisturize: The luxurious formula of cuticle oil helps to nourish and moisturize the skin around the nails, keeping them soft and supple.
- Promote Nail Health: Loaded with vitamins and nutrients, cuticle oil promotes overall nail health, prevents dryness, and helps in maintaining healthy cuticles.
Frequently Asked Questions
How Do You Make Christmas Designs on Your Nails?
We create Christmas designs on our nails by using festive red polish and holiday-themed art. With nail brushes, glitter, and stickers, we add snowflakes, candy canes, or Christmas trees. A top coat seals the look, giving our nails a festive touch.
What Is the Most Popular Christmas Nail Colour?
We've noticed that pinky-red shades are ruling this festive season, blending pink and red tones for a merry look. This fusion hue, like Solar Flare Gel Polish, or Pink Chrome Christmas Nails, is the go-to choice for many.
How to Do Easy Nail Designs for Beginners?
We start with a clean base, applying a base coat, then using a thin brush for precision. Layering gel coats, adding designs with tinsel and stickers. Finish with a top coat and cuticle oil for nourishment. Maintenance includes regular top coat reapplication for longevity.
How Do I Get My Nails Done for Christmas?
We'll make our nails merry for Christmas! Let's choose festive red shades and add holiday flair with stars or snowflakes. Our DIY designs will sparkle with creativity, and regular care will keep them jolly!
Conclusion
We hope this step-by-step guide has inspired you to create your own festive red Christmas nail designs!
Remember, practice makes perfect, so don't be discouraged if your first attempt isn't flawless.
One common concern may be the time and effort required for these intricate designs, but the end result is well worth it.
Embrace the holiday spirit and let your nails shine bright this Christmas season!