
For stunning solid color nail designs, start by choosing the right color based on your skin tone. Shape nails, remove old polish, and push back cuticles. Apply a base coat for vibrancy. Use thin coats for even color, letting each layer dry. Use polish remover for clean edges. Finish with a top coat for protection and shine. Confirm nails are completely dry before each step for a professional look. Master these steps, and you'll be amazed at the gorgeous solid color nail designs you can achieve effortlessly. More valuable tips await your exploration.
Key Takeaways
- Apply base coat for protection and vibrancy.
- Use thin, even coats of color polish for uniform coverage.
- Wait for each layer to dry to prevent smudges.
- Seal and protect with a top coat for a glossy finish.
- Use a small brush dipped in polish remover for clean edges.
Choosing the Right Nail Color
When selecting the perfect nail color, consider your skin tone to ensure a complementary and stylish choice. Your skin tone plays an essential role in determining which nail polish shades will enhance your overall look.
For individuals with warm skin tones, colors like coral, gold, and warm reds can be very flattering. On the other hand, those with cool skin tones may find that shades of blue, purple, and silver suit them best.
If you have a neutral skin tone, you're in luck as you can experiment with a wide range of colors, including nude shades, pastels, and muted tones.
Preparing Your Nails
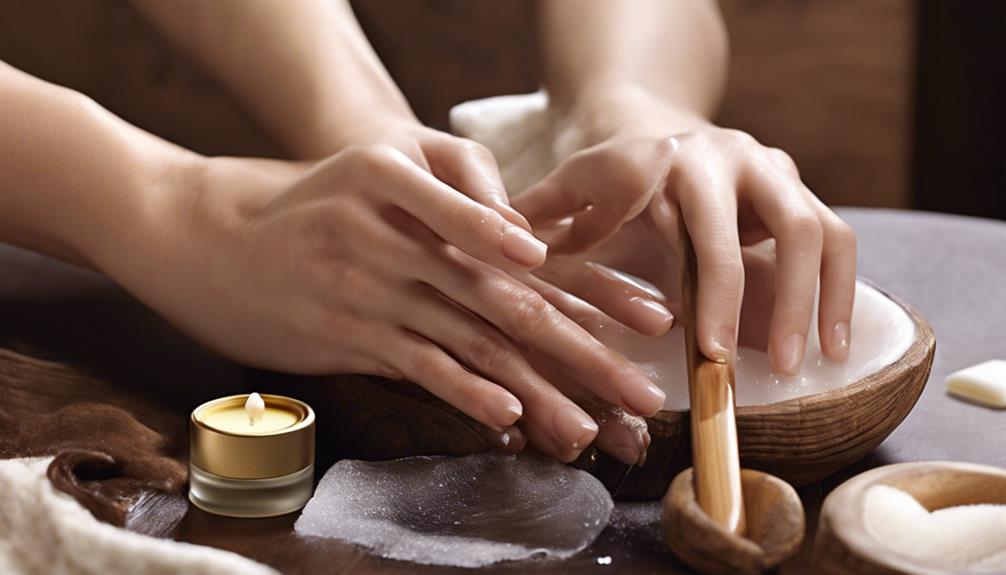
After choosing the right nail color based on our skin tone, the next step in achieving a flawless manicure is preparing our nails. To start, we should shape our nails with a nail file to our desired length and shape, whether square, round, or almond. Removing any existing nail polish using a gentle nail polish remover guarantees a clean base for our solid color design. Using a cuticle pusher to gently push back our cuticles and trim any excess skin will give our nails a neat and professional look. It's crucial to lightly buff the nail surface to smooth out any ridges, creating a perfect canvas for our solid color nail designs. Remember to apply a base coat before painting our nails with the solid color polish to enhance the vibrancy of the color and prolong the longevity of our manicure.
| Nail Preparation Steps | Description |
|---|---|
| Shape nails with a file | Achieve desired length and shape like square, round, or almond. |
| Remove existing nail polish | Use a gentle nail polish remover for a clean base for your design. |
| Push back cuticles | Gently use a cuticle pusher to neaten the nail bed. |
Applying the Base Coat
Let's start by applying a clear base coat to our clean, dry nails to create a smooth surface for the color. Here are some key points to keep in mind when applying the base coat:
- Thin Application: Use thin, even strokes to prevent streaks and guarantee the base coat dries evenly on your nails. This will help create a solid foundation for the color polish.
- Complete Drying: Allow the base coat to dry completely before moving on to applying the solid color nail polish. This step is essential for achieving a flawless finish without any smudges or imperfections.
- Protection and Longevity: A base coat acts as a barrier, safeguarding your nails from staining and increasing the longevity of your manicure. It's an essential step in maintaining the health and appearance of your nails.
- Adhesion and Professional Finish: Applying a base coat helps the nail polish adhere better to the nails, ensuring a professional-looking result. This step promotes a smoother application of the color polish, giving your nails a polished and refined appearance.
Perfecting the Solid Color Application
To achieve a flawless solid color application, make sure that the base coat is applied smoothly and allowed to dry completely before proceeding with the color polish. This step is important in providing a stable foundation for the color to adhere to, ensuring a longer-lasting manicure.
When applying the solid color polish, remember to use thin, even coats to prevent streaking and achieve a smooth, uniform coverage. Waiting for each layer to dry completely before adding the next coat is essential to avoid smudges or bubbles that can ruin the final look.
Following a step-by-step approach outlined in a book or guide can help you perfect the solid color application process. Taking your time and being patient during each coat application is key to achieving professional results. If needed, use a small brush dipped in polish remover to clean up any mistakes or excess polish around the edges of your nails for a polished finish.
Mastering the art of applying solid color polish requires attention to detail and practice.
Finishing Touches and Sealant
For a flawless final touch to your solid color nail design, apply a high-quality top coat to seal and protect your manicure. Here are some tips to guarantee your nails stay stunning:
- Seal and Protect: Using a top coat not only seals in the color but also safeguards your manicure from chipping, extending its lifespan.
- Shine and Gloss: A top coat adds a beautiful shine and gloss to your nails, giving them a professional and polished look that enhances the solid color design.
- Wait for Drying: To avoid smudging, make sure the nail polish is completely dry before applying the top coat. Patience is key for a perfect finish.
- Fast-Drying Formula: Opt for a fast-drying top coat for an easy-to-follow, quick, and efficient finishing touch to the stunning solid color nail designs in this book.
Frequently Asked Questions
What Are the Steps in Performing Nail Design?
In performing nail design, we start by prepping nails: removing old polish, shaping, and pushing back cuticles for a clean canvas.
Applying a base coat protects nails from staining and helps polish adhere better. Choose desired solid color nail polish and apply thin, even layers, allowing each to dry before adding the next.
Add a top coat for a glossy finish and long-lasting wear. Clean up any excess polish for a professional look.
What Are the 5 Basic Nail Art Designs?
There are five basic nail art designs to explore.
Solid color nails offer a simple yet elegant look, perfect for any occasion.
French tips showcase a classic and timeless style with a white or colored tip.
Half-moon nails provide a chic design by painting a crescent shape at the base.
Ombre nails blend colors seamlessly for a trendy gradient effect.
Glitter accent nails add sparkle and flair to any manicure.
How Do You Apply Nail Polish Designs?
To apply nail polish designs effectively, start with clean, dry nails. Apply a base coat for protection and a smooth canvas. Use thin layers of polish, letting each dry completely before adding more.
Finish with a top coat for shine and longevity. Following these steps guarantees a flawless application and stunning nail art.
How to Do Easy Nail Designs at Home?
To create easy nail designs at home, start with clean, well-shaped nails. Choose a solid color polish that suits your style. Apply a base coat for protection and longevity. Use thin, even strokes for a smooth application from base to tip. Once the base coat is dry, you can get creative with different nail art techniques to create elegant nail designs. Try using nail stencils, striping tape, or simple dotting tools to add some flair to your nails. Finish off your design with a glossy top coat to seal in the color and add extra shine. With a little practice and patience, you can easily create stunning nail designs at home.
Finish with a top coat for added shine and durability. This simple process yields professional-looking results without the need for intricate designs.
Conclusion
To sum up, did you know that 70% of women feel more confident when they've freshly painted nails?
By following our step-by-step guide to stunning solid color nail designs, you can easily achieve a professional-looking manicure right at home.
Remember to choose the right color, prepare your nails properly, apply the base coat, perfect the application of the solid color, and finish off with sealant for long-lasting results.
Your nails will thank you!