
Spider nail designs are a fantastic way to add a creepy-cool flair to your Halloween look! You can start with a classic black-and-white spider web using a fine-lining brush. For a whimsical twist, try adding tiny spiders. Don't forget to experiment with dark greys or metallic colors for a modern vibe. Always use a base coat to protect your nails, and a glossy top coat to keep your design shiny and fresh. Just remember not to overcrowd your artwork—keeping it simple can be more stylish! If you want to discover more tips and tricks, keep sticking around!
Key Takeaways
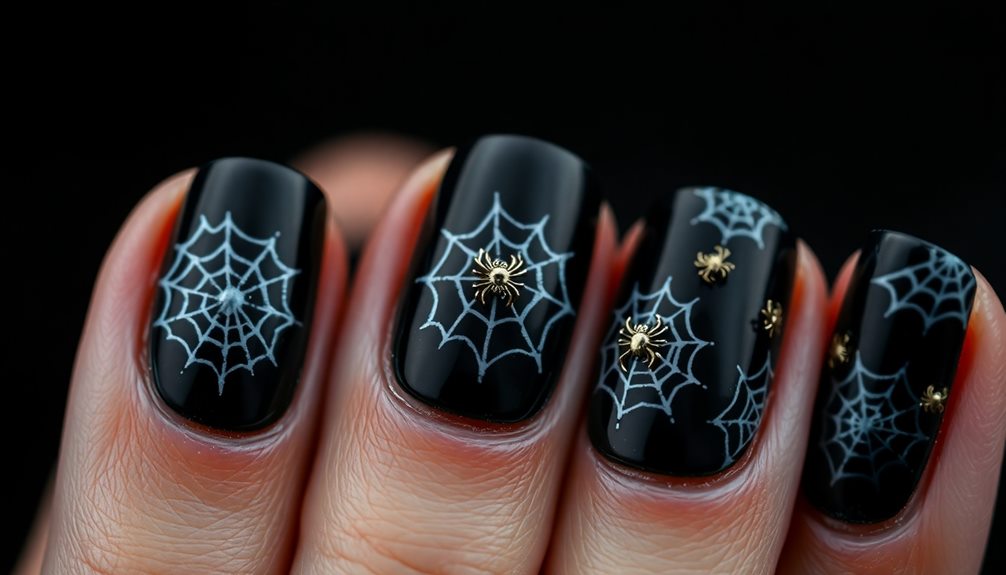
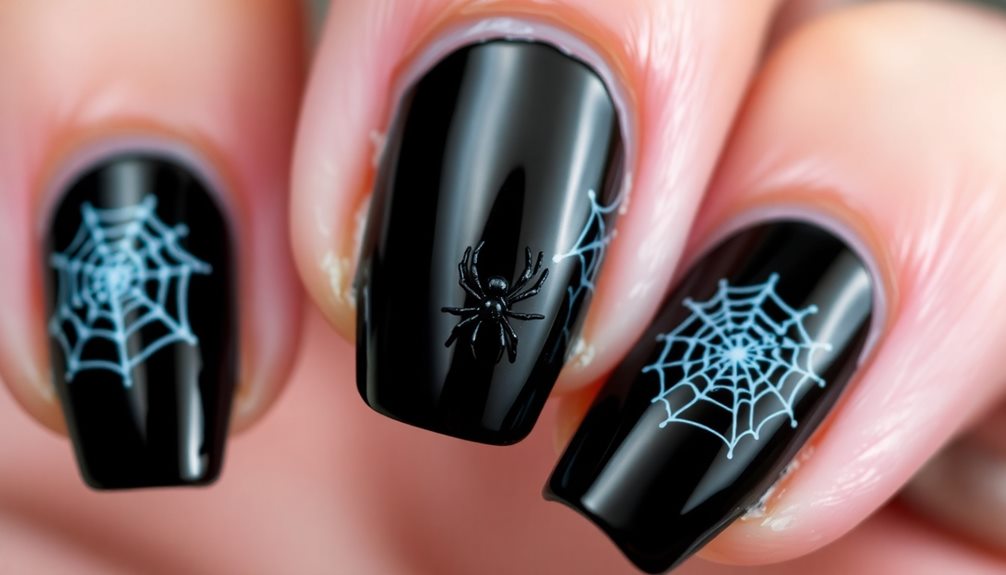
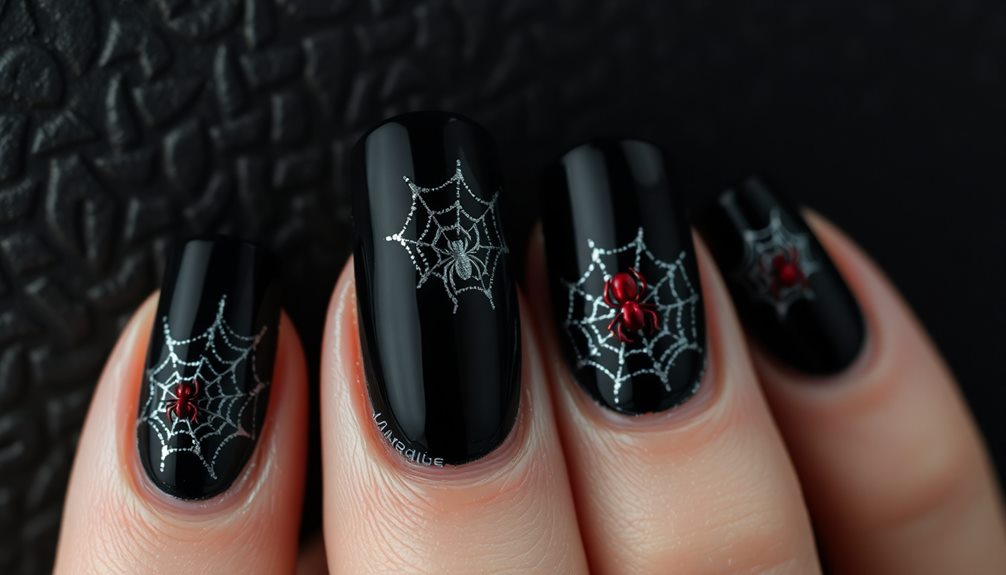
- Create a classic black-and-white spider web design using a fine-lining brush for intricate details and a striking look.
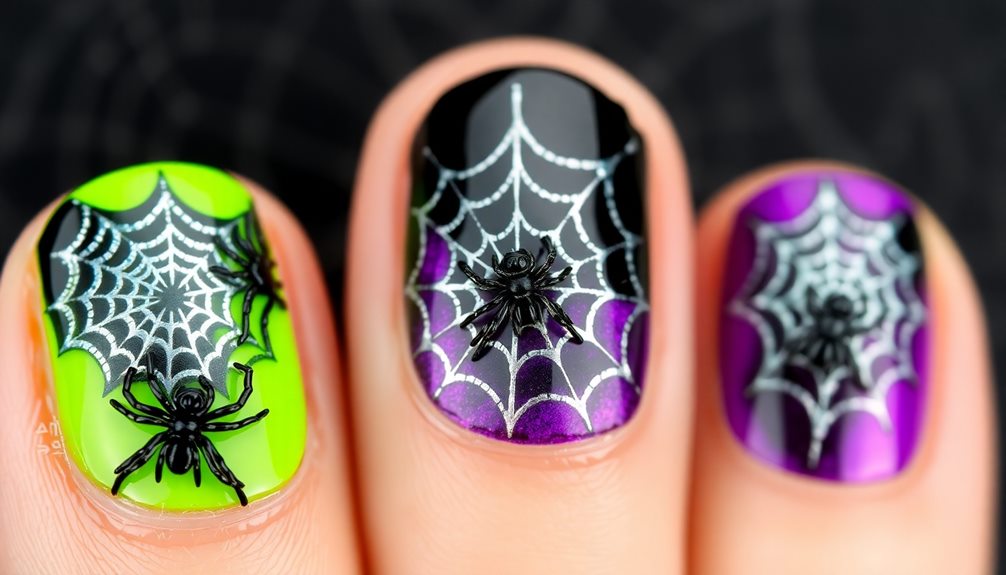
- Incorporate tiny black spider accents to add a whimsical twist to your nail art.
- Experiment with negative space designs for a modern and elegant spider web French manicure.
- Use a glossy top coat to enhance shine and protect your design from chipping.
- Gather inspiration from social media to explore unique spider nail art variations and trends.
Introduction
When it comes to Halloween nail art, spider designs stand out for their blend of creepiness and creativity. You'll love how these spooky, creepy crawly creations can transform your nails into a fun Halloween masterpiece!
Whether you want something simple or a more detailed look, spider nail designs offer a wide range of options for everyone. Educational toys, much like these designs, also encourage creativity and self-expression through hands-on activities, making them essential for young learners the importance of educational toys.
For beginners, you can start with a basic spider web over a dark base color. Just grab a fine-lining brush, and you're ready to create those cool web patterns!
If you're feeling adventurous, you might try adding tiny spider accents, or even cartoonish styles that make your nails pop with personality.
You can choose classic black and white for a timeless look, or mix in some metallics for a modern twist.
This Halloween, let your creativity shine as you explore different color palettes and designs. Remember, these spider nail designs can be as spooky or as playful as you want, making them perfect for every Halloween party or gathering.
Dive into the world of Halloween nail art, and show off your spooky side with style!
Seasonal Nail Art Appeal

Seasonal nail art, especially during Halloween, captivates those looking to express their creativity with festive designs. This time of year, you can dive into fun spider web designs that add a spooky touch to your nails.
Halloween nail designs often feature iconic symbols like spiders, webs, and pumpkins, making them perfect for getting into the festive spirit! Additionally, while you're getting creative with your nail art, consider indulging your furry friends with some healthy dog snacks to keep them engaged and satisfied.
If you're a nail art enthusiast, you might start planning your Halloween designs as early as late September. This gives you plenty of time to explore different styles and techniques! You can create subtle looks, like negative space spider webs on a nude base, or go all out with intricate designs featuring hyper-realistic spiders. The choice is yours!
Don't forget, social media is buzzing with inspiration for seasonal nail art. You can find viral designs that encourage you to show off your creativity and join in on the Halloween fun!
Popular Variations and Ideas
For those eager to elevate their Halloween nail art, popular variations and ideas abound. You can start with the classic spider web nails, where a striking black-and-white polish combination makes for a simple yet effective choice.
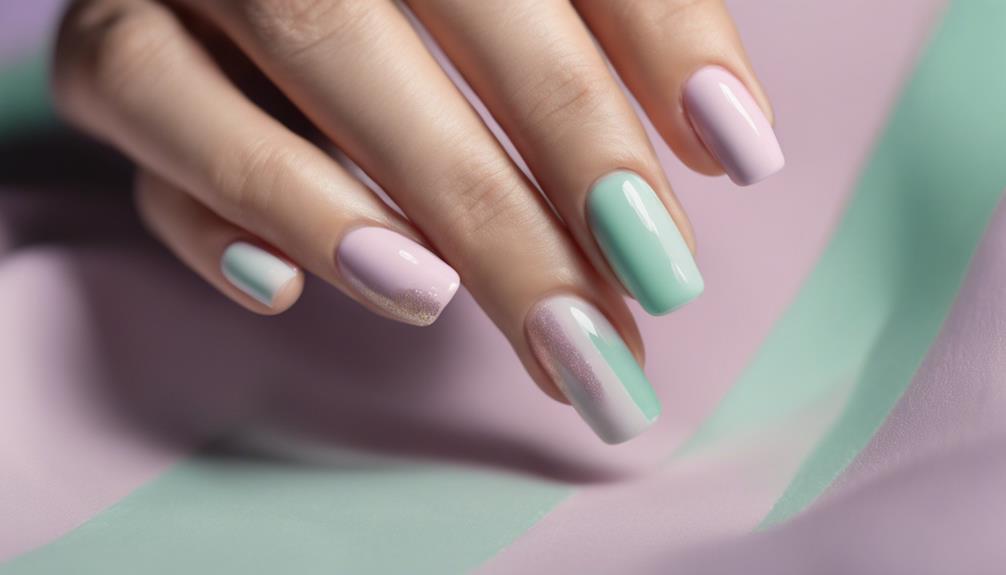
If you prefer something more elegant, try negative space spider web French manicures. Using a nude-pink base gives you a chic look that still embraces the Halloween season. For a quick and fun treat to enjoy while you create, consider preparing Egg Rollup and Dumpling Sauce for a protein-rich start to your day.
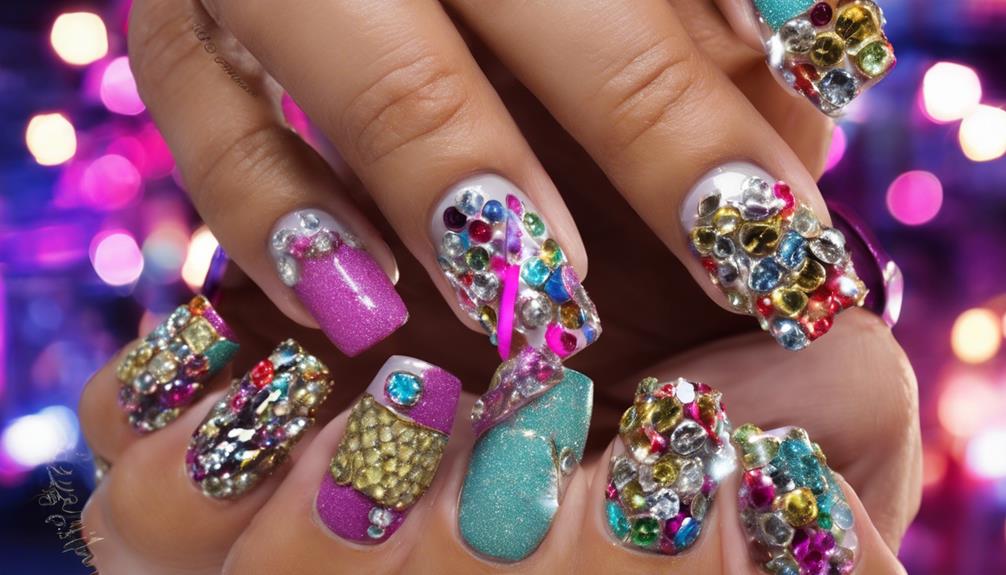
For a bolder statement, hyper-realistic creepy crawly web nails can challenge your creativity with intricate details that will wow your friends. If you want to keep it playful, think about adding tiny black spiders into your nail art. This whimsical twist can bring a smile to anyone's face!
And let's not forget about trendy spider pantyhose nails! These feature web French tips, blending elegance with spooky fun, making them perfect for various occasions.
With so many nail art ideas to choose from, you can express yourself in a way that's both festive and fabulous. So, grab your polish and get ready to create some fang-tastic designs this Halloween season!
Tips and Tricks
Creating stunning spider nail designs requires a few handy tips and tricks to make your artwork stand out. Start by using a fine-lining brush to draw those intricate spider web details. This tool gives you the precision and control you need for a cleaner design.
If you want to add a spooky depth, try sponging a little white polish over your base color. This technique creates a fog-like effect, making your spider web pop!
Don't forget to add tiny black spider accents! They bring a playful touch that amps up the creepy-cool vibe. You can also experiment with various color palettes—dark greys or neutral tones can give your design a unique twist.
Lastly, always finish with a glossy top coat. Not only does it make your nails shine, but it also helps your Halloween manicure last longer.
Care and Maintenance

Maintaining your spider nail design is essential to keep it looking fresh and vibrant. Start by keeping your nails clean and trimmed; this helps prevent dirt or old polish from ruining your spooky look.
Before you dive into creating your spider art, don't forget to apply a good quality base coat. This protects your natural nails and makes your design last longer.
Once your spider nails are ready, seal the deal with a top coat! It gives your artwork a glossy finish and helps prevent chipping, so your creepy-cool style stays intact.
Plus, remember to regularly moisturize your hands and cuticles. Healthy nail beds are super important to keep your art looking lively and fresh.
It's also smart to avoid harsh chemicals and not soak your nails in water for too long. Prolonged exposure can weaken your nail polish and make your spider design fade away quicker than you'd like.
With a little care and maintenance, your spider nail art can be the spookiest, coolest look around for days on end! Happy decorating!
Common Mistakes to Avoid

When diving into spider nail design, it's easy to make a few common mistakes that can ruin your hard work. First, make sure your base coat is completely dry before you start painting. If you apply designs on wet polish, you'll end up with smudgy, uneven nails—yikes!
When adding those spooky spider web details, grab a fine-lining brush. This helps you create thin, crisp lines instead of thick, messy ones that can spoil your masterpiece.
Another big tip is to avoid overcrowding your design. Keep the focus on that fabulous spider web! Adding too many elements can make your nails look busy and cluttered, which isn't the goal.
Also, while you're painting those intricate designs, keep your hand steady. Shaky hands can lead to wobbly lines, and nobody wants that.
Frequently Asked Questions
How Do You Paint Spider Nail Art?
To paint spider nail art, start with a dark base coat. Use a fine brush to create spider webs, add tiny spiders, and sponge white polish for effect. Finish with a glossy top coat for protection.
How to Do Spider Web on Nails?
To create spider webs on your nails, start with a base coat and dark polish. Use a fine brush for web details, sponge on lighter colors for depth, and finish with a glossy top coat.
What Is Spider Gel for Nails?
Spider gel for nails is a thick, viscous product that helps you create intricate designs. It holds its shape well, cures under UV light, and comes in various colors, making your nail art versatile and stunning.
How Do You Paint a Ghost on Your Fingernail?
To paint a ghost on your fingernail, start with a light base coat. Use a fine brush to create the ghost shape, then add eyes and a mouth with black polish. Finish with a top coat.
Conclusion
Now that you know all about spider nail designs, it's time to get creative! Whether you choose spooky or fun colors, your nails can really stand out. Remember, practice makes perfect, so don't be afraid to try different styles. With a little care and some cool tips, you'll have the creepiest, coolest nails around. So grab your nail polish, invite some friends over, and let the nail art party begin! Happy painting, and don't forget to have fun!