
Let’s create beautiful summer peach nail art easily. Start by selecting peach colors, white and green accents, and essential tools such as precision brushes and templates. Prepare your nails by cleaning, shaping, and applying a protective base coat for long-lasting wear. Learn how to enhance with flower designs and the importance of a top coat for a glossy finish.
For maintenance, incorporate cuticle oil and quality top coat for nail health. Elevate your manicure game with our step-by-step guide!
Key Takeaways
- Choose various peach shades for a vibrant look.
- Use floral accents for a touch of elegance.
- Apply base coat for polish adherence and protection.
- Experiment with different nail art tools for creativity.
- Seal the design with a high-quality top coat for longevity.
Benefits of Peach Nail Designs
Peach nail designs offer a myriad of benefits, making them a go-to choice for nail art enthusiasts seeking versatility and summer vibes. The warm and happy essence of the peach color embodies the spirit of summer, uplifting moods and infusing a cheerful vibe into any look. The versatility of peach shades allows for a wide range of design options, from delicate floral patterns to bold geometric shapes, making it easy to create unique and personalized nail art. Whether you prefer a subtle and elegant manicure or a vibrant and playful design, peach nails can adapt to any style or occasion effortlessly.
Additionally, the complementary nature of peach with colors like white, gold, and sky blue opens up endless possibilities for creative combinations, adding depth and dimension to your nail art. By incorporating these shades into your peach designs, you can achieve stunning and eye-catching manicures that are perfect for summer outings, special events, or everyday wear. Embrace the beauty and versatility of peach nail designs to elevate your manicure game this season.
Color Psychology of Peach Nails
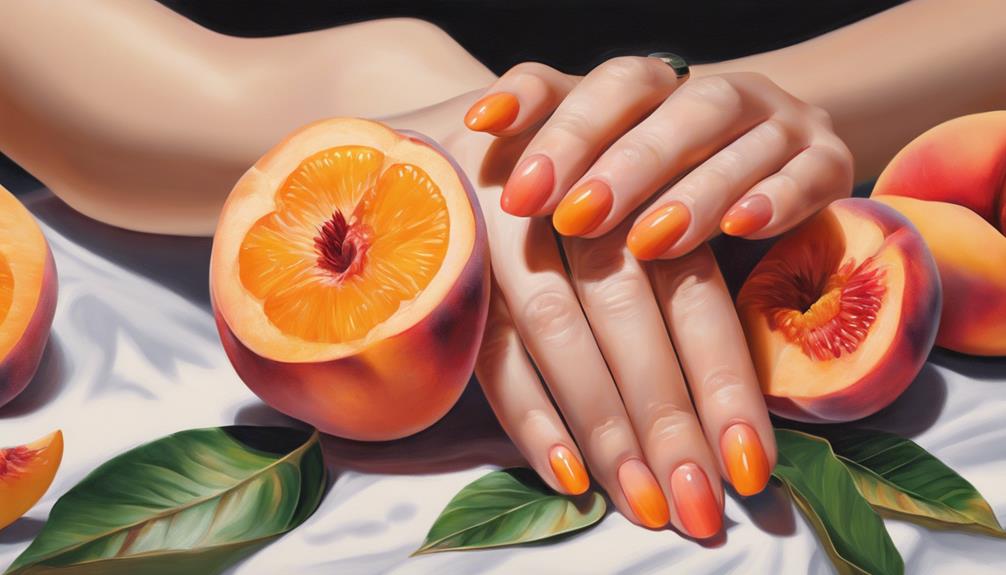
As we explore the color psychology of peach nails, it becomes evident that the warm and vibrant tones associated with this hue play a significant role in uplifting mood and symbolizing joy. Peach nails effortlessly bring a sense of warmth and happiness, perfectly capturing the vibrancy of summer. The cheerful and bright nature of peach shades adds a playful and tropical vibe to any nail art design, making it a popular choice for those seeking a manicure that exudes positivity.
The versatility of peach hues allows them to complement a wide range of design elements, making them a staple in summer nail art. Whether you opt for a solid peach color or incorporate it into intricate nail designs, peach nails have the power to evoke a sense of joy and relaxation. Embracing peach in your nail art not only adds a touch of summer to your look but also radiates a sense of optimism and cheerfulness.
Tools and Supplies Needed
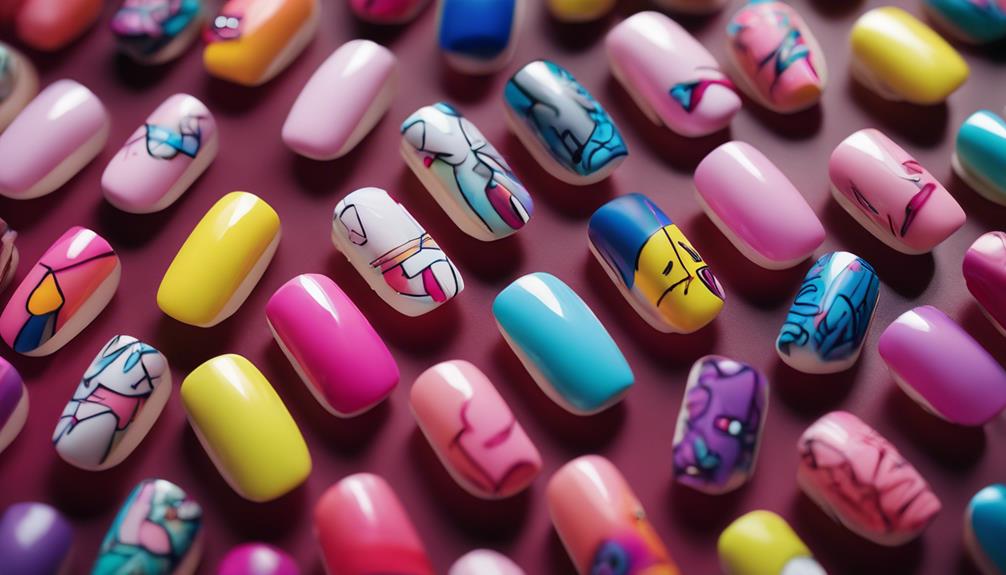
Gather the essential tools and supplies needed to create stunning summer peach nail designs. Start by selecting a variety of peach nail polishes in different shades to achieve the perfect summer look. You'll also need white and green nail polish for accents and details.
To add intricate designs, have a detailing nail art brush on hand. Consider using stencils, stickers, or nail vinyls for more complex patterns and shapes on your peach nails.
For a different finish, incorporate a matte top coat to your summer peach nail designs. Experiment with nail art techniques like sponge gradients or water marbling to elevate your peach nail art game.
Don't be afraid to add metallic accents, glitter, or geometric shapes to bring dimension and interest to your peach nails. With these tools and supplies, you'll be ready to create beautiful summer peach nail designs that will surely make a statement.
Prepping Your Nails

Before diving into those stunning summer peach nail designs, let's make sure our nails are prepared to perfection.
Start by cleansing your nails thoroughly with nail polish remover to ensure a clean canvas.
Next, use a nail buffer to smooth the surface, push back cuticles, trim, shape, and apply a protective base coat for flawless results.
Nail Cleaning Process
After ensuring your nails are free of any oils or residue, the next step in prepping them for the perfect summer peach nail design is using a nail polish remover to clean the surface thoroughly.
This step is essential for achieving the best summer peach nails, whether you have short nails or long, acrylic nails, or almond-shaped nails. Make sure to eliminate any existing nail polish to create a clean canvas for your new design.
Trim and shape your nails to your preferred length and style before moving forward. Gently pushing back your cuticles will result in a neat nail bed that the nail polish can adhere to seamlessly.
Buffing the nail surface lightly will smooth out any ridges, providing a uniform base for the nail polish application.
Nail Shaping Techniques
Let's kick off the nail shaping process by carefully filing your nails to achieve the desired length and shape for your stunning summer peach nail design. When prepping your nails, consider the following techniques:
- File Your Nails: Shape your nails into the desired almond shape for a chic look.
- Buff Your Nails: Smooth out the surface with a nail buffer to create a perfect base for your peach polish.
- Push Back Cuticles: Gently push back cuticles to create a clean canvas for your almond-shaped nails.
Don't forget to apply a base coat before painting to protect your nails and make your summer peach design last longer. Your nails will be ready to rock that peachy look in no time!
Base Coat Application
To achieve flawless and long-lasting nail designs, the application of a suitable base coat is essential for protecting and preparing your nails. The base coat acts as a barrier between your natural nails and the pigments in the nail polish, preventing unsightly stains and potential damage.
Not only does it offer protection, but it also creates a smooth canvas for the nail polish to adhere to, ensuring better longevity for your manicure. By applying a base coat, you can help prevent your nail polish from chipping or peeling off prematurely, maintaining your beautiful nail art for an extended period.
When selecting a base coat, consider your nail type and specific needs, whether you require strengthening, hydration, or filling of ridges. Remember to allow the base coat to dry completely before moving on to the next steps in your nail design process to guarantee a flawless finish that lasts.
Creating Peach Ombre Nails
Let's discuss mastering the gradient nail polish technique to blend those beautiful peach hues seamlessly.
By gently pressing a makeup sponge on the nails, you can create a stunning ombre effect that shifts from the peach base to a lighter shade at the tips.
Repeat the dabbing process until you achieve the perfect peachy gradient, then seal the look with a glossy topcoat for a polished finish.
Gradient Nail Polish Technique
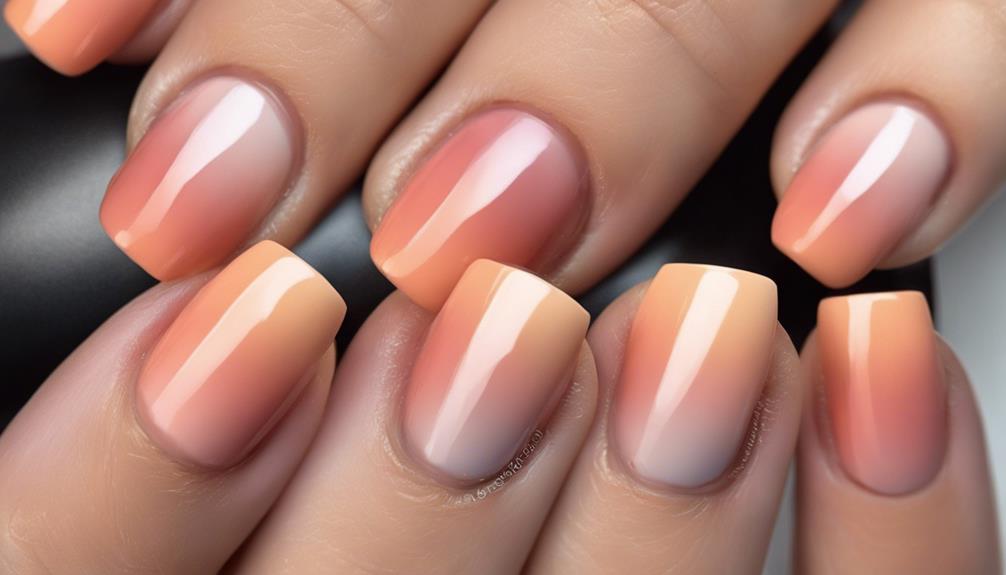
Gently blending a darker peach shade onto a light peach base using a makeup sponge creates a stunning gradient effect for chic peach ombre nails. Here's how to achieve this look:
- Start with a light peach base color on your nails.
- Use a makeup sponge to create a gradient effect with a darker peach shade on the tips.
- Dab the sponge lightly on the nail to merge the colors seamlessly.
This technique allows you to smoothly shift from a lighter to a darker peach hue, giving your nails a beautiful ombre effect perfect for summer. Repeat the sponge application process until you achieve the desired gradient look.
Finish off with a top coat to seal in the design and add a glossy finish to your peach ombre nails.
Blending Peach Hues
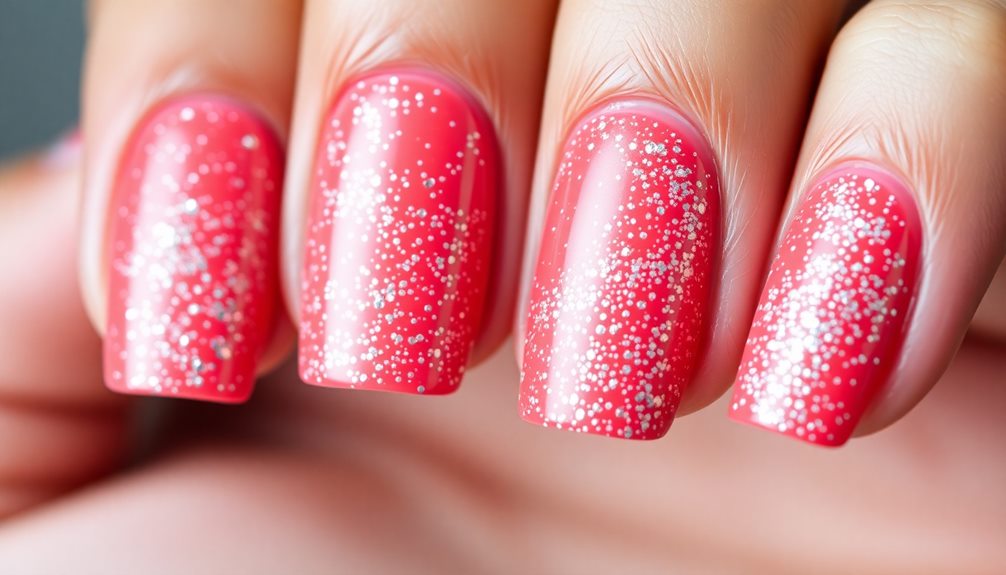
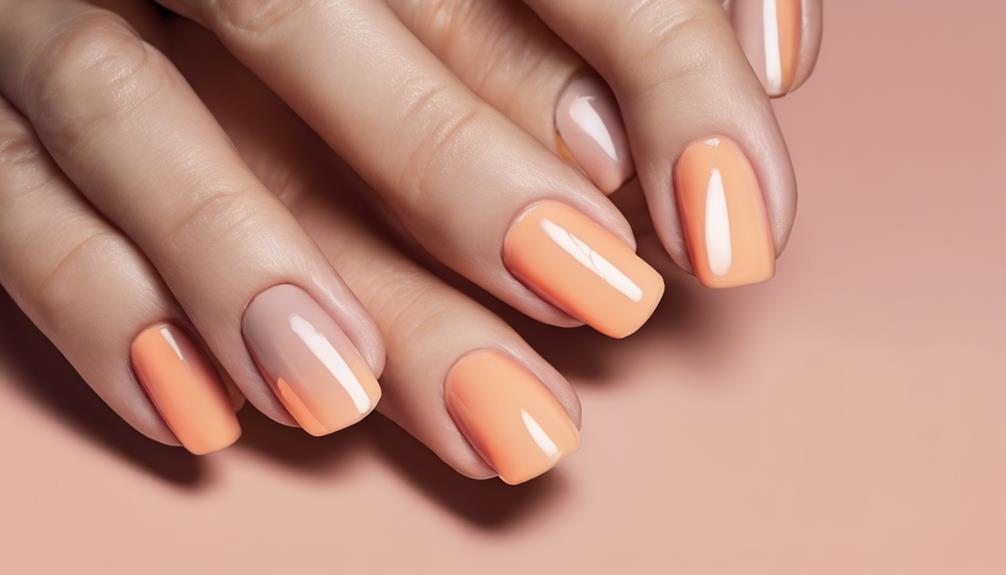
Shifting from the gradient nail polish technique, blending peach hues to create peach ombre nails involves artfully layering varying shades of peach for a seamless and chic gradient effect. To achieve this summer nail design, start with a light peach base color and then gradually add darker peach shades towards the tips of your nails.
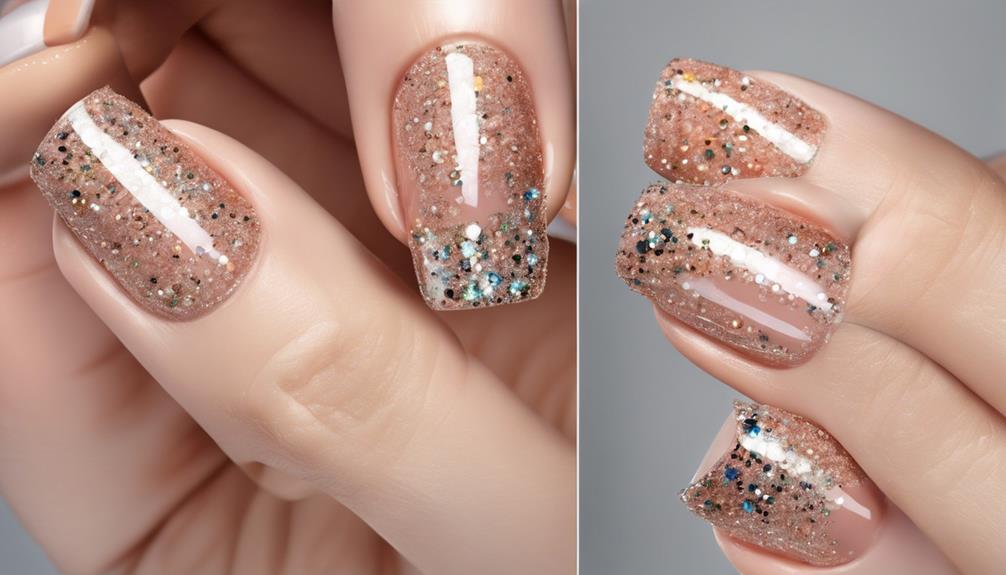
Using a makeup sponge, gently dab and blend the different peach hues to create a smooth ombre progression. You can customize the intensity of the peach shades or even add a shimmery finish for an extra touch of glamour.
Peach ombre nails are versatile and trendy, offering a fresh and stylish look perfect for the summer season.
Finishing With Topcoat
To enhance the durability and shine of your peach ombre nails, applying a top coat is an essential final step in the manicure process. Here's why you should seal and protect your peach ombre nails with topcoat:
- Prevents Chipping: Topcoat helps prevent chipping and prolongs the longevity of the manicure.
- Adds Glossy Finish: It adds a glossy finish to the nails, enhancing the overall look of the peach ombre design.
- Quick-Drying Option: Utilizing a quick-drying top coat can save time and guarantee the design sets properly.
Applying topcoat not only seals in the beautiful peach hues but also smooths out any imperfections, leaving you with a polished and long-lasting manicure.
Adding Floral Accents

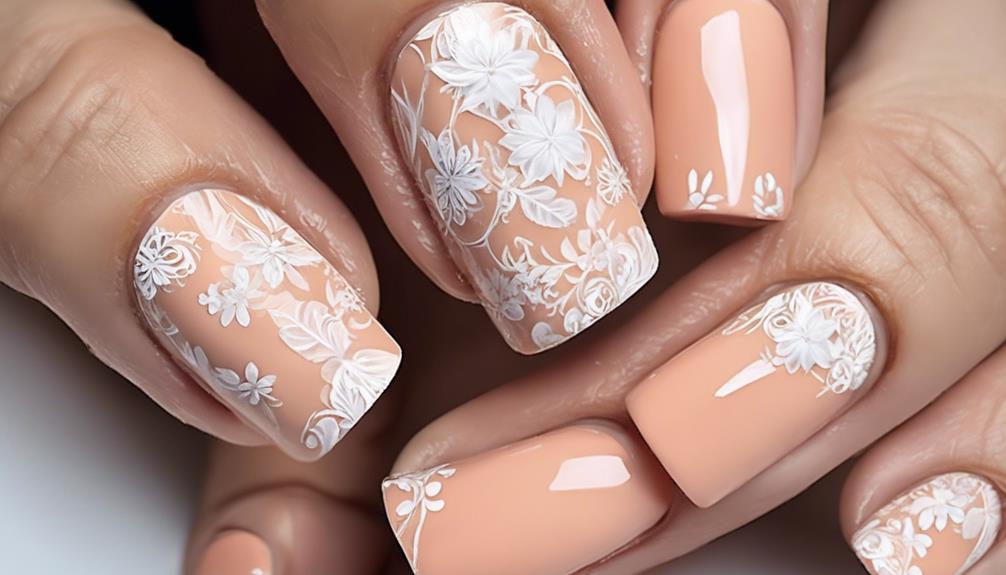
With the addition of delicate floral accents, peach nail designs can effortlessly exude a sense of femininity and elegance. Incorporating floral elements like roses, daisies, or cherry blossoms can elevate the look, creating a romantic and charming vibe.
Nail art stickers, decals, or hand-painted flowers are excellent tools to achieve stunning floral accents on peach nails. The versatility of floral patterns allows for endless creativity; mixing and matching different flowers can result in a unique and personalized design that suits any occasion, from casual outings to formal events.
Whether you prefer a subtle hint of florals or a bold statement with intricate designs, floral accents on peach nails offer a timeless and sophisticated aesthetic. Embracing these floral touches not only adds a touch of nature to your nails but also showcases your style and grace with every delicate petal and bloom. Let your nails bloom with the beauty of floral accents.
Top Coat and Finishing Touches
Embracing the final step in perfecting your peach nail design, adding a glossy top coat enhances the vibrancy and longevity of your manicure, sealing in the beauty with a protective finish.
Here are some essential tips to guarantee your nails look stunning and stay healthy:
- Protective Shield: Applying a top coat not only adds shine but also serves as a protective shield against daily wear and tear. It helps safeguard your peach nail design from chipping and fading, ensuring your nails look fresh for longer.
- Hydration Boost: After applying the top coat, consider using cuticle oil to ensure nail health and hydration. This additional step keeps your cuticles moisturized and your nails strong, contributing to the overall longevity of your manicure.
- Patience is Key: Allow the top coat to dry completely before engaging in activities to prevent any smudging or imperfections. Taking the time to let each layer set will guarantee a flawless finish that lasts.
Maintenance Tips for Long-Lasting Peach Nails
For maintaining long-lasting peach nails, incorporating a vital cuticle oil into your routine can greatly enhance the health and strength of your manicure. Cuticle oil helps keep your nails hydrated, preventing them from becoming brittle and prone to breakage. It also promotes healthy nail growth, ensuring that your peach nail design stays looking its best for longer.
Using a high-quality top coat is essential to seal and protect your peach nail design. This final layer not only adds shine but also acts as a barrier against everyday wear and tear, making your manicure more durable. Moisturizing your cuticles regularly is another essential step in maintaining the health of your nails. Healthy cuticles contribute to strong, long-lasting nails.
To prevent premature chipping, avoid exposing your peach nails to harsh chemicals and excessive water. Consider getting regular touch-ups or maintenance appointments to keep your peach nails looking fresh. Following a proper nail care routine is key to ensuring the longevity of your summer peach nail designs.
Frequently Asked Questions
How Do You Design Nails Step by Step?
We design nails step by step by prepping, applying a base coat, choosing a polish shade, using nail art tools for intricate designs, and finishing with a top coat. These steps guarantee a beautiful and long-lasting manicure.
What Colours Go With Peach Nails?
When it comes to peach nails, we love pairing them with colors like white, gold, and sky blue for a fresh look. Pastels and neutrals like nude also complement peach beautifully, while metallics add a touch of glam.
How Do You Make Peach Nail Polish?
We mix light pink with a hint of orange polish to create peach nail polish. Adjust the ratio for the desired shade. Add white to lighten or red to deepen. Mix well for the perfect hue. Experiment with colors for unique shades.
How Do You Paint Valentine's Nails?
Let's start by prepping our nails with a base coat for protection. Choose the perfect peach polish to complement your style and skin tone. Get creative with Valentine's Day designs using a nail art brush, add some sparkle, then finish with a top coat for a polished look.
Can the Summer Peach Nail Designs also be used for a Tropical Beach theme?
Yes, the Summer Peach Nail Designs can also be perfect for a Tropical Beach theme. To achieve this look, start with a light peach base and then add some tropical beach nail designs stepbystep, such as palm trees, coconuts, or other beach-inspired patterns. Finish with a glossy top coat for a summery vibe.
Conclusion
As the sun sets on another summer day, our peach nails glisten like ripe fruit in the warm evening light.
The delicate floral accents remind us of the beauty and vibrancy of the season.
With proper care and maintenance, our peach nail designs will continue to shine brightly, just like the memories we've created this summer.
Embrace the sweetness of summer with these stunning nail designs that capture the essence of the season.