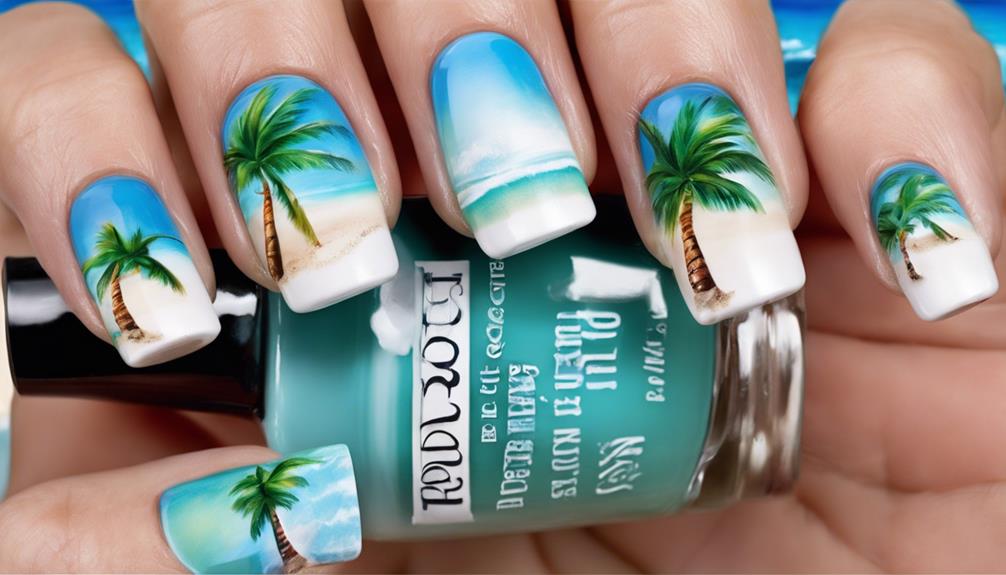
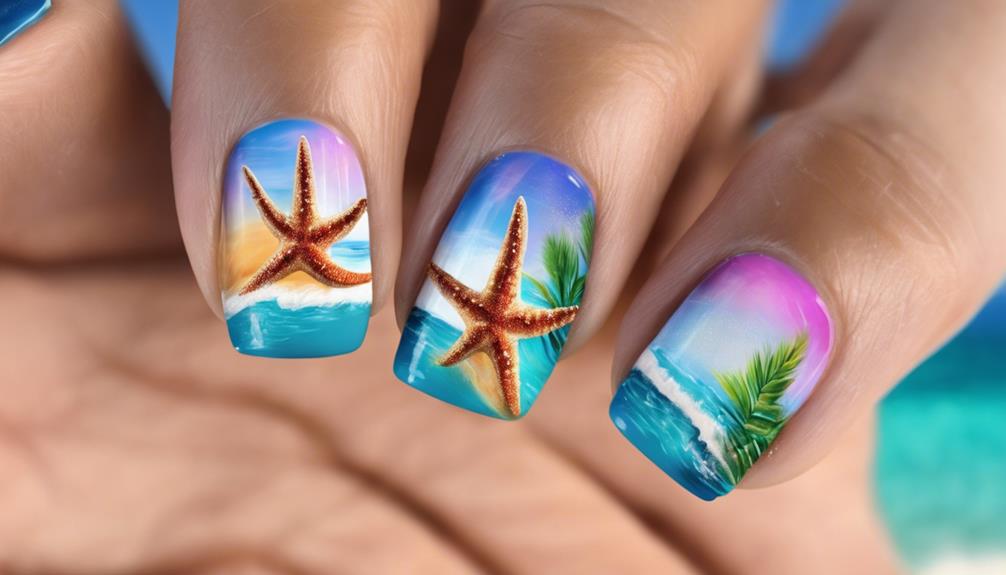
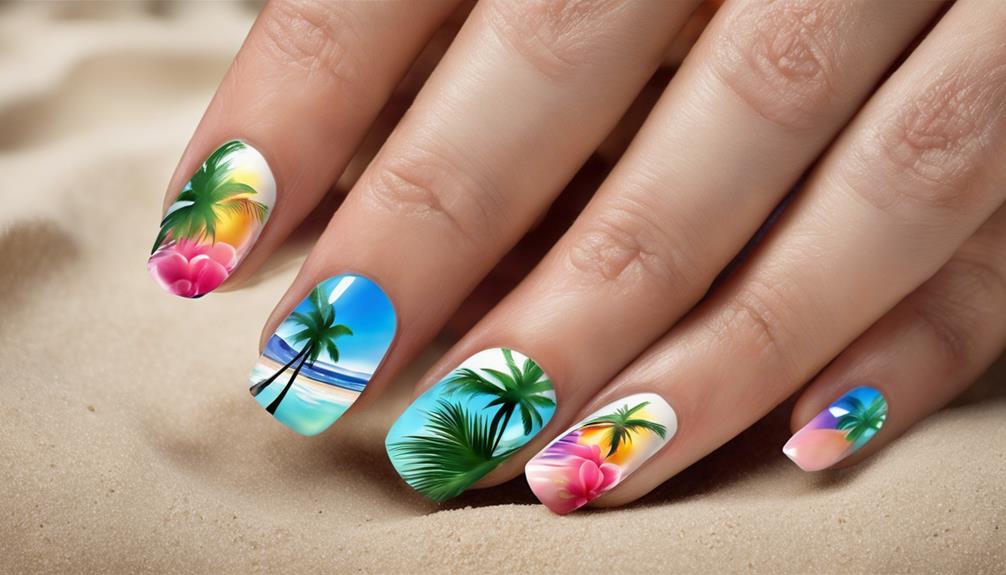
Let’s elevate our nail art with a tropical beach design, beginning by shaping our nails and applying a clear base coat for protection. Next, we can create a serene ombre effect by blending calming blue and white tones using a sponge for a gradient effect. To enhance the beach atmosphere, we’ll incorporate starfish designs with gold charms, completing the look with a top coat for added durability.
Don't forget to add glitter accents and an iridescent polish finish for that extra shimmer. Master these steps, and your nails will be stunning!
Key Takeaways
- Nail preparation sets the beach vibe.
- Apply a protective base coat.
- Create an ombre effect with sponge blending.
- Design starfish with nail charms.
- Finish with iridescent polish for shimmer.
Nail Preparation
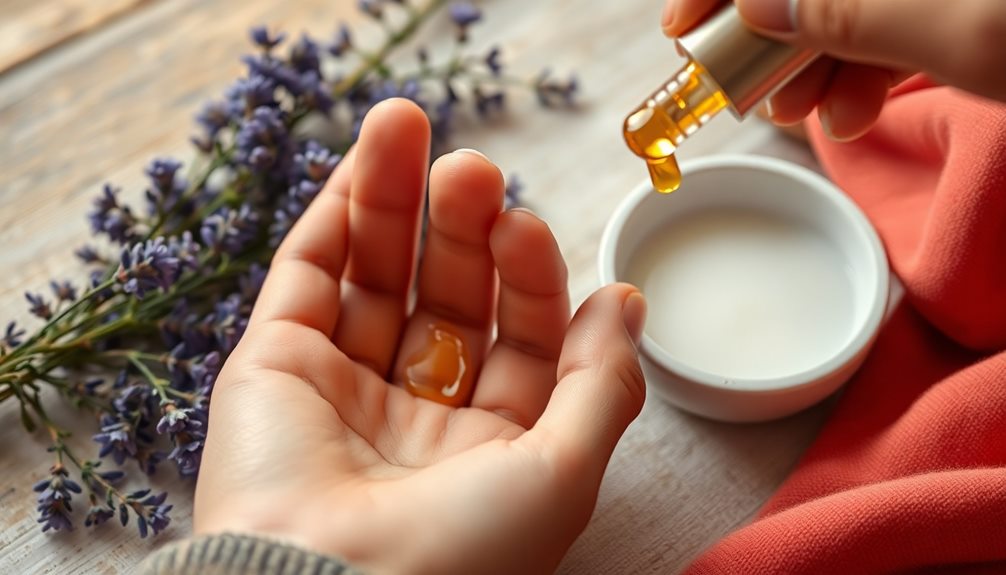
Before we immerse ourselves in crafting our beautiful tropical beach nail designs, let's make sure our nails are prepped and ready for the vivid colors and playful decals ahead. Start by shaping and buffing those nails to create a smooth canvas for the summer vibes we're about to release. Picture a serene beach with the waves crashing gently – that's the kind of tranquility we want to capture in our designs. After shaping, apply a clear base coat like the crystal-clear waters, protecting our nails and ensuring the colors pop vibrantly.
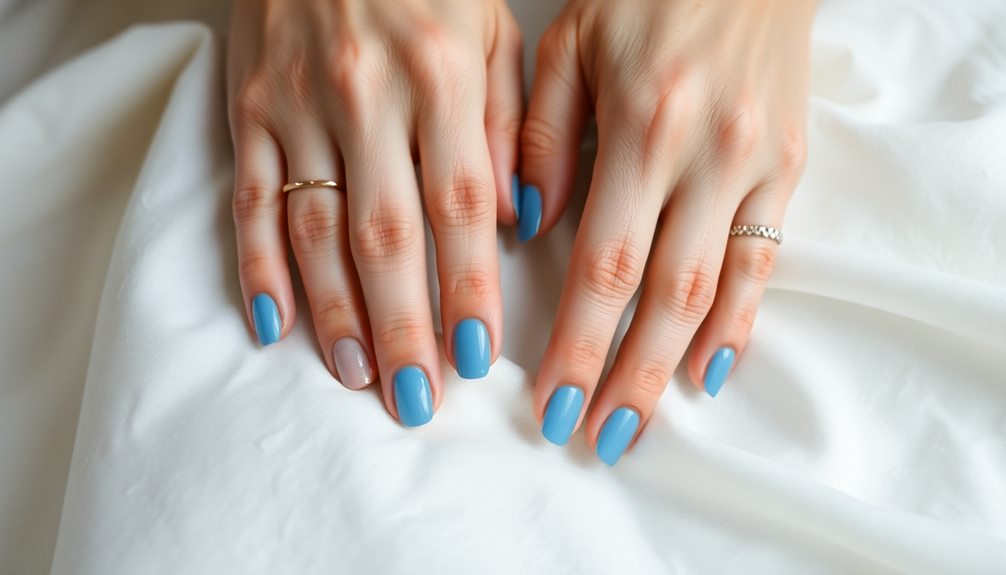
For our beach-themed masterpiece, think of hues like calming blue reminiscent of the ocean depths or the pure white of soft sandy beaches under the summer sun. Consider blending these tones for an ombre effect that shifts like the sky meeting the sea at the horizon. These colors will be the backdrop for our tropical paradise. Once the base coat is dry, we're ready to plunge into the vibrant turquoise, lively coral, and sandy beige that will bring our beach nail designs to life. Let's get painting!
Base Coat Application
To ensure a flawless and long-lasting manicure, the application of a base coat is essential for protecting your nails and enhancing the vibrancy of your chosen nail polish colors. The base coat serves as a protective barrier, guarding your nails against staining and damage that can result from pigmented nail polishes.
By smoothing the surface of your nails, the base coat boosts the adhesion of the nail polish, guaranteeing a manicure that lasts longer and resists chipping and peeling. Not only does it prolong the lifespan of your nail art designs, but a high-quality base coat may also contain fortifying ingredients that help strengthen your nails, preventing breakage and improving overall nail health.
Selecting the appropriate base coat suited to your nail requirements can have a significant impact on the final appearance and resilience of your manicure, making it a vital step in your nail care regimen.
Sponge Gradient Technique
Let's discuss how the sponge gradient technique enables us to blend colors seamlessly, achieving smooth shifts on our nails.
By layering different shades on a sponge and dabbing it onto our nails, we can create a stunning ombre effect reminiscent of a tropical beach.
This method offers a creative way to experiment with textures and capture the essence of a beach getaway right on our fingertips.
Blending Colors Seamlessly
Our method for achieving a smooth blend of colors on your nails involves the innovative sponge gradient technique. By layering beige, light blue, and medium blue nail polish on a sponge, you can create a stunning ombre effect reminiscent of a tropical beach. The process includes dabbing the sponge onto the nails to guarantee a seamless flow of colors. To elevate the design, try incorporating tap water to achieve a marble effect with white polish for added depth and dimension. This technique doesn't require advanced nail art skills, making it accessible to all. Experiment with different color combinations to tailor the look to your vision of a tropical beach oasis.
| Sponge Gradient Technique |
|---|
| Layer beige, light blue, and medium blue polish on a sponge |
| Dab sponge onto nails for a smooth blend |
| Add tap water for a marble effect with white polish |
| Achieve a professional ombre look without advanced skills |
| Customize with various color combinations |
Achieving Smooth Transitions
Blending colors seamlessly using the sponge gradient technique enhances the shift between different shades for a polished and professional nail design reminiscent of a tropical paradise.
To achieve the perfect ombre effect, follow these steps:
- Layer beige, light blue, and medium blue nail polish on a sponge for a smooth progression.
- Dab the sponge gently on the nails to blend the colors seamlessly, creating a stunning gradient look.
- Prepare tap water in a bowl, drop white polish, spray mist, and dip the nails for a unique and artistic design.
With this technique, you can customize and blend colors effortlessly, perfect for stunning beach-inspired nails with a tropical vibe and a professional finish.
Starfish Design Creation
Let's talk about bringing starfish to life on your nails!
Start by using a dotting tool or bobby pin to form the starfish shape with vibrant orange polish.
Enhance the design with gold nail charms for a touch of glamour and seal it all in with a protective topcoat for a lasting tropical beach vibe.
Starfish Nail Preparation
To create a striking starfish design on your nails, dip a dotting tool or bobby pin in orange polish and carefully shape the starfish outline.
For a touch of elegance, consider adding gold nail charms to elevate the starfish nail design.
Seal in your artwork with a protective topcoat to guarantee longevity and shine. Cleaning up any excess polish around your nails with a remover will give your manicure a polished finish.
Enhance the beach-inspired flair by incorporating decorative pearls and gold metal shells.
With these steps, your nails will be ready to showcase a beautiful starfish design that captures the essence of a tropical beach right at your fingertips.
Applying Starfish Details
Using a dotting tool or bobby pin dipped in vibrant orange polish, meticulously craft the intricate starfish details onto your nails to infuse a touch of tropical charm.
The cute and cool beach nails come to life as the starfish design adds a playful and summery vibe.
For an extra glamorous touch, consider embellishing the starfish with gold nail charms.
Seal in your creation with a topcoat to safeguard the design and guarantee longevity.
If there's any stray polish around your nails, a remover will help you achieve a neat and professional finish.
These starfish details will make your nails stand out with a fun and tropical feel perfect for sunny days by the beach.
Glitter Accent Application

Enhancing your tropical beach nail design with glitter accents involves carefully applying a thin layer of base coat to protect your nails before skillfully adding the sparkling detail using a fine-tipped brush or toothpick. Here's how to achieve stunning glitter accent nails:
- Focus is Key: For a more polished look, concentrate the glitter accents on specific areas of your nails rather than covering the entire nail. This method allows for an elegant and attention-grabbing design without overpowering the overall aesthetic.
- Secure the Sparkle: After applying the glitter polish, seal the design with a top coat. Not only does this step secure that the glitter accents stay in place, but it also adds a shiny finish to your nails, enhancing the overall look of your glittery beach-inspired design.
- Experiment and Explore: Don't hesitate to play around with different sizes and colors of glitter. Mixing and matching can lead to unique and personalized accent designs that truly stand out, making your tropical beach nails a captivating spectacle to behold.
Iridescent Polish Finish

Crafting a spellbinding iridescent polish finish for your tropical beach nail designs adds a dazzling shimmer that evokes the sparkling beauty of sun-kissed waters. When aiming for glamorous nails with a shimmering effect, incorporating an iridescent or holographic nail polish is key.
This type of finish not only brings depth and dimension to your beach nail designs but also captures the essence of a beach vacation with its reflective and multidimensional properties. Imagine the sunlight bouncing off the waves, that's the kind of radiance an iridescent polish finish can bring to your nails.
The play of colors and sparkle will enhance the overall beach-inspired theme, giving your nails a touch of summer vibes that are irresistible. So, if you're looking to elevate your nail game with a touch of luxury and shine, opt for an iridescent polish finish to transform your nails into a stunning work of art.
Final Touches and Sealant
To achieve a flawless finish and protect your beach-inspired nail design, we recommend applying a high-quality top coat as the final touch. This sealant not only enhances the shine of your nails but also guarantees the longevity of the intricate details you worked so hard to create.
Here are three important tips to take into account when it comes to sealing your beach nail design:
- Complete Dryness: Make sure all elements of your nail design are fully dry before applying the top coat. This step is vital to avoid smudging or ruining the artwork you've meticulously crafted.
- Prevent Damage: The sealant acts as a protective barrier against chipping, fading, and other potential harm. By sealing your beach nails, you're ensuring they remain vibrant and flawless for an extended period.
- Regular Maintenance: To maintain the vibrancy and overall look of your beach nail design, it's crucial to consistently reapply the sealant. This simple step will keep your nails looking fresh and beautiful.
Frequently Asked Questions
How Do I Make My Nails Look Aesthetic?
To make our nails look aesthetic, we blend soft pastels like light blue and coral with beach elements such as palm trees and seashells. We experiment with gradients using sponge or watercolor techniques and add glam touches like glitter polish and gold details.
What Are the 5 Basic Nail Designs?
We love sharing the 5 basic nail designs: solid colors, French tips, glitter accents, simple stripes, and geometric patterns. These styles are easy to achieve at home and can add a touch of elegance or creativity to your nails.
How Do You Design Nails Step by Step?
We start by prepping nails with a white base. Then, we layer sandy beige, light blue, and medium blue polish for an ombre effect. Using a dotting tool with orange polish, we create starfish designs. Add glam with glitter, pearls, and gold shells. Finish with iridescent polish and topcoat.
How Can I Do Amazing Nails at Home?
We love creating amazing nails at home! Start with a clean canvas, pick fun colors, and let your creativity flow. Remember to protect and pamper your nails for long-lasting beauty. Enjoy the process!
Conclusion
We hope you enjoyed creating your stunning tropical beach nail designs with us!
Did you know that nail art is a $1.2 billion industry worldwide?
So next time you show off your beach-inspired nails, remember you're part of a global community of creative nail enthusiasts.
Keep practicing and experimenting with different designs to showcase your unique style!
Happy nail art-ing!