You can wipe away self-tanning streaks easier than you think! Try mixing baking soda with lemon juice for a gentle scrub that'll buff those unwanted marks right off. Just rub it on, let it sit for a few minutes, and rinse away—it's like a mini spa treatment! If you've got coconut oil or baby oil lying around, they work wonders too; just slather it on and shower after a bit. And, for those stubborn streaks, specialized tan removers are like magic in a bottle. Stick around, and you'll uncover more tips for an even, beautiful tan that'll have you glowing!
Key Takeaways
- Mix baking soda with water and lemon juice to create a gentle scrub for removing streaks effectively.
- Apply coconut oil or baby oil to the skin and let it absorb before showering for easy tan removal.
- Consider using specialized tan removal products like Bondi Sands Self Tan Eraser for quick and efficient results.
- Exfoliate your skin a day before tanning to ensure a smoother and more even application of self-tanner.
Effective Removal Methods
When you notice those pesky self-tanning streaks, several effective removal methods can help restore your skin's even tone.
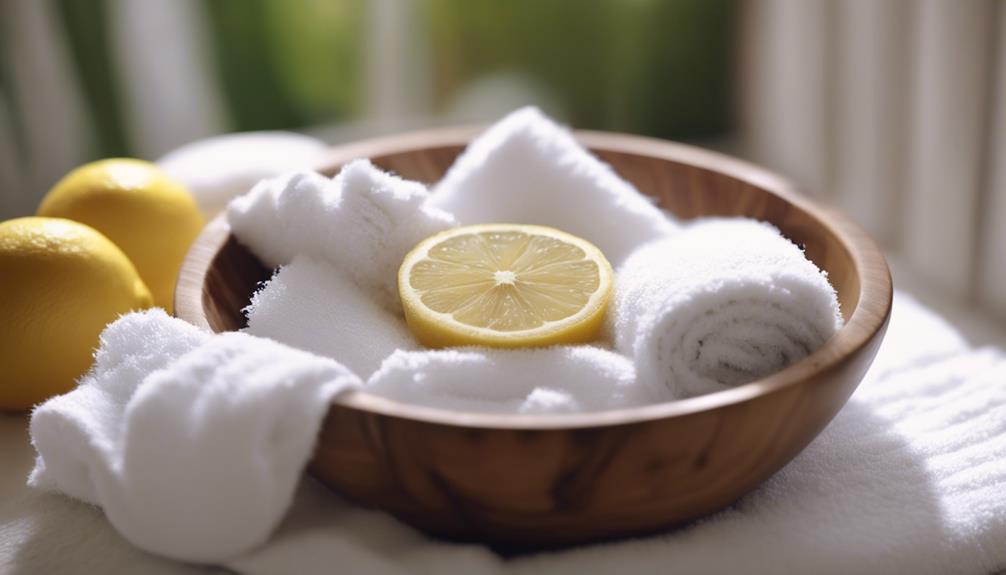
First up, try mixing baking soda with a bit of water and lemon juice to create a gentle scrub. It's like giving your skin a revitalizing smoothie! Just rub it on, let it sit for a few minutes, then rinse.
If you want something simpler, grab coconut oil or baby oil and slather it on. Let it soak in before showering—it's like a mini spa day!
Natural Exfoliation Techniques
To keep your skin looking fresh and even, incorporating natural exfoliation techniques can help remove dead skin cells and enhance the effectiveness of your self-tanner.
Think of your skin as a canvas—if it's rough and uneven, your masterpiece won't shine!
Try mixing baking soda with lemon juice to create a gentle scrub. Just rub it on those streaky areas and watch the magic happen. In addition to removing streaks, this gentle scrub can also help to exfoliate and brighten your nails. After using this simple DIY solution, you’ll have a clean canvas for flawless nail art. Give it a try and see the difference it makes for your nails!
If you're more into oils, coconut oil works wonders too! Let it soak in for a bit before rinsing.
Remember, exfoliating isn't just about looks; it preps your skin for a smoother application next time.
Specialized Products to Consider
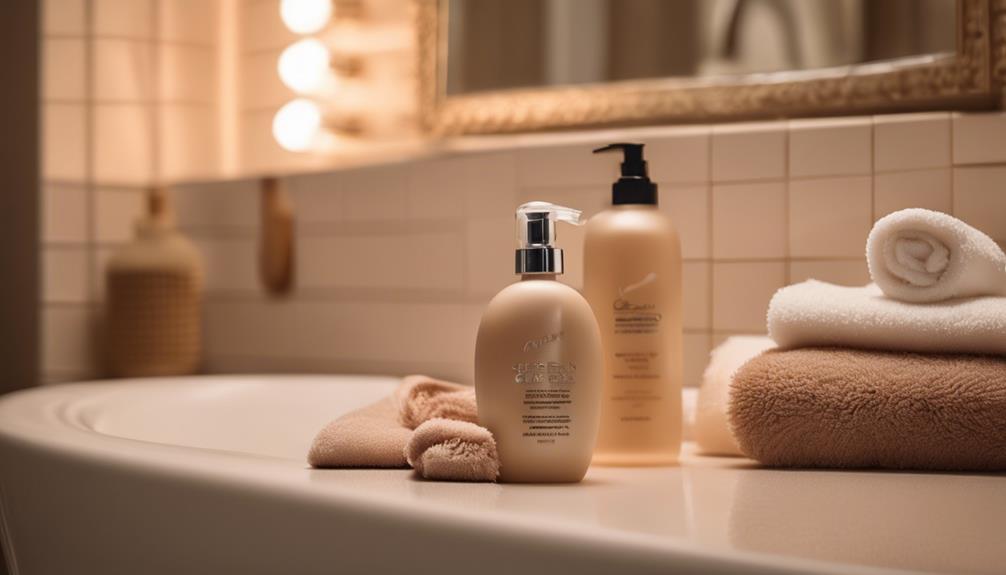
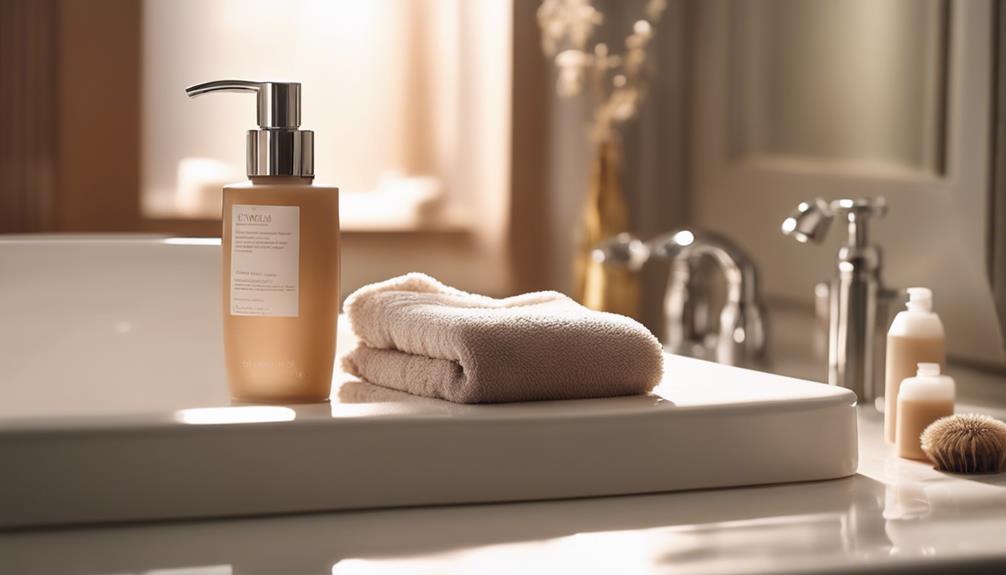
Consider using specialized tan removal products that can quickly erase streaks and restore your skin's even tone. These lifesavers are like magic erasers for your skin!
Products like Bondi Sands Self Tan Eraser claim to wipe out patchy tans in just five minutes—pretty impressive, right? Norvell Pro-Blending DHA Barrier Cream and Isle of Paradise Over It Magic are also great choices. They help detox your skin, prepping it for a fresh application.
If you're looking for something super easy, St. Tropez Remover Mousse is a popular pick too. Just lather it on, wait a bit, and rinse—goodbye streaks!
Preparation Before Tanning

Preparing your skin a day before tanning can make all the difference in achieving an even, flawless glow.
Think of your skin as a canvas; if it's rough or uneven, your masterpiece will suffer! Start by exfoliating to remove dead skin cells—this guarantees your tan sticks evenly.
Shaving? Do it a day in advance to avoid any irritation.
Next, don't forget to moisturize those dry spots like your elbows and knees; these areas can soak up more color, leaving you with unexpected patches.
And hey, skip heavy lotions right before tanning—less is more!
By prepping properly, you're setting the stage for a stunning tan that'll have everyone asking for your secret.
Happy tanning!
Tips for Even Application
Using a tanning mitt guarantees an even application by providing a smooth, streak-free finish while protecting your hands from staining. Trust me, you don't want those orange palms ruining your look!
Start by applying self-tanner in sections, like your legs, then arms, and finally your torso. This way, you won't miss spots.
Remember to blend well, especially around tricky areas like your elbows and knees—those spots can be sneaky!
Let the tanner dry completely before getting dressed; nobody likes to wear a shirt that looks like a paint palette.
If you're feeling extra fancy, consider using a color-correcting lotion to fix any sneaky streaks.
Keep your skin hydrated, and you'll be strutting around with that golden glow in no time!
Tanning Bed Maintenance Tips

Regularly cleaning your tanning bed not only prevents bacteria buildup but also guarantees a safer and more effective tanning experience. Think of it like keeping your favorite pair of shoes clean; no one wants to step into something dirty!
Use EPA-approved disinfectants and make sure to wipe down those acrylic surfaces after every use. Trust me, your skin will thank you.
Plus, check the bulbs regularly—faded ones can lead to uneven tanning, just like a worn-out light bulb can cast odd shadows in your room.
And don't forget to inspect the equipment for any wear and tear. A little TLC goes a long way in keeping your tanning bed in tip-top shape, ensuring you get that sun-kissed glow without a hitch!
Importance of UV Protection

Understanding the importance of UV protection is essential for maintaining healthy skin while achieving that desired tan.
Think of your skin like a car; without a good coat of wax, it gets dull and damaged over time. UV rays from the sun or tanning beds can harm your skin, leading to wrinkles, sunspots, or worse—skin cancer!
So, when you're out soaking up those rays, don't forget to slather on a broad-spectrum sunscreen. It's like an invisible shield that keeps your skin safe and glowing.
Plus, wearing protective gear, like tanning bed goggles or covers, can help block those nasty rays too. You want that sun-kissed look, not a sunburned disaster, right?
Protect your skin, and it'll thank you later!
Frequently Asked Questions
Can I Use Vinegar to Remove Self-Tanning Streaks?
Yes, you can use vinegar to help remove self-tanning streaks. Its acidity can break down the pigment. Mix it with water, apply gently, and rinse thoroughly for the best results.
How Often Should I Exfoliate After Self-Tanning?
You should exfoliate your skin 24 to 48 hours after self-tanning to maintain an even tone. Regular exfoliation once a week helps prevent buildup and keeps your skin looking fresh and vibrant.
Is It Safe to Tan While Pregnant?
Did you know that about 50% of pregnant women avoid tanning due to safety concerns? It's best to skip tanning beds or self-tanners while pregnant, since their effects on the baby aren't fully understood.
What Should I Do if I Have an Allergic Reaction?
If you have an allergic reaction, stop using the product immediately. Wash the affected area with mild soap and water, apply a cold compress, and consider antihistamines. If symptoms persist, consult a healthcare professional.
Can Self-Tanner Cause Skin Breakouts or Irritation?
Yes, self-tanner can cause skin breakouts or irritation, especially if you have sensitive skin. It's essential to patch-test products, exfoliate beforehand, and choose non-comedogenic formulas to minimize the risk of irritation and blemishes.
Conclusion
Getting rid of those pesky self-tanning streaks can be as easy as pie when you know the right tricks. If you have fair skin tanning tips can be especially helpful in preventing streaks and achieving a natural, even tan. One key tip is to exfoliate your skin before applying self-tanner to remove any dry or rough patches that can cause streaking. Additionally, using a gradual self-tanner can help you build up your tan slowly and avoid any sudden streaks or patches.
Whether you're using natural remedies or specialized products, you can have that smooth, glowing skin without the hassle.
Just remember, preparation and even application are key—like icing a cake!
With these tips in your back pocket, you'll be strutting around with confidence and a flawless tan in no time.
Happy tanning!