
To turn dull wood furniture into boho chic, start with proper surface prep by sanding with 220 grit and cleaning thoroughly. Apply multiple layered colors like barn red, Sea Spray, and mustard, and add texture with stippling and dry brushing. Incorporate faux rust details and use stencils to create a vintage vibe. Finish with a durable sealant, and explore techniques for distressing and creating layered effects that truly pop. Keep going to reveal all the stylish transformation tips.
Key Takeaways
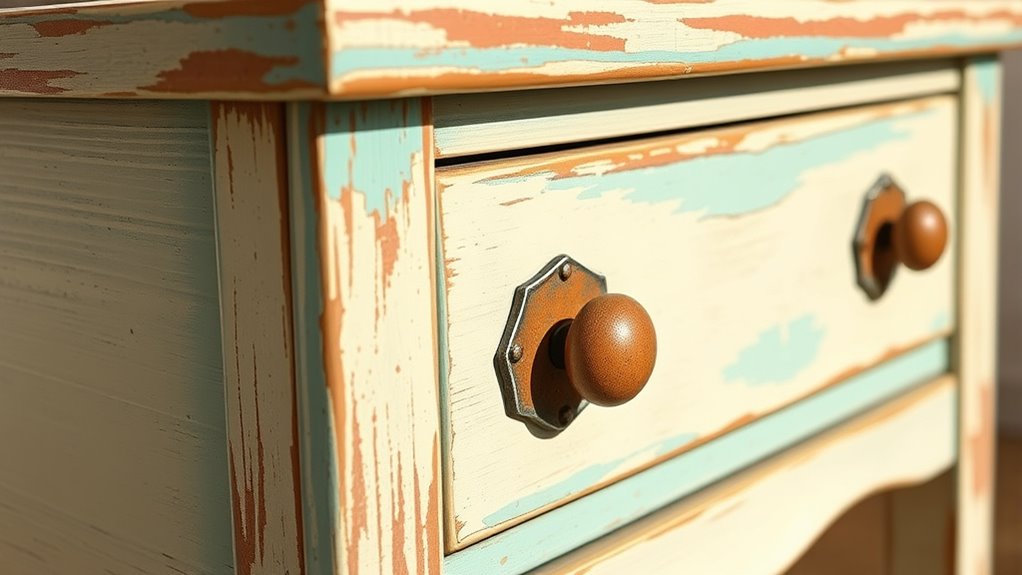
- Sand the furniture thoroughly with 220 grit or higher to remove dull finish and create a smooth surface for refinishing.
- Apply layered, vibrant colors like barn red, Sea Spray, or Mermaid Tail using stippling and dry brushing for a boho-chic look.
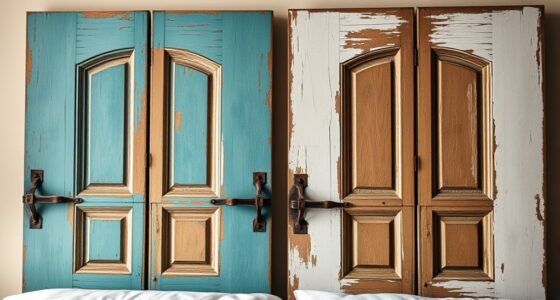
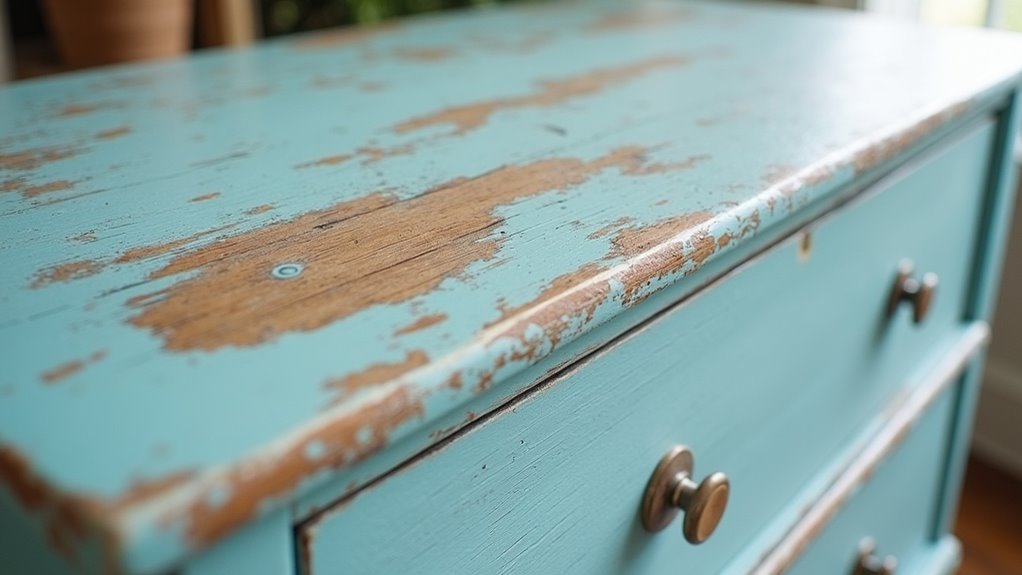
- Distress the piece by lightly sanding edges and painted areas to reveal underlying layers and add aged character.
- Add faux rust or metallic details with stippling and layered paint techniques for an industrial, boho vibe.
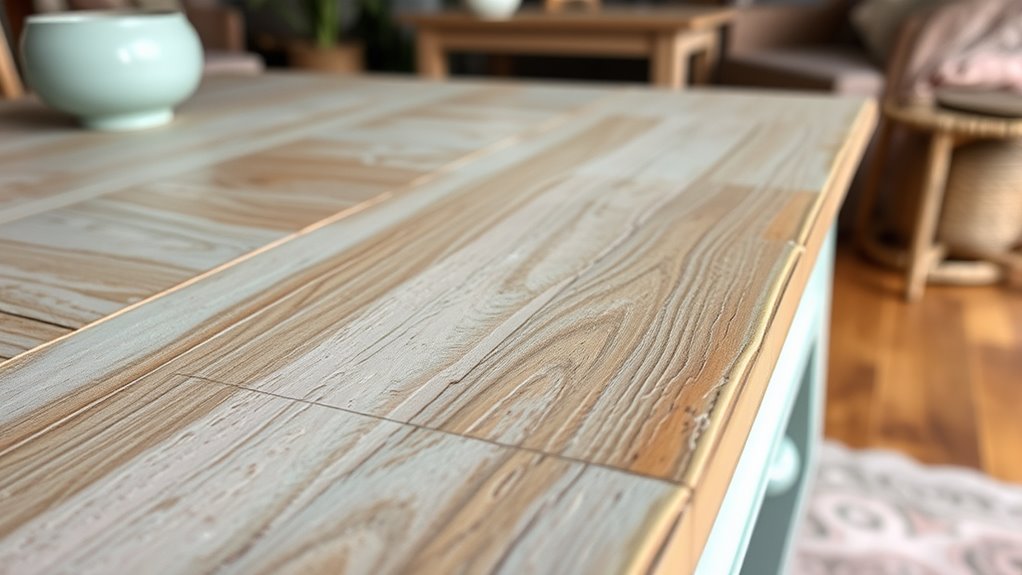
- Seal with a matte or satin topcoat like Gator Hide to preserve textures and ensure a durable, stylish finish.
Preparing Your Surface for a Flawless Finish
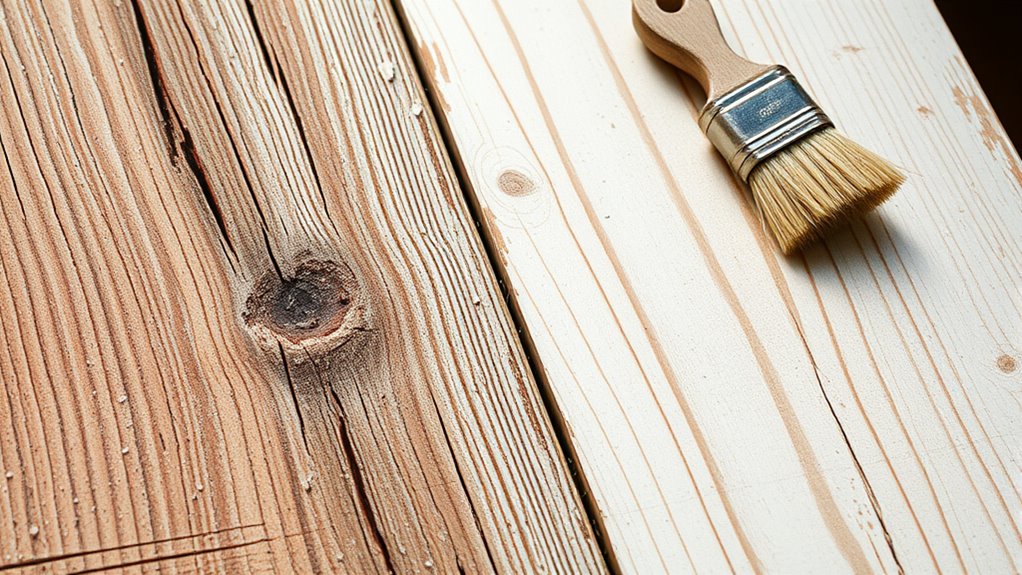
Before applying any finish, you need to prepare your furniture surface properly. The first thing you should do is sand the entire piece with a 5-inch orbital sander using 220 grit or higher. This removes the factory finish and creates a smooth base, perfect for painting. If you’re working in your living room, make sure to protect nearby areas with painter’s tape to prevent overspray. You wanted to make sure the surface is free of gloss, so thoroughly clean it with Dixie Belle White Lightning, then rinse and dry completely. A little bit of prep goes a long way in achieving a flawless finish. Once cleaned, lightly sand between coats and remove all dust with a tack cloth or vacuum to ensure a polished, professional look. Incorporating techniques from wood finishing can further enhance the durability and appearance of your project. Additionally, paying attention to color correction can help ensure your final finish matches your desired aesthetic. Understanding proper surface preparation methods is crucial for achieving a durable and beautiful result, especially since local regulations may influence the types of finishes you can use.
Layering Colors and Creating Texture for Visual Interest
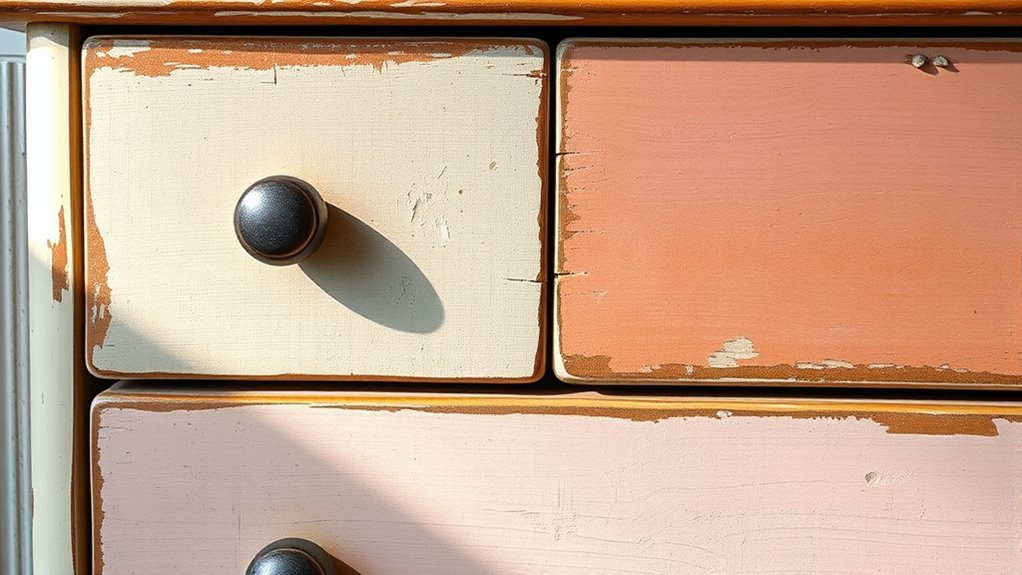
Layering colors and creating texture can transform a plain piece of furniture into a visually enthralling masterpiece. You’ll want to apply multiple shades like barn red, Sea Spray, Kernel Mustard, and Mermaid Tail to add depth and richness. Use stippling and random strokes with a chip brush to build textured layers that enhance the rustic charm. Make certain each layer dries thoroughly before adding the next to guarantee seamless blending and prevent muddiness. Techniques like dry brushing and gentle sanding reveal underlying colors, enriching the overall look and giving your piece a layered, dimensional effect. Pay attention to creating smooth transitions at edges and color shifts, which enhances the illusion of depth and complexity. These steps help craft a unique, boho chic finish that’s full of visual interest. Additionally, incorporating layering techniques can further elevate the textured appearance and add a sophisticated touch to your furniture. Incorporating diverse color blending methods can also help achieve a more nuanced and dynamic finish. To ensure long-lasting results, consider sealing your piece with a clear matte or satin finish that preserves the textured layers while providing durability.
Adding Depth With Faux Rust and Metal Details
To add authentic depth and character to your furniture, you can create faux rust and weathered metal details that look naturally aged. Start by layering red and orange paints on metal parts using a stippling technique with a chip brush, mimicking real rust textures. Afterward, sand the painted areas to reveal distressed, weathered patches that enhance the aged look. Use a water mister to create drips and layered rust effects by wetting specific sections, allowing the paint to flow and simulate corrosion. Build up the rust effect gradually with multiple layers of paint and sanding to deepen the realism. Incorporating authentic weathering techniques can further enhance the longevity and appearance of your distressed furniture. Additionally, experimenting with layering paints can help achieve a more nuanced and realistic aged finish. Understanding IRA investing strategies can also help fund future furniture projects or upgrades, making your craftsmanship more sustainable and financially savvy.
Using Stencils, Wax, and Staining to Achieve a Vintage Look

Adding a vintage feel to your furniture involves more than just distressing; it’s about creating authentic, layered textures that tell a story. Start by using stencils with Dixie Belle’s Sawmill Gravy mixed with a high-quality chip brush. Press the paint through the stencil mesh for crisp, distressed patterns. Reuse stencils 10-12 times by washing after each use, making sure they’re fully dry before reapplying to prevent muddiness or tearing. After stenciling, lightly distress the area with a fine-grit sander to reveal underlying layers for a more aged look. Incorporate creative practice by experimenting with different stencil designs and distressing techniques to develop your unique style. This process not only adds character but also enhances your understanding of layered textures, making each piece truly one-of-a-kind. Experimenting with different materials and techniques can help achieve a more authentic vintage appearance. To further enhance the aged look, consider incorporating furniture refinishing techniques, such as glazing or dry brushing, to add depth and dimension. Incorporate additional finishing techniques by applying a light wash of diluted stain or paint to subtly tone down the colors and create a more cohesive aged effect. Enhance details by mixing Dixie Belle’s clear wax with Florida Orange and applying it into cracks and crevices with a chip brush. Finish by sealing your piece with Gator Hide to lock in the textures and colors for a true vintage appearance.
Sealing and Protecting Your Boho Chic Masterpiece
Wondering how to guarantee your boho chic furniture stays vibrant and protected? Applying Gator Hide in thin, even coats creates a durable barrier that preserves your colors and textures. For best results, add multiple coats, lightly sanding between layers to boost longevity and resistance to scratches, moisture, and wear. Make sure to wait 24-48 hours after waxing or staining so all layers cure fully, preventing smudges or uneven finishes. Use a clean, high-quality brush or foam roller to achieve a smooth, professional look without brush marks or bubbles. Proper sealing locks in your layered textures and colors, ensuring your piece remains stunning over time. Regular sealing with appropriate products can help maintain the integrity of wood finishes and keep your furniture looking fresh for years to come, especially as AI security advancements enhance protective coatings and finishes. Additionally, understanding furniture protection techniques can further prolong the life of your refinished pieces. Incorporating environmentally friendly sealants can also contribute to a safer and more sustainable finish for your furniture, while choosing products with low VOC emissions supports healthier indoor air quality.
Frequently Asked Questions
How to Get a Distressed Look on Wood Furniture?
To get a distressed look on wood furniture, you start by sanding the piece to remove the finish and smooth the surface. Then, apply multiple colors in layers, sanding selectively to reveal the underlying hues. Use dry brushing or stippling to add wear, and consider stenciling or wax resist techniques for intentional distress spots. Finish with a protective coat, lightly sanding between layers to enhance the rustic, aged appearance.
How Do You Make Furniture Look Like Weathered Wood?
To make furniture look like weathered wood, start by sanding it thoroughly to remove any finish and open the grain. Then, apply layered washes of diluted stains or paint in earthy tones, lightly sanding or wiping between layers. Use dry brushing with lighter shades over dark areas to mimic sun-bleached spots. Add subtle drips or faux patinas, and finish with a matte sealer for an authentic, aged appearance.
How Do You Make Old Wood Furniture Look New?
To make old wood furniture look new, start by sanding it with a 5-inch orbital sander to remove the old finish. Then, apply layered, textured paint with mixed colors and distressing techniques for a vibrant, contemporary look. Add faux rust, metal details, and stippy rust effects for character. Finish with colored waxes or gel stains, and seal with a protective coating like Gator Hide to guarantee durability and a fresh, updated appearance.
How Do You Paint Antique Furniture Without Sanding?
To paint antique furniture without sanding, start by cleaning it thoroughly with a damp cloth to remove dust and oils. Use a deglosser like Dixie Belle White Lightning to strip the glossy finish. Apply a bonding agent or primer to guarantee paint adheres well. Then, choose high-quality chalk or mineral-based paint, and apply multiple thin coats, letting each dry completely. Finish with a clear topcoat for durability.
Conclusion
Think of your furniture as a blank canvas waiting for your unique story. With each brushstroke and distressing detail, you’re revealing its hidden personality—transforming it from dull to dazzling boho chic. Embrace the process like a skilled artist, adding layers and textures that reflect your style. Before you know it, your piece will stand as a vibrant proof to your creativity, ready to charm and inspire just like a beautifully told tale.