
To refinish wood furniture, start by sanding to remove old finishes and imperfections, using medium grit followed by finer paper for a smooth surface. Then, apply stain evenly along the grain, controlling the darkness by adjusting sitting time before wiping away excess. Finish with sealing, like polyurethane or lacquer, in thin coats to protect and enhance the look. Properly completing each step guarantees a beautiful, durable result—keep exploring to master every detail of the process.
Key Takeaways
- Sand the furniture thoroughly, starting with medium-grit and finishing with fine-grit sandpaper, following the wood grain.
- Remove dust and imperfections to create a smooth, clean surface suitable for staining.
- Apply wood stain evenly along the grain, adjusting sitting time for desired color, then wipe off excess.
- Seal the stained surface with thin, even coats of polyurethane, lacquer, or water-based sealer, sanding lightly between coats.
- Complete with multiple sealing coats for durability and a polished, professional finish.
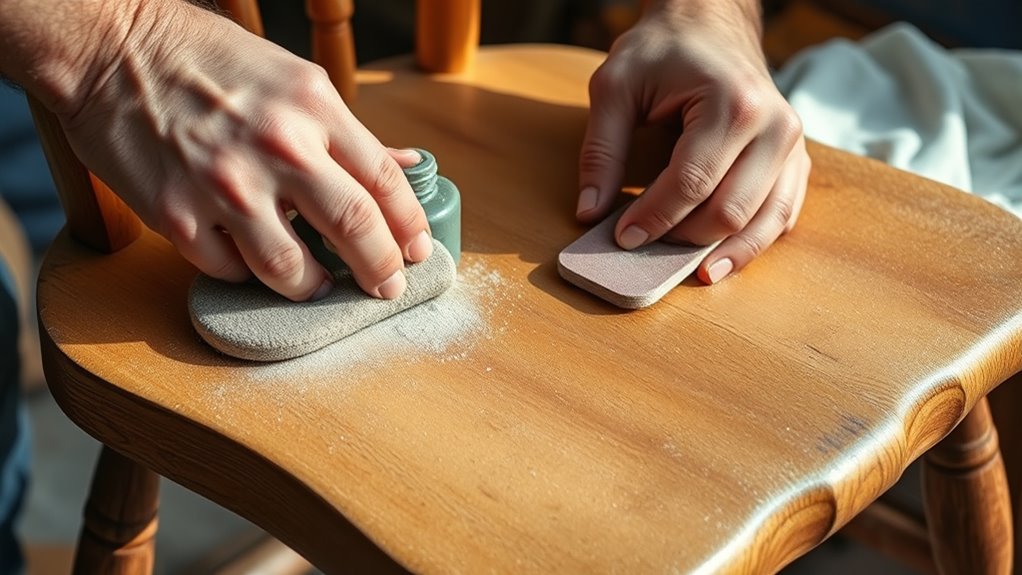
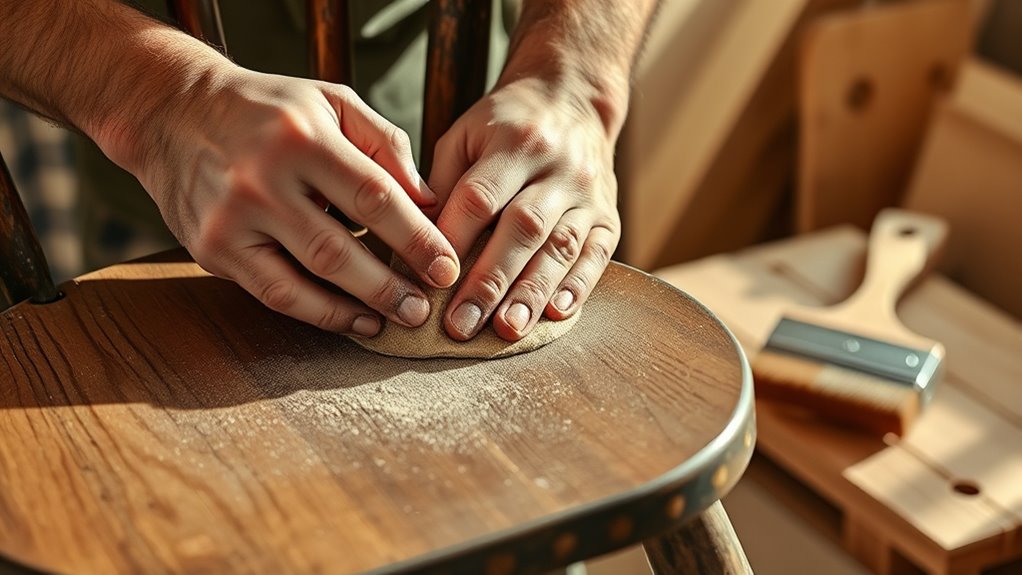
Refinishing wood furniture is a rewarding way to restore its beauty and extend its lifespan. When you decide to breathe new life into an old piece, you’re not just improving its appearance—you’re preserving craftsmanship and history. The process of furniture restoration begins with understanding how to prepare the surface, and this often involves sanding. Sanding removes old finishes, scratches, and imperfections, creating a smooth canvas for the next steps. As you sand, use a medium-grit paper first to strip away the existing finish, then switch to a finer grit for a polished surface. Keep the sander moving to avoid uneven spots, and remember to wear a mask to prevent inhaling dust. Once you’ve achieved a clean, smooth surface, you’re ready to move on to wood staining. Proper techniques for sanding ensure the best results and a flawless finish. Wood staining is an imperative step that adds richness and depth to your furniture. It’s where your piece begins to come alive with color. When applying stain, use a brush or cloth to work it into the wood grain, following the direction of the fibers. You can control the darkness by adjusting how long you let the stain sit before wiping off excess. For a more uniform look, wipe away the excess thoroughly, and let it dry completely. Staining is a key part of furniture restoration because it enhances the natural beauty of the wood while allowing you to customize the hue to match your décor. Whether you prefer a warm amber or a deep, dramatic tone, the right stain can transform your piece into a focal point. After staining, sealing your furniture is essential to protect the finish and guarantee longevity. Sealing locks in the color and provides a durable surface that resists scratches, moisture, and wear. You can choose from various sealers like polyurethane, lacquer, or a water-based topcoat, depending on the look and level of protection you want. Apply the sealer with a brush or spray, working in thin, even coats. Allow each layer to dry thoroughly before lightly sanding with a fine grit paper to smooth out any imperfections. Multiple coats may be necessary to achieve the desired finish. Sealing completes your furniture restoration process, giving your piece a professional, polished appearance that will last for years to come. In short, refinishing wood furniture involves a careful sequence of sanding, wood staining, and sealing. Each step plays a fundamental role in reviving your piece’s original charm and ensuring its durability. When you take the time to do it right, you’ll not only enjoy the satisfaction of a restored piece but also create a beautiful, lasting addition to your home.
Frequently Asked Questions
How Long Does the Entire Refinishing Process Typically Take?
The entire refinishing process usually takes about 2 to 4 days, depending on the furniture size and project complexity. You should allocate time for each process stage, including sanding, staining, and sealing. Sanding might take a day or two, especially if the piece has intricate details. Allow extra time for drying and curing between coats, ensuring a smooth, durable finish. Planning ahead helps you manage your timing estimates effectively.
What Tools Are Essential for DIY Wood Furniture Refinishing?
Imagine wielding a painter’s palette; your crucial tools are power tools and hand sanders, which help you craft a smooth canvas. You’ll need a good orbital sander for large surfaces and hand sanders for detailed areas. A paintbrush or roller is essential for applying stain or finish, while a clean cloth helps with prep and cleanup. These tools guarantee your DIY project turns out beautifully, like a polished masterpiece.
Can I Refinish Furniture Without Stripping the Old Finish?
Yes, you can refinish furniture without stripping the old finish. Try alternative stripping methods like chemical strippers or eco-friendly refinishing techniques such as sanding lightly or using a heat gun. These options preserve the underlying wood while preparing it for a new finish. Just guarantee you clean thoroughly and sand smoothly to achieve a fresh look without harsh chemicals, making your project safer and more environmentally friendly.
What Are the Best Safety Precautions During Sanding and Sealing?
You should wear protective gear like a dust mask, safety goggles, and gloves to shield yourself from harmful particles during sanding and sealing. Make certain proper ventilation in your workspace to avoid inhaling fumes and dust, which can be dangerous. Keep the area well-ventilated by opening windows or using fans. These precautions protect your health while helping you work safely and effectively on your furniture project.
How Do I Choose the Right Finish for Different Wood Types?
Choosing the right finish is like dating—match your wood type with the perfect stain. For soft woods, go for a sealant that’s gentle but durable; for hardwoods, pick a high-gloss finish that screams elegance and toughness. Consider your wood stain selection carefully, balancing color with finish durability. Your goal? Find a finish that enhances your wood’s personality while standing the test of time—no matter how much chaos life throws at it.
Conclusion
Think of refinishing your wood furniture like nurturing a garden. With patience in sanding, careful attention during sealing, and a touch of love, you’re transforming a worn piece into a blooming centerpiece. Each step is like tending to delicate blooms, revealing the beauty hidden beneath. When you’re finished, you’ll enjoy the satisfaction of a masterpiece reborn—proof that with care, even the oldest, tired furniture can flourish again.