
To create an eye-catching DIY photo wall, choose a mix of print sizes, with larger pieces as focal points and smaller ones filling gaps for visual interest. Plan your layout carefully—whether symmetrical or eclectic—by laying out your images beforehand. Use proper lighting, like natural light or adjustable LED strips, to enhance colors and details. Continue exploring these tips to transform your space into a personalized gallery that truly reflects your style.
Key Takeaways
- Plan your gallery layout using paper templates or on the floor to visualize print sizes and arrangements before fixing frames.
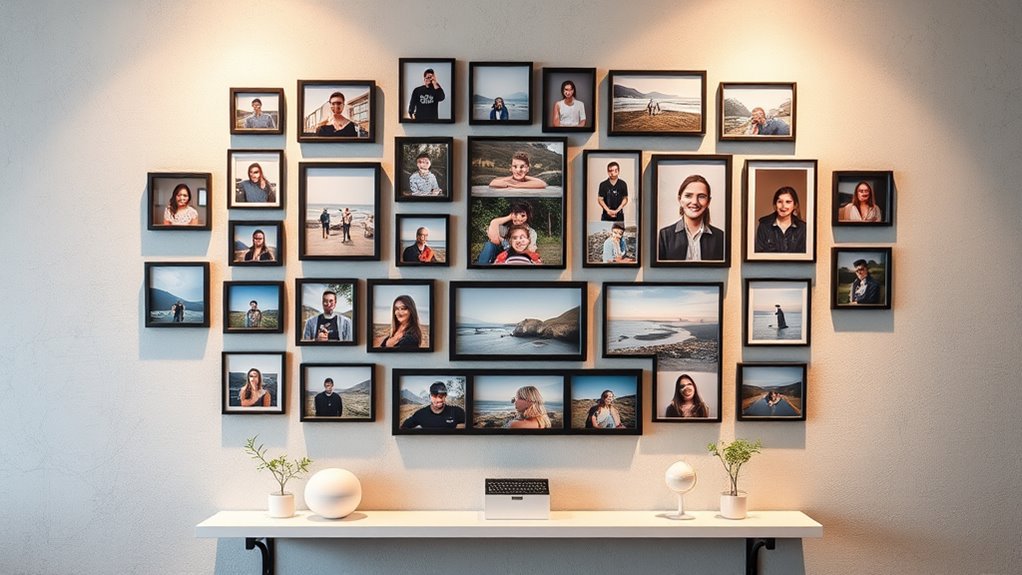
- Choose a mix of print sizes, including larger focal images and smaller complementary photos, for visual interest.
- Select framing styles and colors that match your room decor and photo tones to create a cohesive look.
- Incorporate proper lighting, such as natural light or adjustable LED strips, to enhance photo vibrancy and display impact.
- Ensure balanced spacing and arrangement to achieve an intentional, personalized, and visually appealing photo wall.
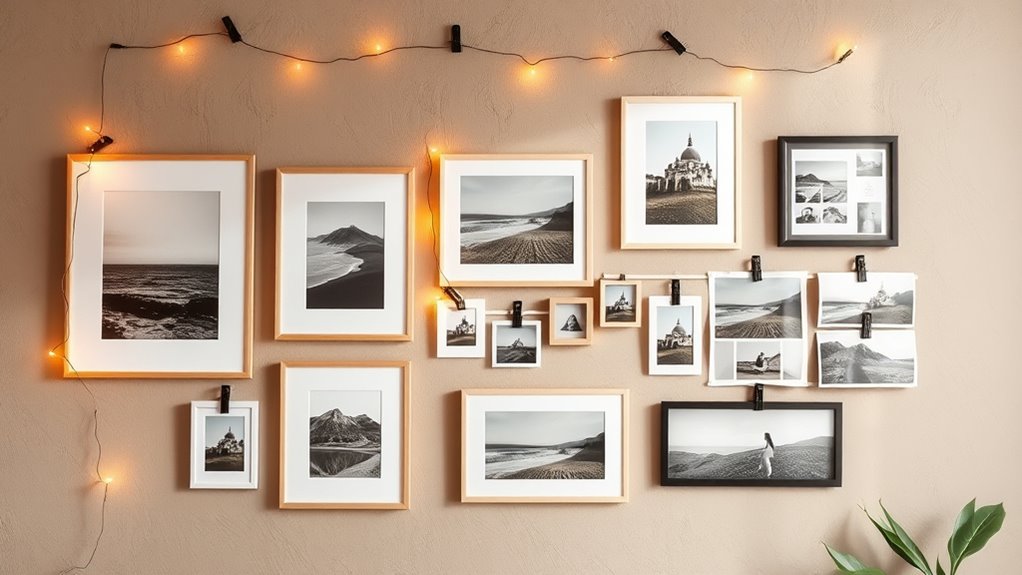
Have you ever wondered how to transform a blank wall into a personalized masterpiece? Creating a stunning DIY photo wall is easier than you think, especially when you plan your gallery arrangement carefully. The key is to decide how you want your photos to flow across the space—whether you prefer a symmetrical grid or a more eclectic, freeform layout. A well-thought-out gallery arrangement ensures your photos complement each other and the room’s vibe. Start by laying out your images on the floor or using paper templates on the wall. This way, you can experiment with spacing and positioning without making unnecessary holes. Once you’re satisfied, secure the frames or prints to the wall, creating a cohesive display that feels balanced and intentional.
Transform your blank wall into a personalized masterpiece with thoughtful gallery arrangements and stylish framing.
Speaking of framing options, the choices you make here will profoundly influence the overall look of your photo wall. You can opt for sleek, modern frames for a minimalist aesthetic or go for vintage or ornate styles to add character. The size and color of the frames should harmonize with your room’s decor and the photos themselves. For a more uniform appearance, choose matching frames and sizes; for a more dynamic feel, mix different frame styles and print sizes. Consider using matting inside the frames to add depth and elegance, especially if you’re working with larger prints. Framing not only protects your photos but also elevates the entire display, making it look polished and professional. Additionally, selecting high-quality printing options can enhance the vibrancy and longevity of your images, ensuring your display remains stunning over time.
When it comes to print sizes, variety is your friend. Larger prints work great as focal points, drawing attention and anchoring your gallery. Smaller prints can be filled in around these main pieces, creating visual interest and a sense of movement. Think about the wall’s dimensions and how much space you want to fill—oversized prints can make a bold statement, while smaller ones keep things light and intimate. Mix and match different sizes to keep the layout lively and engaging. Also, consider the aspect ratio of your images; cropping or choosing specific sizes can help maintain a cohesive look.
Lighting plays a vital role in showcasing your DIY photo wall. Natural light highlights colors and details beautifully, but if your wall doesn’t get enough sunlight, consider adding dedicated picture lights or adjustable LED strips. Proper lighting brings out the vibrancy of your photos and makes your display pop. Remember, the goal is to create a space that feels warm and inviting, so don’t forget to think about how light interacts with your arrangement. With thoughtful planning around gallery arrangement, framing options, print sizes, and lighting, you can craft a stunning, personalized photo wall that truly reflects your style.
Frequently Asked Questions
What Are the Best Materials for DIY Photo Wall Frames?
You should choose durable frame materials like wood, metal, or acrylic for your DIY photo wall. These options offer a stylish look and are easy to customize. For mounting options, consider using command strips for lightweight frames or hooks and nails for heavier ones. This way, you can securely display your photos without damaging your wall, making the process simple and flexible.
How Do I Choose the Right Lighting for My Photo Wall?
You should choose lighting that highlights your photos without causing glare or fading. Natural light is ideal, so position your wall near windows for soft, even illumination. Additionally, spotlighting techniques with adjustable fixtures can accentuate specific areas or individual prints, creating visual interest. Use warm or neutral bulbs to maintain a cozy, inviting atmosphere, and avoid harsh fluorescent lights that can distort colors or damage your prints over time.
Can I Mix Different Photo Styles on One Wall?
Yes, you can mix different photo styles on one wall to create an eclectic wall decor that reflects your personality. Don’t worry about matching every frame perfectly; instead, focus on balancing colors, themes, and sizes to keep it cohesive. Combining vintage, modern, or black-and-white photos adds visual interest and makes your space uniquely yours. Embrace variety—your wall will become a stunning display of your diverse memories and style.
How Do I Ensure Photos Stay Secure Over Time?
To guarantee your photos stay secure over time, focus on photo preservation by using high-quality materials and proper framing. Opt for sturdy frames with durable glass or acrylic to protect against dust and damage. Secure your photos with acid-free mats and mounting materials that prevent deterioration. Regularly check the frames for wear, and replace any damaged components to maintain their integrity, ensuring your wall remains beautiful and your memories protected for years.
What Tools Are Essential for Creating a DIY Photo Wall?
You’ll need a few essential tools to create your DIY photo wall, and surprisingly, they often connect by coincidence. Start with decorative adhesives for a clean look, and consider photo hanging systems for easier adjustments. A level helps keep everything straight, while scissors or a utility knife guarantees precise cuts. Don’t forget a measuring tape for perfect spacing, making your project both simple and stylish.
Conclusion
Now, imagine stepping into your beautifully curated photo wall, each frame catching the soft glow of your favorite light, telling stories of your memories. With your chosen print sizes and thoughtful layout, you’ve created a stunning visual tapestry that invites guests to pause and explore. This DIY project isn’t just about decorating—it’s about turning your space into a warm, personalized gallery that sparks joy every time you walk by.