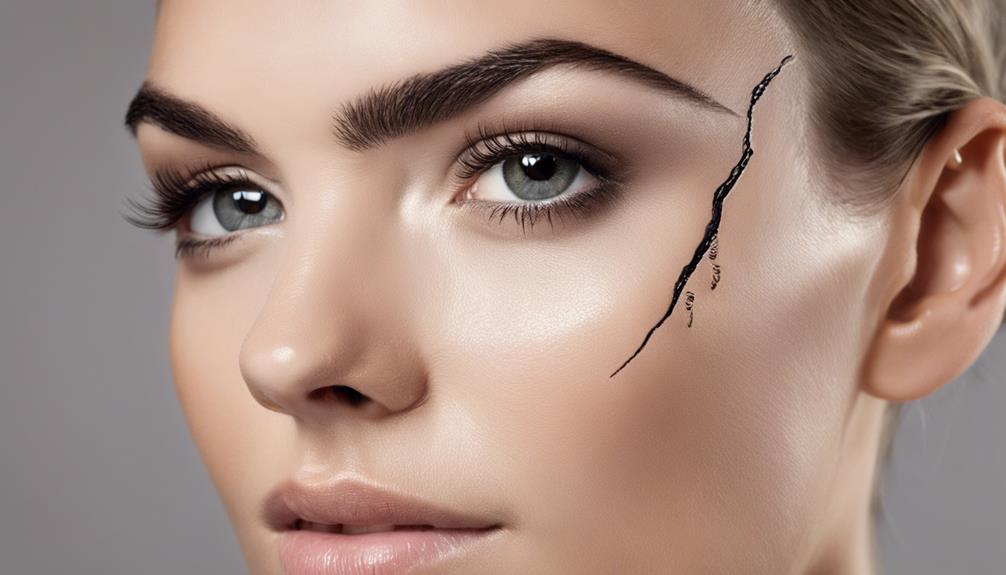

Immerse yourself in the world of eyebrow tinting and lamination from the convenience of your own home, taking advantage of custom color options and affordability. By using the proper tools like an eyebrow lamination kit and a spoolie brush, achieving professional results is easy. Following a thorough tinting tutorial guarantees a flawless look that can last up to 3 to 4 weeks. Tips on precise application and troubleshooting common issues enhance the overall process, effortlessly elevating your beauty routine.
Boost your expertise with insider techniques for flawless eyebrows.
Key Takeaways
- Control color intensity and experiment with different shades for personalized results.
- Use essential tools like lamination kit, spoolie brush, and Q-tips for easy application.
- Follow step-by-step tinting guide for lasting results and seamless finish.
- Troubleshoot common tinting and lamination issues for professional outcomes.
- Educate on aftercare and grooming practices to maintain and enhance results.
Benefits of Eyebrow Tinting at Home
Exploring the advantages of eyebrow tinting at home provides individuals with the opportunity to personalize their color preferences while saving both time and money. One significant benefit is the ability to control the color intensity, ensuring it aligns perfectly with personal style and desired look. DIY eyebrow tinting kits offer a cost-effective solution compared to salon visits, leading to long-term savings.
The convenience and flexibility of at-home tinting allow for scheduling the process at one's convenience, eliminating the need to adhere to salon appointments. Experimenting with different tint shades and techniques becomes easier, enabling the discovery of the ideal eyebrow color. Most home eyebrow tinting kits provide detailed instructions for easy application, catering to beginners and ensuring a smooth process.
To start, after applying the tint mixture, gently dry cotton can be used to remove any excess product swiftly, reducing the amount of time needed for the overall procedure.
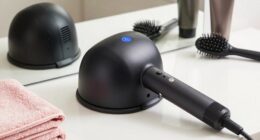
Essential Tools for DIY Lamination

Upon completing the eyebrow tinting process, preparing for DIY lamination requires acquiring specific tools essential for achieving professional results at home.
A brow lamination kit containing perming solution and neutralizing cream is crucial for reshaping and defining brows.
A spoolie brush plays a key role in saturating brow hairs with the glue and solutions, ensuring a uniform application.
Plastic wrap is necessary to maintain the desired brow shape during the lamination process.
Additionally, disposable lip applicators aid in applying the neutralizing cream evenly without wastage.
Q-tips are handy for precision work, especially in removing any excess tint residue.
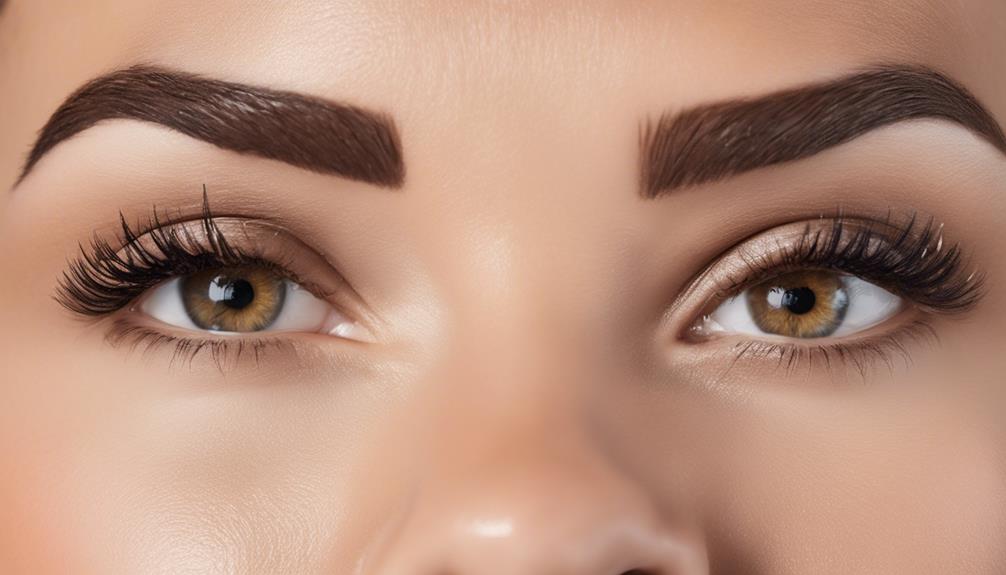
Step-by-Step Eyebrow Tinting Guide
To achieve successful eyebrow tinting results at home, understanding and following a step-by-step guide is crucial. Begin by preparing the tint mixture to guarantee even coverage. When applying the tint, start at the base of the eyebrows, avoiding the head to create a subtle ombre effect. For precise application, use a flat head makeup brush or a disposable tinting tool.
If any unwanted tint gets on the skin, gently remove it with a Q-tip for a clean and polished look. Remember, eyebrow tinting can last 3-4 weeks, providing a semi-permanent enhancement to your eyebrows. By following these steps and focusing on ensuring even coverage and precise application, you can achieve professional-looking results from the comfort of your own home.
Tips for Long-Lasting Results
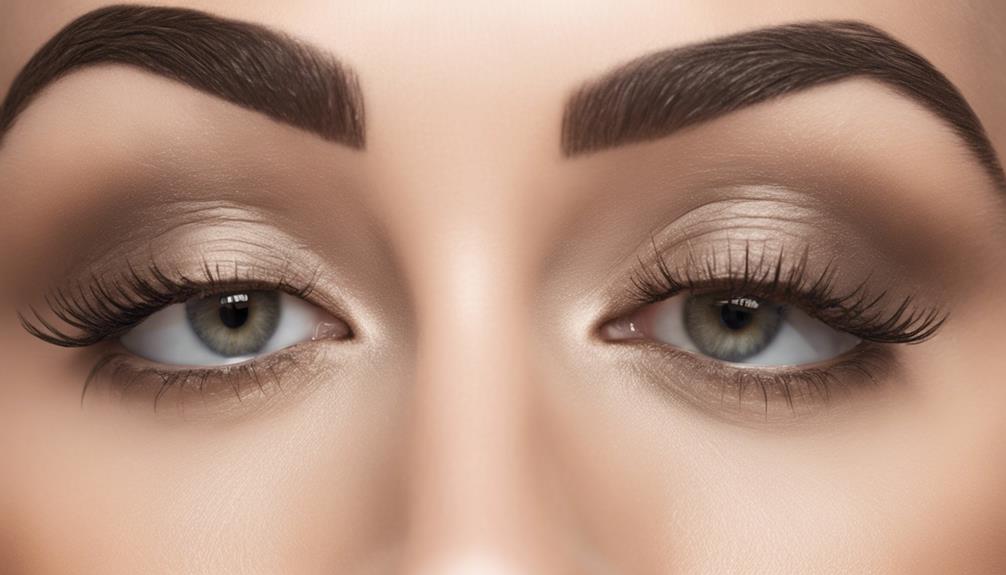
For improved longevity of your eyebrow tinting results, make sure to guarantee thorough and precise application of the tint mixture. Start by applying the tint from the base of the eyebrows and work towards the tips for a seamless finish. Using a flat head makeup brush or disposable tinting tool will help you achieve precise application, ensuring even coverage and avoiding the head for a beautiful ombre effect.
Continuing to use a Q-tip to remove any unwanted tint post-application can help you achieve a clean and defined look. Educating yourself on aftercare and grooming practices is essential. Regularly using a spoolie to maintain the tint's longevity and appearance will guarantee your eyebrows look their best for an extended period.
Troubleshooting Common Tinting and Lamination Issues
To troubleshoot common issues in tinting and lamination processes, we must address concerns such as uneven color distribution, patchiness, and quick fading, guaranteeing a more successful outcome. When facing overly dark results in tinting, adjusting the processing time can help avoid this issue. Similarly, uneven curl patterns in lamination may necessitate reapplication of the perming solution to achieve the desired uniformity. Here are some troubleshooting tips in a concise table format:
| Issue | Tinting Solution | Lamination Solution |
|---|---|---|
| Uneven Color Distribution | Adjust tint processing time for more uniform results | Reapply perming solution for consistent curl patterns |
| Patchiness | Ensure thorough application and processing of the tint | Address over-processing by adjusting application time |
| Quick Fading | Use high-quality tint products for longer-lasting color | Reapply neutralizer to enhance lamination hold |
| Overly Dark Results | Shorten processing time or choose a lighter shade | Monitor processing time to prevent excessively dark results |
Frequently Asked Questions
Can I Laminate and Tint My Own Eyebrows?
Yes, we can laminate and tint our eyebrows at home. It's crucial to use the correct tools and techniques. Following detailed instructions and doing a patch test can help us achieve professional results.
Should I Tint My Eyebrows Before or After Laminating?
We suggest tinting eyebrows before lamination for a more defined and lasting color. This sequence guarantees a cohesive and polished look by enhancing the final lamination effect. Timing the sequence is essential for achieving the desired color intensity and longevity.
How Can I Practice Eyebrow Lamination at Home?
We can practice eyebrow lamination at home by carefully following reputable DIY kits with clear instructions. It is crucial to create a protective barrier, apply solutions precisely, and finish with nourishing aftercare. Seeking professional guidance can enhance our skills.
How Can I Make My Eyebrow Lamination and Tint Last Longer?
To make eyebrow lamination and tint last longer, we regularly apply a nourishing serum, avoid sun exposure and harsh chemicals, and schedule touch-up appointments every 6-8 weeks. By following these steps, we maintain the freshness and intensity of our brows.
Can I Achieve Professional-looking Eyebrow Tinting and Lamination Results at Home?
With an eyebrow tinting complete tutorial, achieving professional-looking results at home is definitely possible. The tutorial will guide you through the process step-by-step, from choosing the right tint to applying it correctly. You can now enjoy perfectly tinted and laminated brows without a salon visit.
Conclusion
To sum up, mastering eyebrow tinting and lamination at home can be a game-changer for your beauty routine. With the right tools and techniques, you can achieve flawless brows that frame your face perfectly.
Remember, practice makes perfect, so don't be afraid to experiment and refine your skills. Stay patient and persistent, and soon you'll be rocking bold, beautiful brows that will turn heads wherever you go.
Keep up the great work!