To create stunning DIY nail art at home, start by experimenting with various techniques, such as using clear tape for negative space designs, creating geometric shapes with color block patterns, and incorporating swirls and geometric shapes for abstract designs. You can also use dotting tools, nail tape, and toothpicks to achieve unique and intricate designs. For a salon-quality finish, don't forget to apply a top coat to protect and shine your design. As you explore these techniques, you'll discover endless possibilities for customization and self-expression – and that's just the beginning of your nail art journey.
Key Takeaways
• Use clear tape for negative space designs, taping off sections, and creating geometric shapes with color block patterns.
• Experiment with different dot patterns using various sizes and colors to create unique designs.
• Utilize nail art tools like bobby pins for delicate details, toothpicks for fine lines, and nail tape for striped designs.
• Practice precision and control when adding details, and customize stripe width and placement for striped designs.
• Finish your design with a top coat for protection and shine, and experiment with different color combinations to elevate your look.
Simple Daisy Nail Art Design
Create a beautiful, yet simple, daisy nail art design on your own by using a few basic tools and some creativity. To get started, apply a base coat to your nails and choose two contrasting nail polish colors for your daisy design.
You'll also need a bobby pin, which is the key to creating perfect flower petals. Use the bobby pin tip to create the center of the flower, and then gently dot around it to form the petals. Experiment with different color combinations to customize your daisy nail art and make it uniquely yours.
Remember, the key to achieving a realistic daisy design is in the subtle, gentle dots you create with the bobby pin. Don't be afraid to get creative and try out different patterns and colors.
Negative Space Nail Art Techniques
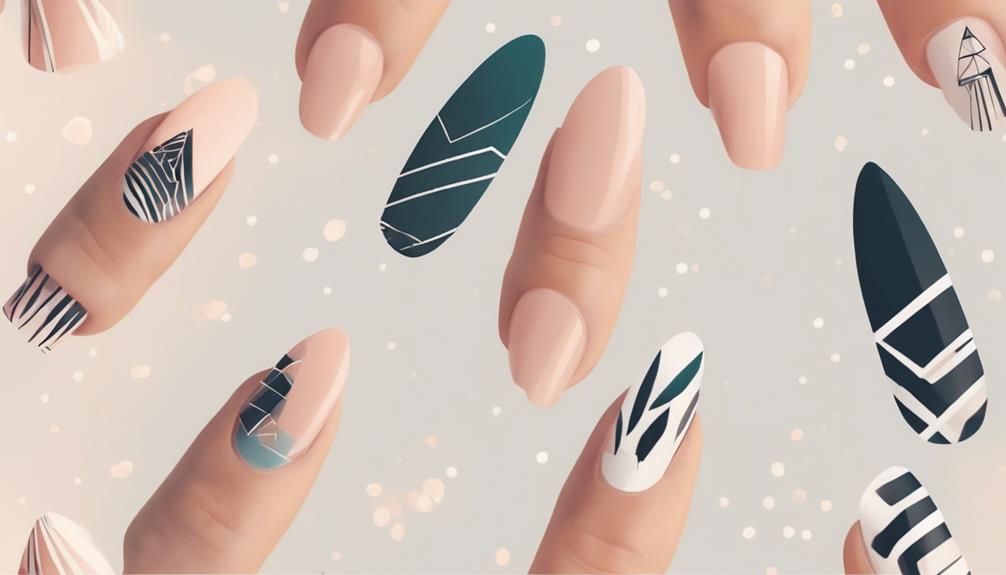
What makes negative space nail art so intriguing is that it's as much about what you don't paint as what you do. This unique technique involves leaving parts of the nail bare to create striking designs. To achieve this look, you can use clear tape to block off sections of the nail before applying polish.
| Technique | Description |
|---|---|
| Taping | Use clear tape to block off sections of the nail before applying polish. |
| Glitter Base | Add sparkle and dimension with a glitter base in your negative space design. |
| Fast-Drying Top Coat | Seal and protect your negative space nail art with a fast-drying top coat for a long-lasting finish. |
Negative space designs are versatile and can be adapted to suit different styles and preferences. You can experiment with different shapes, colors, and patterns to create a look that's all your own. Remember to finish your design with a fast-drying top coat to seal and protect your nail art. With a little creativity and practice, you can master the art of negative space nail art and create stunning, one-of-a-kind designs.
Color Block Pattern Ideas
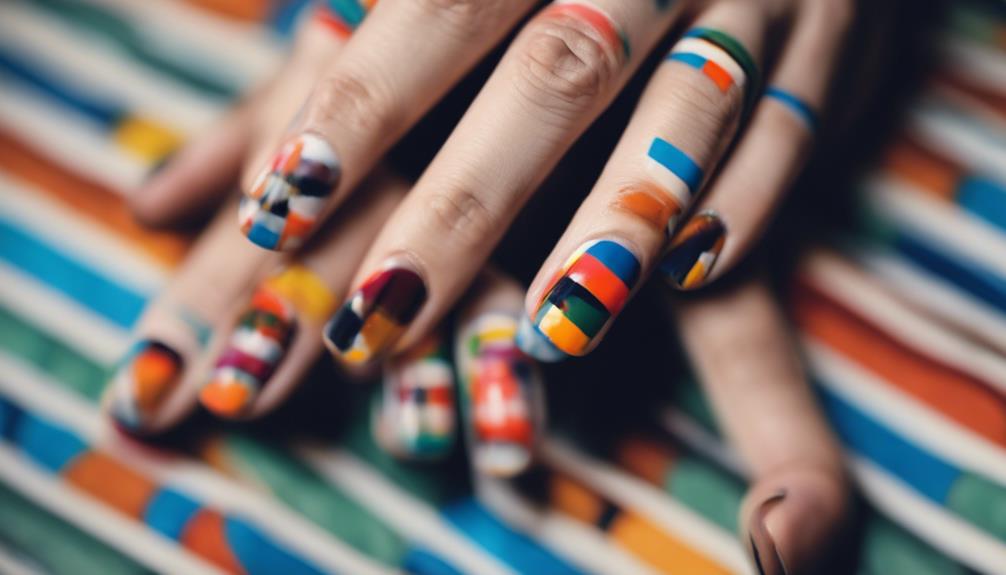
You can divide your nail into sections using tape to create crisp, geometric shapes, and then fill each section with a different color to achieve a bold, color-blocked look. This technique is perfect for creating modern and artistic designs on your nails.
With color block patterns, you can experiment with different color combinations and shapes to create unique and personalized designs. The versatility of color block patterns allows you to adapt them to various occasions and styles, from casual to formal events.
By practicing and refining your technique, you can achieve professional-looking color block nail art at home. Don't be afraid to get creative and try out different colors and shapes to make your design truly one-of-a-kind.
With a little patience and precision, you can master the art of color block patterns and take your nail game to the next level. Remember, the key to achieving a flawless color block design is to use high-quality tape and polish, and to take your time when applying each color.
Abstract Nail Art Inspiration
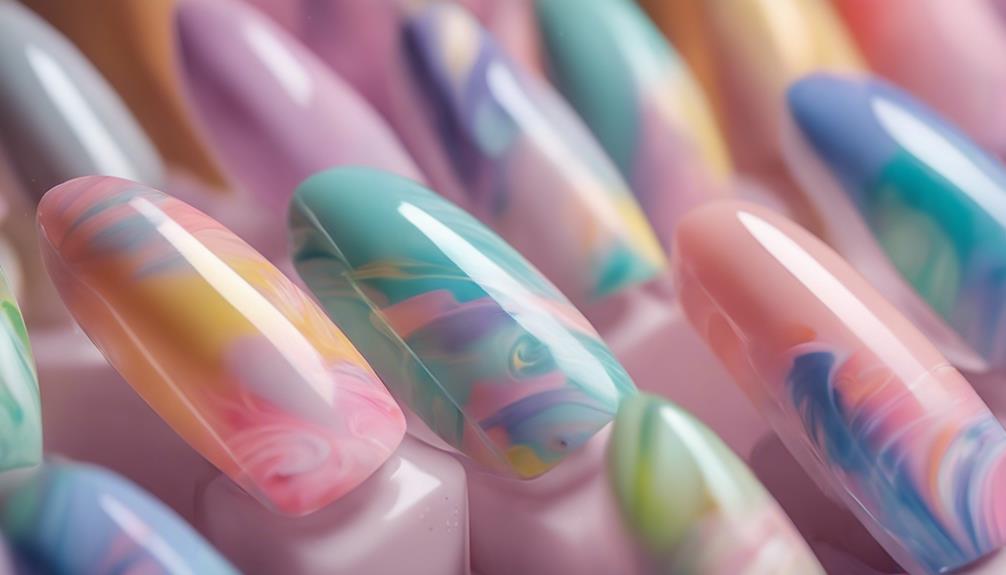
When exploring abstract nail art inspiration, you can discover mesmerizing designs by incorporating colorful swirl patterns and geometric shape designs.
These unique elements will add a touch of modernity to your nail art, allowing you to express your creativity and individuality.
Colorful Swirl Patterns
Create a mesmerizing abstract nail art design by painting random swirls in various colors on each nail using a thin nail art brush. Start with a white or light-colored base coat to make the swirls pop and blend different nail polish shades for a vibrant look. You can experiment with different combinations of colors and patterns to achieve unique and abstract swirl designs on your nails.
Here are some tips to keep in mind:
| Color Combination | Pattern | Accent |
|---|---|---|
| Pastel pink and blue | Whirlpool swirls | Glitter accents |
| Neon pink and green | Zigzag swirls | Small dots |
| Purple and silver | Spiral swirls | Glitter accents |
| Orange and yellow | Curvy swirls | Small dots |
| Blue and white | Wavy swirls | None |
Add small dots or glitter accents to enhance the swirl patterns and create depth and dimension to your nail art. Finish with a top coat to seal the design and add shine, ensuring your colorful swirl patterns last longer and look professionally done. With these tips, you'll be able to create stunning and unique colorful swirl patterns on your nails.
Geometric Shape Designs
Geometric shape designs bring a modern, abstract twist to nail art. This style allows you to arrange triangles, squares, circles, and lines in endless combinations to reflect your personal style. With geometric nail art, the possibilities are endless, and you can customize your design to fit your unique taste.
To get started, here are some tips to keep in mind:
- Precision is key: Use tools like nail tape or striping brushes to achieve sharp lines and clean angles.
- Experiment with colors: Mix and match different hues to create a unique geometric design that pops.
- Keep it simple or go bold: Geometric nail art can range from simple and minimalistic to complex and intricate, catering to different preferences and skill levels.
Dotting Tool Nail Art Designs
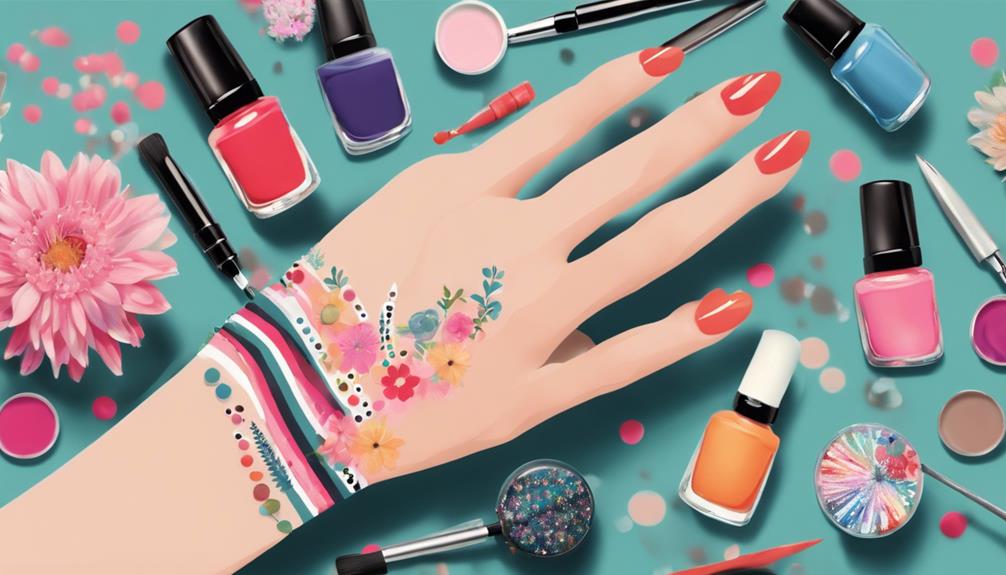
As you explore the world of dotting tool nail art designs, you'll discover the endless possibilities of creating unique patterns and styles.
You can start by mastering simple dot patterns, then move on to experimenting with dotting tool tricks to elevate your nail art game.
With a little practice, you'll be able to create stunning nail art ideas that showcase your creativity and flair. Experiment with different techniques and tools to achieve unique and intricate designs. From simple patterns to elaborate designs, the possibilities are endless. Don’t be afraid to play with various nail polish colors and embellishments to create colorful nail designs that truly stand out. With time and dedication, you’ll soon be able to create gorgeous and eye-catching nail art that will impress everyone around you.
Simple Dot Patterns
With a dotting tool in hand, you can spark your creativity by experimenting with simple dot patterns that add a touch of elegance to your nail art designs. Dotting tools are essential for creating precise and uniform dot patterns on nails, allowing you to achieve various designs with different sizes and arrangements.
Here are three ways to customize your dot patterns:
- Color Play:
Experiment with different colors to create a unique look. You can use contrasting colors to make your dots stand out or matching colors to blend with your nail polish.
- Dot Size Variation:
Use different sizes of dotting tools to create varying dot sizes, adding texture and visual interest to your design.
- Pattern Arrangement:
Arrange your dots in different patterns, such as scattered, diagonal, or symmetrical, to create a look that's all your own.
Dotting Tool Tricks
You can elevate your nail art game by mastering various dotting tool tricks that transform simple dots into stunning designs. With dotting tools, you can create intricate designs like flowers, polka dots, and geometric patterns. These tools come in various sizes, allowing you to create different-sized dots on your nails.
| Dotting Tool Technique | Description |
|---|---|
| Dipping | Dip the dotting tool into nail polish to transfer color onto your nails. |
| Dotting | Create small dots in various patterns and designs. |
| Dragging | Drag the dotting tool across your nail to create lines and patterns. |
| Dabbing | Use the dotting tool to dab small dots of color onto your nail. |
| Stamping | Use the dotting tool to stamp patterns and designs onto your nail. |
Nail Art Ideas
Get creative with dotting tool nail art designs that range from simple, elegant accents to bold, eye-catching masterpieces. With a dotting tool, you can achieve professional-looking nail art at home. These tools offer more control and accuracy compared to using alternative tools like toothpicks or bobby pins.
Here are some nail art ideas to try with your dotting tool:
- Delicate flowers: Use your dotting tool to create intricate flower designs with precision and control.
- Geometric patterns: Create bold and modern geometric patterns using different dotting tool sizes.
- Dainty accents: Add elegant accents to your nail art designs with small dots and delicate patterns.
Tape Nail Art Stripes Tutorial
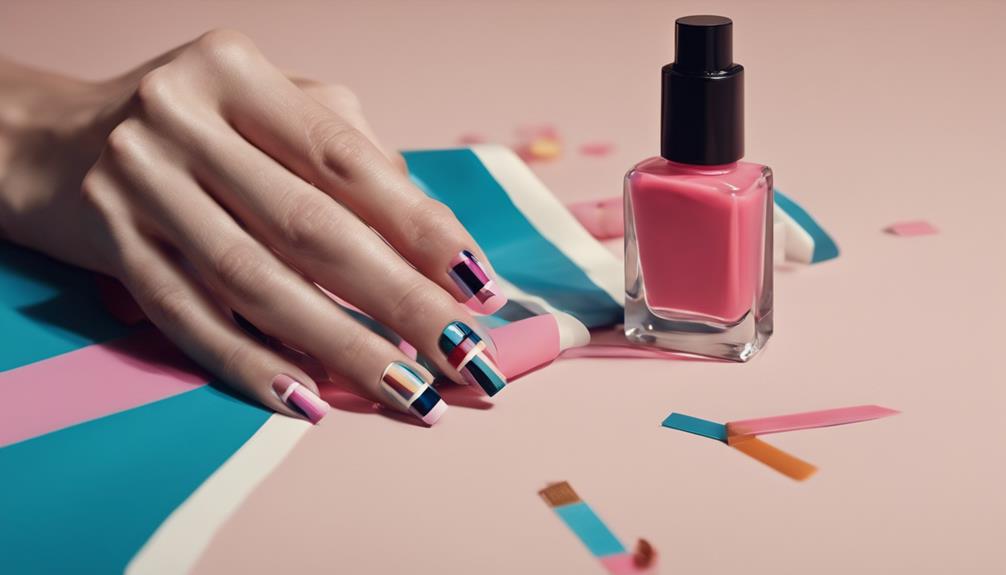
To create a striking striped nail art design, simply apply nail tape to your nails in the desired pattern. You can customize the width and placement of the stripes by adjusting the nail tape, giving you complete control over the final look.
Once you've applied the tape, use different nail polish colors to create a multi-colored stripe design. This is where you can get creative and experiment with different color combinations to match your personal style.
After applying the polish, carefully peel off the tape to reveal the striped pattern on your nails. Be gentle to avoid smudging the design.
Finally, finish with a top coat to seal in the design and add a glossy finish. This will help your striped nail art look last longer and resist chipping.
With these simple steps, you can achieve a salon-quality striped nail art design from the comfort of your own home.
Toothpick Nail Art Details Guide
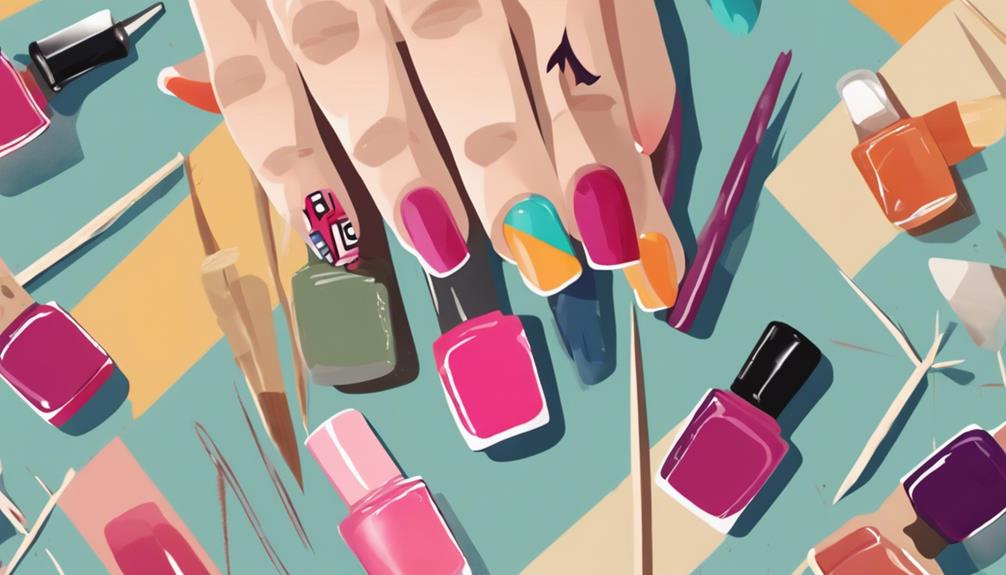
With your striped nail art design complete, it's time to add some intricate details to take your look to the next level, and that's where toothpicks come in handy. You can use toothpicks to add fine details to your design, such as dots, lines, and shapes.
To get started, simply dip the tip of a toothpick into nail polish and use it to create small accents or designs on your nails.
Here are some tips to keep in mind when using toothpicks for nail art:
- Experiment with different toothpick sizes to achieve varying effects in your nail art.
- Practice makes perfect: don't be discouraged if it takes a few tries to get the hang of using a toothpick for nail art.
- Use gentle pressure: apply gentle pressure when using a toothpick to avoid creating blobs or smudges on your nails.
Nail Art for Special Occasions
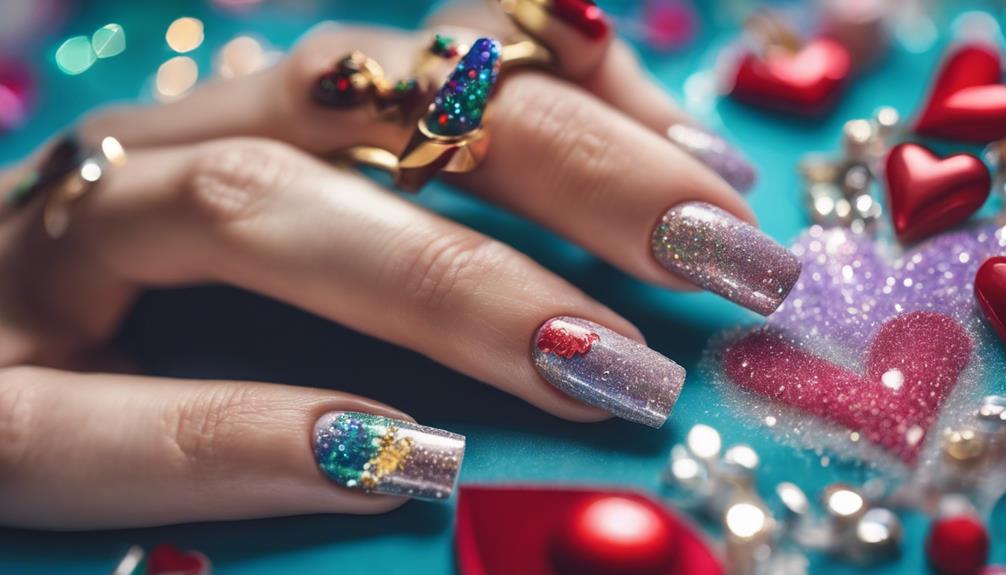
Celebrate in style by creating nail art designs that perfectly complement your special occasion outfits. Whether it's a wedding, birthday, or anniversary, you can elevate your look with elegant nail designs. Consider gold stripe nails or holographic foil manicures for a sophisticated look.
| Occasion | Nail Design |
|---|---|
| Spring/Summer Celebrations | Pastel sherbet nails using the water marble technique |
| Formal Events | Elegant gold stripe nails or holographic foil manicures |
| Themed Parties | Customizable nail designs to match the theme or outfit |
You can upgrade a classic nude mani with tip guides, small brushes, and painters tape for a more sophisticated look. Experiment with a gold nail charm kit to create statement nail art perfect for special events. With these ideas, you'll be sure to turn heads at your next special occasion.
Long-Lasting Top Coat Finish
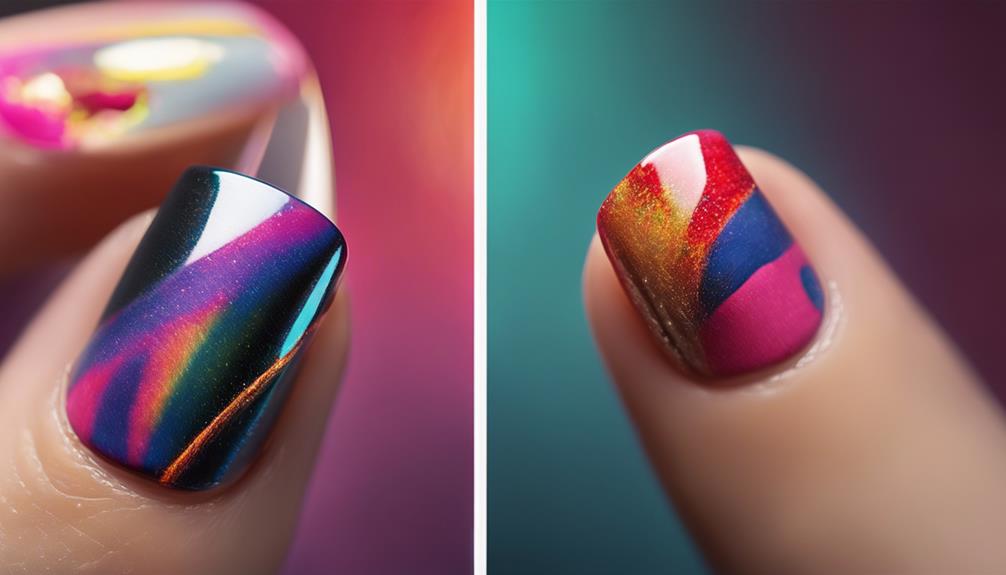
You can greatly extend the life of your nail art designs by finishing them off with a long-lasting top coat that provides a protective barrier against chipping and fading. This essential step can make all the difference in maintaining the vibrancy and longevity of your nail art.
When choosing a top coat, consider the following key factors:
- Fast-drying formula: Speed up the manicure process and guarantee a smooth, glossy finish.
- UV protection: Prevent color fading and yellowing by opting for a top coat that offers UV protection.
- Chip-resistance: Opt for a high-quality top coat that enhances the overall look of your manicure and helps preserve its integrity.
Frequently Asked Questions
How to Make Simple Nail Art at Home?
To make simple nail art at home, start with a clean and dry nail surface. Choose a color scheme or theme to create a cohesive look. Use basic tools like nail polish, nail tape, and dotting tools to create simple designs.
Practice techniques like stripes, dots, or color blocking for variety. Finish with a top coat to seal and protect your nail art for a longer-lasting manicure.
With these steps, you'll be on your way to creating beautiful, professional-looking nail art at home. After practicing your basic nail art techniques, it’s time to invest in some nail art brush essentials. These brushes are specifically designed for intricate nail art designs and will help you achieve fine lines, delicate details, and precise application of gel or acrylic paints. With the right tools and plenty of practice, you’ll soon be able to create stunning nail art designs from the comfort of your own home.
How Do You Apply Nail Art Step by Step?
According to a survey, 75% of women consider nail art a form of self-expression.
To apply nail art step-by-step, you start by prepping your nails with a base coat.
Next, use nail tape or tip guides to create precise designs.
Then, experiment with tools like dotting tools, toothpicks, or bobby pins to create unique designs.
How to Decorate Your Nails for Beginners?
As a novice, you're keen to decorate your nails, but where do you start? Begin with simple designs like dots or stripes using tools like toothpicks or nail art brushes.
Experiment with different colors and textures to create unique looks. Don't be afraid to try negative space designs for a modern touch.
What Is 5 Basic Nail Art Design?
You're curious about basic nail art designs, and rightfully so! In ancient Egypt, Cleopatra herself adorned her nails with intricate designs.
Fast forward to today, and you can easily create five basic nail art designs: stripes, dots, geometric shapes, French tips, and polka dots. These designs are achievable with tools like dotting tools, striping brushes, and nail tape.
Experiment with colors and textures to elevate your look, and don't forget to add embellishments like rhinestones for a glamorous touch.
Conclusion
You've now mastered the art of DIY nail art, accessing yourself to a world where creativity knows no bounds, much like a Renaissance artist wielding a miniature paintbrush.
With these step-by-step guides, you've revealed the secrets to stunning designs, from daisies to abstract masterpieces.
Remember, practice makes perfect, so don't be discouraged if your first attempts resemble a kindergartener's playtime. Keep experimenting, and soon you'll be flaunting salon-quality nail art that'll make even the most seasoned pros take notice.
