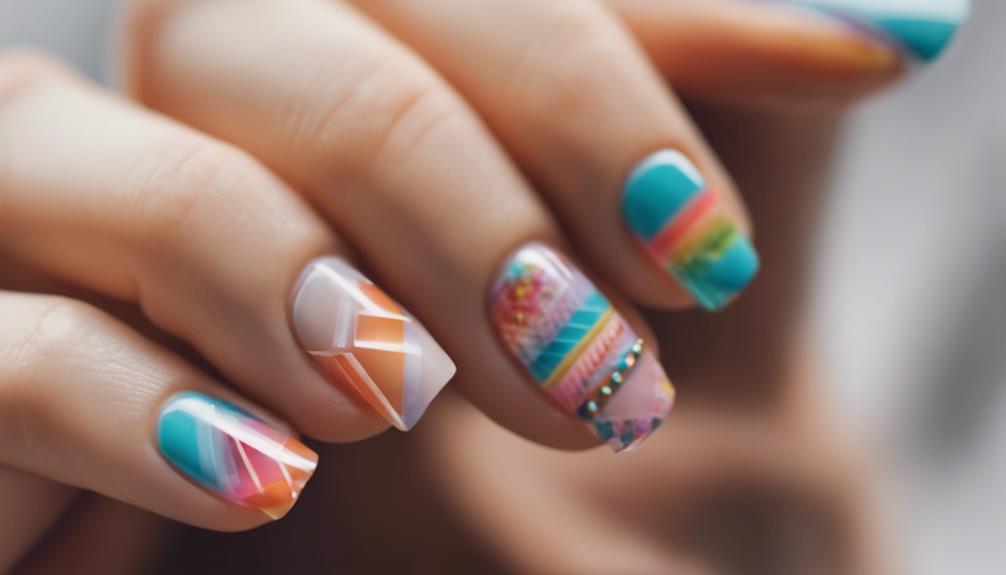
For important gel nail designs as a beginner, start with basic dot patterns and minimalist lines. Incorporating pastel colors with glitter can add elegance. Experiment with texture using matte and glossy finishes, even 3D elements like beads. Applying a clear base coat is essential for lasting results, preventing chipping and staining. Make sure proper curing techniques with recommended times for durability. Invest in quality nail art brushes for precision. Explore household items like mirrors or modeling tools for creative hacks. These simple ideas can elevate your nail art skills effortlessly, offering a solid foundation for more intricate designs and techniques. Looking for easy nail design ideas? Start by experimenting with different nail shapes, such as almond or stiletto, to add interest to your designs. Another simple idea is to play with negative space, leaving parts of the nail bare to create a modern and minimalist look. Don’t be afraid to play with geometric shapes and patterns for a bold and eye-catching design. With these easy nail design ideas, you can quickly elevate your nail art skills and create stunning looks.
Key Takeaways
- Start with basic dot and minimalist designs for simplicity and versatility.
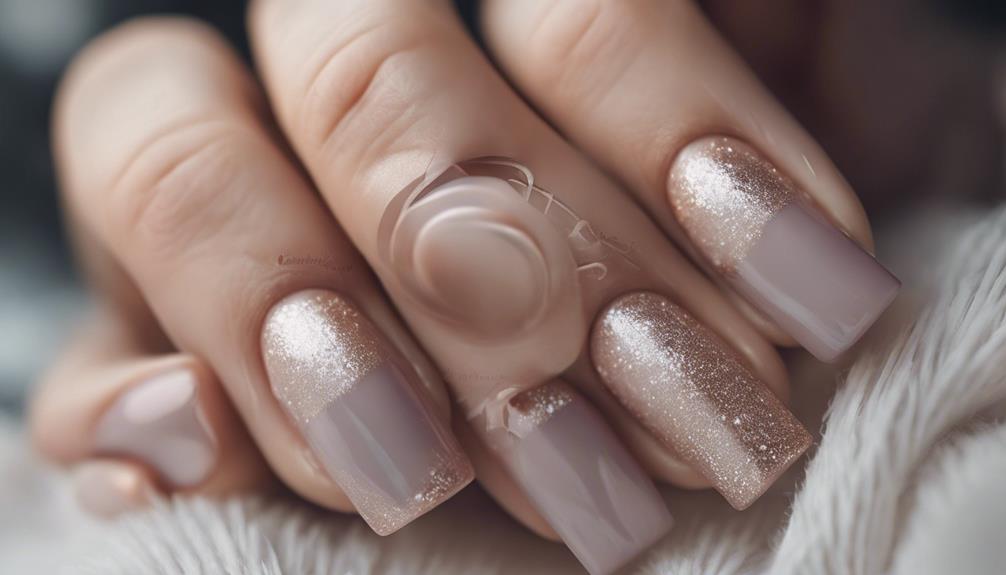
- Experiment with pastel colors and glitter for an elegant look.
- Try different textures and finishes like matte and holographic for variety.
- Apply a clear base coat for a strong foundation and lasting gel manicures.
- Use proper layer curing techniques and nail art brushes for precision.
Basic Dot Designs
To begin creating basic dot designs for your gel nails, all you need is a dotting tool or a bobby pin. Nail art enthusiasts often start with dot designs due to their simplicity and versatility. By varying the pressure on the tool or using different sizes, you can create an array of dot sizes, adding depth and dimension to your nail art. Combining dot designs with other techniques like ombre or French tips can enhance the overall look, making it more intricate and stylish.
Experimenting with different colors and placements of dots allows for endless creativity, enabling you to craft unique and eye-catching designs that suit any occasion or personal style.
Dot designs serve as a foundation for many nail art creations, serving as a great starting point for beginners to refine their skills and express their creativity. With just a dotting tool or bobby pin, you can embark on a journey of nail art exploration, discovering the endless possibilities that dot designs offer.
Minimalist Lines and Swirls

When creating minimalist lines and swirls on gel nails, remember to use a thin brush for precision.
Swirl designs can be achieved by gently dragging the brush in curved motions.
For simple line art, steady hands are key to achieving a minimalist effect.
Line Art Basics
Mastering minimalist lines and swirls in gel nail designs involves practicing precise straight lines and gentle curves to achieve a chic and understated look. Gel nail polish is ideal for creating these designs due to its smooth application, which helps in achieving clean and sharp lines.
To start, beginners can use thin nail art brushes or nail striping tape to assist in creating precise line art on gel nails. Experimenting with different colors and line thicknesses can add depth and dimension to your minimalist designs. Remember, practice is key when it comes to perfecting your line art skills.
Swirl Design Tips
For beginners seeking to elevate their gel nail art skills, exploring swirl design tips can offer a simple yet elegant avenue to create stunning minimalist lines and swirls on your nails.
Swirl designs, known for their minimalist aesthetic, are perfect for those looking to experiment with gel polish. To create swirl designs, you can use a thin nail art brush or a dotting tool to achieve precise lines and swirls.
Whether you opt for contrasting colors or stick to a single shade, the result can be a visually striking swirl design that complements any French manicure or other nail styles.
Don't forget to seal your swirl design with a top coat to enhance its shine and longevity. With a bit of practice and patience, you can master the art of swirl designs and add a touch of sophistication to your gel nail art repertoire.
Pastel Color Palette Inspiration
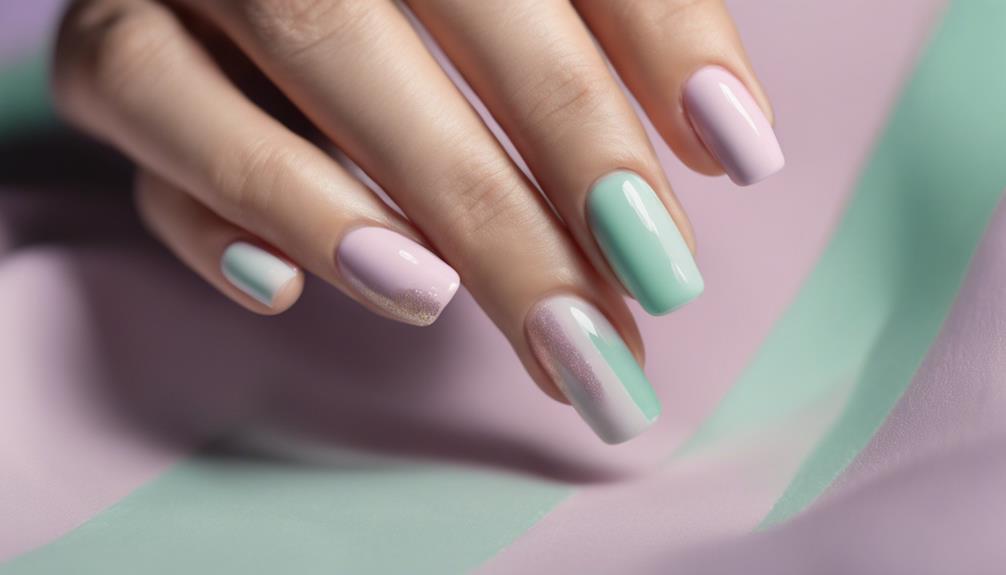
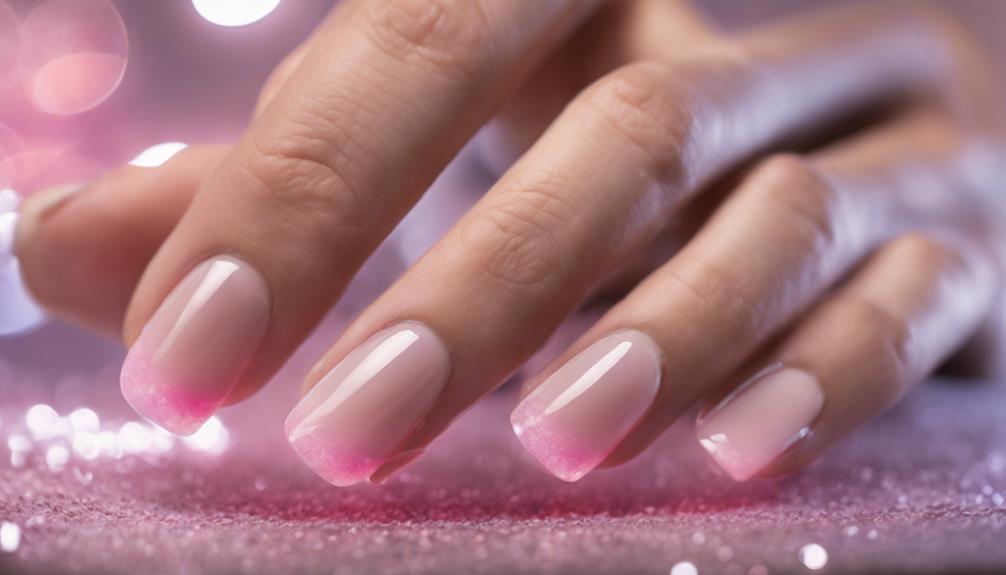
When looking for inspiration for your gel nail designs, consider the soft hues of a pastel color palette. These delicate pastel shades like lavender, mint green, baby blue, and pale pink can elevate your nail art with elegance.
Learn how to create subtle and sophisticated nail designs with a tutorial on using pastel colors effectively.
Soft Hues for Elegance
Consider incorporating delicate pastel hues like baby pink, mint green, and lavender into your gel nail designs for an elegant and understated look.
Pastel gel polishes offer a forgiving option for beginners, providing a subtle and sophisticated manicure without being too bold. These soft hues bring a delicate and feminine touch to your nails, perfect for those aiming for a polished and chic appearance.
Additionally, light pastel shades can be easily paired with glitter or shimmer to add dimension and charm to your design. The versatility of soft pastel colors allows for creative exploration in various nail art techniques, making them an ideal choice for beginners looking to experiment with different styles.
Embrace the elegance and simplicity of pastel gel nails, and let your creativity shine through with these timeless and graceful shades.
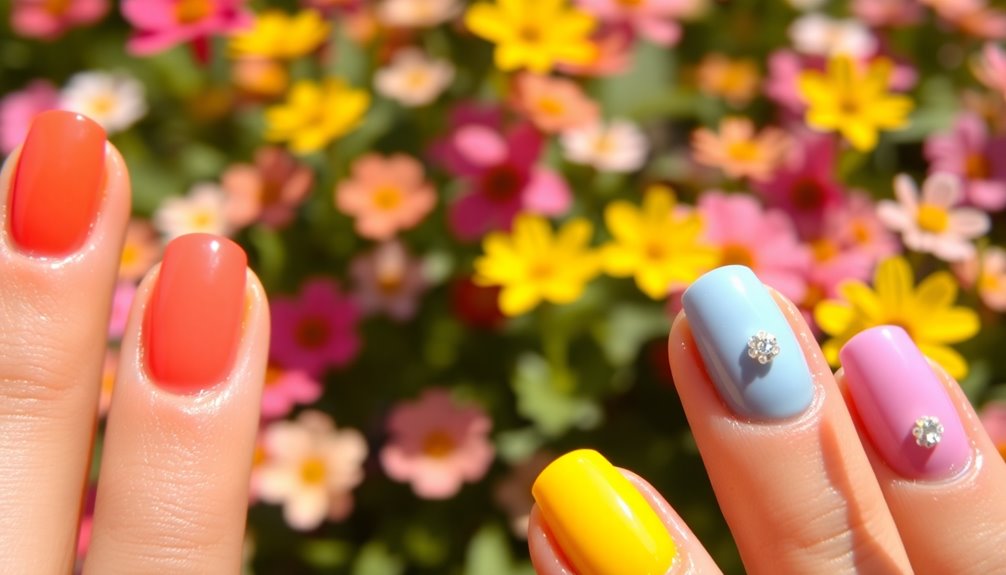
Delicate Pastel Nail Art
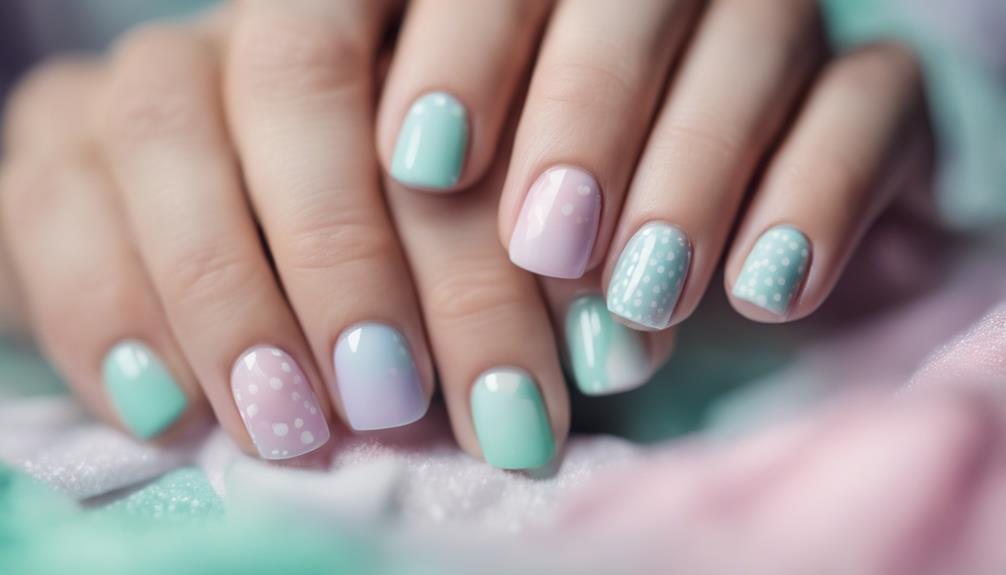
Incorporate delicate pastel hues like mint green, baby blue, and soft pink to create stunning nail art designs that exude elegance and charm. Pastel nail art is perfect for those looking to achieve a soft and feminine look for their gel manicure. The subtle shades of pastel colors add a touch of freshness and are particularly ideal for the spring and summer seasons.
When creating pastel nail art, simple designs like polka dots, stripes, or floral patterns can work wonders in achieving a chic and understated appearance. Additionally, pastel nail art offers versatility, allowing for easy customization with glitter, rhinestones, or other embellishments to elevate the overall charm of the design.
- Pastel hues like mint green, baby blue, and soft pink offer a soft and feminine aesthetic.
- Simple designs such as polka dots, stripes, or floral patterns complement pastel colors beautifully.
- Pastel nail art is versatile and can be customized with glitter, rhinestones, or other embellishments.
- Ideal for spring and summer, pastel nail art adds a touch of freshness to your manicure.
Subtle Shades Tutorial
Explore subtle shades tutorial using a pastel color palette for inspiring gel nail designs that are perfect for beginners.
Pastel shades such as baby pink, lavender, mint green, and sky blue offer a soft and delicate aesthetic that's ideal for those new to gel nail art.
These gentle hues provide a feminine look suitable for various occasions and seasons.
When creating subtle pastel designs, consider incorporating simple patterns, ombre effects, or minimalist geometric shapes to enhance the overall appearance.
Pastel gel nails can be easily customized to suit individual preferences by adding accent nails, glitter, or rhinestones for an extra touch of flair.
Experimenting with pastel shades allows beginners to explore their creativity and create beautiful nail designs that are both chic and understated.
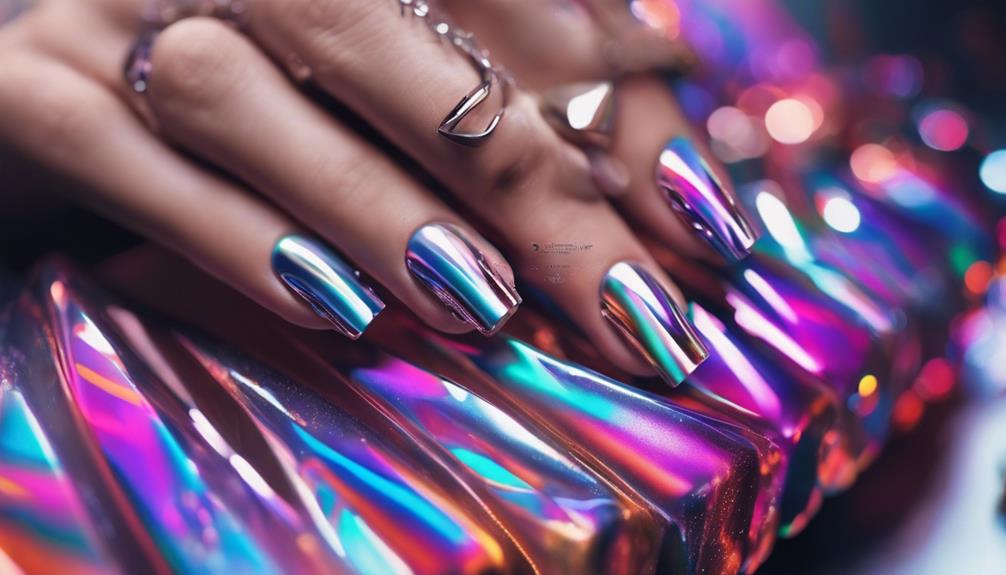
Texture and Finish Experimentation
Get creative with your gel nail designs by experimenting with different textures and finishes for a unique and eye-catching look. Here are some ideas to inspire your next nail art creation:
- Matte Top Coats: Try using a matte top coat for a velvety finish that adds a sophisticated touch to your gel nails.
- Textured Designs: Explore textures like sugar, velvet, or sand to create visually interesting nail art that stands out.
- Mixing Finishes: Combine glossy and matte finishes within the same design for a striking contrast that adds depth to your nails.
- 3D Elements: Consider adding beads or charms to your gel nails for a tactile element that enhances the overall look.
Experimenting with holographic or iridescent top coats can also elevate your gel nail designs to the next level, giving them a mesmerizing and unique finish.
Let your creativity shine through by playing with different textures and finishes to achieve a personalized and stunning manicure.
Clear Base Coat Importance

Using a clear base coat in your gel nail application is indispensable for ensuring a strong foundation and long-lasting results.
The base coat serves as a pivotal step in the gel manicure process, acting as a primer that helps the gel polish adhere effectively to your natural nails.
It not only provides a smooth surface for the gel polish application but also plays a significant role in preventing chipping and peeling, ensuring your manicure stays flawless for an extended period.
Additionally, applying a clear base coat helps protect your natural nails from potential staining that colored gel polishes may cause.
By incorporating this important step into your gel nail routine, you can enhance the longevity of your manicure and achieve a professional finish that looks impeccable.
Proper Layer Curing Techniques
For successful gel nail application, mastering proper layer curing techniques is essential. Follow these steps to guarantee your gel polish manicure stays flawless:
- Follow Recommended Curing Times: LED lamps typically need 30-60 seconds per layer, while UV lamps may require 2-3 minutes for best curing results. This step is vital to harden the gel polish and create a durable finish.
- Avoid Thick Layers: Applying thick layers of gel polish can lead to incomplete curing, resulting in a sticky or uneven finish. Opt for thin, even coats to achieve the most favorable results.
- Utilize Manufacturer's Instructions: Always refer to the manufacturer's guidelines for recommended curing times and techniques. Following these instructions is essential to achieving a professional-looking gel nail design.
- Ensure Even Curing: To prevent any issues with curing, make sure to cure each layer evenly under the lamp. This will help in creating a strong and long-lasting manicure.
Nail Art Brush Tips

Wondering how to choose the right nail art brush for your gel designs? Nail art brushes come in various sizes and shapes, such as round, flat, and detail brushes, each serving a specific purpose in creating intricate designs.
When working on fine lines or detailing, opt for a thin brush, whereas a flat brush is excellent for covering larger areas with gel polish like in classic French designs. The bristles of nail art brushes can be synthetic or natural; synthetic ones are more affordable and easier to clean.
Investing in a quality set of brushes tailored to your design needs can greatly enhance your gel nail art skills, allowing for more creativity and precision in your artwork. Remember, the right nail art brush can make a substantial difference in achieving professional-looking nail designs with gel polish.
Household Item Hacks
Consider repurposing everyday household items for creative nail art hacks that can elevate your gel nail designs effortlessly. Here are some innovative ways to use common items for your nail art endeavors:
- Compact Mirror from Sephora: Use it as a reflector for curing gel nails with UV LED bulbs.
- Car Modeling Kit Tools: Repurpose them for nail art; these tools can serve as handy alternatives in a pinch.
- OPI Cuticle Trimmers: These versatile tools can be utilized for more intricate nail art designs.
- Alcohol: Clean your nails with it before applying gel polish to maintain a clean base for your nail art.
These clever hacks can help you achieve professional-looking gel nail designs even as a beginner.
By incorporating these simple household items into your nail art routine, you can create stunning designs with ease.
Don't underestimate the power of everyday objects in enhancing your French nail polish techniques and overall nail art creativity.
Frequently Asked Questions
What Are the 5 Basic Nail Designs?
The 5 basic nail designs encompass solid colors, French tips, glitter accents, ombre gradients, and simple geometric patterns. These designs offer a range of styles suitable for beginners.
Solid colors provide a clean and classic look, while French tips add elegance with a contrasting tip color.
Glitter accents introduce sparkle and fun, and ombre gradients blend colors seamlessly for a soft effect.
Geometric patterns offer a simple yet stylish option to experiment with nail art.
How to Design Nails for Beginners?
To design nails for beginners, start with basic gel colors like nude, pink, or white for a clean base.
Experiment with simple techniques such as dots, stripes, or geometric shapes using tools like brushes, dotting tools, or tape.
Practice on a nail wheel or practice hand to refine your skills before applying designs to your nails.
Watch tutorials or attend workshops to learn new techniques and enhance your nail art abilities as a beginner.
How to Do Cute Gel Nails at Home?
To do cute gel nails at home, start by prepping nails with a base coat and selecting gel polish colors like soft pastels or classic neutrals.
Apply each layer of gel polish evenly and cure them under a UV LED lamp for durability.
Add some fun by incorporating glitter, stickers, or nail art decals.
Finish with a top coat for added shine and protection.
Experiment, have fun, and express your unique style with DIY gel nails.
How to Do Gel Nails With Tips at Home for Beginners?
To do gel nails with tips at home as a beginner, start by prepping your nails with a manicure kit and applying gel polish in thin layers. Use nail tips for length and shape, then seal the design with a top coat.
Follow proper removal steps to safeguard your nails. Remember to cure each layer under a UV or LED lamp for the recommended time to guarantee a long-lasting and professional finish.
Conclusion
To sum up, easy gel nail designs offer a fun and creative way to express your personal style. From basic dot designs to minimalist lines and swirls, there are endless possibilities for beginners to experiment with.
By using a pastel color palette, playing with texture and finishes, and following proper curing techniques, you can achieve stunning nail art. Remember to invest in a quality clear base coat and experiment with household items for unique designs that will leave a lasting impression.
Let your creativity shine through your fingertips.