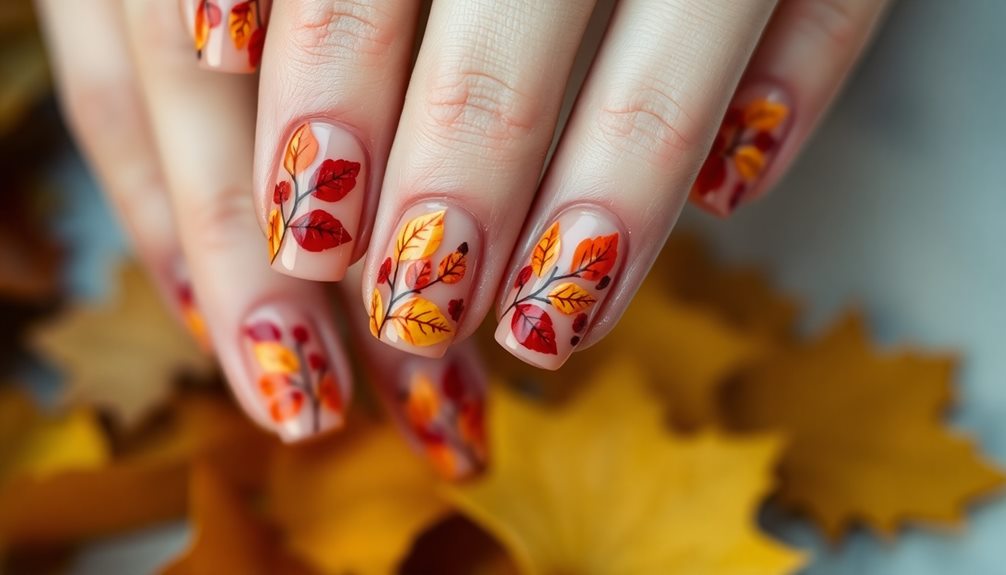

Fall leaves nails are a fun way to bring the colors of autumn to your fingertips! You can use vibrant reds, bright oranges, and sunny yellows to create playful designs that shine like the fall foliage. Try easy techniques like decals or stamping for quick results, or go wild with freehand painting! Don't forget to add some glitter or metallic accents for extra sparkle. With a little care, like moisturizing your cuticles and using a top coat, you can keep your designs looking fabulous. Ready to show off your autumn spirit? There's so much more to explore about these delightful nail styles!
Key Takeaways
- Embrace autumn with vibrant nail colors like deep reds, oranges, and yellows that reflect the beauty of fall foliage.
- Use techniques like decals, stencils, and freehand painting to create unique leaf designs on your nails.
- Enhance your nail art with metallic accents or glitter for added sparkle and visual interest.
- Maintain your fall leaves nails with regular care, including moisturizing cuticles and applying a top coat for durability.
- Experiment with color combinations and styles, such as ombre effects or accent nails, to showcase your love for the season.
Introduction
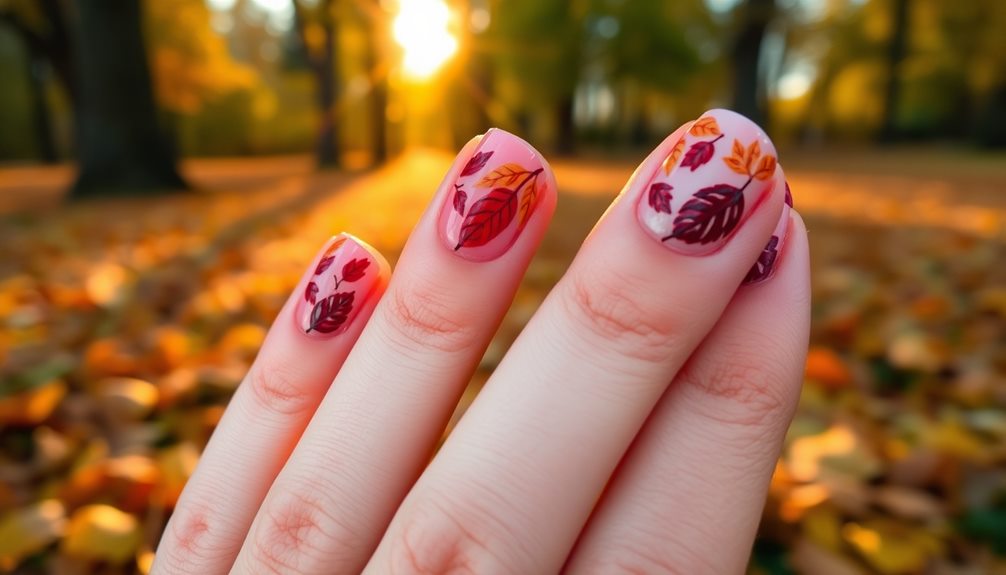
As the leaves change and the air turns crisp, fall leaves nails become the perfect way to celebrate the season. You can capture the essence of autumn right on your fingertips! Imagine painting your nails with vibrant colors of autumn foliage, like deep reds, bright oranges, sunny yellows, and earthy browns.
These nail designs aren't just pretty; they're versatile too! Whether you're heading to Thanksgiving dinner, a Halloween party, or a fall festival, you can express your creativity through nail art. Plus, just like planning for your financial future, adding intricate details to your nail designs can enhance your overall look and show off your personal style wealth management.
Creating fall leaves designs is easier than you think! You can start with simple techniques like using decals, stencils, or stamping plates. These tools make it fun and accessible for everyone, even if you're just beginning.
You can also add extra flair with metallic accents or tiny rhinestones, making your nails sparkle like the leaves outside. Don't forget, incorporating deep greens, purples, and earthy neutrals can enrich your nail art and add depth to your look.
Seasonal Expression Through Nail Art
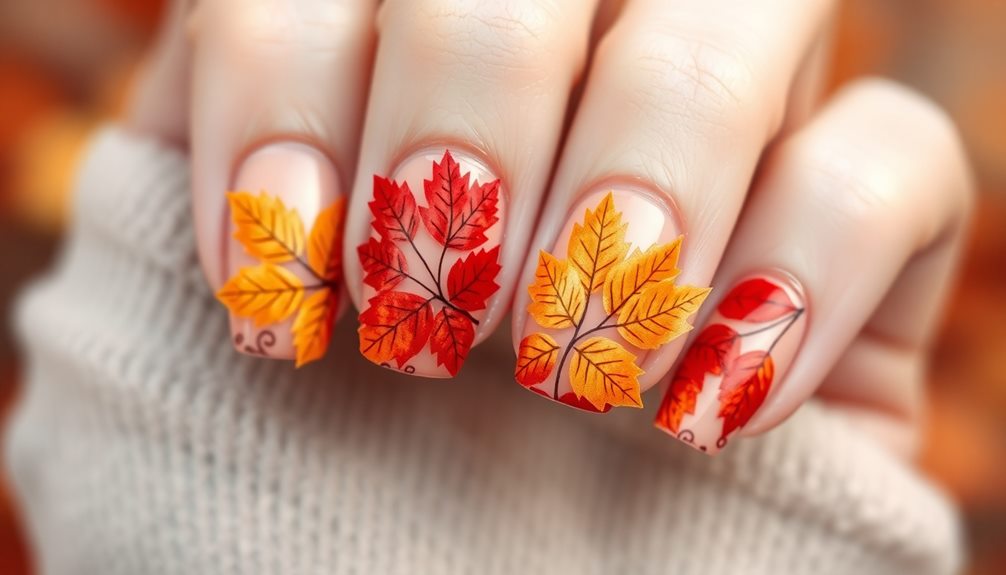
During the fall season, expressing your love for autumn through nail art is both fun and creative. You can celebrate the beauty of autumn by using nail designs that showcase the vibrant colors of the leaves, like deep reds, oranges, yellows, and browns. These warm hues evoke cozy feelings, making your nails a perfect canvas for a fall theme.
Consider adding whimsical designs featuring cute and fun girl nail styles to enhance your autumn look with playful elements. Try incorporating iconic shapes, such as maple, oak, and birch leaves, into your designs. You can also add cute motifs like acorns and pumpkins to make your nails even more festive!
Don't forget to play with earthy tones, deep greens, and even some purples to create rich color combinations that catch the eye. For a special touch of sparkle, consider using glitter or metallic polishes on your accent nails, adding a little pizzazz to your autumn look.
Whether you're gearing up for a Halloween party, a fall festival, or even an autumn wedding, your seasonal nail art will be a delightful way to show off your love for this magical time of year. So grab your nail polish and let your creativity shine!
Popular Variations and Ideas

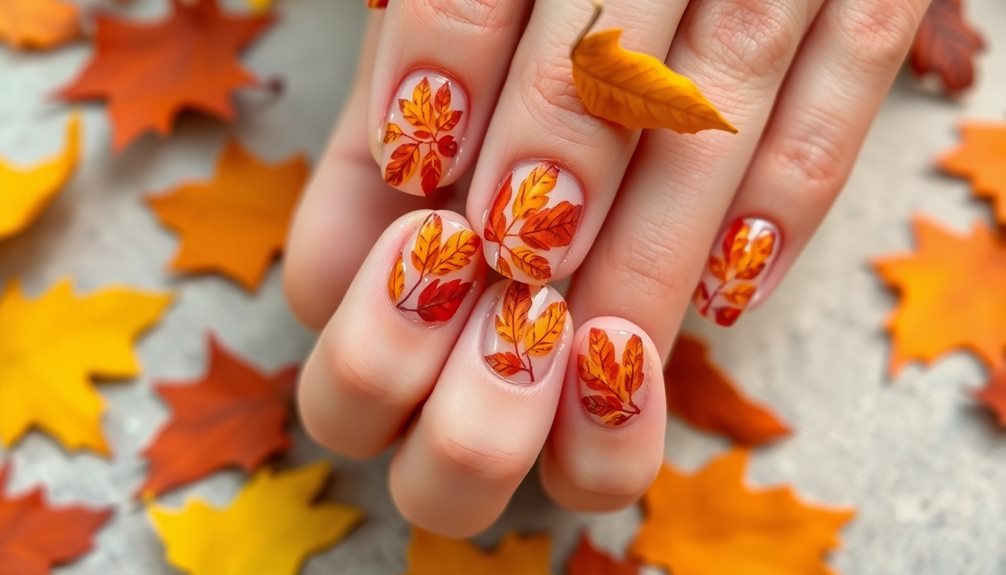
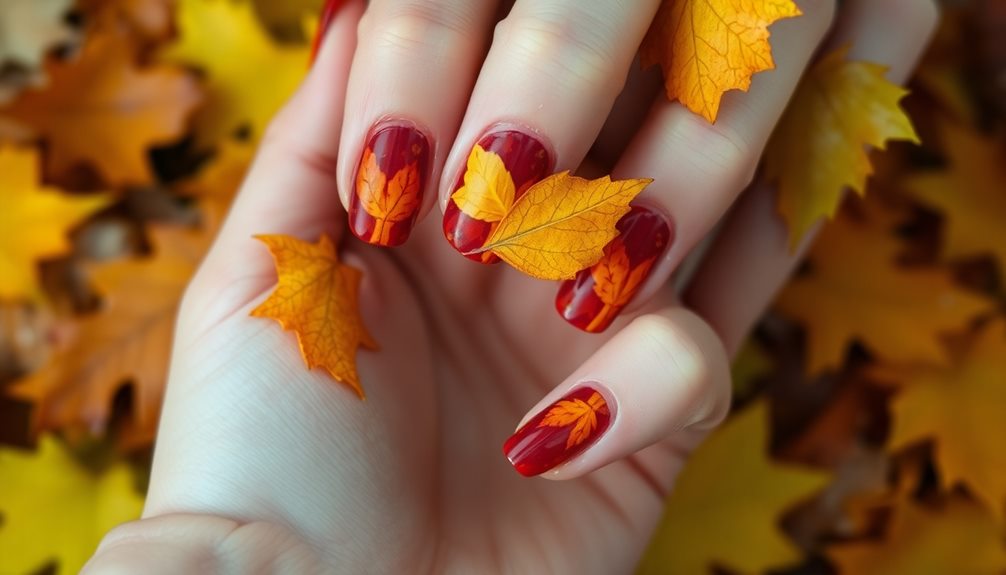
There are countless popular variations and ideas for fall leaves nails that can elevate your autumn nail game. You can start by choosing vibrant colors like shades of red, deep yellows, and burnt orange to capture the essence of fall. These colors mimic the stunning foliage you see outside, making your nails a beautiful seasonal accessory!
Additionally, consider incorporating natural elements like aloe vera plant problems into your nail art for a unique twist.
For leaf designs, you might want to try freehand painting, where you create your own unique leaves. If you're short on time, using decals or stamping can give you quick and pretty results.
Want something a little fancier? Accent nails with detailed leaf art or metallic elements can add a touch of glam to your fall nail look!
Feeling creative? Ombre effects are a fantastic way to transition from warm shades to cooler tones, reflecting the changing colors of autumn. You could even include seasonal motifs like acorns or pumpkins to make your nails perfect for themed events like Halloween and Thanksgiving.
With so many fun ideas, you're sure to find the perfect fall nail design that expresses your love for this cozy season!
Tips and Tricks
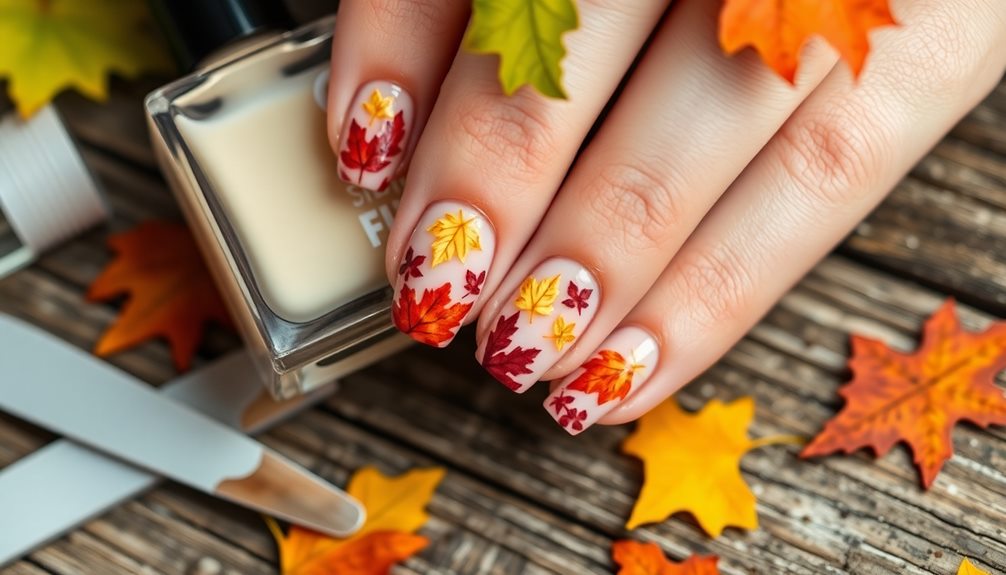
Achieving stunning fall leaves nails starts with a well-prepared nail surface. You need to file, buff, and apply a clear base coat to keep your nails looking fab and prevent any staining from colored polishes.
Next, think about vibrant nail ideas! Use deep reds, oranges, yellows, and browns to create designs that capture the essence of falling leaves.
Get creative! You can experiment with techniques like stamping, water marbling, or even freehand painting to achieve those intricate leaf patterns.
If you want to add some pizzazz, don't forget about metallic accents or glitter! They'll make your nails sparkle like autumn foliage in the sunlight, and who doesn't love that?
For a quick and easy option, consider using nail wraps that feature pre-designed fall leaf patterns. They're perfect for those busy days when you still want to show off your pumpkin spice-inspired nails.
Care and Maintenance
Maintaining beautiful fall leaves nails requires consistent care and attention. Your stunning nail designs won't be complete without proper maintenance!
Start by regularly moisturizing your cuticles with a nourishing oil or cream. This keeps them healthy and prevents dryness, especially as the crisp autumn air settles in.
Before diving into your nail art, apply a base coat. This magical layer protects your natural nails from staining and helps your polish stick better.
Once you've created those gorgeous fall designs, don't forget to seal them in with a top coat. It enhances the essence of your nails and gives them a glossy finish that can withstand daily wear.
Keep your nails in shape by trimming them every 2-3 weeks. This helps prevent breakage, as cooler weather can make your nails brittle.
And remember, water and harsh chemicals can weaken your polish, so wear gloves during chores to keep your nails looking fabulous!
With a little care, your fall leaves nails will shine brightly, celebrating the beauty of autumn all season long! So, let's keep those nails happy and vibrant!
Common Mistakes to Avoid
When diving into fall leaves nail art, it's easy to make a few missteps that can affect your design. One major mistake is skipping the base coat. Don't forget, this layer protects your nails from staining and keeps them healthy!
Next, be careful with your color palette. If you use the same brush for different colors without cleaning it, your design might end up looking muddy. Always have a separate brush or clean it well after each use.
Another common error is overloading your brush with polish. If you dip too much, you'll end up with streaks and uneven application. Instead, lightly dip the brush to control how much polish you use.
And, please remember to finish your beautiful design with a top coat! This step is super important because it prevents chipping and adds shine.
Lastly, be patient with drying time. If you don't let each layer dry completely before applying the next, you might smudge your hard work. So, take your time, enjoy the process, and you'll have stunning fall leaves nails that shine bright!
Frequently Asked Questions
What Are the Best Colors for Fall Leaves Nail Designs?
For fall leaves nail designs, you can't go wrong with warm hues like deep reds, burnt oranges, and golden yellows. These colors capture the essence of autumn, adding a cozy touch to your look.
How Can I Incorporate Glitter Into Fall Leaves Nails?
You can incorporate glitter into your fall leaves nails by applying a clear or colored base coat, then adding a sprinkle of gold or copper glitter on top. Finish with a glossy top coat for stunning results!
Are There Any Specific Tools Needed for Fall Leaves Nail Art?
For fall leaves nail art, you'll need a few essential tools: nail polish, brushes for detailing, a dotting tool for precise shapes, and a top coat to seal your design. Get creative and enjoy!
Can I Create Fall Leaves Nails Using Gel Polish?
Yes, you can definitely create fall leaves nails using gel polish! Just choose your favorite colors, use nail art brushes for details, and cure each layer properly. You'll love the vibrant, long-lasting results on your nails!
How Long Does Fall Leaves Nail Art Typically Last?
Nail art typically lasts one to two weeks, depending on your nail care routine. If you keep your nails moisturized and avoid harsh chemicals, you'll enjoy your beautiful designs longer. Just touch up as needed!
Conclusion
Now that you've learned how to rock fall leaves nails, it's time to get creative! Remember, autumn is all about warm colors and fun designs, so don't be afraid to experiment. Whether you choose bold reds or soft oranges, your fingertips can truly reflect the beauty of the season. Just have fun, and don't worry if things don't turn out perfect. After all, every leaf is unique, just like your nails! Happy decorating!