To safely remove gel or acrylic nails, start by sanitizing your hands and tools, then soak your affected finger or toe in warm, soapy water for 10-15 minutes to soften the nail. Confirm the area is thoroughly dried afterward. Use sterilized tools to gently lift or clip the softened nail without forcing it, watching for signs of infection or pain. For step-by-step guidance on protecting your nails during removal, keep exploring this process further.
Key Takeaways
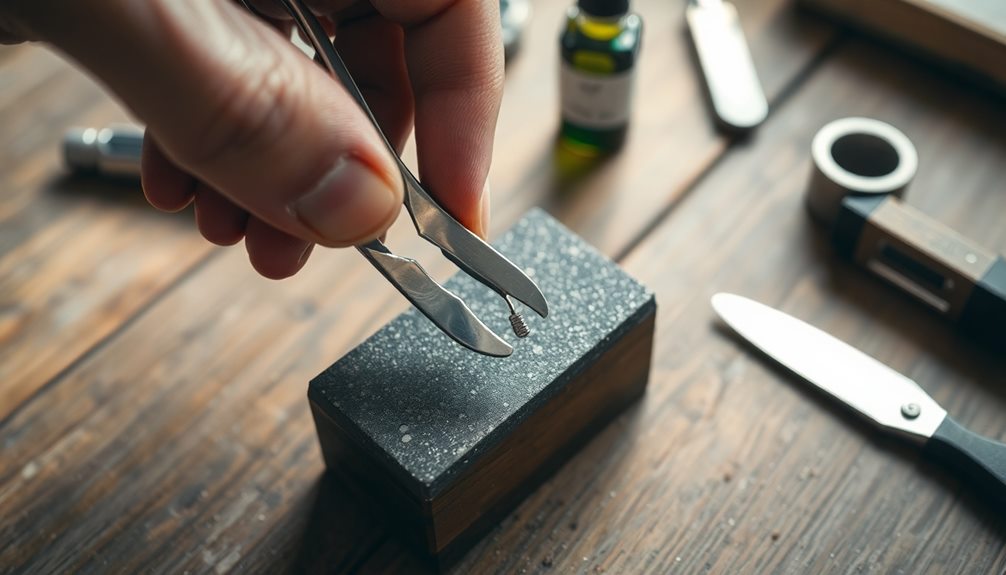
- Sanitize hands and tools thoroughly before starting the soak-off process.
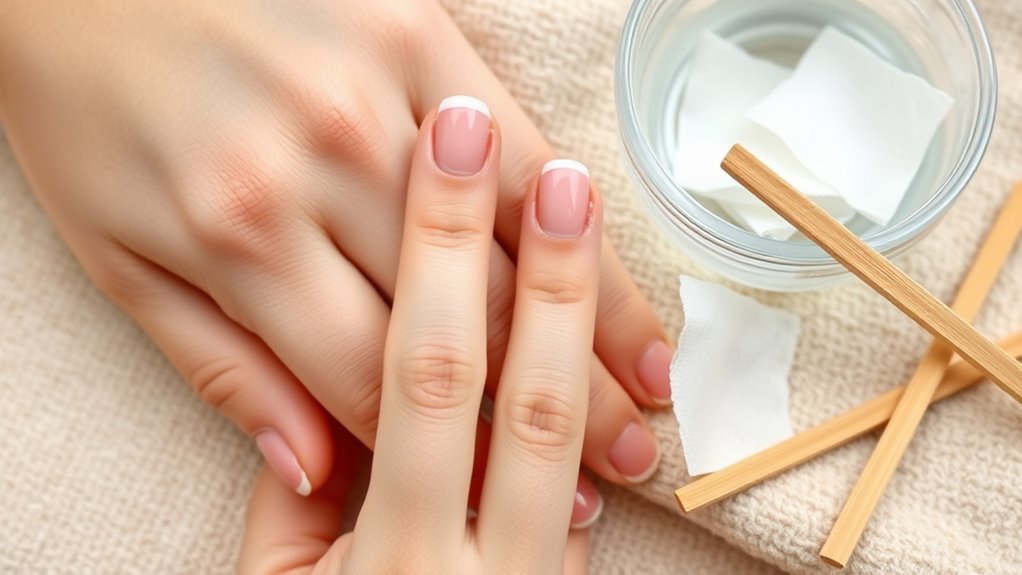
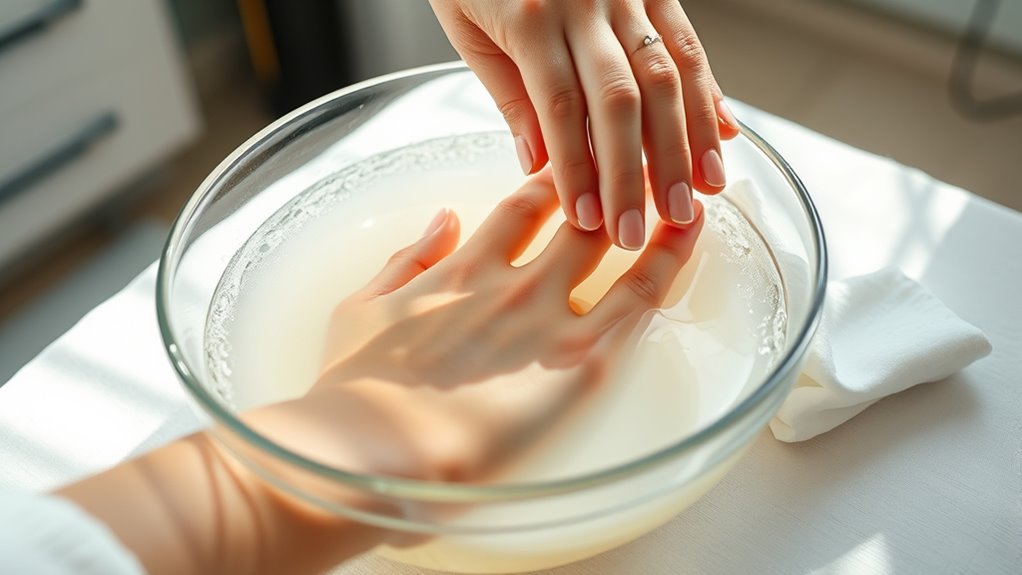
- Soak the affected nail in warm, soapy water for 10-15 minutes to soften it safely.
- Use sterilized tools and gently lift or clip the nail, avoiding force or tearing.
- Watch for signs of infection or pain; seek professional help if issues persist.
- Keep the area clean and dry after removal, applying antibiotic ointment and covering with a sterile bandage.
Removing a nail safely is essential to prevent infection and promote healthy healing. Whether you’re dealing with a damaged or stubborn nail, understanding proper soak-off steps can make a significant difference. While some may consider DIY techniques for nail removal, it’s crucial to recognize when professional consultation is necessary. Attempting to remove a nail without proper knowledge can lead to complications, including infections, bleeding, or damage to surrounding skin. If you’re unsure or if the nail is severely ingrown or infected, consulting a healthcare professional is always the safest choice.
For minor nail removals or when you’re clear about the process, you can follow specific soak-off steps at home. Start by sanitizing your hands and tools thoroughly to prevent introducing bacteria during the process. Soaking the affected finger or toe in warm, soapy water for about 10-15 minutes softens the nail and surrounding tissue, making removal easier and less painful. You can also add a small amount of antiseptic solution to the water for added protection. After soaking, gently dry the area and assess whether the nail has softened enough to be removed. If it feels loose or lifts easily, you might carefully proceed with gentle removal. Use sterilized tools like nail clippers or cuticle scissors, and avoid force if resistance is strong. Never pry or forcibly pull the nail, as this can cause tears or bleeding.
If the nail doesn’t come off easily or if you notice signs of infection—such as redness, swelling, pus, or increasing pain—stop immediately. At this point, professional consultation is highly recommended. A trained healthcare provider can remove the nail safely, reducing the risk of complications and ensuring proper aftercare. They might also prescribe antibiotics if infection is present or suggest other treatments to aid healing.
While DIY techniques can be effective for minor, uncomplicated cases, they should never replace professional advice when complications arise. Maintaining good hygiene throughout the process is vital, and after removal, keep the area clean and dry. Applying an antibiotic ointment and covering it with a sterile bandage can help prevent infection. Avoid exposing the area to dirt or water until it’s sufficiently healed. Remember, patience is key; healthy healing takes time, and rushing the process can cause setbacks. When in doubt, always prioritize safety by seeking professional consultation—your health and the well-being of your nails depend on it. Additionally, utilizing AI-powered tools can help monitor nail health and identify issues early, promoting better outcomes.
Frequently Asked Questions
How Often Should I Remove Gel or Acrylic Nails?
You should remove gel or acrylic nails every two to three weeks to maintain nail health and prevent damage. Frequent removal and reapplication can weaken your nails over time, so giving your nails a break helps keep them strong. If you notice signs of damage or irritation, consider extending the removal interval. Proper removal techniques also protect your nails, so always follow safe soak-off steps to avoid unnecessary harm.
Can I Remove Gel Nails at Home Safely?
Sure, you can attempt to remove gel nails at home, but don’t expect a spa day without the spa—think more “DIY disaster.” Instead, opt for natural remedies like acetone-soaked cotton or gentle filing, but remember, professional removal guarantees your nails stay healthy. If you’re determined, follow proper soak-off steps carefully, but for the best results and minimal damage, leave it to the pros.
What Tools Are Essential for Proper Nail Removal?
You’ll need essential tools like a nail file, orangewood stick, and acetone for proper gel nail removal. Use a nail file to gently buff the surface, helping the acetone penetrate better. An orangewood stick is perfect for lifting the gel without damaging your nails. Remember to focus on nail strengthening and cuticle care afterward to keep your nails healthy and prevent damage. Always work carefully to protect your nail health.
How Do I Prevent Nail Damage During Removal?
Did you know that improper removal can cause nail damage in up to 30% of cases? To prevent this, focus on gentle removal techniques that prioritize nail health. Avoid force or peeling, and opt for soaking and carefully lifting the polish. Using proper tools and patience helps protect your nails from peeling, splitting, or thinning, ensuring your nails stay strong and healthy even after removal.
Are There Specific Products Recommended for Gentle Removal?
Yes, you should look for gentle removers that are specifically formulated to safeguard your nails. These products often contain soothing oils, which help minimize damage and keep your nails healthy. Avoid harsh acetone-based removers and opt for gentle alternatives that dissolve the polish without stripping away natural oils. Using these products guarantees a safer, more comfortable removal process while maintaining the integrity of your nails.
Conclusion
By taking these careful steps, you’re guiding your nails back to their natural, vibrant state—like tending a delicate garden after a storm. Each gentle soak and careful removal shields your nails from damage, allowing them to flourish once more. Think of your nails as tiny trees regaining their strength; with patience and care, they’ll stand tall and healthy, ready to bloom again. Your hands will thank you for nurturing them back to life with love and gentle attention.