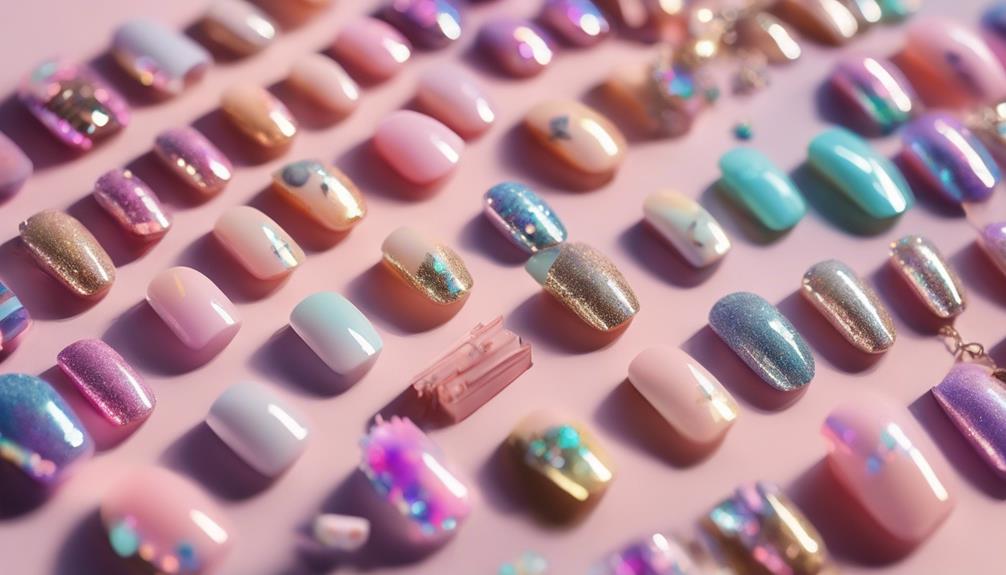
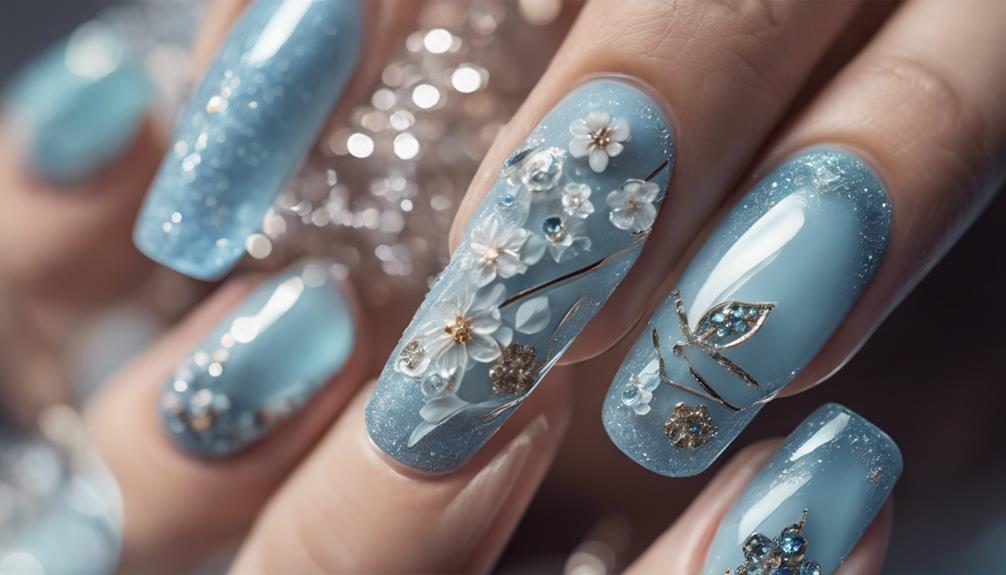
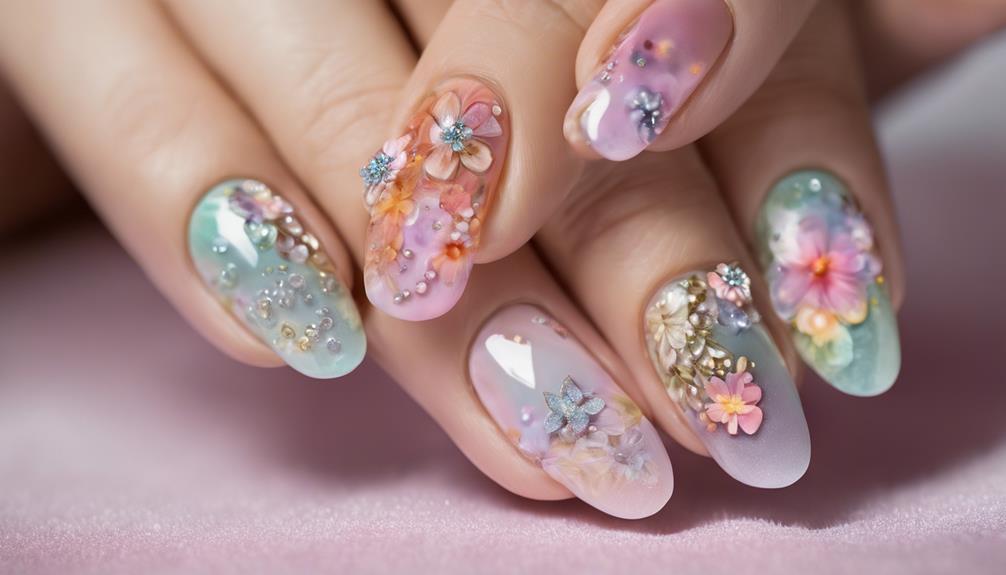
Ready to level up your nail game? Try these 7 simple nail art ideas for beginners. Start with a chic minimalist negative space design—think fine lines and empty spaces for a sophisticated touch. Express yourself with playful emoji faces using vibrant colors. Amp up your style with a trendy ombré manicure, blending different shades seamlessly. For a subtle look, go for berry dots that are easy to customize. Add a burst of color with confetti tips for a playful vibe. Curious about more creative nail art ideas? Keep exploring for endless inspiration! Get edgy with nail art with rhinestones, adding a touch of glamour and sparkle to your nails. Try a simple and elegant design using a few strategically placed rhinestones for a classy and sophisticated look. For a more dramatic effect, go all out with a full rhinestone manicure for a bold and dazzling statement. The options are endless when it comes to creative nail art, so have fun experimenting and finding the perfect design for you!
Key Takeaways
- Minimalist Negative Space for a chic and modern look with fine lines and empty spaces.
- Playful Emoji Faces using Essie's Sunshine Be Mine base color for personalized expressions.
- Trendy Ombré Manicure with gradient shades and a metallic touch for a stylish design.
- Subtle Berry Dots for charming nail art with delicate berry-colored dots.
- Colorful Confetti Tips for vibrant and playful nail designs with glitter accents.
Minimalist Negative Space
For a chic and modern nail art look, consider trying minimalist negative space designs. Negative space nail art is all about simplicity. By incorporating fine lines and empty spaces, you can achieve a sophisticated and trendy style with minimal effort.
This simple design requires just a few different polish colors and a thin nail art brush for precision. The fine lines in negative space nail art create a modern and chic look that's perfect for beginners. Don't worry if you're new to nail art; this style is beginner-friendly and easy to execute at home.
To create a minimalist negative space design, start by choosing a base color and then use a thin nail art brush to carefully create fine lines and empty spaces on your nails. The combination of colors and the simplicity of the design will give your nails a fashion-forward and unique appearance.
Give it a try and embrace the beauty of negative space nail art!
Playful Emoji Faces

Hey there, ready to have some fun with your nail art?
Express different emotions with playful emoji faces on your nails using Essie's Sunshine Be Mine as a base color.
Add a touch of creativity to your manicure with simple emoji designs that are super easy to recreate at home.
Let your nails showcase your personality with unique and expressive emoji nail art!
Expressive Emoji Designs
Adding a whimsical flair to your nails, emoji designs offer a playful way to express various emotions through your manicure. With expressive designs like Essie's Sunshine Be Mine as your base color, you can create vibrant and eye-catching emoji faces that showcase your fun personality. This nail art idea is perfect for beginners wanting to dip their toes into the creative world of manicures. Implementing emoji faces in your nail art allows you to add a unique pop of color and character to your nails effortlessly. Below is a simple table to inspire your emoji nail art creations:
| Emoji Face | Description | Color Suggestions |
|---|---|---|
| Smiling Face | Radiates positivity | Yellow |
| Heart Eyes | Shows love and adoration | Pink |
| Crying Laughing | Represents joy and laughter | Light Blue |
With these cute emoji designs, you can have a fun and personalized manicure that reflects your creative side.
Quick Emoji Nail Art
Explore creating playful emoji faces on your nails for a fun and expressive manicure. With easy-to-follow steps, you can achieve a unique manicure by incorporating trendy emoji nail art designs. Start by painting your nails with Essie's Sunshine Be Mine for a vibrant base color that will make your emoji faces pop.
This playful design is perfect for beginners looking to add a touch of creativity to their nails.
With step-by-step instructions, you can showcase different emotions and moods through a variety of emoji designs. From happy faces to heart eyes, you can personalize your manicure to reflect your personality.
The simplicity of creating emoji nail art makes it a fun and trendy look for any occasion. So, grab your nail polish and get ready to express yourself with these adorable emoji faces.
Let your nails do the talking and enjoy the cheerful vibe they bring to your overall look!
Trendy Ombré Manicure

Embrace a chic Ombré Manicure for a trendy and modern nail art look. Creating this stylish gradient effect on your nails is simpler than you think. Here's how to achieve this fashionable design effortlessly:
- Choose Different Shades: Select a range of colors that blend well together for your Ombré Manicure. Think about shifting from light to dark shades or experimenting with hues that complement each other.
- Use a Nail Art Brush: To create the Ombré effect, apply the different shades of polish onto the nail using a nail art brush. This tool allows for precise application and helps in blending the colors seamlessly.
- Add a Metallic Touch: For a modern twist on the classic Ombré, consider incorporating a metallic color into your design. A touch of shimmer or a metallic accent can elevate your manicure and give it a contemporary edge.
Subtle Berry Dots

Achieve a charming nail art look with Subtle Berry Dots by creating delicate dots in berry shades on a neutral base color. This nail art design is perfect for beginners looking to add a touch of creativity to their manicure.
Grab a dotting tool or even a toothpick to easily create uniform dots on your nails. The beauty of Subtle Berry Dots lies in its simplicity; it adds a pop of color and interest without being too overwhelming.
Experiment with different shades of berry colors to customize your design and make it uniquely yours. The process is fun, easy, and allows room for personal flair.
Start by applying a base color of your choice, then dip the dotting tool into your selected berry shade and gently dot it onto your nails. Repeat this step with different berry colors to create a playful and visually appealing nail art look that's sure to impress!
Colorful Confetti Tips

Ready to add a pop of color to your nails? Rainbow nail designs and glitter accent nails are the way to go! These playful and vibrant options will instantly elevate your nail art game.
Let's get creative and make your nails shine with these fun and easy ideas!
Rainbow Nail Designs
Colorful confetti tips in rainbow nail designs elevate your manicure with a playful and vibrant flair. If you're a beginner wanting to jazz up your nails, here's how to rock this look effortlessly:
- Easy to Achieve:
Rainbow nail designs may seem intricate, but they're actually quite simple to create. All you need are a few bright colors of nail polish, some nail art brushes, and a steady hand.
- Customizable Options:
The beauty of rainbow nail designs lies in their versatility. You can mix and match colors, create patterns, or even add a touch of glitter for extra pizzazz. Let your creativity shine through!
- Cheerful Manicure:
These colorful confetti tips are like a party on your nails. They bring a smile to your face and are bound to catch the eye of everyone around you. Perfect for adding a pop of fun to your everyday look!
Glitter Accent Nails
To add a touch of sparkle and glamour to your manicure, consider incorporating glitter accent nails with colorful confetti tips. Glitter accent nails are a simple yet effective way to elevate your nail art game. By applying glitter polish just to the tips of your nails, you can achieve a fun and vibrant look that's perfect for beginners wanting to experiment with nail art.
For a playful and colorful manicure, choose a variety of glitter colors to create your confetti tips. Mix and match different shades for a dazzling effect that will surely catch everyone's eye. Glitter accent nails are not only great for special occasions but also for adding a bit of glamour to your everyday style. Don't be afraid to get creative with different glitter sizes and shapes to personalize your manicure and make it uniquely yours.
| Glitter Color | Confetti Tips Design | Occasion |
|---|---|---|
| Silver | Multi-color confetti | Everyday |
| Gold | Ombre confetti | Special |
| Rose Gold | French tip confetti | Party |
Elegant Half-Moon Design

Achieve a sophisticated and stylish look with the elegant half-moon design by painting the base of your nail in one color and creating a contrasting half-moon shape at the cuticle.
To rock this chic nail art, follow these simple steps:
- Choose Your Colors: Pick two complementary shades to create a striking contrast for your half-moon design. Classic combinations like black and white or bold choices like navy and gold can elevate your nails instantly.
- Use Nail Stickers: For beginners, nail stickers or reinforcement labels can be your best friends. Place them at the base of your nail to guide you in creating that perfect half-moon shape with ease.
- Seal the Look: After applying your contrasting colors, seal in your stylish design with a clear top coat. This not only protects your nail art but also adds a glossy finish that screams sophistication.
Whimsical Starry Night

For a dreamy and enchanting nail art design, consider diving into the whimsical world of a Starry Night with dark blue polish as your canvas. Start by painting your nails with a rich dark blue shade to set the mystical backdrop.
Using a thin nail art brush, sprinkle white stars and dots across your nails to recreate a starry sky right at your fingertips. To add that extra touch of magic, dab on some glitter polish to make your stars twinkle and shimmer as if they were alive.
Get creative by experimenting with various star patterns and sizes to personalize your celestial masterpiece. Once you're satisfied with your design, seal it all in with a clear top coat for a long-lasting glossy finish that will keep your starlit nails looking fabulous.
Embrace the whimsy and charm of a starry night right on your fingertips with this simple yet enchanting nail art idea!
Frequently Asked Questions
How to Make Simple Nail Art at Home?
To make simple nail art at home, start by choosing a neutral base coat. Add thin white stripes down the middle for a stylish touch.
Experiment with nail art stickers for an easy, unique look. DIY marble stickers by swirling 2-3 colors on wax paper.
Create a trendy French manicure variation with two contrasting colors in a V-shape. Use nail tape for a two-toned design.
Enjoy getting creative with your nails!
What Are the 5 Basic Nail Designs?
The 5 basic nail designs for beginners are:
French manicure involves painting the tips white or a light color with a contrasting base.
Polka dots are made with a dotting tool or toothpick for evenly spaced dots.
Stripes can be achieved with nail striping tape or freehand painting for a clean look.
Floral patterns are delicate designs using a nail art brush or dotting tool for a feminine touch.
How to Do Minimalist Nail Art?
To achieve minimalist nail art, start by selecting a neutral base color for a clean canvas. Keep it simple by adding a single thin line or geometric shape in a contrasting color.
Embrace negative space by leaving parts of your nails bare. Less is more in minimalist designs, so aim for clean lines and subtle accents.
What Counts as Simple Nail Art?
Simple nail art encompasses designs that are easy to create and ideal for beginners. It includes basic techniques like dots, stripes, or geometric patterns.
Using minimal steps, colors, and tools, simple nail art allows for a gradual introduction to more intricate styles. Techniques such as ombre or French tips fall under the category of simple nail art, providing a foundation for those starting their nail art journey.
Conclusion
Now that you've mastered these simple nail art ideas, it's time to let your creativity shine! Whether you go for a minimalist negative space design or a playful emoji face, the possibilities are endless.
So grab your favorite nail polish and get painting, because your nails are about to be the talk of the town. Show off your artistic flair and have fun experimenting with different designs. Need some inspiration? Try some summer nail art ideas like tropical palm trees, fun fruit designs, or vibrant sunset ombre nails. The options are endless, so let your creativity run wild and don’t be afraid to try something new. With a little patience and practice, you’ll soon be turning heads with your beautifully manicured, summer-ready nails.
Who knows, you might just discover your new signature look!

