Get ready to take your nail game to the next level with dazzling diamond designs! You'll need the right supplies, like opalescent stones, rhinestones, and micro beads, along with a high-quality adhesive to secure them. Mastering stone placement techniques, like the starburst effect, and balancing larger diamonds with smaller gemstones will give your design a professional touch. Don't forget to seal your masterpiece with a top coat for longevity and shine. With the right techniques and materials, your nails will be the envy of all your friends. Now, are you ready to awaken your inner nail artist and take your creativity to new heights? If you’re feeling bold and adventurous, consider incorporating gold nail designs into your diamond masterpiece. Whether it’s a subtle accent or a full-on gold foil pattern, the contrast with the dazzling diamonds will surely make a statement. Experiment with different shapes, sizes, and placement of the gold elements to create a truly unique and eye-catching look. With a little practice and experimentation, you’ll be well on your way to creating stunning and extravagant nail art that will turn heads wherever you go.
Key Takeaways
• Balance larger diamonds with smaller gemstones to create visually appealing nail art designs that sparkle and shine.
• Strategically place diamonds and gemstones to create symmetry and harmony, considering the shape of the nail.
• Use diamond-strong bonding agents like 'Best Glue Ever' and apply a thin layer to secure stones, then seal with a top coat for protection and shine.
• Create a starburst effect by arranging opalescent stones and securing with a top coat for a stunning, eye-catching design.
• Use negative space to highlight diamonds and add a glossy finish with a top coat to protect and elevate your nail design.
Diamond Nail Art Essentials
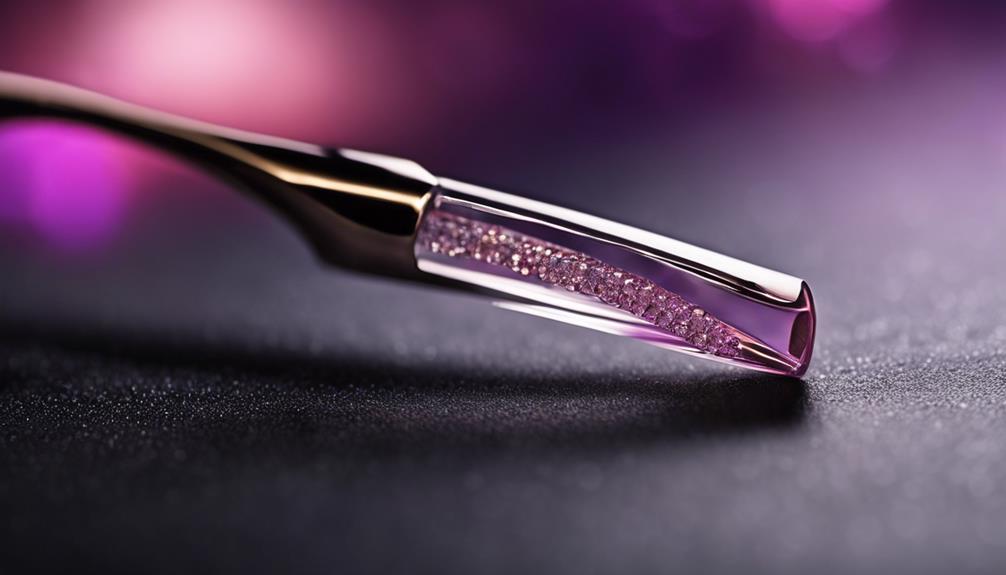
You'll need a variety of materials to get started with diamond nail art, including opalescent stones, rhinestones in different sizes, and micro beads for detailed designs. With these essentials, you'll be able to create stunning, eye-catching nail art that's sure to turn heads.
When applying your stones, remember to secure them with a top coat to guarantee long-lasting wear. This will prevent your design from chipping or fading, keeping your nails looking fresh and fabulous.
For a polished, cohesive look, aim to create a clustered or Starburst stone arrangement, inspired by makeup artist techniques. And, don't be afraid to get creative with your design – a one-coat application can make all the difference in achieving a glamorous, red-carpet-ready look.
With the right materials and a bit of practice, you'll be well on your way to creating show-stopping diamond nail art that's sure to impress. So, get ready to bling it on and take your nail game to the next level! To achieve the perfect look, consider using high-quality nail polish and gemstones to really make your design pop. With a steady hand and some patience, you can create stunning golden nail art that will sparkle and shine. Take your time to experiment with different designs and techniques to find the perfect look for you.
Choosing the Right Adhesive

With your diamond nail art design in mind, now it's time to focus on the adhesive that will keep your sparkling stones securely in place. Choosing the right adhesive is vital to guarantee your diamonds stay put and don't fall off after a few hours. You'll want a strong and long-lasting adhesive that's specifically designed for nail art and gemstones.
Here's a quick guide to help you make the right choice:
| Adhesive Type | Recommended |
|---|---|
| Specialized nail adhesive | |
| Regular glue | |
| Nail glue for gemstones | |
| Two-part epoxy | |
| Acrylic nail glue |
When selecting an adhesive, make sure to read the instructions and follow the guidelines for application. It's also essential to test the adhesive on a small area before applying diamonds to ensure it works well with your chosen nail design. By selecting the right adhesive, you'll guarantee your diamond nail art design looks stunning and lasts longer.
Stone Placement Techniques

Now that you've selected the right adhesive, it's time to focus on strategically placing your diamonds to create a stunning nail art design that showcases your personal style. This is where the magic happens, and your creativity can shine!
To get started, keep the following stone placement techniques in mind:
- Arrange larger stones towards the base of the nail for a balanced and visually appealing layout.
- Focus on precise placement of smaller stones to achieve a professional and polished look.
- Utilize top coat to securely affix opalescent stones for long-lasting nail design.
- Create a cohesive look by strategically placing stones in a way that complements your nail shape and personal style.
Mastering the Starburst Effect
To elevate your nail art game, try incorporating the Starburst effect, a mesmerizing technique that adds instant glamour to any design.
This stunning effect is achieved by strategically placing opalescent stones in varying sizes to create a captivating pattern. You can arrange 2mm rhinestones in a Starburst pattern for a visually striking and intricate look that's sure to turn heads.
To make sure your design lasts, secure the stones with a top coat, and you're good to go! For a balanced look, place larger stones towards the bottom of the design to anchor the Starburst effect.
With precise stone placement, you can achieve a polished and dazzling nail design that's sure to impress. Remember, mastering the Starburst effect takes practice, but with a little patience and creativity, you can create a show-stopping design that's truly unforgettable.
Adding Micro Beads for Depth
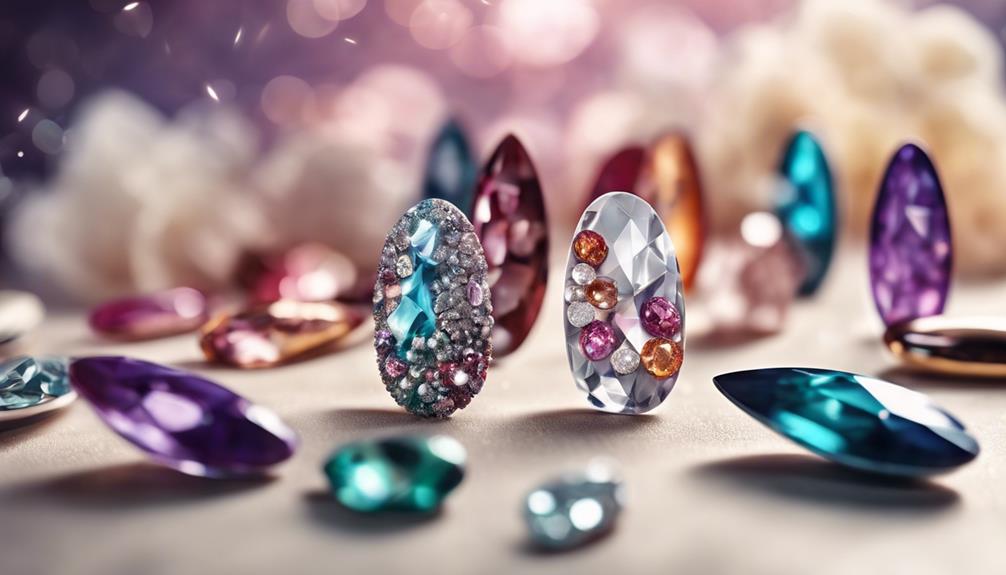
You can add an extra layer of dimension to your nail art by incorporating micro beads, which come in a range of sizes from 0.6mm to 1.5mm and can be applied individually or in clusters to create unique patterns. These tiny spherical beads are perfect for adding texture and visual interest to your designs. With micro beads, you can create intricate, multi-dimensional looks that elevate your manicure from simple to stunning.
Here are some ways to incorporate micro beads into your nail art:
- Apply them individually to create a subtle, scattered effect
- Use clusters of beads to create bold, eye-catching patterns
- Mix micro beads with other embellishments like rhinestones and glitter for a truly show-stopping look
- Experiment with different bead sizes to add depth and dimension to your designs
Opalescent Stone Accents Ideas
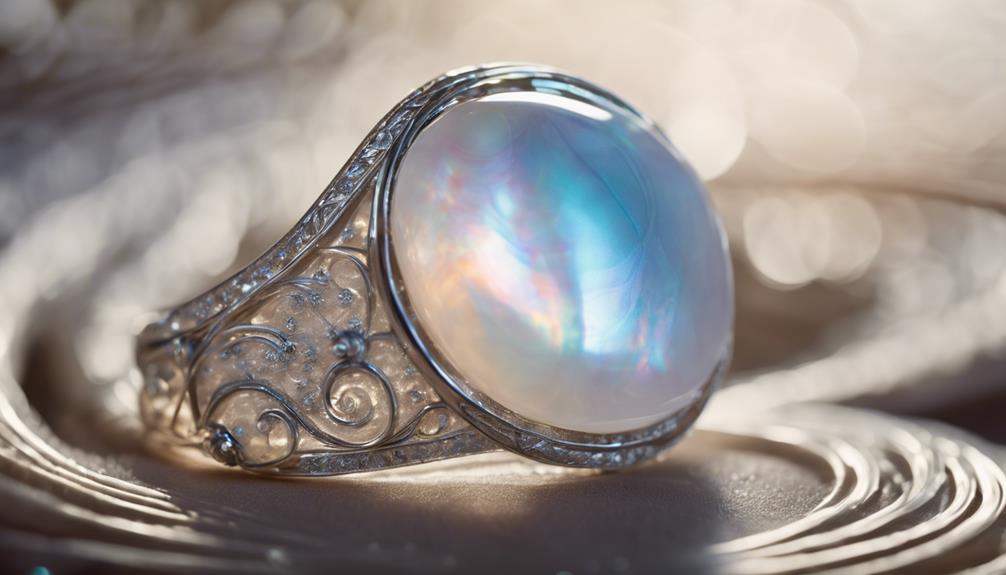
By combining opalescent stones with micro beads, you can create intricate, multi-dimensional nail art designs that shimmer and shine. The iridescence of the opalescent stones adds an elegant touch to your design, while the micro beads enhance the overall look and add intricate details.
To take your design to the next level, experiment with different sizes of rhinestones to create dimension and visual interest. You can cluster the stones together to create a bold statement or arrange them in a Starburst effect to add a dynamic focal point. Whatever arrangement you choose, make sure to secure the stones with a top coat to guarantee long-lasting wear.
With opalescent stones, the possibilities are endless, and you can create unique, eye-catching designs that are sure to turn heads. So don't be afraid to get creative and experiment with different combinations of stones and beads to create a truly one-of-a-kind look.
Nail Shape and Design Considerations
Now that you're all set to bring your diamond nail design to life, it's crucial to contemplate the foundation of your masterpiece: your nail shape.
You'll want to choose a shape that complements the diamond design you have in mind, and that's where we'll start.
Let's explore the various nail shape options, prep your nail bed for success, and balance your design for a truly show-stopping look.
Nail Shape Options
When designing a nail art look that incorporates diamonds, selecting the right nail shape is essential, as it can either enhance or detract from the overall aesthetic. You want a shape that complements the sparkle of the diamonds, not one that overpowers them.
Here are some nail shape options to take into account:
- Almond or stiletto shapes are perfect for elongated and elegant designs with diamonds.
- Square or coffin shapes offer a modern and edgy look when incorporating diamond accents.
- Round or oval nail shapes can add a softer and more feminine touch to your diamond designs.
- Square-round or squoval shapes provide a versatile option for a balanced and classic style with diamond embellishments.
Nail Bed Preparation
To guarantee your diamond nail design shines, prepare your nail bed by selecting a shape that complements your diamond choice, evaluating the best length and width for placement, and polishing the surface for a flawless finish.
You want your diamonds to sparkle, not clash with your nail shape. Consider an almond or stiletto shape to elongate your fingers and create a sleek canvas for your diamond design.
Next, assess the length and width of your nail to ensure ideal placement. This is important, as you want your diamonds to be the focal point, not overwhelmed by excess nail real estate. Choose diamonds in suitable sizes, such as 3mm or 5mm, to achieve the desired coverage.
Design Balance Essentials
As you plan your diamond nail design, consider the nail shape that will provide ideal aesthetic balance, guaranteeing your diamonds shine without overwhelming the overall look. The right nail shape can make all the difference in creating a stunning design that showcases your diamonds.
Here are some design balance essentials to keep in mind:
- Choose a nail shape that complements your diamond design, whether it's almond, square, or stiletto.
- Balance larger diamonds with smaller gemstone accents to create visual interest and prevent overwhelming the nail design.
- Don't be afraid to incorporate negative space in your design to allow your diamonds to stand out.
- Pay attention to the placement of diamonds on the nail to guarantee symmetry and harmony in the final design.
Finishing Touches and Sealing
Now that you've carefully crafted your design, it's time to seal the deal – literally!
You'll want to focus on creating a strong bond between your diamonds and nail surface, as well as adding those finishing flourishes that elevate your look from great to stunning.
In the next few paragraphs, we'll explore the importance of diamond-strong bonding agents, sealing your design properly, and the finishing touches that make all the difference.
Diamond-Strong Bonding Agents
Get ready to secure your diamonds with confidence, using a Diamond-Strong Bonding Agent like the 'Best Glue Ever', which creates an unshakeable bond between the gem and your nail. This means you can say goodbye to worrying about your diamonds falling off mid-manicure. With the right bonding agent, you can focus on perfecting your design without any stress.
Here are a few insider tips to keep in mind:
- Water down your glue for a smooth application process
- Use a thin layer of glue to avoid messy cleanup
- Avoid applying too much glue, as it can cloud the diamond's sparkle
- Practice makes perfect, so don't be discouraged if it takes a few tries to get it just right
Sealing the Deal Properly
With your diamonds securely in place, you're ready to seal the deal properly by applying a top coat that will protect and showcase your design.
This final step is essential in ensuring your nail art lasts as long as possible. The top coat acts as a shield, guarding your diamonds and stones from daily wear and tear.
Not only does it secure the stones in place, but it also adds a glossy finish that takes your design to the next level.
By sealing your design properly, you'll prevent the diamonds and stones from getting caught on clothes or accessories, maintaining a smooth and polished appearance.
A good top coat will also prevent damage during everyday activities, ensuring your design remains intact.
Finishing Flourishes Matter
As you put the final touches on your diamond nail design, the finishing flourishes that make all the difference lie in the subtle details and masterful sealing of your artwork. These subtle touches can elevate your design from mere mortal to dazzling diva.
To achieve this, remember:
- A good top coat is crucial for sealing in those sparkly stones and glitter.
- Using a watered-down glue guarantees a smoother application and better adherence of your stones.
- Strategically placing larger stones towards the bottom of your design enhances the overall aesthetic appeal.
- And, by layering your applications thinly, you'll guarantee easy removal of your nail embellishments when it's time for a change.
Frequently Asked Questions
What Do You Stick Diamonds on Nails With?
When it comes to sticking diamonds on your nails, you've got a couple of options.
You can use a top coat to secure them in place, adding a glossy finish to your nail design.
Alternatively, you can opt for a strong nail glue, like 'Best Glue Ever', which is perfect for bonding diamonds to your nails.
Both methods guarantee your diamonds stay put, giving you a glamorous, luxurious look that's sure to turn heads!
How Do You Style Rhinestones on Your Nails?
Are you ready to take your nail game to the next level?
To style rhinestones on your nails, start by selecting a design that speaks to you – do you want a subtle accent or a bold statement?
Experiment with different sizes and placements to create depth and dimension. Try clustering smaller stones around a larger centerpiece or scattering them across the nail for a playful touch.
Don't be afraid to get creative and make it your own!
What Are the Engagement Nails for 2024?
You're curious about the hottest engagement nail trend for 2024! This year, it's all about luxury and dimension.
Expect to see opalescent stones and micro beads combined for a jaw-dropping look. Rhinestones of various sizes add depth, while unique arrangements like Clustered and Starburst effects take center stage.
A top coat secures everything in place, ensuring your nails shine bright and beautiful for any special occasion. Get ready to dazzle!
What Is a Diamond Manicure?
You're about to elevate your nail game! Did you know that 75% of women consider nail art a form of self-expression?
A diamond manicure is precisely that – a way to add some serious sparkle to your look. In essence, it involves applying rhinestones, gems, or crystals to your nails for a glamorous, eye-catching effect.
You can customize the design with different stone sizes and shapes, and techniques like clustering or the Starburst effect. Get ready to shine!
Conclusion
You've made it to the final touch! Now that you've mastered the art of diamond nail design, the possibilities are endless. But, don't think you're off the hook that easily! There are still countless combinations of stones, shapes, and designs waiting to be explored.
So, get ready to take your nail game to the next level and leave everyone else in the dust. The question is, what's your next move? Will you go bold and bright or subtle and sophisticated? The world is waiting to see what you'll create next!