Creating easy purple nail designs can be done with just a few materials like different shades of purple nail polish, nail art tools, and optional embellishments such as rhinestones or glitter. Start by prepping your nails – clean, shape, and moisturize with cuticle oil. To achieve a simple purple ombre look, apply a light base coat and blend in darker shades of purple using a makeup sponge. For floral designs, use various purple tones to create petal shapes and seal with a top coat for a glossy finish.
Adding glitter accents is a fun way to sparkle up your purple nails. Master these basics, and you'll be amazed at the beautiful designs you can create effortlessly!
Key Takeaways
- Choose various shades of purple polish for a versatile design palette.
- Use nail art tools like dotting tool & brushes for intricate designs.
- Seal the design with a clear top coat for a professional finish.
- Experiment with embellishments like rhinestones or stickers for added flair.
- Follow step-by-step instructions for ombre, floral, or glitter designs.
Supplies Needed for Purple Nail Designs
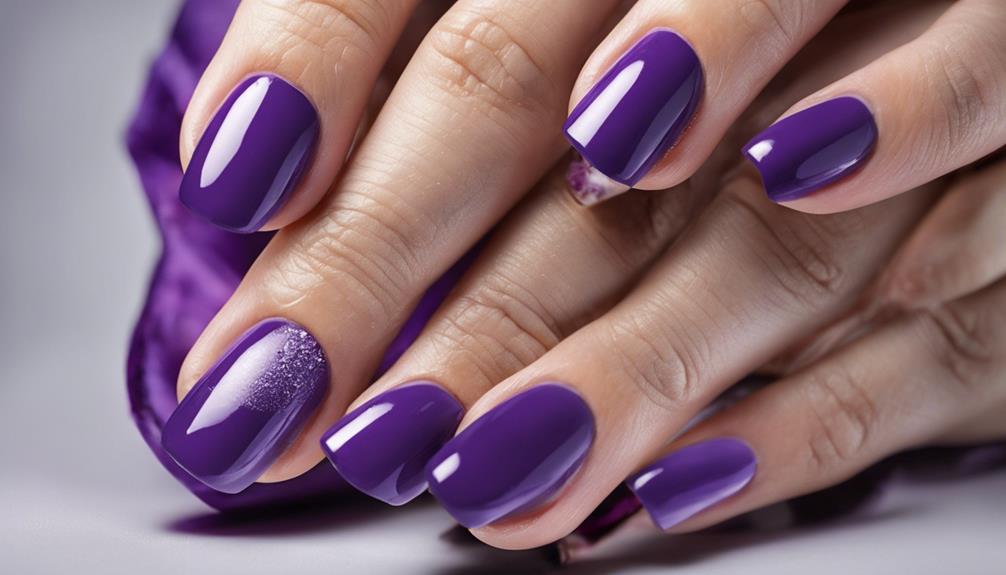
When initiating stunning purple nail designs, gathering the essential supplies is critical for achieving professional-looking results. Purple nail polish in various shades such as lavender, lilac, and mauve serves as the foundation for these designs, offering a range of tones to experiment with.
To add intricate details, nail art tools like a dotting tool and nail brushes come in useful, allowing for precise patterns and designs on the nails. A clear top coat is essential to seal and protect the nail design, ensuring it lasts longer and maintains a glossy finish.
Don't forget the optional embellishments like rhinestones, glitter, or stickers, which can enhance simple purple nail designs to the next level of elegance and creativity. With these supplies in hand, you're all prepared to begin your purple nail design journey.
Preparing Your Nails for Design
To prep our nails for the intricate designs ahead, it's important to start with a clean slate by getting rid of any old nail polish using an acetone-free remover. Once our nails are free of any residue, we can shape and file them to our desired length, ensuring a polished appearance for our light purple nails.
Pushing back cuticles gently with a cuticle pusher or orange stick will create a neat canvas for the upcoming purple ombre design. Lightly buffing the nail surface smooths out ridges and allows for better adherence when applying the base coat and subsequent colors.
Before diving into the easy nail art process, it's vital to nourish our nails and cuticles with a hydrating cuticle oil or hand cream, providing the perfect foundation for our glitter accents and flawless purple ombre look. This careful preparation sets the stage for a stunning and long-lasting nail design.
Step-by-Step Guide for Purple Ombre Nails
After preparing our nails meticulously for the upcoming design, we can now begin on the enchanting journey of creating stunning purple ombre nails. To achieve this gorgeous look, follow these simple steps:
- Start with a light purple pastel base coat to lay the foundation for the ombre blend.
- Use a makeup sponge to apply the darker purple polish on the tips of your nails, creating a gradient effect.
- Gently dab the sponge on the nails to merge the colors seamlessly, ensuring a smooth shift between the shades.
- Repeat the sponge dabbing process as needed until you achieve the desired ombre blend on all your nails.
Creating Floral Patterns With Purple Polish

With a light purple base coat as our starting point, we can begin the journey of creating intricate floral patterns using varying shades of purple polish. To achieve a stunning floral design, follow these steps:
| Step | Instructions | Tips |
|---|---|---|
| 1. Base Coat | Apply a light purple base coat to all nails. | Make sure the base coat is fully dry. |
| 2. Petal Creation | Use a small nail art brush to delicately paint petals and leaves with darker shades of purple polish. | Experiment with different petal shapes. |
| 3. Accent Details | Add dimension by incorporating white or light pink accents for contrast and intricate detailing. | Use a dotting tool for small details. |
| 4. Unique Designs | Experiment with various flower shapes and sizes to create a unique floral nail design. | Let your creativity flow freely. |
| 5. Top Coat Finish | Seal in your design with a clear top coat for a glossy, professional finish. | Avoid smudging by allowing layers to dry. |
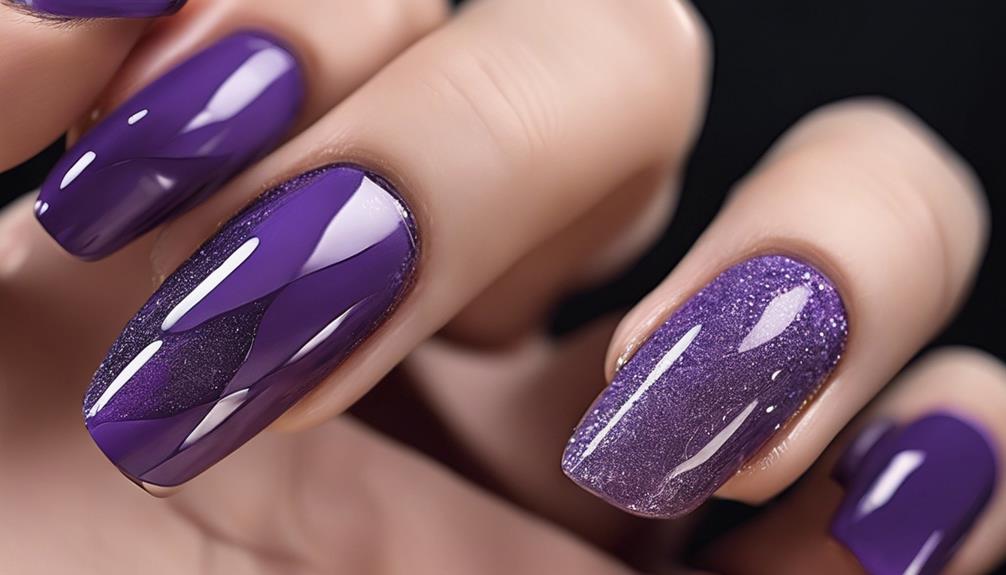
Adding Glitter Accents to Purple Nails
Sprinkling a touch of glitter onto your purple nails can elevate your design with a hint of sparkle and glamour. When adding glitter accents to your purple nails, consider the following tips for a dazzling look:
- Choose the Right Glitter: Opt for a fine glitter polish or loose glitter that will catch the light beautifully.
- Strategic Application: Apply the glitter strategically to create a gradient effect or highlight specific areas of your nails.
- Experiment with Shapes and Sizes: Have fun experimenting with different shapes and sizes of glitter to customize your design and add depth.
- Seal the Sparkle: After applying the glitter, seal it with a top coat to guarantee the accents stay in place and maintain their sparkle throughout the day.
Tips for Long-Lasting Purple Nail Designs
To guarantee the vibrancy and longevity of your purple nail design, it's crucial to follow key tips for long-lasting wear. Begin by using a high-quality base coat before applying your purple nail polish. This base coat not only helps the color adhere better to your nails but also acts as a protective barrier, preventing staining and chipping.
When applying the purple nail polish, keep in mind that thin, even layers are the way to go. Thick coats are more prone to chipping and peeling, so take your time and build up the color gradually. Once your purple nails are looking fabulous, seal the deal with a top coat. This final layer not only adds a beautiful shine but also protects your design from daily wear and tear.
To make certain your purple nail design stays looking fresh, avoid exposing your nails to harsh chemicals or excessive water. Consider scheduling regular touch-up sessions or nail maintenance to address any chips or fading. By following these tips and using high-quality products, you can enjoy your stunning purple nails for days to come.
Frequently Asked Questions
How to Do Easy Nail Designs for Beginners?
We start with a light purple base, adding glitter for a touch of glam. Using dotting tools and striping tape, beginners can create easy nail designs. A matte top coat gives a chic finish. Experiment with negative space for a trendy look.
What Are the Five 5 Basic Nail Designs?
Searching for nail design inspiration? We've got you sorted! From elegant French tips to playful polka dots, fundamental designs like block colors, shimmer highlights, and gradient provide limitless options for customized nail art.
How Do You Make Dark Purple Nail Polish?
To make dark purple nail polish, we mix blue and red polish in a 3:1 ratio. Adjust for desired hue intensity. Experiment with varied shades of blue and red for unique tones. Add a drop of black to deepen if desired. Stir well for consistency.
What Nails Go With Dark Purple?
We love how dark purple nails complement various shades. Pair them with neutrals for a sophisticated vibe, metallics for elegance, jewel tones for vibrancy, or bright colors for a bold look. Add glitter for extra glamour!
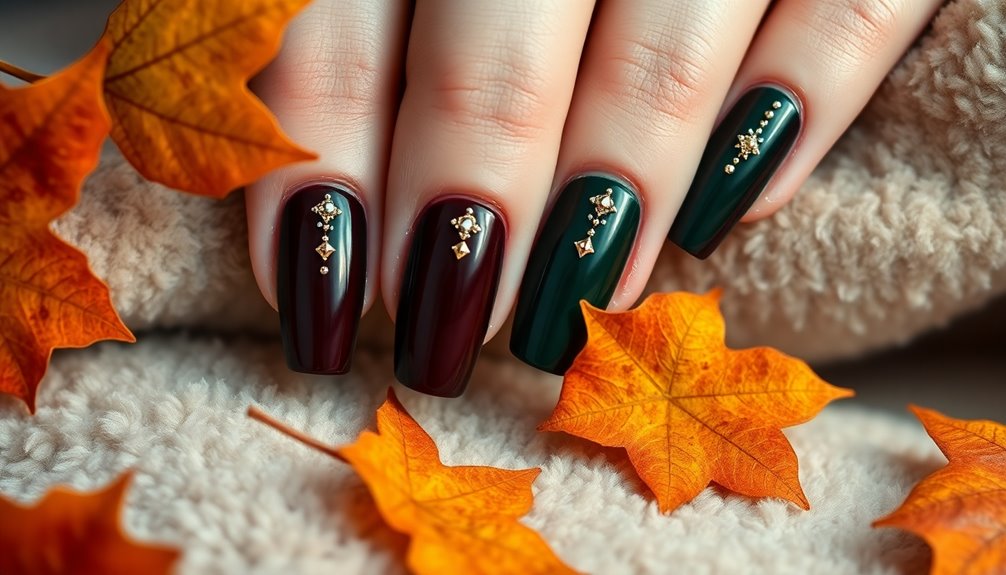
Can I Use the Same DIY Techniques for Orange and Black Nail Designs as I Would for Purple Nail Designs?
Yes, you can absolutely use the same DIY techniques for orange and black nail designs as you would for purple nail designs. The stunning nail design tutorial can be adapted to create beautifully unique manicures in any color scheme. Just mix and match your favorite shades to achieve the perfect look.
Conclusion
To sum up, crafting straightforward purple nail designs is an enjoyable and simple method to showcase your individual style. With just a few materials and some imagination, you can create striking ombre, floral, or sparkling designs that will make your nails stand out.
So go ahead, release your inner nail artist and let your fingertips shine with these gorgeous purple nail designs. Remember, the only boundary is your imagination!